
Home>Home & Furniture>Doors & Windows>DIY: How To Install A Pocket Door
Doors & Windows
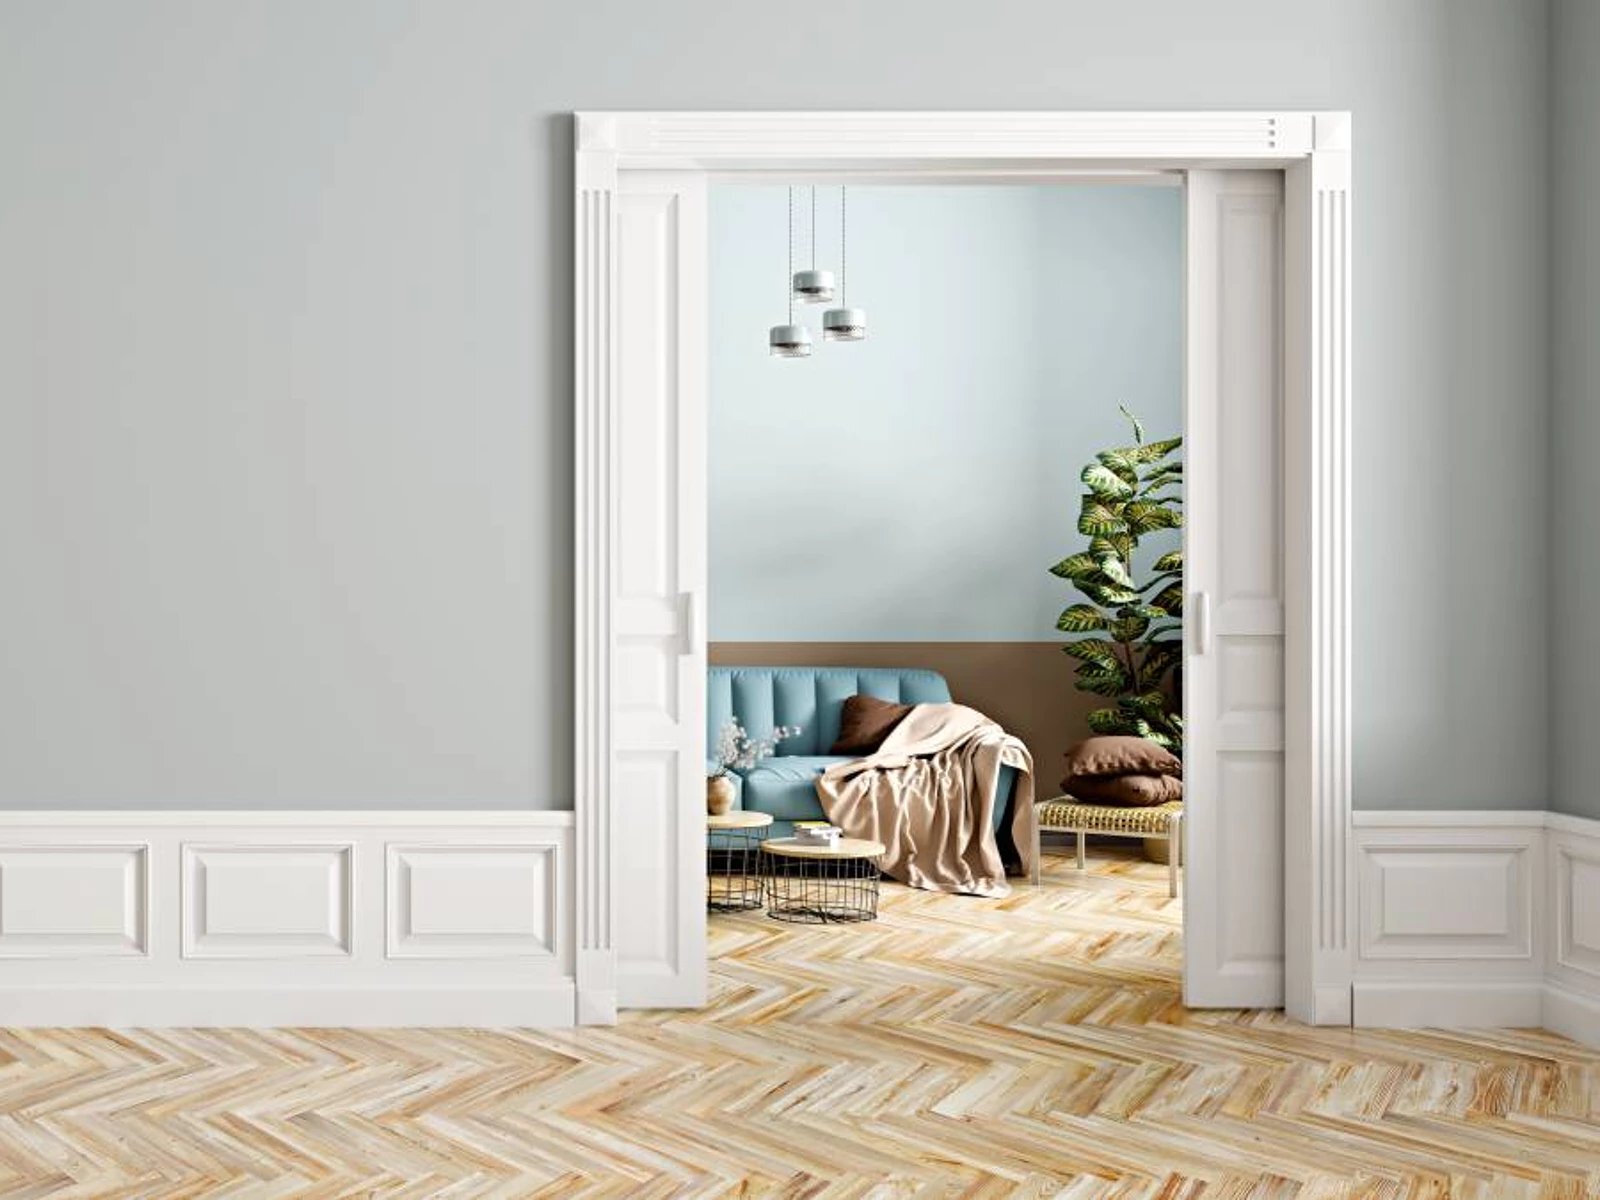
DIY: How To Install A Pocket Door
Published: March 7, 2024
Editor-in-Chief with a decade in home renovation and a passion for vintage furniture. Diane is known for her weekend treasure hunts at flea markets, enriching our content with unique style insights.
Learn how to easily install a pocket door with our step-by-step guide. Upgrade your home with this DIY project for doors and windows.
(Many of the links in this article redirect to a specific reviewed product. Your purchase of these products through affiliate links helps to generate commission for Twigandthistle.com, at no extra cost. Learn more)
Introduction
Are you looking to save space and add a touch of modernity to your home? Installing a pocket door might just be the solution you need. Pocket doors are a great way to maximize space in your home, as they slide into a hidden compartment within the wall rather than swinging open like traditional doors. In this article, we will guide you through the step-by-step process of installing a pocket door, from preparing the door frame to adjusting and testing the door for smooth operation. So, roll up your sleeves and get ready to transform your living space with this DIY project!
Tools and Materials Needed
Before you begin the installation process, it's essential to gather all the necessary tools and materials. Here's a list of what you'll need:
Tools:
- Stud Finder: To locate the studs within the wall where the pocket door will be installed.
- Level: Ensures that the door is installed straight and plumb.
- Measuring Tape: For taking accurate measurements of the door frame and the pocket door.
- Screwdriver: For securing the door hardware and making adjustments.
- Saw: To trim the door to the correct size if needed.
- Drill: For making holes and driving screws into the wall and door frame.
- Chisel: Used to create space for the door hardware and track.
- Hammer: For tapping the door hardware into place.
Materials:
- Pocket Door Kit: This includes the track, rollers, and other necessary hardware for the door.
- Pocket Door: Choose a door that fits the dimensions of your door frame.
- Shims: For adjusting and leveling the door frame.
- Wood Screws: To secure the door frame and hardware in place.
- Door Jamb Kit: If your door frame needs to be modified to accommodate the pocket door.
Gathering these tools and materials beforehand will make the installation process smoother and more efficient.
Preparing the Door Frame
-
Measure and Mark: Begin by measuring the width and height of the door frame to ensure that it can accommodate the pocket door. Mark the areas where the track and hardware will be installed, following the manufacturer's instructions.
-
Locate and Clear Obstructions: Use a stud finder to locate the studs within the wall. Clear any obstructions such as wiring or pipes that may interfere with the installation of the pocket door.
-
Modify the Door Frame: If necessary, modify the door frame to create space for the pocket door. This may involve removing the existing door trim and cutting away a portion of the drywall to accommodate the track and hardware.
-
Install the Door Jamb Kit: If the door frame needs to be modified, install a door jamb kit to create a smooth and level surface for the pocket door to slide into. This kit will provide the necessary support and structure for the door.
-
Level and Secure the Door Frame: Use shims to level the door frame, ensuring that it is plumb and square. Secure the frame in place using wood screws, making sure it is firmly anchored to the surrounding wall studs.
-
Test the Fit: Before proceeding to the next step, test the fit of the pocket door within the frame. Ensure that it slides smoothly and aligns properly with the marked areas for the track and hardware.
By carefully preparing the door frame, you set the stage for a successful installation of the pocket door. Taking the time to measure, modify, and secure the frame will ensure that the door operates smoothly and fits seamlessly into your home's design.
Installing the Pocket Door Hardware
-
Attach the Track: Begin by attaching the track to the top of the door frame according to the manufacturer's instructions. Use a level to ensure that the track is installed perfectly straight and parallel to the floor. Secure the track in place using the provided screws, making sure it is firmly anchored to the frame.
-
Install the Rollers: Next, install the rollers onto the top of the door. These rollers will allow the door to glide smoothly along the track. Follow the manufacturer's guidelines for attaching the rollers, ensuring that they are evenly spaced and securely fastened to the door.
-
Mount the Door Hardware: With the help of a friend, lift the door and place it onto the track. Once the door is in position, mount the door hardware onto the door frame. This hardware will guide the door as it slides open and closed. Use a screwdriver to secure the hardware in place, ensuring that it is aligned with the track and rollers.
-
Adjust the Hardware: After the hardware is installed, make any necessary adjustments to ensure that the door slides smoothly and evenly. Use the provided tools to adjust the rollers and hardware as needed, making sure that the door operates without any resistance.
-
Test the Movement: Once the hardware is installed and adjusted, test the movement of the door to ensure that it slides open and closed effortlessly. Make any final adjustments as needed to achieve a smooth and seamless operation.
By following these steps, you can successfully install the pocket door hardware, allowing the door to move freely along the track and seamlessly integrate into your living space.
Hanging the Door
-
Lift and Position the Door: With the help of a friend, carefully lift the pocket door and place it onto the track. Ensure that the rollers are properly aligned with the track and that the door hangs evenly. Take your time to position the door correctly, as this will impact its smooth operation.
-
Secure the Door: Once the door is in place on the track, secure it by attaching the door hangers to the rollers. These hangers will keep the door in position and prevent it from dislodging from the track during use. Ensure that the hangers are securely fastened to the door and that they provide ample support.
-
Check for Smooth Movement: After securing the door, test its movement along the track. Gently slide the door open and closed to ensure that it moves smoothly and without any obstructions. If you encounter any resistance, recheck the alignment of the rollers and make any necessary adjustments.
-
Adjust as Needed: If the door does not slide smoothly, make any required adjustments to the rollers and hangers. Use the provided tools to fine-tune the positioning of the door, ensuring that it operates effortlessly along the track. Pay close attention to any areas where the door may be sticking or catching.
-
Finalize the Installation: Once the door moves smoothly and hangs evenly, finalize the installation by securing any remaining hardware and ensuring that all components are tightly fastened. Double-check the alignment and levelness of the door, making any last-minute adjustments to guarantee its proper operation.
By following these steps, you can successfully hang the pocket door, allowing it to move seamlessly along the track and become a functional and space-saving addition to your home.
Adjusting and Testing the Door
-
Check for Alignment: Begin by examining the alignment of the pocket door within the frame. Ensure that the door is level and plumb, and that it slides smoothly along the track without any obstructions. Use a level to verify that the door is not crooked or uneven.
-
Adjust the Rollers: If the door does not slide smoothly or appears misaligned, use the provided tools to adjust the rollers. Most pocket door hardware kits include tools for adjusting the height and positioning of the rollers. Make small adjustments and test the door's movement after each change.
-
Fine-Tune the Hardware: Check the door hardware, including the hangers and track, for any signs of misalignment or instability. Tighten any loose screws and ensure that all components are securely fastened to the door and frame. This step is crucial for the long-term functionality of the pocket door.
-
Test the Door Operation: Slide the door open and closed several times to test its operation. Pay attention to any areas where the door may stick or catch. If you encounter resistance, identify the source of the issue and make the necessary adjustments to resolve it.
-
Check for Smooth Closure: Verify that the door closes smoothly and securely. It should fit snugly within the frame without any gaps or unevenness. If the door does not close properly, revisit the alignment and hardware adjustments to achieve a seamless closure.
-
Ensure Even Movement: As you test the door, ensure that it moves evenly along the track without any wobbling or unevenness. A properly adjusted pocket door should glide effortlessly from open to closed positions, enhancing the functionality and aesthetic appeal of the space.
-
Finalize Adjustments: Make any final adjustments as needed to ensure that the door operates smoothly and aligns perfectly within the frame. Take the time to fine-tune the hardware and alignment, as these details are essential for the long-term performance of the pocket door.
By following these steps, you can effectively adjust and test the pocket door, ensuring that it operates seamlessly and becomes a valuable addition to your home.
Conclusion
In conclusion, installing a pocket door can be a rewarding DIY project that adds both functionality and style to your living space. By following the step-by-step process outlined in this guide, you can successfully transform a traditional swinging door into a sleek and space-saving pocket door. From preparing the door frame to hanging the door and adjusting the hardware, each step plays a crucial role in ensuring the smooth operation and seamless integration of the pocket door into your home. With careful attention to detail and the right tools at your disposal, you can enjoy the benefits of a pocket door, including increased floor space and a modern aesthetic. So, roll up your sleeves, gather your tools, and get ready to elevate your home with this practical and stylish DIY project.