Home>Home & Furniture>Doors & Windows>How to Build Sliding Wardrobe Doors

Doors & Windows
How to Build Sliding Wardrobe Doors
Published: September 21, 2024
Learn how to build sliding wardrobe doors with our step-by-step guide. Enhance your storage space with stylish, functional doors. Perfect for DIY enthusiasts!
(Many of the links in this article redirect to a specific reviewed product. Your purchase of these products through affiliate links helps to generate commission for Twigandthistle.com, at no extra cost. Learn more)
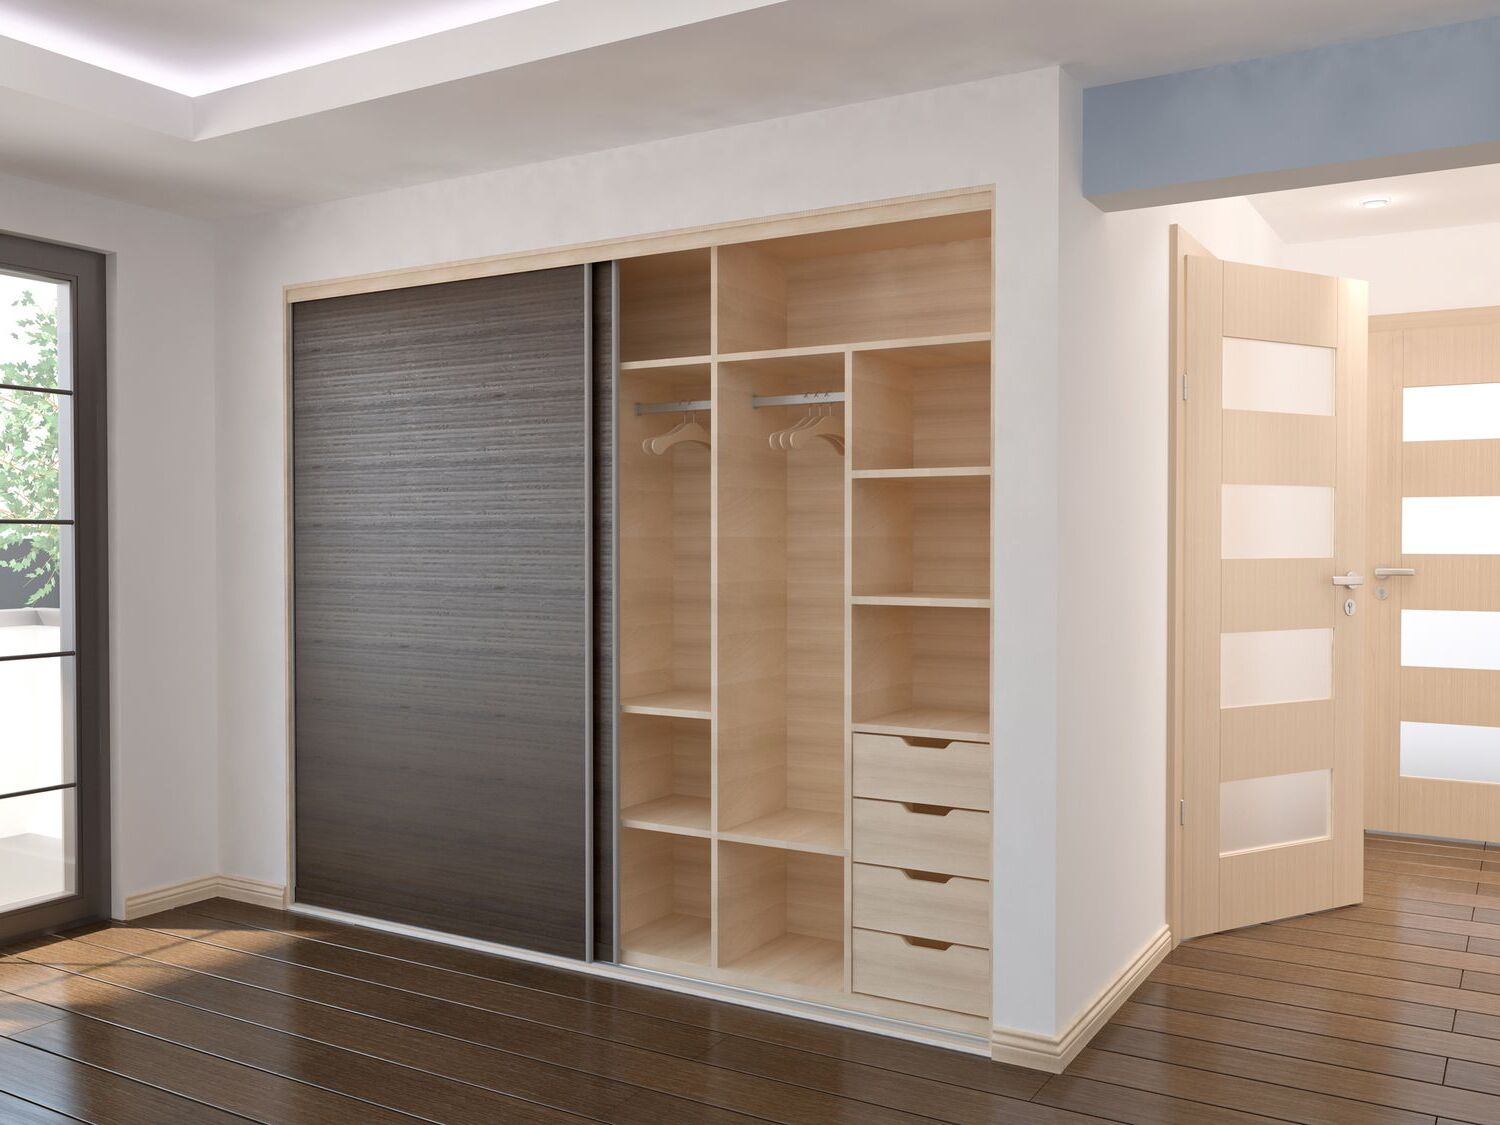
Building sliding wardrobe doors can be a fun and rewarding project. Not only does it save space, but also adds a sleek touch to any room. You don't need to be a professional carpenter to get the job done; just some basic tools and patience will do. With clear instructions and a bit of effort, you'll soon have custom sliding doors that perfectly fit your space. This guide will walk you through the steps, making the process straightforward and manageable. Get ready to transform your wardrobe and give your room a fresh new look!
Getting Ready for the Project
Measure the Space: Use a tape measure to get accurate dimensions of the wardrobe opening. Write down the height and width.
Gather Materials: Collect all necessary materials like sliding door tracks, door panels, screws, and handles. Make sure everything matches your measurements.
Safety Gear: Wear safety goggles and gloves to protect your eyes and hands. Keep a first aid kit nearby.
Clear the Area: Remove any obstacles from the workspace. Ensure you have enough room to move around freely.
Tools Ready: Have all tools like a drill, screwdriver, level, and saw within reach. Check that they are in good working condition.
Mark the Wall: Use a pencil to mark where the tracks will be installed. Double-check measurements to avoid mistakes.
Pre-Drill Holes: Pre-drill holes for the screws to make installation easier and prevent wood from splitting.
Install Tracks: Attach the top and bottom tracks to the wardrobe frame using screws. Make sure they are level.
Check Alignment: Use a level to ensure the tracks are straight. Misaligned tracks can cause the doors to stick.
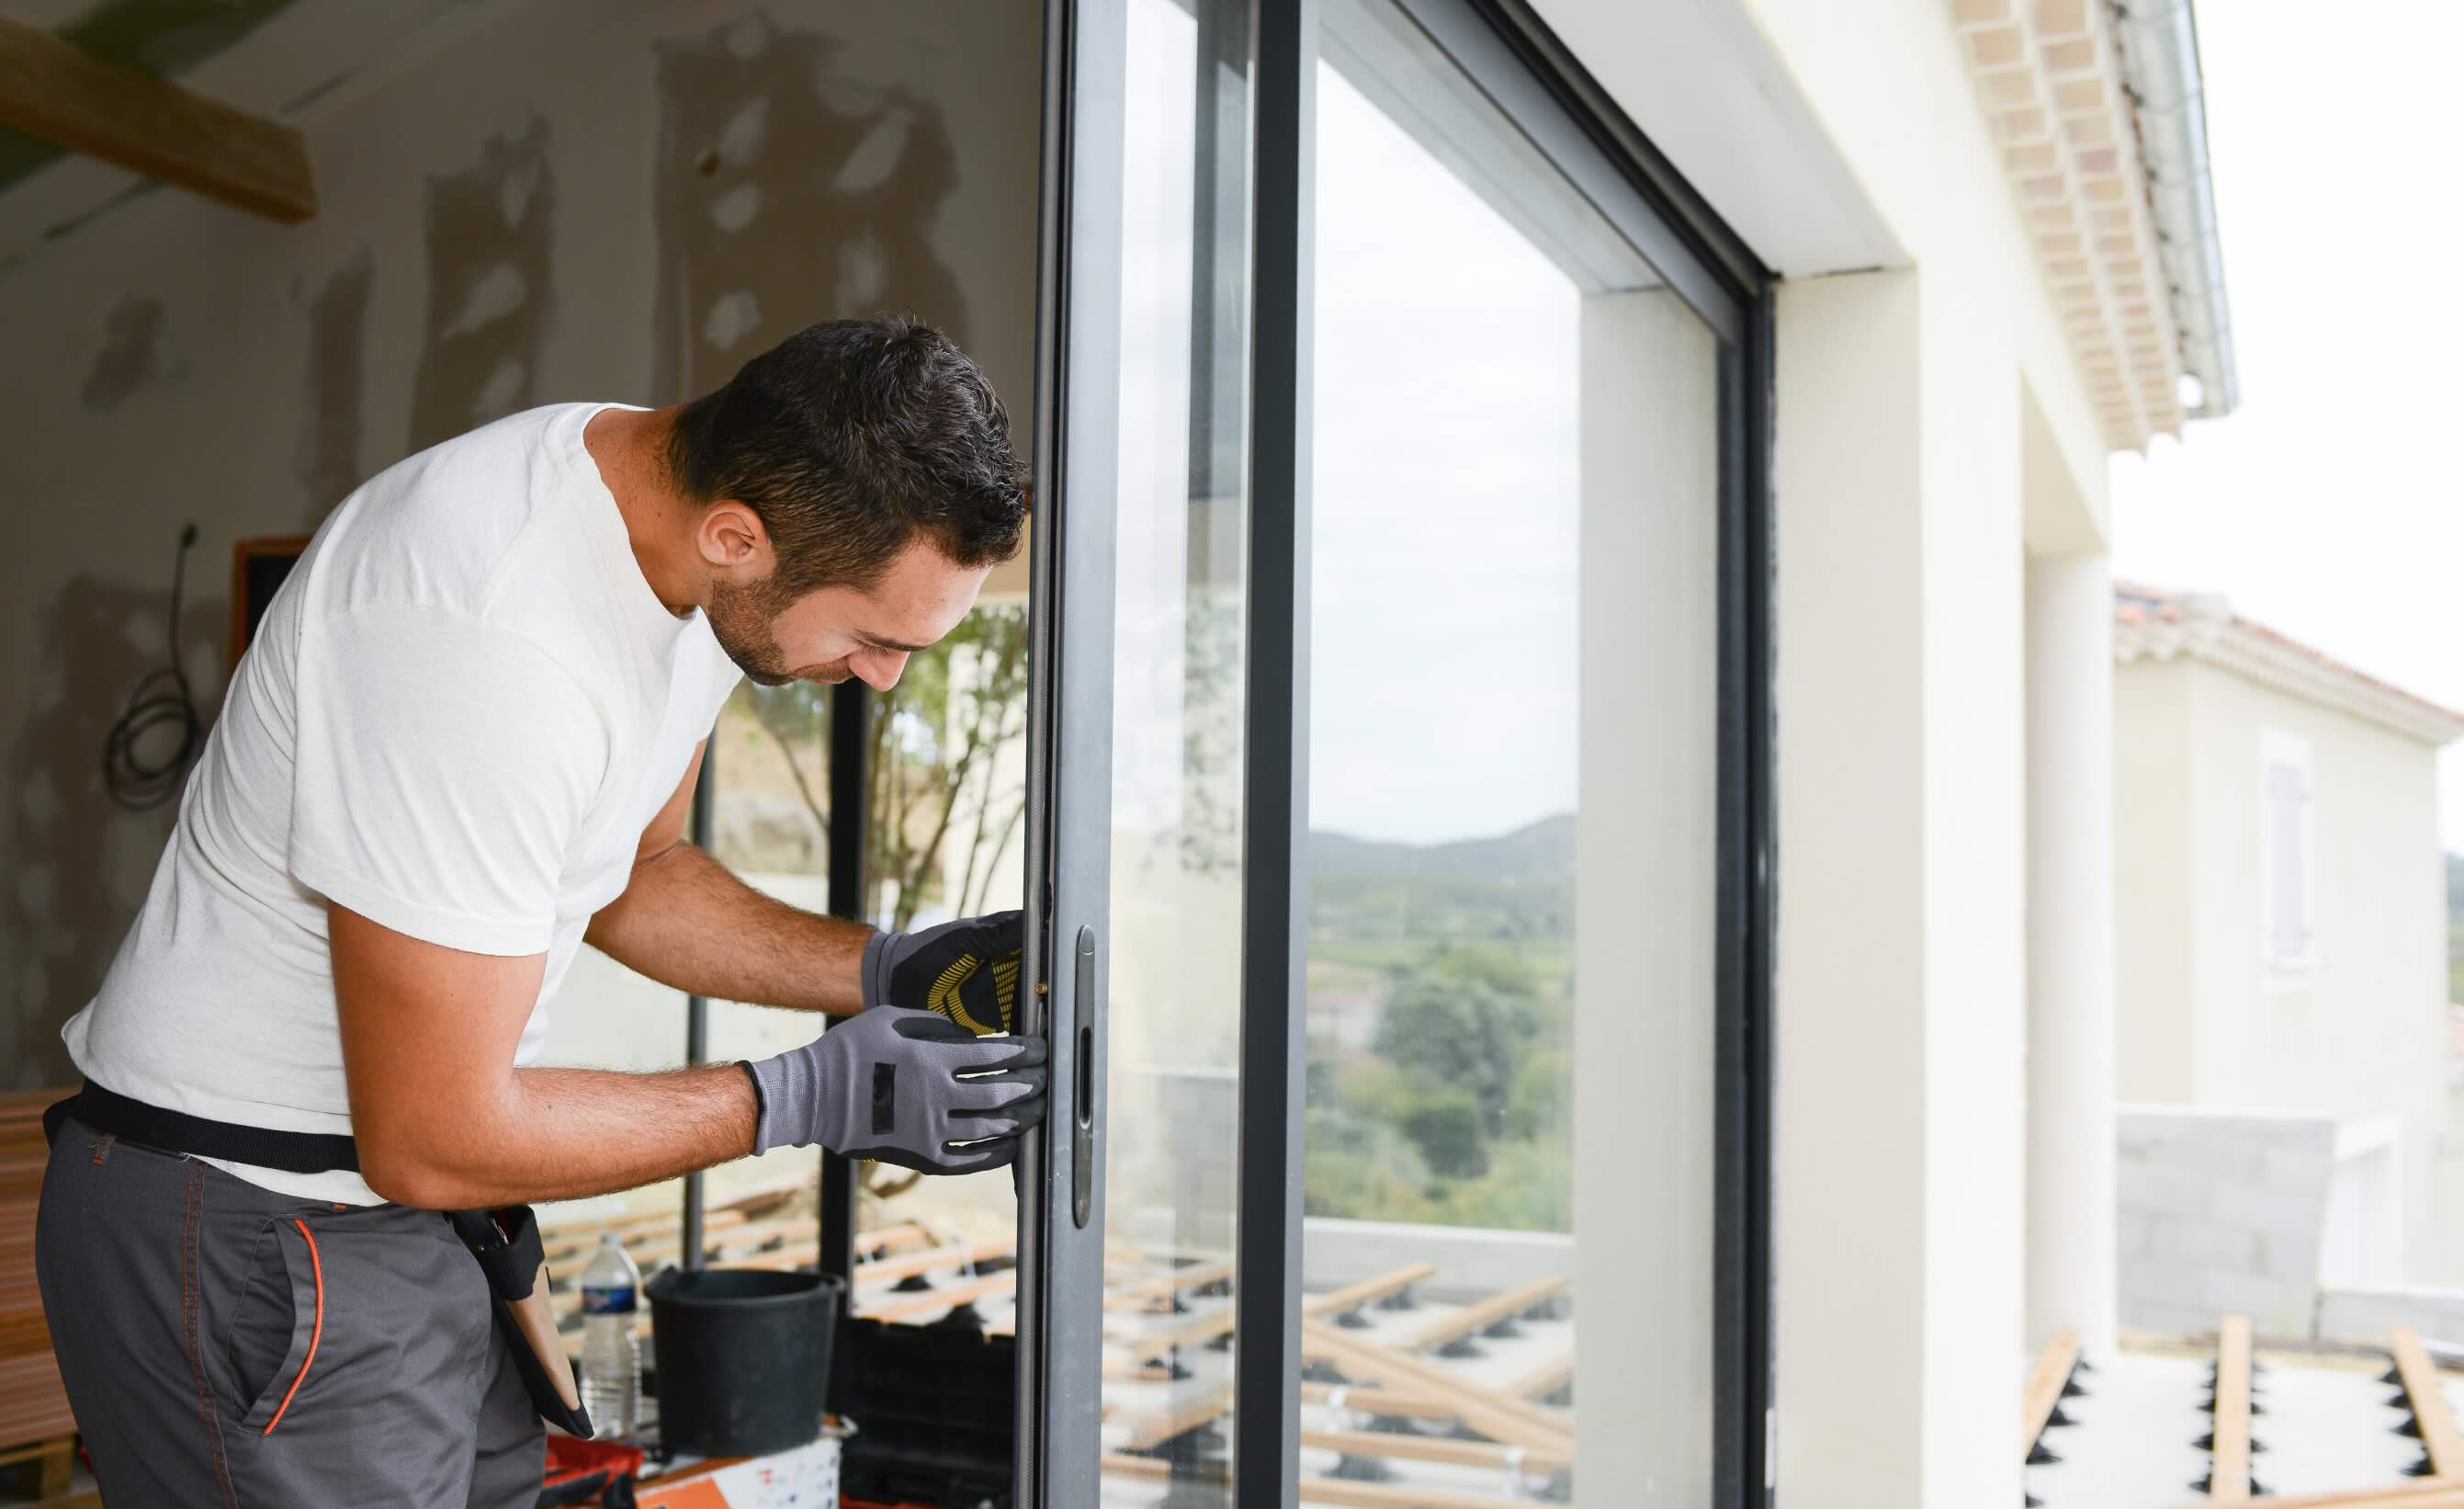
Test Fit: Slide the door panels into the tracks to check for smooth operation. Adjust if necessary.
Secure Panels: Once satisfied with the fit, secure the door panels with screws or brackets as needed.
Final Adjustments: Make any final adjustments to ensure the doors slide smoothly and are properly aligned.
What You Will Need
Materials Needed:
- Plywood Sheets: Used for the main door panels.
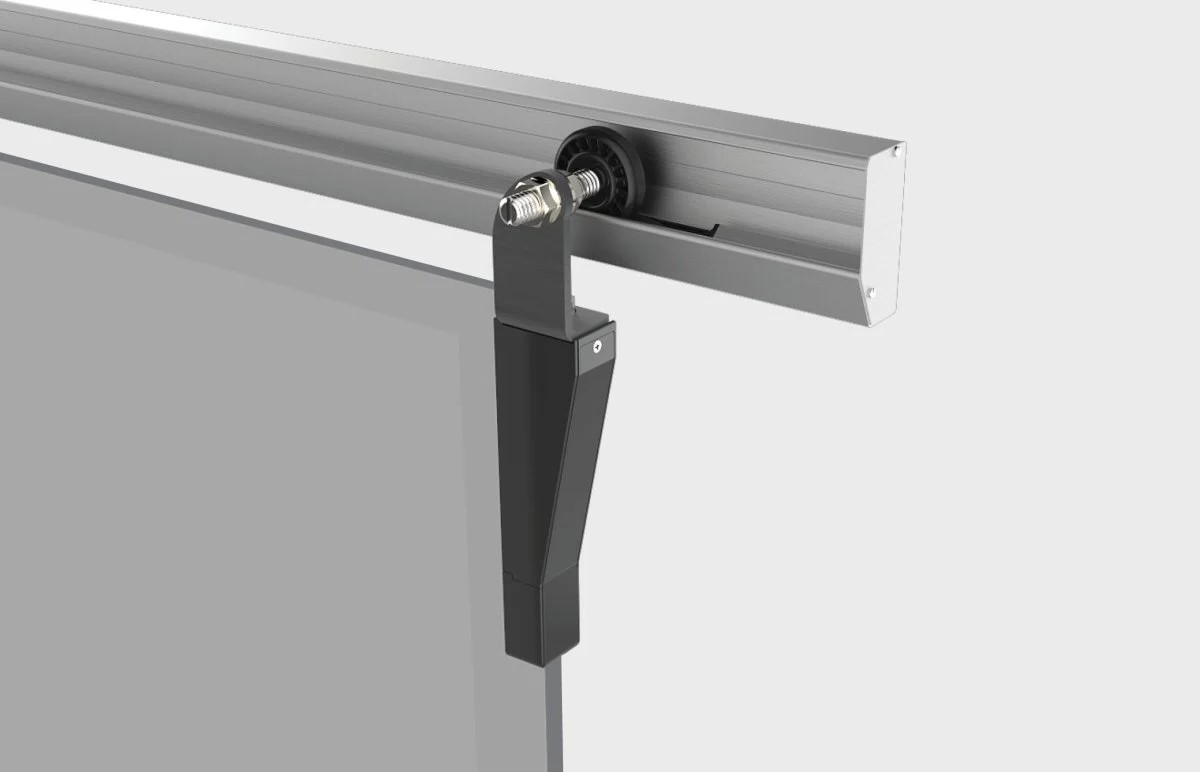
- Sliding Door Track Kit: Includes tracks, rollers, and guides for smooth sliding.
- Wood Screws: Essential for securing the frame and tracks.
- Wood Glue: Provides additional bonding strength.
- Sandpaper: Smooths out rough edges and surfaces.
- Paint or Stain: Adds color and protection to the wood.
- Handles or Pulls: Makes opening and closing the doors easier.
- Edge Banding: Covers the raw edges of the plywood for a finished look.
Tools Needed:
- Tape Measure: Ensures accurate measurements.
- Circular Saw: Cuts the plywood sheets to size.
- Drill: Creates holes for screws and handles.
- Screwdriver: Tightens screws.
- Clamps: Holds pieces together while the glue dries.
- Level: Ensures the tracks are straight.
- Paintbrush or Roller: Applies paint or stain evenly.
- Utility Knife: Trims the edge banding.
Plywood sheets form the main structure of the doors. Sliding door track kits allow the doors to glide smoothly. Wood screws and glue hold everything together securely. Sandpaper smooths out any rough spots. Paint or stain gives the doors a finished look. Handles or pulls make them easy to open. Edge banding covers the raw edges for a polished appearance.
Tape measures ensure everything fits perfectly. Circular saws cut the plywood to the right size. Drills make holes for screws and handles. Screwdrivers tighten the screws. Clamps hold pieces in place while the glue dries. Levels make sure the tracks are straight. Paintbrushes or rollers apply paint or stain evenly. Utility knives trim the edge banding for a clean finish.
Skills and Time Commitment
Skill Level: Intermediate
Time Required: 1-2 days
- Measure and Cut: 2-3 hours
- Assemble Frame: 2-3 hours
- Install Tracks: 1-2 hours
- Hang Doors: 1-2 hours
- Adjust and Finish: 1-2 hours
Detailed Steps to Follow
Measure the Opening
- Measure the height and width of the wardrobe opening.
- Write down the measurements for reference.
Choose Materials
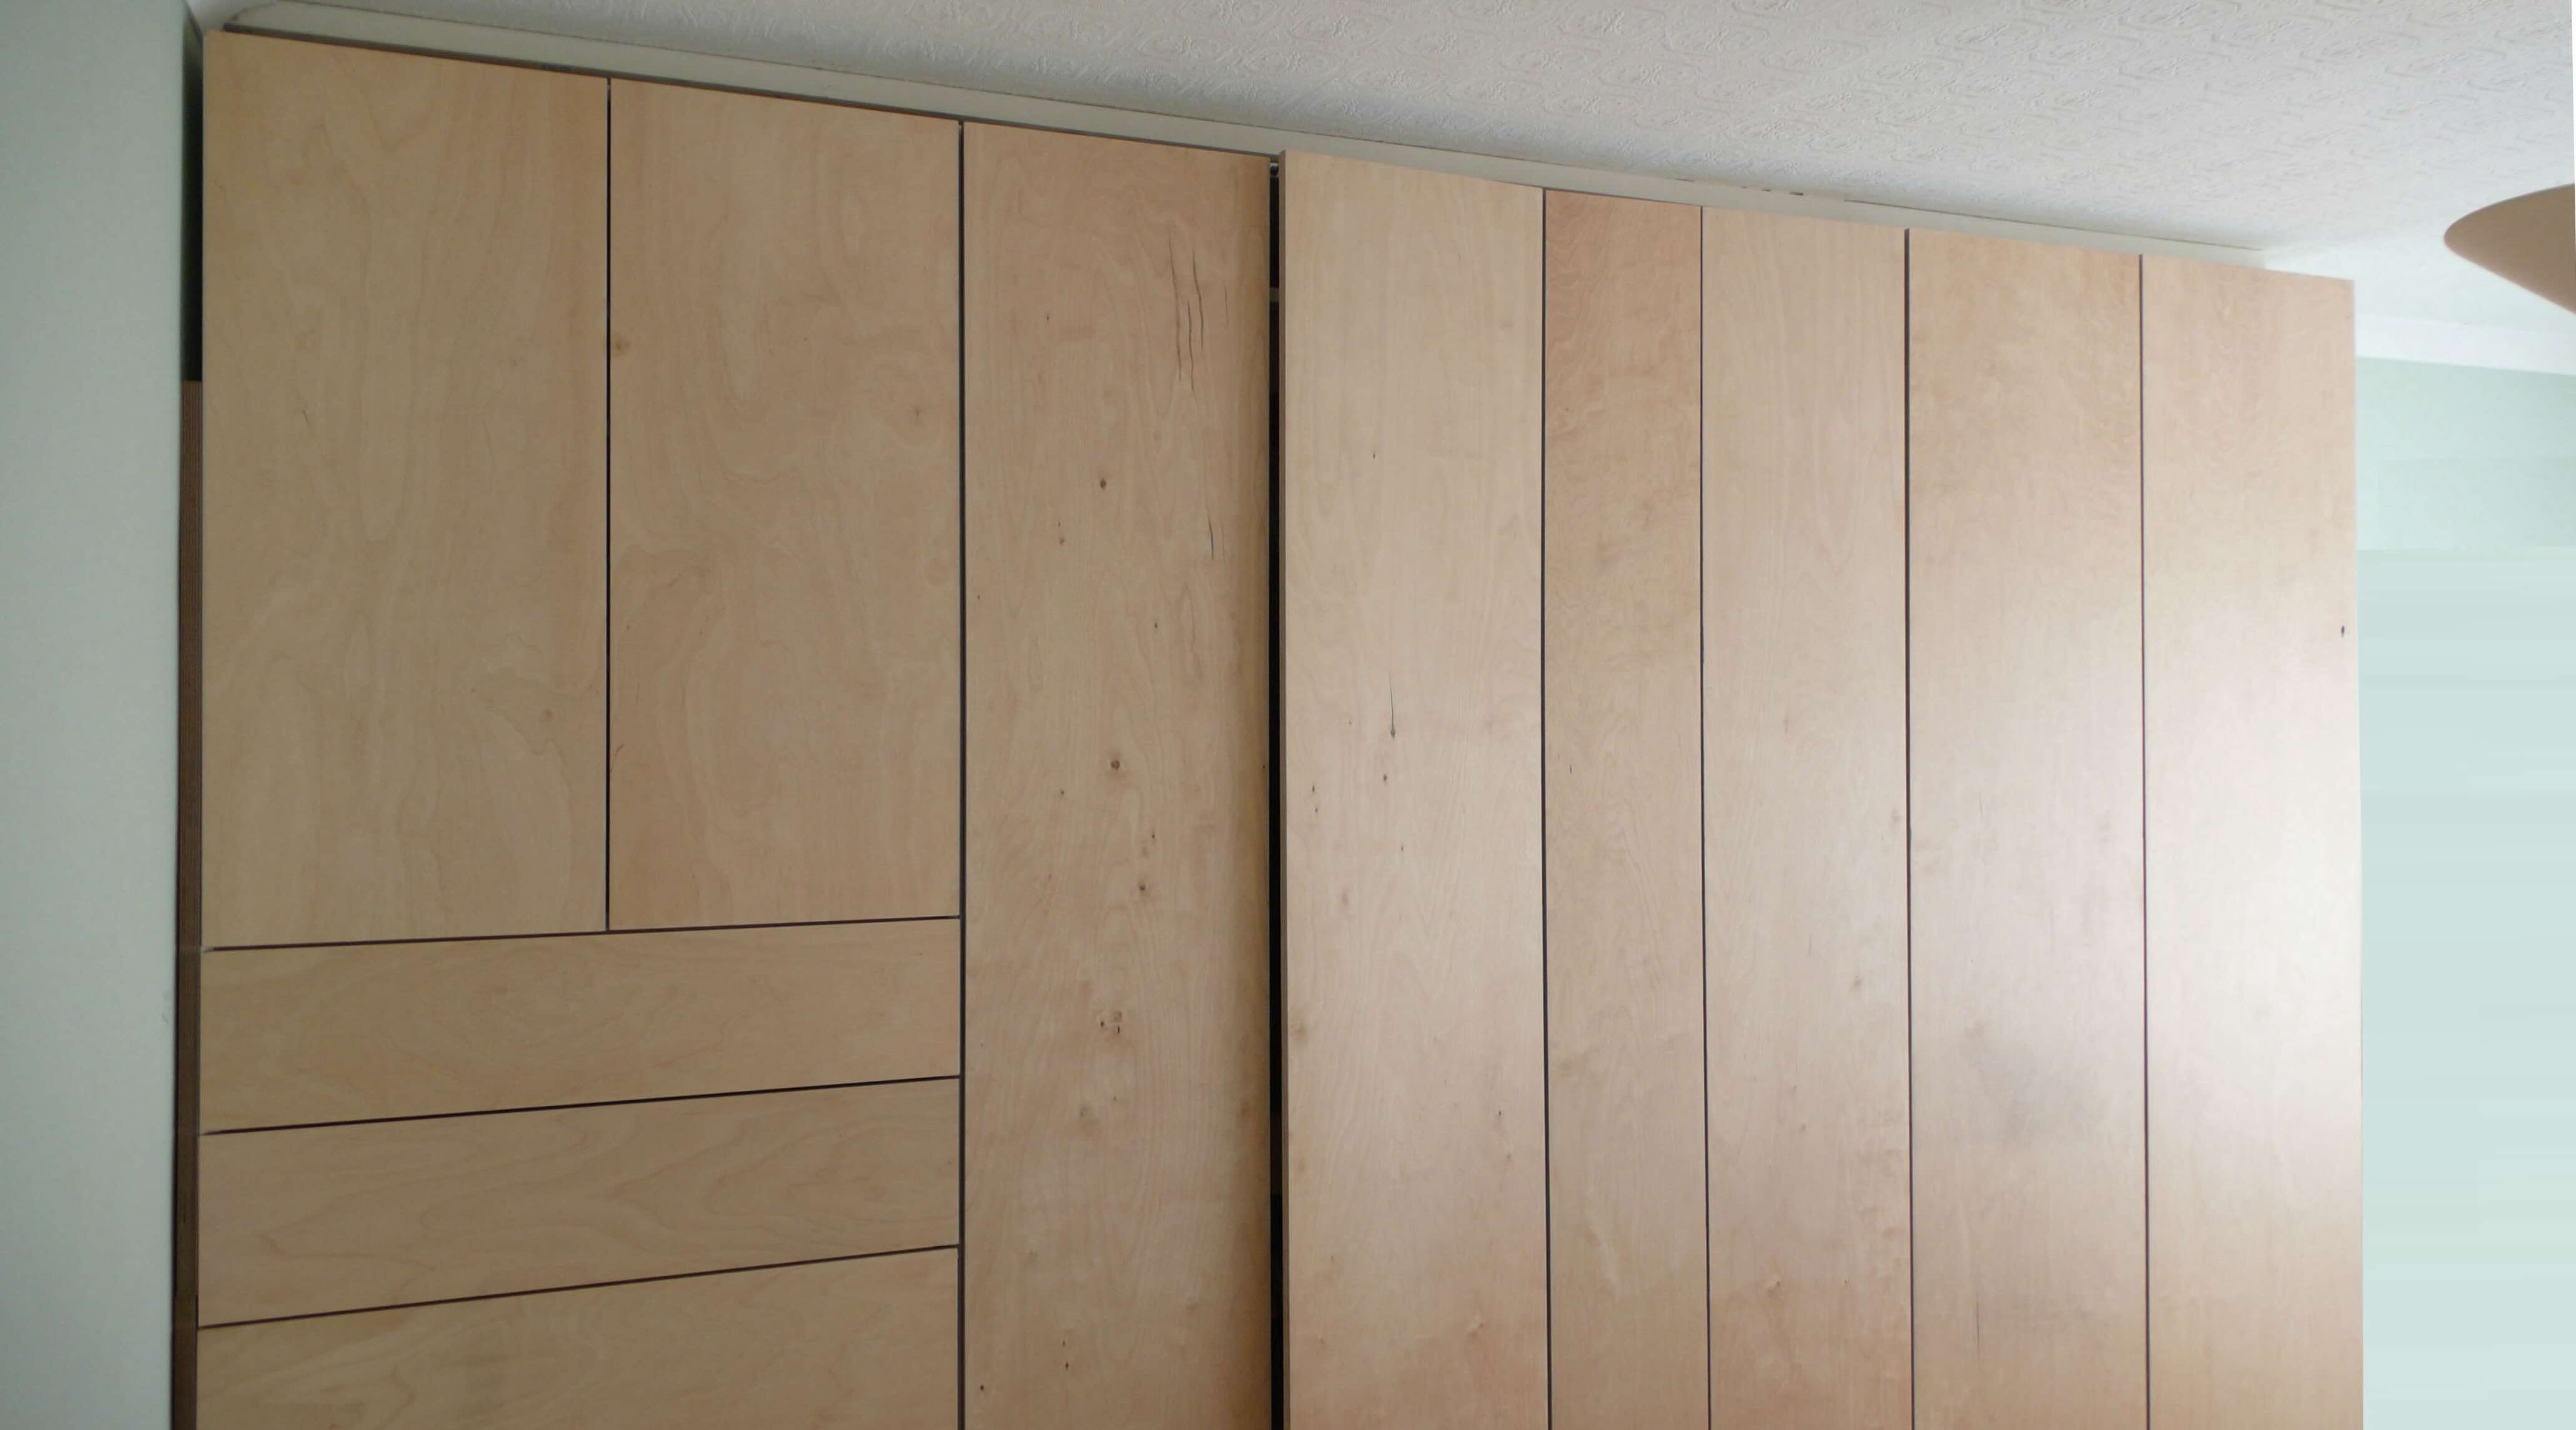
- Select wood panels or plywood for the doors.
- Purchase sliding door hardware (tracks, rollers, handles).
Cut the Panels
- Cut the wood panels to fit the measured dimensions.
- Sand the edges for a smooth finish.
Install the Top Track
- Attach the top track to the top of the wardrobe opening using screws.
- Ensure it is level.
Install the Bottom Track
- Place the bottom track on the floor of the wardrobe opening.
- Secure it with screws, making sure it aligns with the top track.
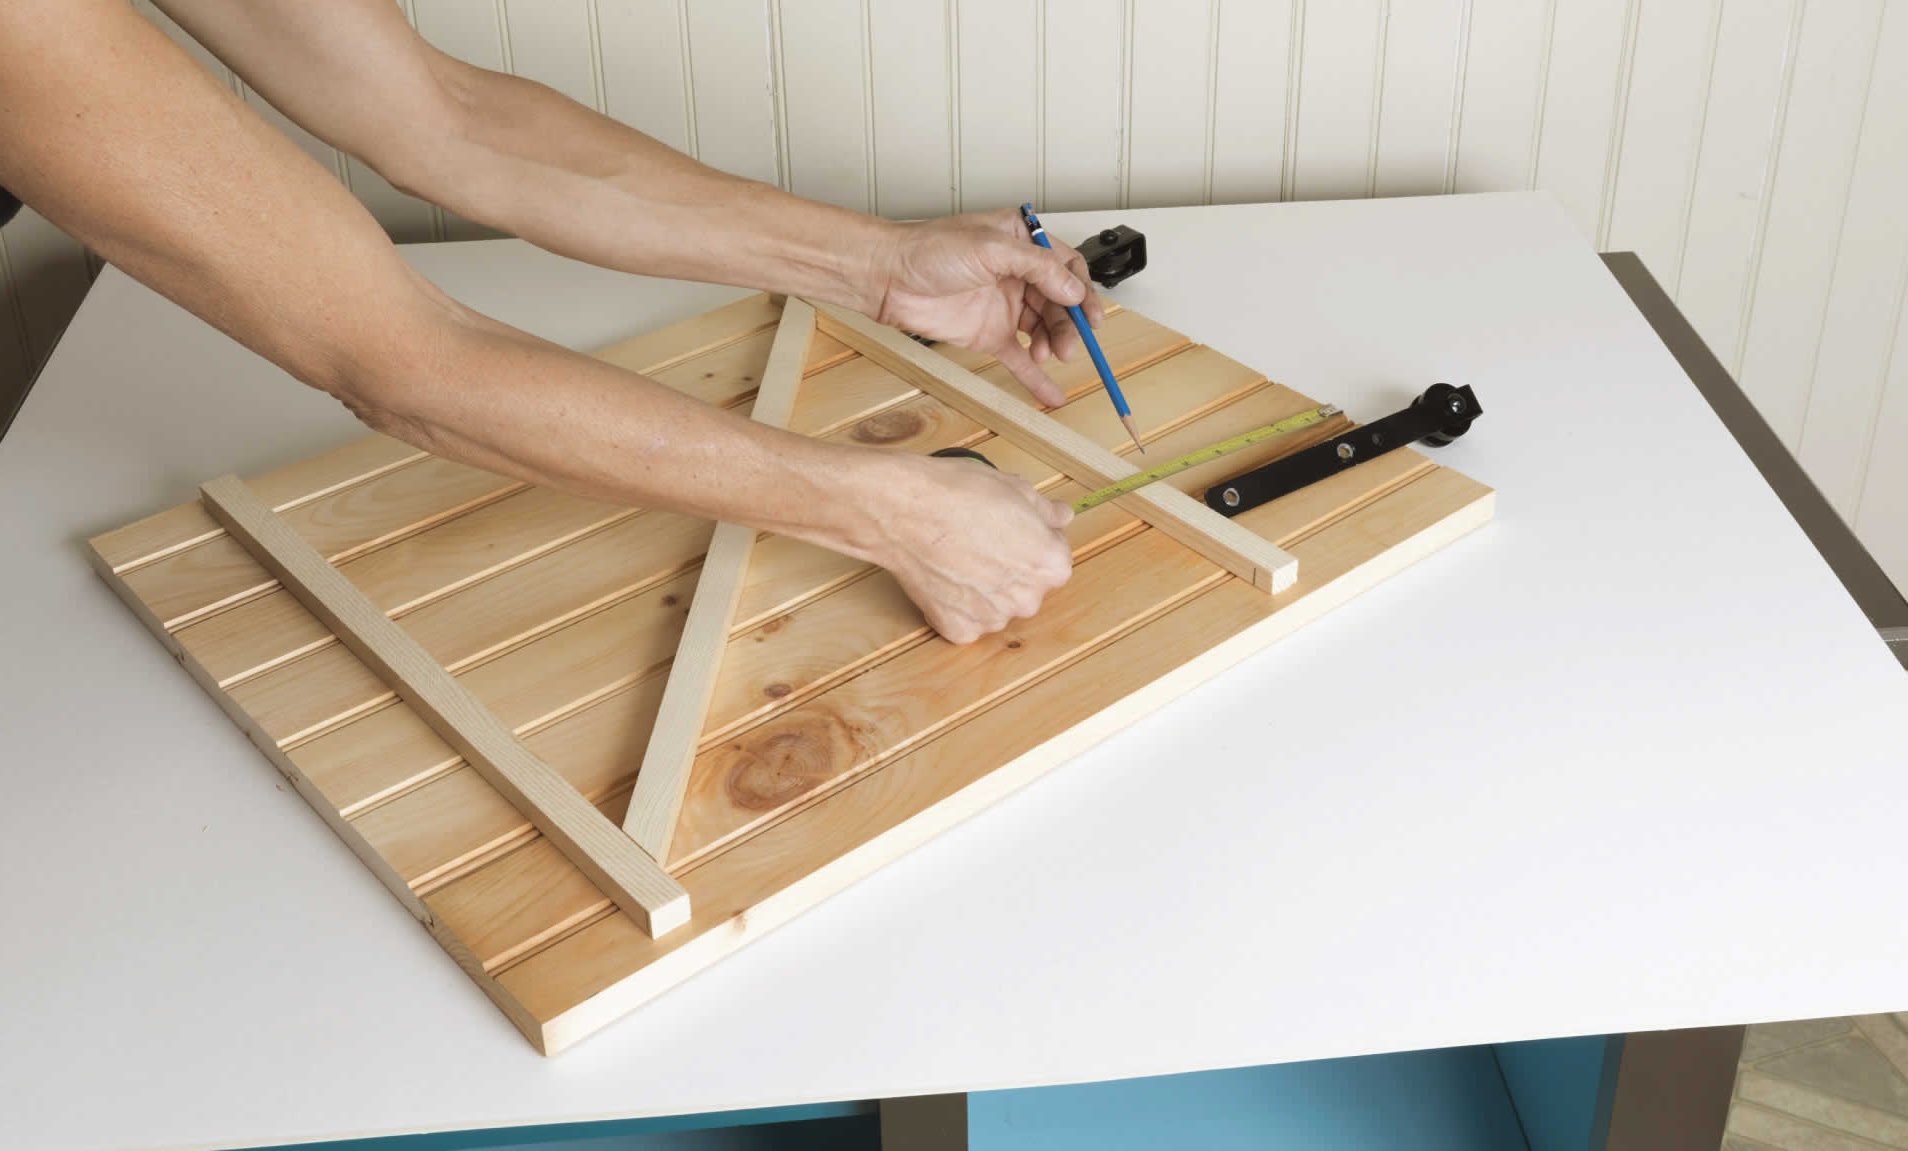
Attach Rollers to Doors
- Fix the rollers to the top and bottom of each door panel.
- Follow the hardware instructions for proper placement.
Hang the Doors
- Lift the door panels and insert the top rollers into the top track.
- Align the bottom rollers with the bottom track.
Adjust the Doors
- Slide the doors back and forth to check for smooth movement.
- Adjust the rollers if necessary to ensure they slide easily.
Install Handles
- Mark the desired height for the handles on each door.
- Drill holes and attach the handles securely.
Test the Doors
- Open and close the doors several times to ensure everything works properly.
- Make any final adjustments needed for smooth operation.
Helpful Hints
Measure Twice, Cut Once: Always double-check measurements before cutting materials. This prevents waste and ensures a perfect fit.
Use Quality Tracks and Rollers: Invest in good tracks and rollers. Cheap ones can cause doors to stick or derail.
Pre-Drill Holes: Pre-drill holes for screws to avoid splitting wood. This makes assembly smoother.
Level the Floor: Ensure the floor where the tracks will sit is level. Uneven floors can cause doors to slide poorly.
Soft-Close Mechanism: Consider adding a soft-close mechanism. It prevents doors from slamming shut.
Common Mistakes to Avoid:
- Incorrect Measurements: Misjudging dimensions can lead to ill-fitting doors.
- Ignoring Weight Limits: Overloading tracks with heavy doors can cause them to fail.
- Skipping Instructions: Not following manufacturer guidelines can result in improper installation.
Material Alternatives:
- Plywood vs. MDF: Plywood is sturdier but more expensive. MDF is cheaper but can sag over time.
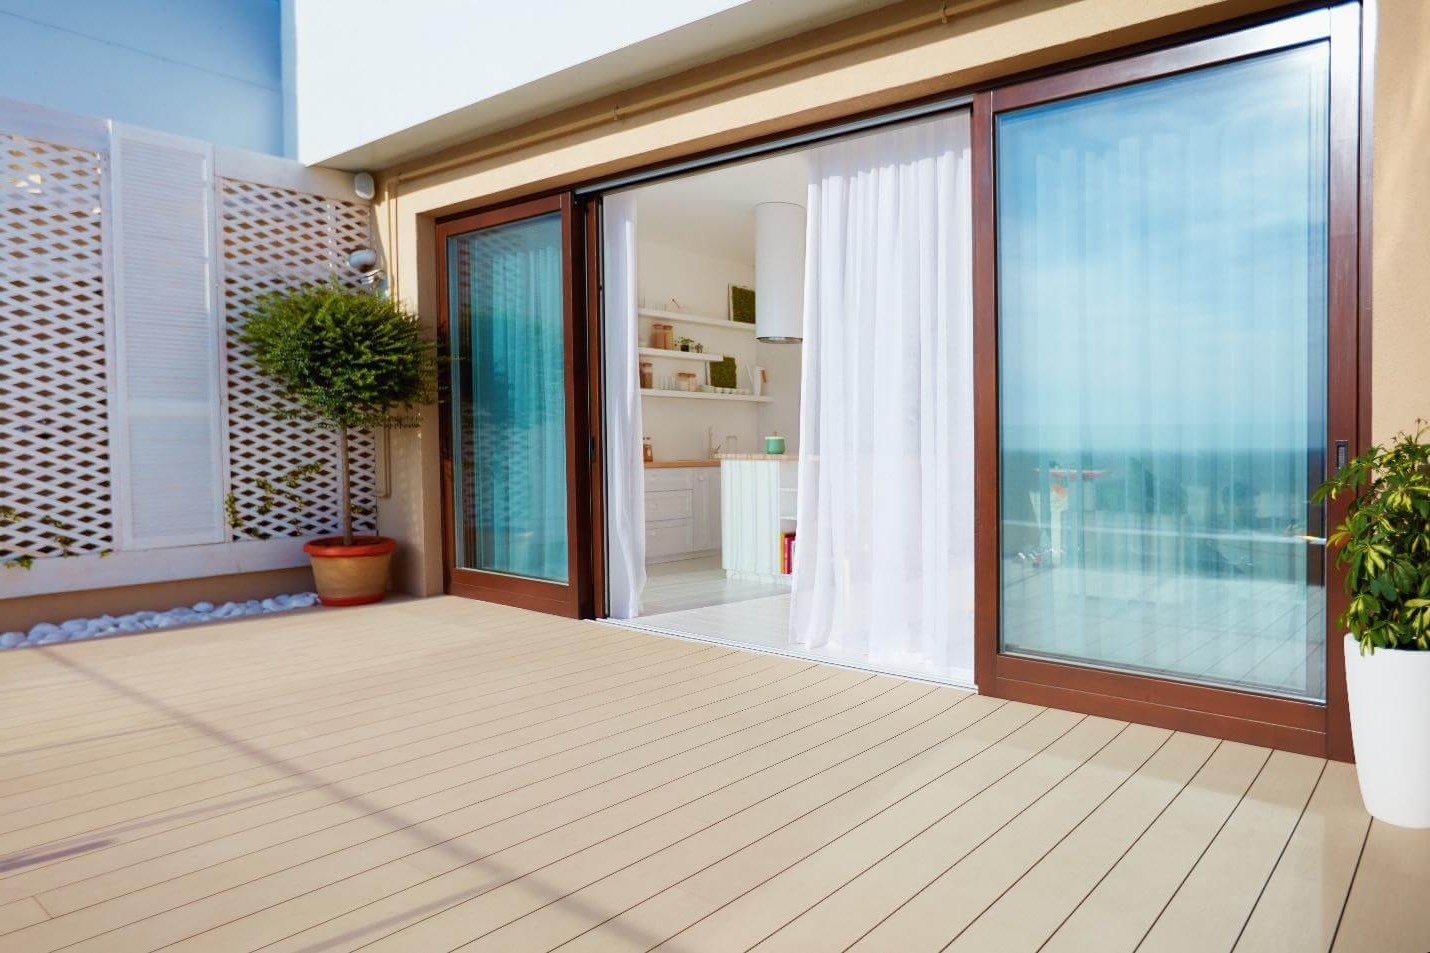
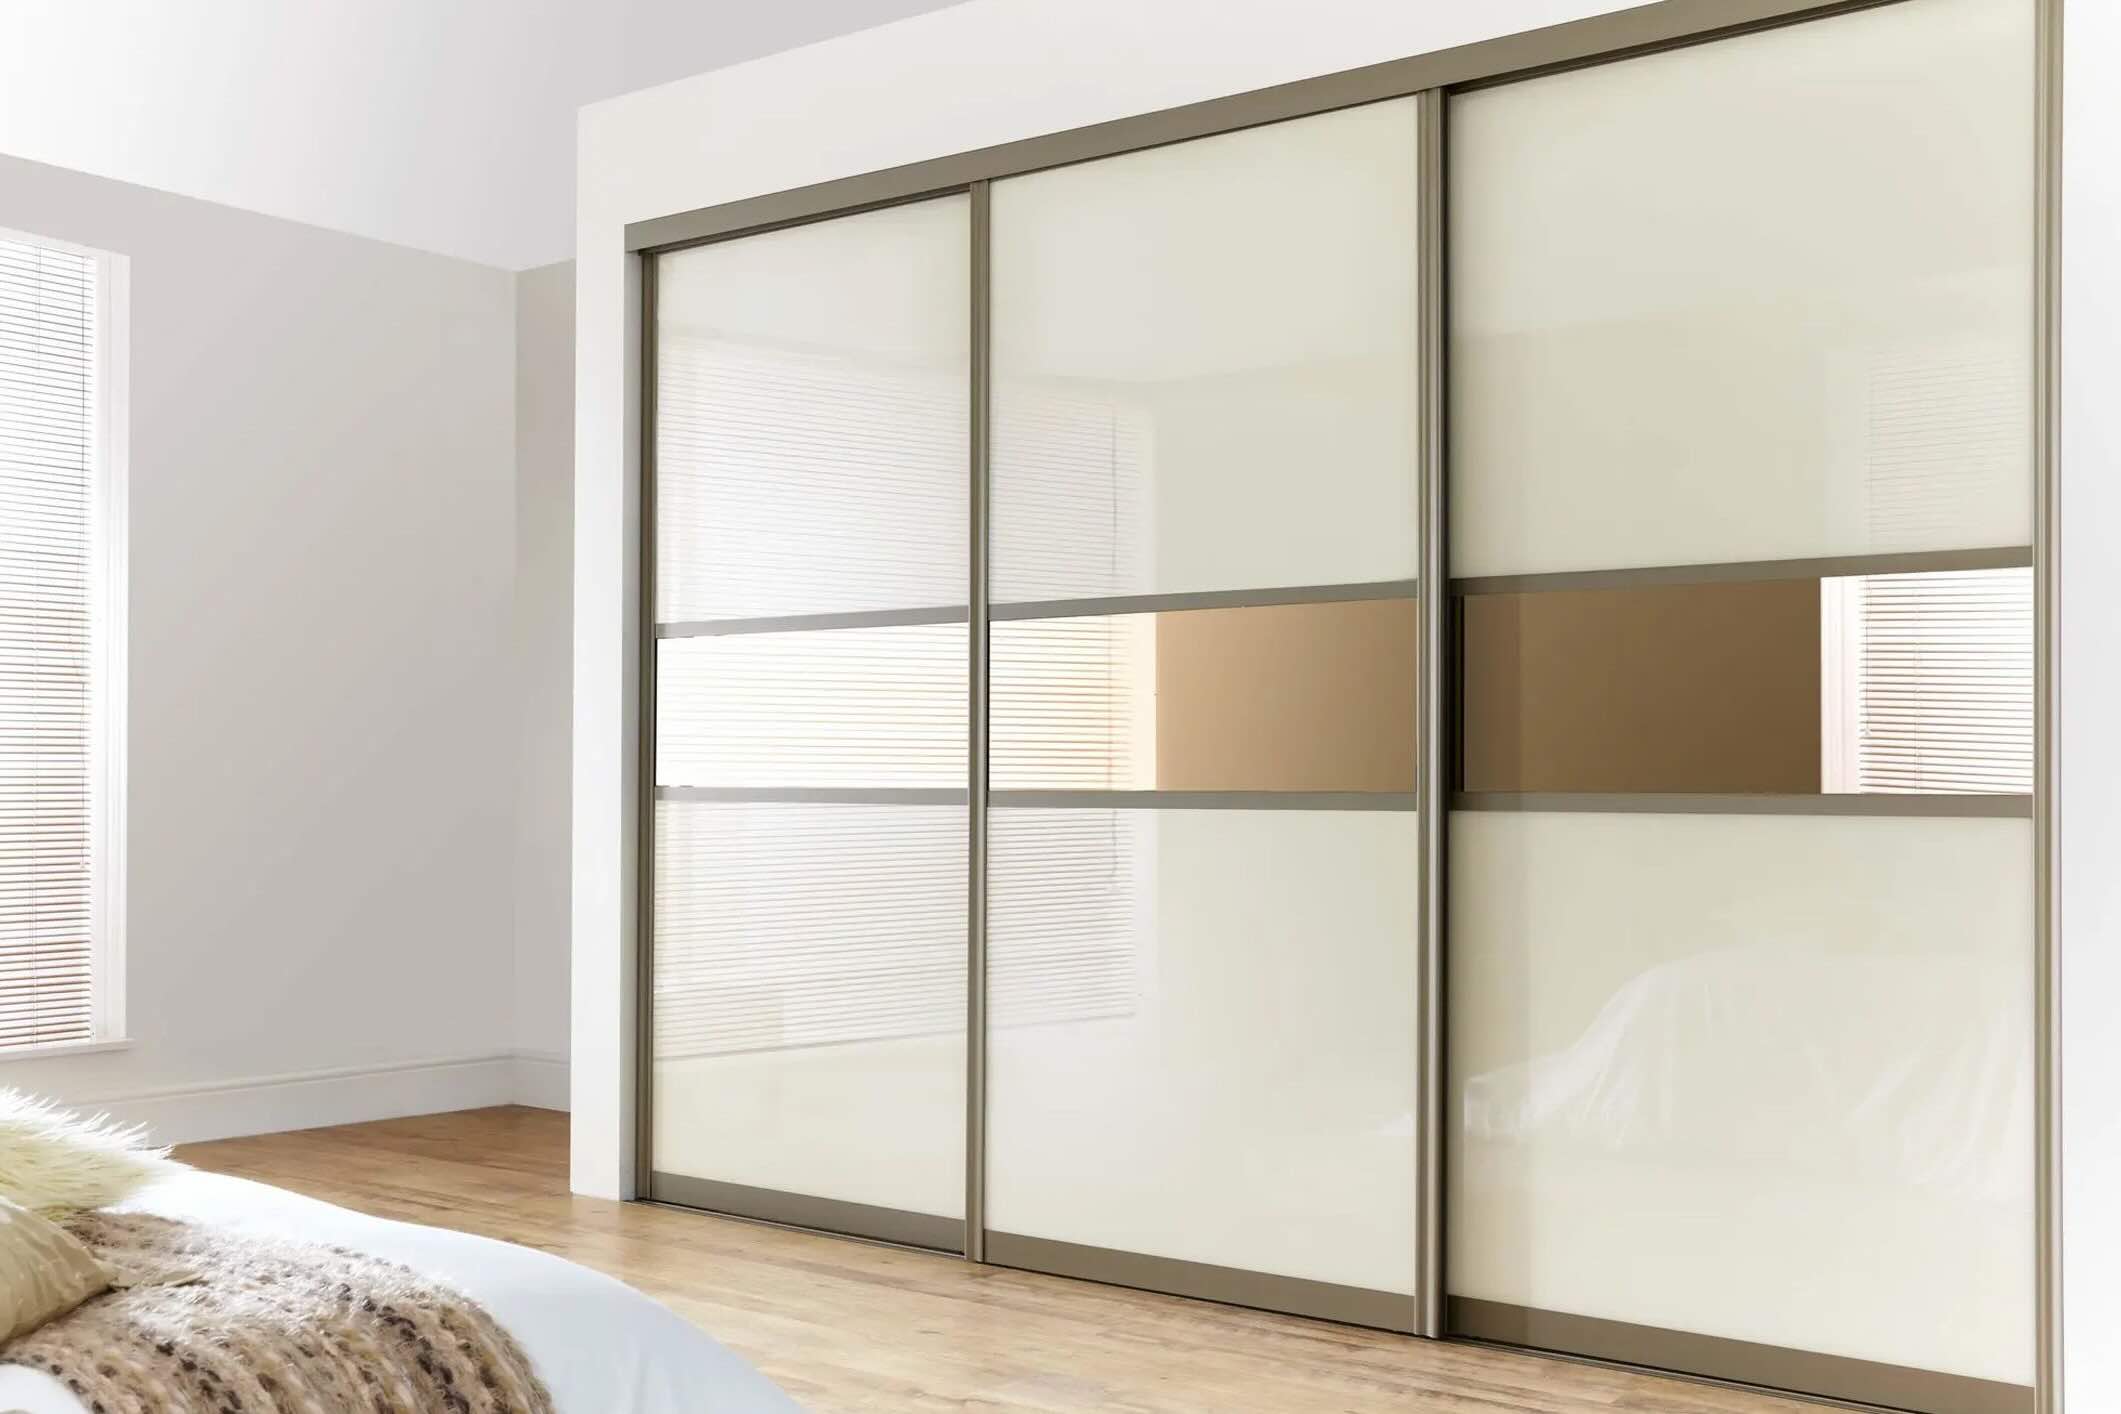
- Glass Panels: For a modern look, use frosted or mirrored glass instead of wood panels.
- Aluminum Frames: Lighter and more durable than wood, aluminum frames offer a sleek appearance.
Method Alternatives:
- Bypass Doors: Instead of traditional sliding doors, consider bypass doors. They save space and are easier to install.
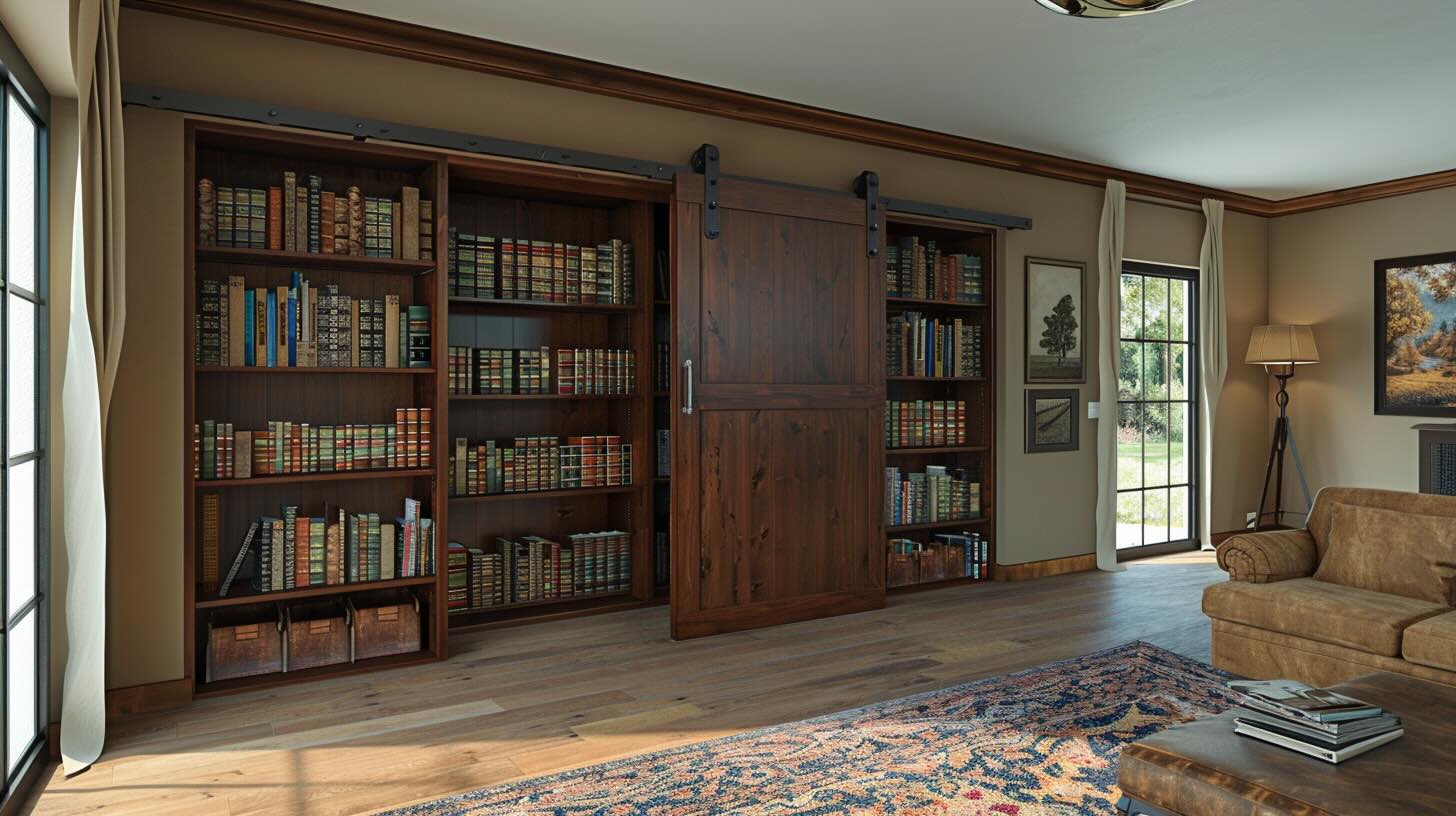
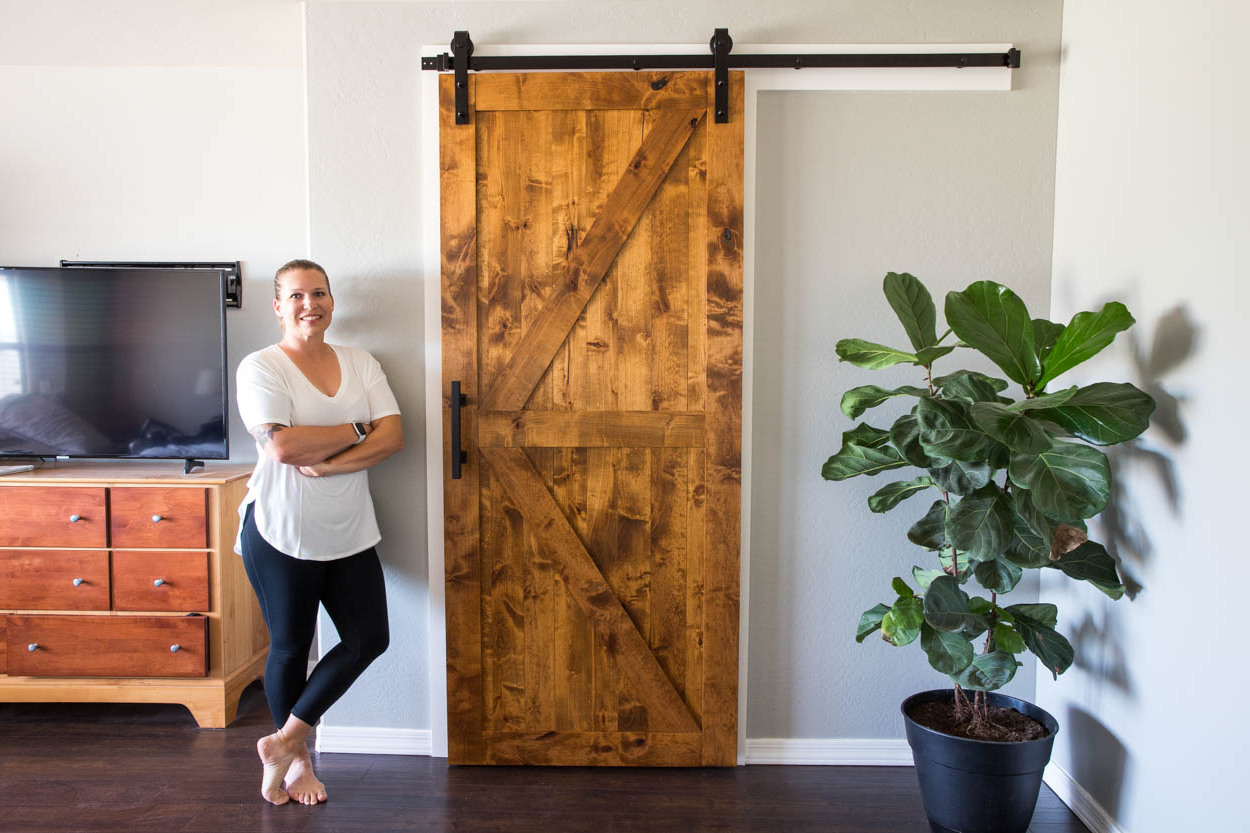
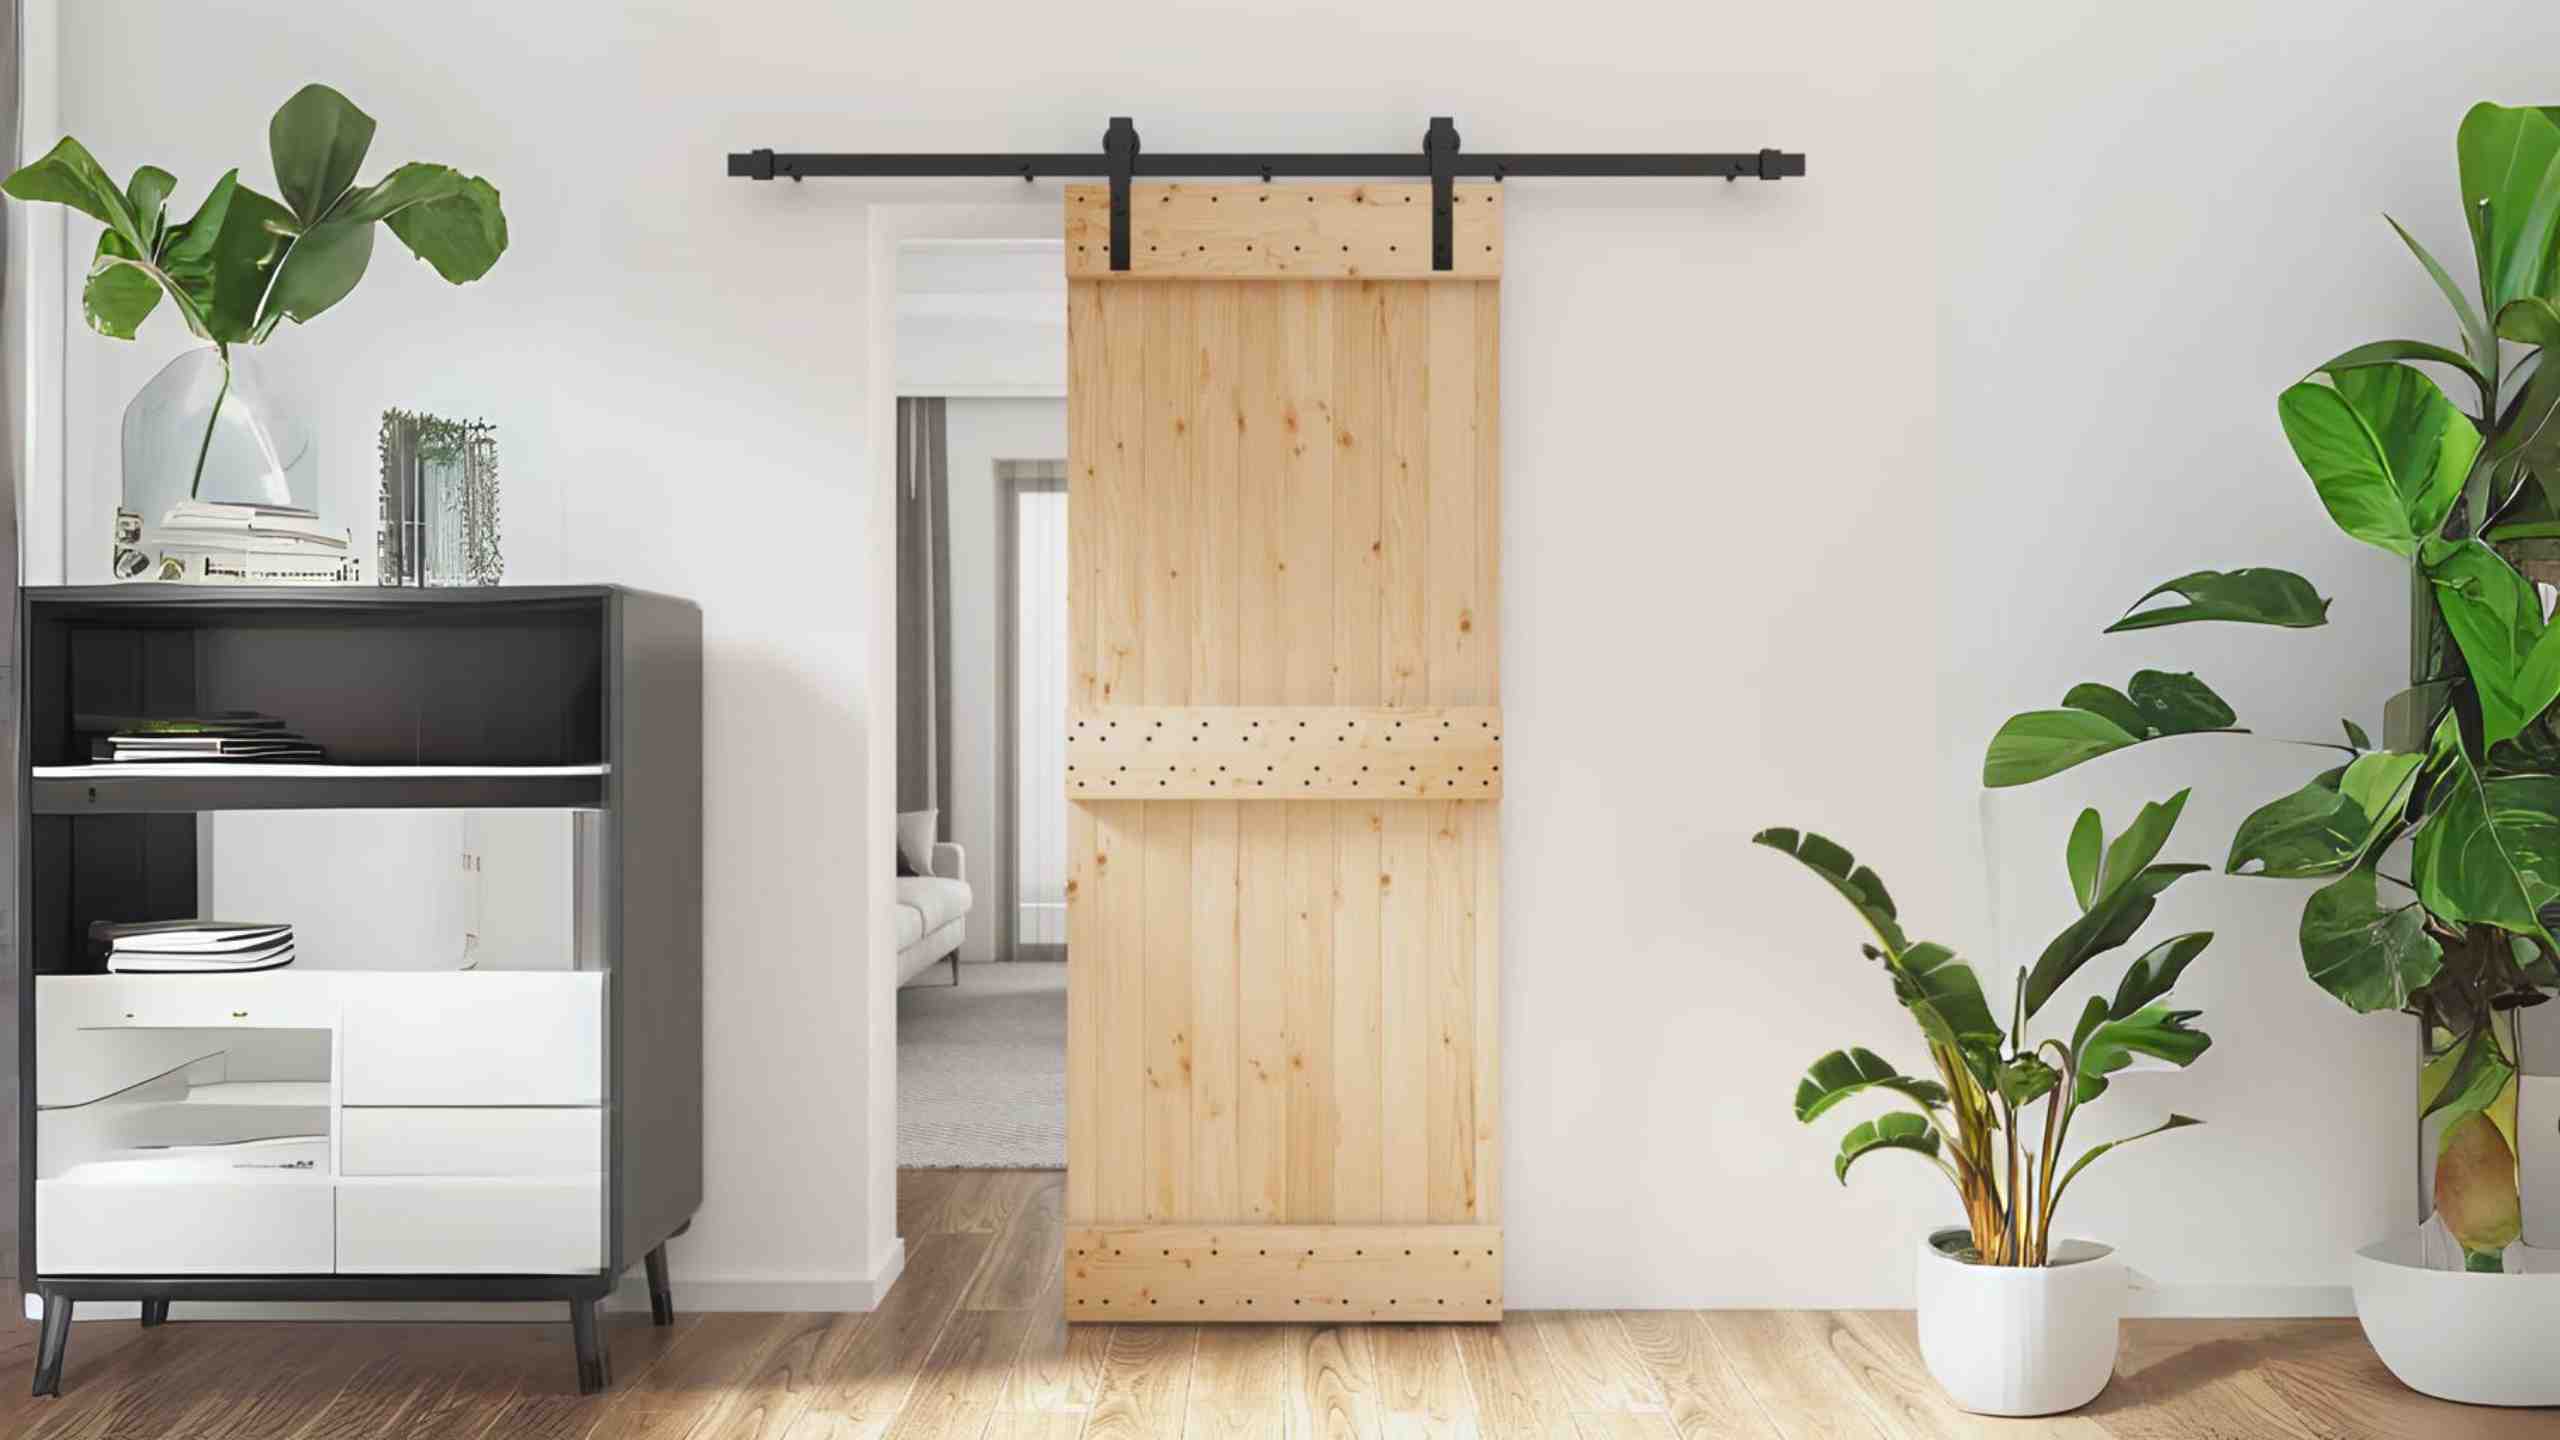
- Barn Door Style: For a rustic look, install barn door hardware. It adds character and is trendy.
Budgeting for Your Wardrobe Doors
Materials:
- Plywood Sheets (4x8 ft): $50 each (2 sheets needed) = $100
- Sliding Door Track Kit: $60
- Door Handles: $10 each (2 needed) = $20
- Wood Screws: $5
- Wood Glue: $5
- Paint or Stain: $20
Tools:
- Circular Saw: $50 (can be rented for $10/day)
- Drill: $40 (can be rented for $10/day)
- Measuring Tape: $5
- Screwdriver: $10
- Paintbrushes: $5
Total Estimated Cost:
- Materials: $210
- Tools (if bought): $110
- Tools (if rented): $25
Budget-Friendly Alternatives:
- Reclaimed Wood: Often free or very cheap from pallets or old furniture
- Second-hand Tools: Check thrift stores or online marketplaces
- DIY Paint: Mix leftover paints for a custom color
Using reclaimed wood and second-hand tools can significantly reduce costs.
Personalizing Your Wardrobe Doors
Materials: Instead of traditional wood, consider using bamboo for a more eco-friendly option. Glass panels can add a modern touch, while mirrored doors can make a room appear larger. Metal frames offer a sleek, industrial look.
Colors: Paint the doors in bold colors like navy blue or forest green for a statement piece. For a more subtle look, use neutral tones such as beige, gray, or white. You can also try a two-tone design with contrasting colors on the top and bottom halves.
Styles: Add decorative molding or trim to give the doors a classic, elegant appearance. For a rustic feel, use reclaimed wood or add distressed finishes. Frosted glass panels can provide privacy while still allowing light to pass through.
Handles: Swap out standard handles for vintage knobs, sleek bar handles, or even leather pulls for a unique touch. Recessed handles can offer a minimalist look.
Tracks: Choose between top-hung tracks for a cleaner floor space or bottom tracks for easier installation. Soft-close mechanisms can prevent doors from slamming shut.
Patterns: Create a geometric pattern with wood strips or paint. Use stencils to add intricate designs or wallpaper panels for a textured look. Chevron or herringbone patterns can add visual interest.
Lighting: Install LED strip lights along the top or sides of the doors for a modern, illuminated effect. Motion-sensor lights inside the wardrobe can make finding clothes easier.
Additional Features: Add a full-length mirror on the inside of one door. Install hooks or racks for accessories. Consider adding chalkboard paint for a fun, writable surface.
Eco-Friendly Choices
Reclaimed wood makes excellent sliding wardrobe doors. Look for old barn wood or pallets. Sand and treat the wood to ensure it's smooth and safe.
Bamboo is another eco-friendly option. It grows quickly and is very strong. Use bamboo panels for a natural look.
Recycled metal can be used for the door frames. Old pipes or metal sheets can be repurposed. Clean and paint them to match your decor.
For the sliding mechanism, consider repurposing old wheels or tracks from other furniture. This reduces waste and saves money.
Use non-toxic paint or finishes. Look for water-based options with low VOCs (volatile organic compounds). These are better for your health and the environment.
Insulation can be added using recycled materials. Old blankets or denim can be repurposed to insulate the doors, making them more energy-efficient.
Finally, repurpose old handles or knobs. Antique stores or flea markets often have unique pieces that add character to your doors.
Your DIY Wardrobe Awaits
Building sliding wardrobe doors isn't as tough as it seems. With some basic tools, a bit of patience, and a clear plan, you can create a stylish, functional addition to your room. Measure twice, cut once, and always double-check your alignments. Don't rush the process; taking your time ensures a better finish. If you hit a snag, remember there's a wealth of resources online to help you out.
Once your doors are up, you'll feel a sense of accomplishment every time you slide them open. Plus, you’ll have a unique piece that you crafted yourself. So, gather your materials, roll up your sleeves, and get started. Your new wardrobe doors are just a few steps away. Happy building!
How do I measure for sliding wardrobe doors?
Measure the height and width of the wardrobe opening. Take measurements at the top, middle, and bottom for width, and left, center, and right for height. Use the smallest measurements to ensure a proper fit.
What materials do I need?
You'll need door panels, tracks, rollers, screws, and a screwdriver. Optional items include handles and soft-close mechanisms.
How do I install the tracks?
First, cut the top and bottom tracks to fit the wardrobe opening. Secure the bottom track with screws, ensuring it's level. Then, attach the top track, making sure it aligns perfectly with the bottom one.
How do I attach the rollers to the doors?
Attach the rollers to the top and bottom of each door panel. Follow the manufacturer's instructions for placement. Usually, the rollers are screwed into pre-drilled holes.
How do I hang the doors?
Lift the door panel and insert the top rollers into the top track. Then, align the bottom rollers with the bottom track and gently lower the door into place. Repeat for the second door.
Can I add a soft-close mechanism?
Yes, you can add a soft-close mechanism to make the doors close gently. Follow the instructions provided with the mechanism, usually involving attaching it to the top track and the door.
How do I maintain sliding wardrobe doors?
Regularly clean the tracks and rollers to prevent dust buildup. Lubricate the rollers occasionally to ensure smooth operation. Check screws and fittings periodically to keep everything secure.

