
Home>Create & Decorate>DIY & Crafts>DIY Hot Tub: How To Build Your Own Relaxation Oasis
DIY & Crafts
DIY Hot Tub: How To Build Your Own Relaxation Oasis
Published: February 27, 2024

Senior Editor in Create & Decorate, Kathryn combines traditional craftsmanship with contemporary trends. Her background in textile design and commitment to sustainable crafts inspire both content and community.
Discover the ultimate guide to building your own DIY hot tub and create a relaxing oasis at home with our expert tips and crafty ideas. Dive into the world of DIY & Crafts and start your hot tub project today!
(Many of the links in this article redirect to a specific reviewed product. Your purchase of these products through affiliate links helps to generate commission for Twigandthistle.com, at no extra cost. Learn more)
Introduction
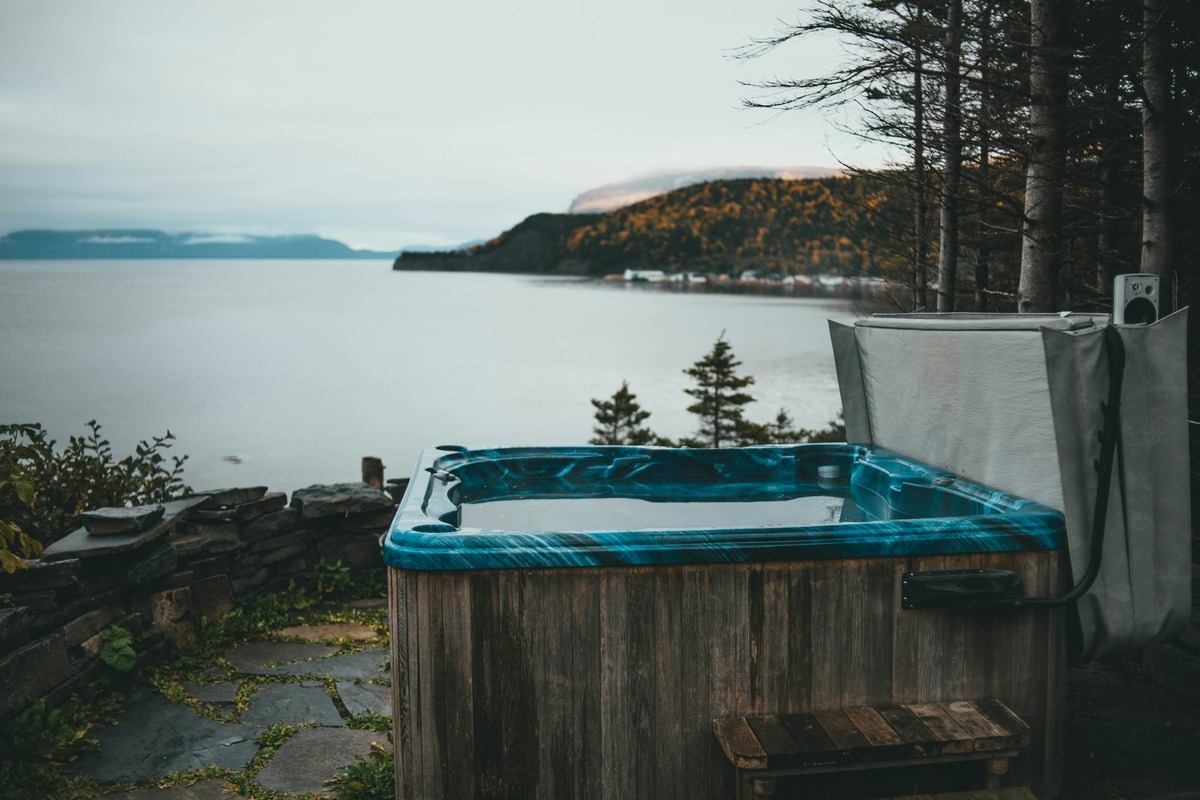
Are you dreaming of having your own personal relaxation oasis right in your backyard? Imagine soaking in a soothing hot tub, surrounded by the tranquility of nature, and letting go of all the day's stress. Building your own DIY hot tub can turn this dream into a reality. Not only does it offer a rewarding and fulfilling project, but it also provides a luxurious and rejuvenating experience that you can enjoy for years to come.
Creating a DIY hot tub allows you to customize every aspect of the design, ensuring that it perfectly suits your preferences and complements your outdoor space. Whether you envision a rustic wooden tub nestled among trees or a sleek modern structure with integrated seating, the possibilities are endless. Additionally, by embarking on this project, you can save a significant amount of money compared to purchasing a pre-made hot tub, while also gaining the satisfaction of crafting something with your own hands.
Throughout this guide, you will discover the step-by-step process of building your own hot tub, from planning and designing to adding the finishing touches. By following these instructions and infusing your creativity, you can create a hot tub that not only meets your relaxation needs but also becomes a stunning focal point in your backyard.
So, if you're ready to embark on a rewarding DIY adventure and elevate your outdoor living space to a whole new level of comfort and luxury, let's dive into the exciting world of building your own hot tub. Get ready to unleash your creativity, embrace the satisfaction of craftsmanship, and ultimately bask in the bliss of your very own DIY hot tub oasis.
Step 1: Planning and Designing Your DIY Hot Tub
Before diving into the construction of your DIY hot tub, it's crucial to start with a well-thought-out plan and a carefully crafted design. This initial step sets the foundation for the entire project, ensuring that your hot tub not only meets your relaxation needs but also seamlessly integrates into your outdoor space.
Research and Inspiration
Begin by immersing yourself in research and gathering inspiration. Explore various hot tub designs, materials, and styles to identify what resonates with your vision. Whether you're drawn to the natural charm of a wooden tub, the contemporary allure of a concrete structure, or the elegance of a mosaic-tiled spa, collecting ideas will help shape your unique concept.
Location and Space Considerations
Next, assess your outdoor space to determine the ideal location for your hot tub. Consider factors such as privacy, accessibility, and the surrounding landscape. Whether you envision it nestled amidst lush greenery or positioned to capture breathtaking views, selecting the perfect spot is essential for creating a harmonious and inviting environment.
Design Customization
With a clear understanding of your preferences and space constraints, it's time to customize the design of your hot tub. Decide on crucial elements such as size, shape, seating options, and any additional features you desire, such as integrated benches or a built-in bar. Tailoring these details to your specific needs ensures that your hot tub becomes a personalized haven of relaxation.
Safety and Structural Considerations
As you finalize the design, prioritize safety and structural integrity. Ensure that the chosen location can support the weight of the hot tub and consider any necessary reinforcements. Additionally, factor in essential safety measures, such as proper insulation and secure footing, to guarantee a secure and durable final product.
By dedicating ample time to planning and designing your DIY hot tub, you lay the groundwork for a successful and gratifying construction process. This thoughtful approach not only ensures that your hot tub aligns with your vision but also sets the stage for a seamless transition into the next phase: gathering materials and tools.
Step 2: Gathering Materials and Tools
Once you have meticulously planned and designed your DIY hot tub, the next crucial step is gathering the necessary materials and tools to bring your vision to life. This phase requires attention to detail and a comprehensive understanding of the components essential for constructing a functional and aesthetically pleasing hot tub.
Materials
- Wood: Select high-quality, rot-resistant wood for the hot tub's frame and cladding. Cedar and redwood are popular choices due to their durability and natural resistance to decay.
- Liner: Choose a suitable material for the tub's interior lining, such as durable waterproof membranes or custom-fitted fiberglass or plastic liners.
- Fasteners: Acquire corrosion-resistant screws, nails, or bolts to assemble the hot tub structure securely.
- Insulation: Opt for efficient insulation materials to maintain water temperature and enhance energy efficiency.
- Sealing and Waterproofing: Invest in waterproof sealants and adhesives to ensure the hot tub remains watertight and protected from the elements.
- Plumbing Components: Purchase necessary plumbing fixtures, including pipes, fittings, and a circulation pump, to facilitate water circulation and filtration.
Tools
- Saws: Equip yourself with a variety of saws, including a circular saw and a hand saw, to cut wood to the required dimensions accurately.
- Drill and Bits: A power drill with a selection of drill bits is essential for creating holes for plumbing, fasteners, and drainage.
- Clamps: Utilize clamps to hold wood pieces securely in place during assembly, ensuring precise and stable construction.
- Level and Square: Maintain accuracy and alignment by using a level and square to verify the straightness and squareness of the hot tub's components.
- Work Gloves and Safety Gear: Prioritize safety by wearing protective gear, including work gloves, safety goggles, and a dust mask, to safeguard against potential hazards during construction.
By meticulously sourcing the required materials and ensuring access to the appropriate tools, you set the stage for a smooth and efficient construction process. This preparatory phase lays the groundwork for the subsequent steps, allowing you to seamlessly transition into the hands-on construction of your DIY hot tub.
Step 3: Building the Hot Tub Structure
With the materials and tools in hand, it's time to embark on the exciting phase of constructing the hot tub structure. This pivotal step involves translating your carefully crafted design into a tangible and functional spa that embodies your vision of relaxation and luxury.
Frame Construction
Begin by assembling the frame of the hot tub using the selected high-quality, rot-resistant wood. Cut the wood to the precise dimensions outlined in your design, ensuring accuracy and attention to detail. Utilize clamps to hold the frame components securely in place during assembly, guaranteeing stability and structural integrity.
Seating and Bench Integration
If your design incorporates integrated seating or benches, proceed to install these elements within the hot tub structure. Ensure that the seating areas are securely anchored to the frame, providing comfort and durability for years to come.
Lining Installation
Once the frame is in place, proceed to install the chosen interior lining material, whether it be a waterproof membrane or a custom-fitted fiberglass or plastic liner. Carefully position and secure the lining, ensuring a snug and watertight fit to create the foundation for the hot tub's water containment.
Insulation Application
Prioritize the application of efficient insulation materials to the interior of the hot tub structure. Proper insulation not only helps maintain optimal water temperature but also contributes to energy efficiency, ensuring that your DIY hot tub remains a sustainable and cost-effective addition to your outdoor space.
Structural Reinforcement
As the construction progresses, periodically assess the structural integrity of the hot tub. Verify that all components are securely fastened and reinforce any areas that require additional stability. This meticulous approach ensures that your hot tub is not only aesthetically pleasing but also built to withstand the test of time.
By meticulously executing the construction of the hot tub structure, you bring your vision to life, creating a foundation for the subsequent installation of the heating and filtration system. This hands-on phase marks a significant milestone in the journey toward realizing your very own DIY hot tub oasis.
Step 4: Installing the Heating and Filtration System
As you progress in the construction of your DIY hot tub, the installation of the heating and filtration system takes center stage, elevating your spa from a static structure to a fully functional relaxation haven. This pivotal step involves integrating essential components that ensure the water remains at the perfect temperature and pristine condition, providing you with a luxurious and hygienic soaking experience.
Heating Element Integration
Begin by incorporating the heating element into your hot tub design. Whether you opt for a traditional wood-fired stove, a modern electric heater, or a sustainable solar heating system, carefully position and install the chosen heating source within the designated area. Ensure that the heating element is securely mounted and seamlessly integrated into the overall structure, allowing for efficient heat distribution throughout the water.
Filtration System Setup
Next, focus on setting up the filtration system to maintain crystal-clear water quality. Install the circulation pump, filters, and necessary plumbing components to facilitate water circulation and purification. Position the filtration system strategically to ensure optimal water flow and effective removal of impurities, guaranteeing a pristine and inviting soaking environment.
Electrical and Plumbing Connections
As you integrate the heating and filtration components, prioritize the safe and secure connection of electrical and plumbing systems. Adhere to all relevant safety guidelines and building codes when wiring the heating element and connecting the circulation pump, valves, and plumbing fixtures. Attention to detail in this phase is crucial to ensure the seamless operation and longevity of your hot tub's heating and filtration infrastructure.
Insulation Enhancement
Incorporate additional insulation around the heating and filtration components to optimize energy efficiency and minimize heat loss. Proper insulation not only conserves energy but also contributes to maintaining the water temperature, allowing you to enjoy prolonged relaxation sessions without excessive energy consumption.
Testing and Calibration
Upon completing the installation of the heating and filtration system, conduct thorough testing and calibration to verify the functionality and efficiency of the integrated components. Test the heating element to ensure it reaches and maintains the desired water temperature, and assess the filtration system's effectiveness in keeping the water clean and clear. Address any adjustments or fine-tuning required to optimize the performance of the heating and filtration infrastructure.
By meticulously installing the heating and filtration system, you transform your DIY hot tub into a fully operational and indulgent retreat, ready to deliver the ultimate relaxation experience. This essential phase sets the stage for the final touches that will elevate your hot tub oasis to a new level of comfort and luxury.
Step 5: Adding the Finishing Touches
With the construction and installation phases successfully completed, it's time to infuse your DIY hot tub with the finishing touches that will elevate its aesthetic appeal and functionality. This pivotal step involves adding elements that enhance the overall ambiance, comfort, and visual allure of your hot tub oasis, transforming it into a captivating focal point within your outdoor space.
Aesthetic Enhancements
Embrace your creativity by incorporating aesthetic enhancements that reflect your personal style and complement the surrounding environment. Consider embellishing the hot tub's exterior with decorative elements such as mosaic tiles, natural stone accents, or custom wood carvings. These embellishments not only add visual interest but also infuse your hot tub with a unique and personalized charm.
Lighting Integration
Illuminate your hot tub oasis with carefully integrated lighting solutions to create an enchanting and inviting atmosphere. Explore options such as LED strip lights, soft ambient lighting, or even solar-powered fixtures to enhance the visual allure of your hot tub during evening relaxation sessions. Thoughtfully positioned lighting can also contribute to safety and accessibility, ensuring a delightful and immersive experience after sunset.
Comfort and Convenience Features
Prioritize the comfort of your hot tub experience by incorporating convenient features such as built-in seating cushions, adjustable headrests, or integrated cup holders. These thoughtful additions elevate the comfort level and usability of your hot tub, allowing you to indulge in luxurious relaxation while seamlessly enjoying your favorite beverages or snacks.
Landscaping and Surroundings
Integrate landscaping elements around your hot tub to create a harmonious and inviting environment. Consider planting lush greenery, installing a water feature, or incorporating a pergola or canopy to provide shade and privacy. Thoughtful landscaping enhances the overall ambiance, creating a tranquil and secluded retreat where you can unwind and rejuvenate in the embrace of nature.
Personalized Décor and Accessories
Infuse your hot tub oasis with personalized décor and accessories that reflect your individual taste and elevate the overall aesthetic. Consider adding weather-resistant artwork, decorative planters, or custom signage to impart a touch of personality to your outdoor sanctuary. Additionally, select high-quality, weather-resistant accessories such as towels, robes, and storage solutions to enhance the functionality and visual appeal of your hot tub area.
By meticulously adding these finishing touches, you transform your DIY hot tub into a captivating and inviting oasis that reflects your unique vision of relaxation and luxury. These thoughtful enhancements not only elevate the visual allure of your outdoor space but also ensure that your hot tub becomes a cherished haven where you can escape, unwind, and indulge in the ultimate relaxation experience.
Conclusion
Congratulations on successfully completing the exhilarating journey of building your own DIY hot tub! As you stand back and admire the stunning oasis you've created in your backyard, it's time to revel in the immense satisfaction and pride that comes with bringing your vision to life. Your DIY hot tub is not just a functional addition to your outdoor space; it's a testament to your creativity, craftsmanship, and unwavering dedication to creating a personalized haven of relaxation and luxury.
Through meticulous planning, thoughtful design customization, and hands-on construction, you've transformed raw materials into a captivating retreat that promises endless moments of tranquility and rejuvenation. The careful integration of the heating and filtration system ensures that your hot tub is not only visually captivating but also a fully functional and hygienic sanctuary where you can unwind and escape the stresses of everyday life.
As you add the finishing touches, infusing your hot tub with aesthetic enhancements, lighting solutions, and personalized décor, you've imbued it with a unique charm that reflects your individual style and preferences. The surrounding landscaping and thoughtful integration of comfort and convenience features further elevate the ambiance, creating an inviting space where you can immerse yourself in pure relaxation and bliss.
Your DIY hot tub is more than just a construction project; it's a testament to your commitment to creating a space where you can connect with nature, unwind in luxurious comfort, and savor moments of pure serenity. It's a reflection of your ingenuity and resourcefulness, showcasing your ability to transform raw materials into a captivating retreat that promises endless moments of tranquility and rejuvenation.
As you prepare to immerse yourself in the soothing waters of your newly built hot tub, take a moment to appreciate the journey you've undertaken. The challenges you've overcome, the creativity you've unleashed, and the skills you've honed have all culminated in the creation of a space that promises to be a cherished sanctuary for years to come.
So, as you step into your DIY hot tub oasis, surrounded by the beauty of your outdoor space, take pride in the fact that you've not only built a hot tub but also crafted an experience—a space where relaxation, luxury, and the beauty of nature converge to offer you a truly indulgent escape. Embrace the tranquility, savor the luxury, and revel in the fulfillment of bringing your DIY hot tub dream to life.