Home>Home & Furniture>Doors & Windows>How to Replace an Exterior Door

Doors & Windows
How to Replace an Exterior Door
Published: September 19, 2024
Learn how to replace an exterior door with our step-by-step guide. Enhance your home's security and curb appeal with these expert tips and detailed instructions.
(Many of the links in this article redirect to a specific reviewed product. Your purchase of these products through affiliate links helps to generate commission for Twigandthistle.com, at no extra cost. Learn more)
Replacing an exterior door might seem like a big task, but with the right tools and a bit of patience, anyone can do it. Whether the door is worn out, damaged, or you just want an upgrade, this guide will help you through each step. By the end, you’ll have a fresh, secure door that enhances your home’s appearance and safety. No need for professional help; this is a project you can tackle on your own. Roll up your sleeves, gather your materials, and get ready to give your home a new look.
Getting Ready for the Project
Measure the Door: Measure the width, height, and thickness of the existing door. Write down these measurements to ensure the new door fits perfectly.
Gather Tools and Materials: Collect a tape measure, screwdriver, hammer, pry bar, level, shims, and caulk. Having everything ready saves time.
Clear the Workspace: Remove any rugs, furniture, or obstacles near the door. This creates a safe and open area to work.
Safety Gear: Wear safety glasses and gloves to protect your eyes and hands from debris and sharp edges.
Check the Weather: Choose a day with good weather. Replacing an exterior door can take several hours, and you don’t want rain or extreme temperatures affecting your work.
Remove the Old Door: Unscrew the hinges and carefully lift the door off. Use a pry bar to remove the door frame if necessary.
Inspect the Frame: Check the door frame for any damage or rot. Repair or replace any damaged parts before installing the new door.
Prepare the New Door: If the new door isn’t pre-hung, attach the hinges and doorknob. Pre-hung doors come with the frame, making installation easier.
Dry Fit: Place the new door in the opening to ensure it fits. Make any necessary adjustments before final installation.
Apply Caulk: Apply caulk around the edges of the door frame to seal gaps and prevent drafts.
Install the New Door: Position the door in the frame, use shims to level it, and screw the hinges into place. Check that the door opens and closes smoothly.
Finish Up: Add weatherstripping around the door to improve insulation. Paint or stain the door if needed to match your home’s exterior.
Gather Your Materials and Tools
- New Exterior Door: The main item you will be installing. Make sure it fits the existing door frame.
- Hinges: These metal pieces attach the door to the frame, allowing it to swing open and shut.
- Screws: Used to secure the hinges and other hardware to the door and frame.
- Screwdriver: A tool for driving screws into place. A power drill with screwdriver bits can speed up the process.
- Hammer: Useful for tapping in nails or adjusting the door frame.
- Nails: Small metal spikes used to secure trim or other parts of the door frame.
- Measuring Tape: Ensures accurate measurements for fitting the door and hardware.
- Level: Ensures the door is installed straight and even.
- Utility Knife: Handy for cutting away old caulk or trimming materials.
- Chisel: Helps remove old hinges or mortise new hinge slots.
- Pry Bar: Useful for removing the old door and frame.
- Caulk and Caulk Gun: Seals gaps around the door to prevent drafts and moisture.
- Shims: Small wedges used to level and plumb the door within the frame.
- Paint or Stain: Optional, for finishing the door to match your home’s decor.
- Safety Glasses: Protect your eyes from debris during the installation process.
- Work Gloves: Protect your hands while handling tools and materials.
Skill Level and Time Commitment
Skill Level: Intermediate
Time Required: 4-6 hours
Detailed Steps to Follow
Gather Materials and Tools
- New exterior door
- Measuring tape
- Screwdriver
- Hammer
- Pry bar
- Shims
- Level
- Caulk and caulk gun
- Wood filler
- Paint or stain (optional)
Remove the Old Door
- Open the door and remove the hinge pins using a hammer and screwdriver.
- Lift the door off the hinges and set it aside.
- Use a pry bar to remove the door trim carefully.
- Unscrew and remove the old door frame.
Measure the Opening
- Measure the width, height, and depth of the door opening.
- Ensure the new door matches these measurements.
Prepare the Opening
- Clean the opening of any debris.
- Check for any damage or rot around the opening and repair if necessary.
Install the New Door Frame
- Place the new door frame into the opening.
- Use shims to ensure the frame is level and plumb.
- Secure the frame with screws through the pre-drilled holes.
Hang the New Door
- Attach the hinges to the door.
- Lift the door and align the hinges with the frame.
- Insert the hinge pins to secure the door.
Check the Fit
- Open and close the door to ensure it swings smoothly.
- Adjust the shims if necessary to ensure a proper fit.
Seal the Frame
- Apply caulk around the exterior of the door frame to seal any gaps.
- Fill any nail holes or gaps with wood filler.
Install the Trim
- Reattach the door trim around the frame.
- Secure with finishing nails.
Finish the Door
- Paint or stain the door if desired.
- Allow to dry completely before use.
Helpful Tips for Success
Measure Twice, Cut Once: Ensure accurate measurements of the door frame and new door. This avoids gaps or misalignment.
Use a Level: Check that the door frame is plumb and level. An uneven frame can cause the door to stick or not close properly.
Pre-Hung Doors: Consider using a pre-hung door, which comes with its own frame. This simplifies installation and ensures a better fit.
Shims Are Your Friend: Use shims to adjust the door frame. This helps in aligning the door correctly and ensures it swings freely.
Weatherproofing: Apply weatherstripping around the door to prevent drafts. This improves energy efficiency and keeps your home comfortable.
Secure Hinges: Use long screws to secure the hinges into the door frame. This provides extra strength and prevents sagging over time.
Check the Swing: Make sure the door swings in the correct direction before installation. This avoids the hassle of reinstalling.
Seal the Edges: Paint or seal the edges of the door to protect against moisture. This extends the life of the door.
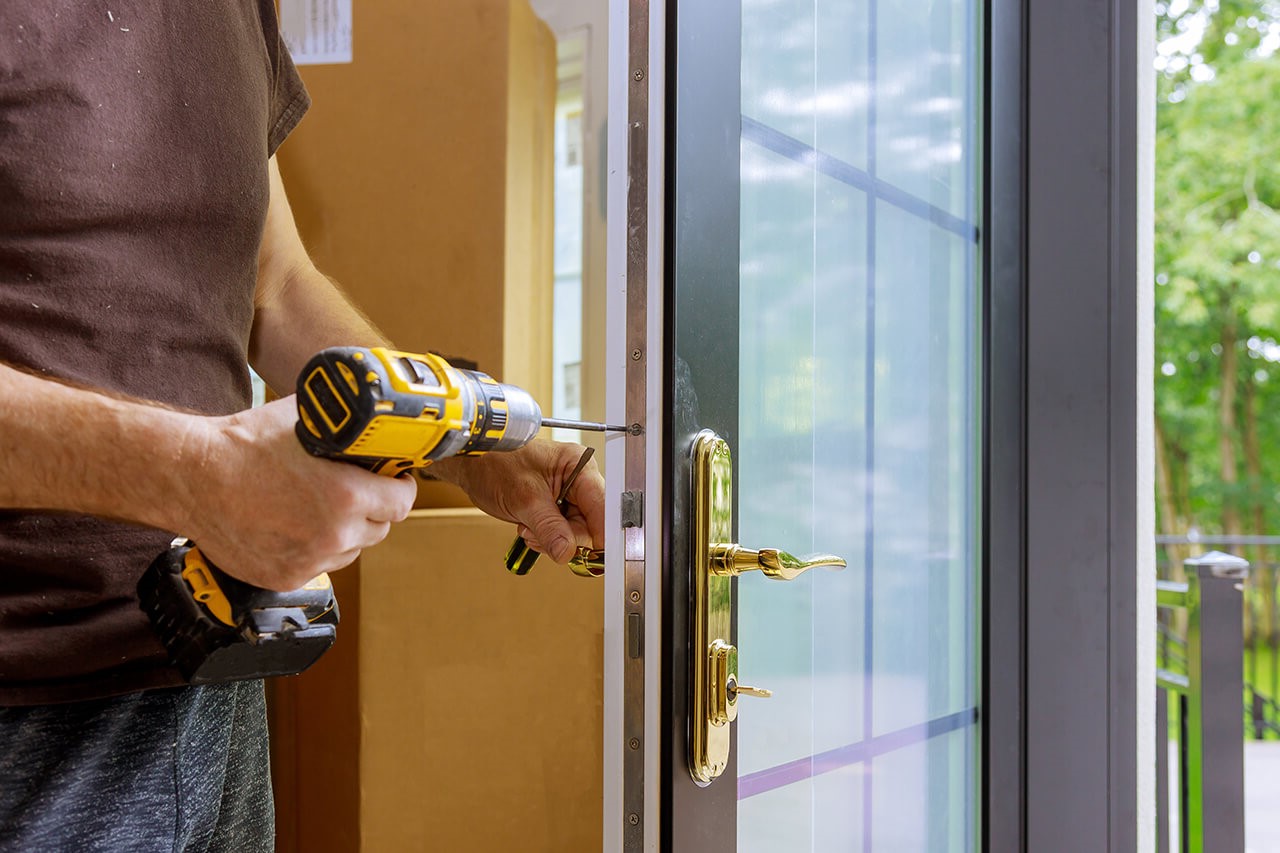
Handle and Lock Placement: Mark and drill holes for the handle and lock carefully. Misaligned holes can make the door difficult to lock or unlock.
Common Mistakes to Avoid:
- Rushing Measurements: Inaccurate measurements lead to poor fit.
- Ignoring Leveling: An unlevel frame causes operational issues.
- Skipping Shims: Not using shims results in a misaligned door.
- Neglecting Weatherproofing: Skipping this step leads to drafts and energy loss.
- Using Short Screws: Short screws in hinges can cause the door to sag.
Material Alternatives:
- Solid Wood: Offers durability but can be expensive.
- Fiberglass: Provides good insulation and is resistant to dents and scratches.
- Steel: Very strong and secure, though it can be prone to rust if not properly maintained.
Method Alternatives:
- Professional Installation: If unsure, hiring a professional ensures proper installation.
- DIY Kits: Some kits come with all necessary materials and instructions, making the process easier for beginners.
Budgeting for Your Door Replacement
Exterior door: $150 - $400 depending on material (steel, fiberglass, wood).
Hinges: $10 - $20 for a set of three.
Screws: $5 - $10 for a box.
Door knob and lock set: $20 - $60.
Weatherstripping: $10 - $20.
Threshold: $15 - $30.
Shims: $5 - $10.
Caulk: $5 - $10.
Paint or stain: $20 - $50 if needed.
Tools:
- Screwdriver: $10 - $20.
- Hammer: $10 - $20.
- Drill: $40 - $100.
- Level: $10 - $20.
- Saw: $20 - $50 if trimming is required.
Total cost: $330 - $820.
Budget-friendly alternatives:
- Used door: Check local classifieds or salvage yards, $50 - $150.
- Basic knob and lock set: $15 - $30.
- Borrow tools: Ask friends or family to save on tool costs.
Personalizing Your New Door
Materials: Instead of a standard wood door, consider using fiberglass or steel. Fiberglass doors resist dents and scratches, while steel doors offer extra security. For a more rustic look, try reclaimed wood.
Colors: Paint your door a bold color like red or blue to make it stand out. For a more classic look, use neutral colors like white, black, or gray. You can also use stain to highlight the natural wood grain.
Styles: Choose a door with glass panels to let in more light. For added privacy, use frosted or stained glass. If you prefer a modern look, go for a door with clean lines and minimalist hardware. For a traditional style, pick a door with decorative molding and classic hardware.
Hardware: Swap out standard doorknobs for lever handles or smart locks. Add a door knocker or kick plate for extra flair. Choose hardware finishes like brushed nickel, oil-rubbed bronze, or polished brass to match your home’s style.
Weatherproofing: Use weatherstripping and a door sweep to keep drafts out. Consider adding a storm door for extra protection against the elements.
Eco-Friendly Door Replacement Ideas
Reusing or recycling materials can make replacing an exterior door more eco-friendly. Start by checking if the old door can be repurposed. It might serve as a table, headboard, or garden gate. If not, ensure it gets recycled properly.
Choose a new door made from sustainable materials like reclaimed wood or bamboo. These options reduce the need for new resources. Fiberglass doors are another good choice because they last long and offer excellent insulation.
For the frame, consider using recycled metal or composite materials. These often have a lower environmental impact. Low-VOC paints and finishes are better for the environment and your health.
When installing, use eco-friendly insulation like sheep wool or cotton. These materials are biodegradable and effective at keeping your home energy-efficient.
Finally, donate any leftover materials to local organizations or recycling centers. This helps reduce waste and supports community projects.
Your New Door Awaits
Replacing an exterior door might seem tricky, but with the right tools and a bit of patience, it's totally doable. Measure your door frame accurately, choose a door that fits your style and needs, and don't forget to check for any damage around the frame. When installing, make sure the door is level and secure the hinges tightly. Adding weatherstripping will help keep drafts out and improve energy efficiency. A fresh coat of paint or stain can give your new door a polished look. Remember, taking your time and double-checking your work can save you headaches later. Now, step back and admire your handiwork. You've just given your home a fantastic upgrade!
How do I measure for a new exterior door?
Measure the width and height of the existing door. Also, measure the thickness and the rough opening (the space between the studs).
What tools do I need to replace an exterior door?
You'll need a tape measure, level, hammer, screwdriver, drill, saw, caulk gun, and shims.
How do I remove the old door?
First, take off the hinge pins and remove the door slab. Then, unscrew the hinges and trim, and finally, take out the frame.
Do I need to paint or stain the new door before installation?
It's easier to paint or stain the door before installing it. This way, you can reach all areas without worrying about drips on your floor.
How do I ensure the new door is level?
Use shims to adjust the door frame until it's level and plumb. Check with a level before securing the frame.
What kind of caulk should I use?
Use exterior-grade caulk to seal gaps around the door frame. This helps keep out moisture and drafts.
How do I install the new door?
Place the new door in the rough opening, use shims to level it, then secure it with screws. Finally, install the trim and hardware.

