
Home>Outdoors & Camping>Hardscaping>How To Build A Fence
Hardscaping
How To Build A Fence
Published: February 20, 2024

Content Creator for Outdoors & Camping, Sophie turns any yard into a sustainable paradise. Her dedication to DIY outdoor projects and volunteer work in community gardens shares joy and knowledge.
Learn how to enhance your outdoor space with hardscaping by building a fence. Discover expert tips and techniques for a stunning and durable result.
(Many of the links in this article redirect to a specific reviewed product. Your purchase of these products through affiliate links helps to generate commission for Twigandthistle.com, at no extra cost. Learn more)
Introduction
Building a fence around your property can serve multiple purposes, from enhancing privacy and security to adding aesthetic appeal. Whether you're a seasoned DIY enthusiast or a novice looking to embark on your first hardscaping project, constructing a fence can be a rewarding endeavor. It provides an opportunity to showcase your creativity while adding value to your property.
A well-constructed fence not only delineates your property boundaries but also complements the overall landscape. It can act as a backdrop for beautiful gardens, a safe enclosure for pets and children, or a barrier against unwanted intruders. The process of building a fence involves careful planning, precise measurements, and the selection of suitable materials to ensure longevity and functionality.
In this comprehensive guide, we will walk you through the step-by-step process of building a sturdy and visually appealing fence. From initial planning and material selection to the final touches, you will gain valuable insights into the intricacies of hardscaping. By the end of this guide, you will be equipped with the knowledge and confidence to embark on your own fence-building journey, transforming your outdoor space into a secure and inviting haven.
So, roll up your sleeves, gather your tools, and let's dive into the exciting world of hardscaping as we embark on the journey of building a fence that not only meets your practical needs but also reflects your personal style and enhances the beauty of your property.
Step 1: Planning and Preparation
Before diving into the physical aspects of building a fence, meticulous planning and thorough preparation are essential for a successful hardscaping project. This initial phase sets the foundation for the entire construction process and significantly influences the outcome of your fence. Here's a detailed breakdown of the crucial steps involved in planning and preparing for your fence-building endeavor:
-
Determine the Purpose: Start by identifying the primary purpose of your fence. Are you aiming to enhance privacy, secure your property, or simply add visual appeal to your landscape? Understanding the intended function of the fence will guide your decisions regarding its design, height, and material selection.
-
Check Local Regulations: Before proceeding, it's vital to research and understand the local regulations and zoning laws pertaining to fence construction. This includes obtaining any necessary permits and adhering to property line setback requirements. Compliance with these regulations is crucial to avoid potential legal issues in the future.
-
Survey the Property: Accurately surveying your property to demarcate the boundaries and identify any potential obstacles is a critical step. This survey will help you determine the exact location of the fence, ensuring that it is constructed within your property lines and does not encroach on neighboring land.
-
Select the Fence Style: Consider the architectural style of your home and the existing landscape when choosing the design and style of your fence. Whether it's a classic picket fence, a modern horizontal slat design, or a sturdy stockade fence, the style should harmonize with the overall aesthetic of your property.
-
Set a Budget: Establishing a realistic budget for your fence project is essential. Take into account the cost of materials, labor, and any additional features such as gates or decorative elements. Setting a clear budget will help you make informed decisions and prevent overspending during the construction process.
-
Gather Necessary Tools and Materials: Compile a comprehensive list of tools and materials required for the construction of your fence. This may include posts, rails, panels, concrete, fasteners, and specialized tools such as a post hole digger, level, and saw. Ensuring that you have all the necessary supplies on hand will streamline the construction process.
By meticulously planning and preparing for the construction of your fence, you lay the groundwork for a smooth and successful hardscaping project. This phase sets the stage for the subsequent steps, ensuring that your vision for a functional and visually appealing fence is realized with precision and efficiency.
Step 2: Choosing the Right Materials
Selecting the appropriate materials is a pivotal aspect of building a durable and visually appealing fence. The materials chosen not only contribute to the overall aesthetic of the fence but also determine its longevity and maintenance requirements. Here's a detailed exploration of the key considerations when choosing the right materials for your fence:
1. Wood:
Wood remains a popular choice for fencing due to its natural beauty and versatility. Cedar and redwood are highly favored for their natural resistance to decay and insects, making them ideal for outdoor applications. Pressure-treated wood is another viable option, offering enhanced durability and protection against rot. When selecting wood for your fence, consider the desired aesthetic, maintenance requirements, and the environmental impact of the chosen wood species.
2. Vinyl:
Vinyl fencing has gained popularity for its low maintenance and long-lasting properties. It is resistant to rot, fading, and discoloration, making it an attractive option for homeowners seeking a durable and hassle-free fencing solution. With a variety of styles and colors available, vinyl fences offer versatility and can mimic the appearance of traditional wood fences without the associated maintenance demands.
3. Metal:
Metal fences, such as aluminum and steel, are renowned for their strength and durability. Aluminum fences are lightweight, corrosion-resistant, and suitable for various climates, while steel fences offer unparalleled strength and security. Both options provide a modern and sleek aesthetic, making them suitable for contemporary architectural styles.
4. Composite:
Composite fencing, composed of a blend of wood fibers and recycled plastic, offers the appeal of wood with the low maintenance benefits of synthetic materials. It is resistant to rot, decay, and insect damage, making it an eco-friendly and long-lasting choice. Composite fences are available in a range of styles, textures, and colors, providing homeowners with diverse design options.
5. Ornamental Iron:
For a timeless and elegant look, ornamental iron fencing is a popular choice. It adds a touch of sophistication to any property while offering durability and security. Ornamental iron fences are available in various designs and can be customized to suit specific aesthetic preferences.
When choosing the right materials for your fence, consider factors such as maintenance requirements, durability, cost, and the desired aesthetic appeal. By carefully evaluating these aspects, you can select materials that align with your functional and visual objectives, ensuring that your fence stands the test of time while enhancing the beauty of your outdoor space.
Step 3: Marking and Measuring
Accurate marking and precise measurements are fundamental to the successful construction of a sturdy and visually appealing fence. This phase of the project sets the groundwork for the physical installation of the fence components and ensures that the final structure aligns with the intended design and property boundaries.
1. Establishing Reference Points:
Begin by identifying and marking the reference points for the fence layout. Use stakes and string to outline the perimeter where the fence will be installed. This initial step provides a clear visual guide for the placement of posts and panels, allowing for adjustments before any permanent installation takes place.
2. Verifying Property Lines:
Before proceeding with any excavation or construction, it is crucial to verify the accuracy of property lines. Utilize a surveyor's report or consult property documents to confirm the exact boundaries. This step is essential to prevent encroachment on neighboring properties and potential disputes in the future.
3. Measuring Post Locations:
With the perimeter marked and property boundaries confirmed, proceed to measure and mark the precise locations for fence posts. The spacing between posts is determined by the selected fence style and panel dimensions. Use a measuring tape and marking paint to indicate the designated spots for each post along the fence line.
4. Ensuring Alignment and Level:
Once the post locations are marked, ensure that they are aligned in a straight line and are level with the ground. This can be achieved by using a string line and a level to maintain uniformity and straightness along the entire length of the fence. Proper alignment at this stage is critical for the structural integrity and visual appeal of the finished fence.
5. Double-Checking Measurements:
Before proceeding with any excavation or post installation, double-check all measurements to ensure accuracy. Small discrepancies at this stage can lead to significant issues during the later stages of construction. Taking the time to verify measurements will contribute to a seamless and precise installation process.
By meticulously marking and measuring the fence layout, you establish the foundation for the physical construction of the fence. This phase sets the stage for the subsequent steps, ensuring that the installation of posts and panels proceeds with accuracy and efficiency, ultimately leading to the realization of your vision for a well-constructed and visually appealing fence.
Step 4: Digging Holes for Posts
With the perimeter marked and the precise locations for fence posts identified, the next crucial step in the fence-building process is digging the holes for the posts. The proper placement and depth of the post holes are essential for the structural stability and longevity of the fence. Here's a detailed breakdown of the process involved in digging holes for posts:
-
Selecting the Right Tools: Before commencing the excavation, ensure that you have the necessary tools on hand. A post hole digger or auger is commonly used to excavate the holes efficiently. Additionally, a shovel, digging bar, and measuring tape are essential for precise and controlled digging.
-
Determining Hole Depth: The depth of the post holes is determined by various factors, including the frost line in your region, the type of soil, and the desired height of the fence. As a general guideline, the depth of the holes should be at least one-third of the length of the posts. For regions prone to frost, it is advisable to dig below the frost line to prevent upheaval due to freezing and thawing cycles.
-
Maintaining Consistent Hole Diameter: The diameter of the post holes should accommodate the size of the posts while allowing space for the addition of concrete or gravel for stability. It is recommended to maintain a consistent diameter for all the holes to ensure uniformity in the installation of the posts.
-
Excavating the Holes: Using the selected digging tool, carefully excavate the marked locations for the posts. Exercise caution to maintain the intended diameter and depth of the holes. Remove soil gradually, periodically checking the depth with a measuring tape to ensure uniformity across all holes.
-
Adding Support and Stability: Once the holes are excavated to the required depth, consider adding a layer of gravel at the bottom to facilitate drainage and prevent moisture accumulation around the posts. Additionally, inserting a few inches of concrete at the base of each hole can provide added stability and resistance to shifting over time.
-
Ensuring Alignment and Plumb: As each hole is prepared, place a post in the center and use a level to ensure that it is perfectly plumb and aligned with the adjacent posts. This step is crucial for maintaining the straightness and uniformity of the fence line.
By meticulously following these steps and paying attention to the details involved in digging holes for posts, you set the stage for the secure and precise installation of the fence posts. This foundational phase lays the groundwork for the subsequent steps, ensuring that the fence structure is anchored securely and aligns with the intended design and layout.
Step 5: Setting the Posts
Setting the posts is a critical phase in the construction of a sturdy and visually appealing fence. The proper installation of posts ensures the structural integrity and stability of the entire fence structure. Here's a detailed exploration of the process involved in setting the posts:
-
Aligning the Posts: Begin by placing the prepared posts into the excavated holes, ensuring that they are positioned at the designated locations along the fence line. Use a level to verify that each post is perfectly plumb and aligned with the adjacent posts. This step is crucial for maintaining the straightness and uniformity of the fence.
-
Adding Concrete for Stability: Once the posts are aligned, it's time to secure them in place. Pouring concrete into the holes around the posts provides essential stability and resistance to shifting over time. Carefully fill the holes with concrete, ensuring that it completely surrounds the base of each post. Tamp the concrete to remove air pockets and create a solid foundation for the posts.
-
Checking for Uniform Height: As the concrete is added, continuously monitor the height of each post to ensure uniformity. Consistent post height is essential for achieving a level and visually appealing fence. Adjust the posts as necessary to maintain uniform height before the concrete sets.
-
Allowing for Proper Curing: After the posts are set and the concrete is in place, allow sufficient time for the concrete to cure and harden. This curing period is crucial for the development of strength and stability within the concrete, ensuring that the posts are firmly anchored in position.
-
Verifying Alignment and Plumb: Once the concrete has cured, recheck the alignment and plumb of each post to confirm that they have remained in the correct position. Any necessary adjustments should be made at this stage to guarantee that the posts are securely set and perfectly aligned.
-
Preparing for the Next Steps: With the posts firmly set and aligned, the foundation for the fence structure is established. This phase sets the stage for the subsequent steps, including the attachment of rails and panels, ultimately leading to the realization of a well-constructed and visually appealing fence.
By meticulously following these steps and paying attention to the details involved in setting the posts, you lay the groundwork for a secure and precise installation of the fence structure. This foundational phase ensures that the posts are firmly anchored, aligned, and ready to support the subsequent components of the fence, bringing you one step closer to the completion of your hardscaping project.
Step 6: Attaching Rails and Panels
With the posts securely set and aligned, the next pivotal phase in the construction of a functional and visually appealing fence involves attaching the rails and panels. This step transforms the individual posts into a cohesive and structured barrier, providing privacy, security, and aesthetic appeal to your outdoor space. Here's a detailed exploration of the process involved in attaching rails and panels to complete the fence structure:
-
Selecting the Rails and Panels: Begin by selecting the appropriate rails and panels based on the chosen fence style and material. Whether it's traditional wooden pickets, sleek metal panels, or low-maintenance vinyl rails, ensure that the selected components align with the overall design and functional requirements of the fence.
-
Measuring and Cutting: Before attaching the rails and panels, carefully measure the distance between the posts to determine the required length of the rails and panels. Use a saw or appropriate cutting tools to trim the components to the precise dimensions, ensuring a proper fit within the designated fence section.
-
Securing the Rails: Position the rails horizontally between the posts at the predetermined heights, ensuring uniform spacing and alignment. Secure the rails to the posts using appropriate fasteners, such as screws or nails, ensuring a strong and stable connection. This step forms the framework for attaching the panels and contributes to the overall structural integrity of the fence.
-
Attaching the Panels: With the rails in place, proceed to attach the panels to complete the fence sections. Whether it's sliding the panels into pre-installed grooves, fastening them directly to the rails, or customizing the attachment method based on the selected materials, ensure that the panels are securely affixed to the framework. Pay attention to maintaining consistent spacing and alignment for a polished and professional finish.
-
Verifying Level and Plumb: As each panel is attached, use a level to verify that it is perfectly level and aligned with the adjacent components. This meticulous attention to detail ensures that the fence sections are visually appealing and structurally sound, enhancing the overall aesthetics and functionality of the fence.
-
Adding Finishing Touches: Once all the panels are securely attached, consider adding finishing touches such as decorative caps for the posts, trim pieces, or any additional embellishments that complement the chosen fence style. These details contribute to the overall visual impact of the fence, elevating its appearance and adding a personalized touch to the hardscaping project.
By meticulously following these steps and paying attention to the details involved in attaching rails and panels, you bring the fence structure to completion, transforming a collection of posts into a cohesive and visually appealing barrier. This phase marks a significant milestone in the hardscaping journey, bringing you closer to the realization of your vision for a functional, secure, and aesthetically pleasing outdoor enclosure.
Step 7: Adding Finishing Touches
After the successful attachment of rails and panels, the final phase of building a fence involves adding the finishing touches to elevate the overall aesthetics and functionality of the structure. This stage allows for personalization and attention to detail, enhancing the visual appeal and cohesiveness of the completed fence.
-
Decorative Caps and Trim: Consider adding decorative caps to the tops of the posts to provide a polished and refined look to the fence. These caps not only serve as protective elements, shielding the posts from the elements, but also add a touch of elegance to the overall design. Additionally, incorporating trim pieces along the top or bottom of the fence sections can further enhance the visual appeal, creating a seamless and finished appearance.
-
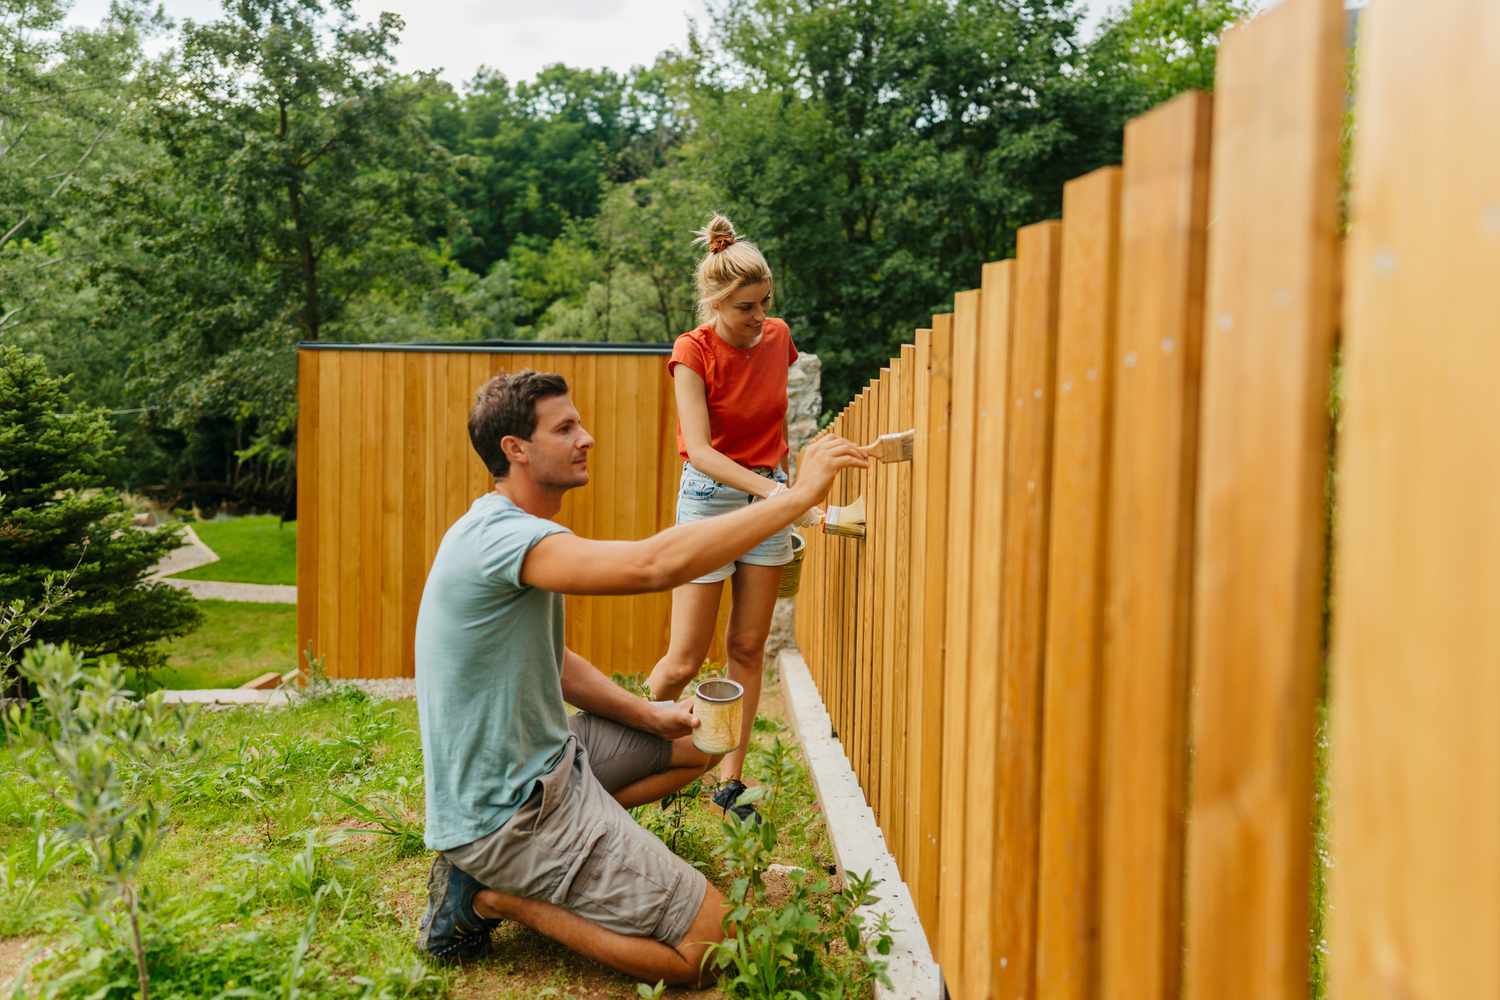
Staining or Painting: Depending on the chosen material, applying a coat of stain or paint can significantly enhance the durability and visual impact of the fence. For wooden fences, staining not only protects the wood from weathering and decay but also allows for customization of the color to complement the surrounding landscape. Similarly, painting metal or vinyl fences can add a pop of color or create a cohesive look with the exterior of the property.
-
Gate Installation: If the fence includes access points, such as gates, ensuring their proper installation is essential. The addition of well-constructed gates not only enhances the functionality of the fence but also contributes to the overall security and convenience of the enclosed space. Pay attention to the alignment, hardware, and smooth operation of the gates for a seamless integration with the fence structure.
-
Landscaping Integration: To further enhance the visual impact of the fence, consider integrating landscaping elements around its perimeter. Planting shrubs, flowers, or climbing vines along the fence line can soften its appearance, create a natural backdrop, and seamlessly blend the hardscaping with the surrounding greenery.
-
Lighting and Accessories: Incorporating outdoor lighting fixtures along the fence can extend its functionality into the evening hours while adding a warm and inviting ambiance to the outdoor space. Additionally, consider adding accessories such as hooks for hanging plants, decorative signage, or outdoor artwork to infuse personality and character into the fence design.
By meticulously attending to these finishing touches, the fence transcends its utilitarian purpose and becomes a focal point of the outdoor environment. The attention to detail and personalization contribute to the creation of a visually stunning, functional, and harmonious addition to the property, reflecting the care and craftsmanship invested in the hardscaping project.
Conclusion
In conclusion, the process of building a fence is a multifaceted journey that encompasses meticulous planning, precise execution, and a keen eye for detail. From the initial stages of envisioning the purpose and style of the fence to the final embellishments that elevate its visual appeal, every step contributes to the creation of a functional and aesthetically pleasing outdoor enclosure.
Throughout this comprehensive guide, we have delved into the intricacies of hardscaping, exploring the essential steps involved in constructing a sturdy and visually appealing fence. The journey begins with careful planning and preparation, where the purpose, style, and regulatory considerations set the foundation for the entire project. This phase is followed by the critical task of selecting the right materials, where the choice of wood, vinyl, metal, composite, or ornamental iron significantly influences the durability and visual impact of the fence.
The subsequent steps of marking and measuring, digging holes for posts, and setting the posts lay the groundwork for the physical installation of the fence, ensuring precision and stability. The attachment of rails and panels marks a pivotal phase, transforming individual posts into a cohesive and structured barrier that provides privacy, security, and aesthetic appeal to the outdoor space. Finally, the addition of finishing touches, such as decorative caps, staining or painting, gate installation, landscaping integration, and the incorporation of lighting and accessories, elevates the fence to a visually stunning and functional outdoor feature.
As we reflect on the journey of building a fence, it becomes evident that this hardscaping endeavor is not merely about the physical construction of a barrier. It is a testament to creativity, craftsmanship, and the seamless integration of functional and aesthetic elements within the outdoor environment. A well-constructed fence not only delineates property boundaries but also enhances the overall landscape, providing a sense of security, privacy, and visual harmony.
The completion of a fence-building project signifies the transformation of an outdoor space into a secure and inviting haven, where the fusion of natural elements and human craftsmanship creates a harmonious environment. It is a testament to the homeowner's dedication to enhancing their property and creating a space that reflects their unique style and practical needs.
In essence, the journey of building a fence is a testament to the artistry and expertise of hardscaping, where each phase contributes to the creation of a lasting and visually captivating outdoor feature. Whether it's a classic wooden picket fence, a modern vinyl enclosure, or an ornamental iron barrier, the process of building a fence is a testament to the enduring appeal of hardscaping and its transformative impact on outdoor spaces.