
Home>Create & Decorate>DIY & Crafts>How To Build A Privacy Fence With Panels
DIY & Crafts
How To Build A Privacy Fence With Panels
Published: May 31, 2024

Content Creator specializing in woodworking and interior transformations. Caegan's guides motivate readers to undertake their own projects, while his custom furniture adds a personal touch.
Learn how to build a privacy fence with panels in this comprehensive DIY guide. Perfect for your next DIY & Crafts project. Step-by-step instructions included!
(Many of the links in this article redirect to a specific reviewed product. Your purchase of these products through affiliate links helps to generate commission for Twigandthistle.com, at no extra cost. Learn more)
Introduction
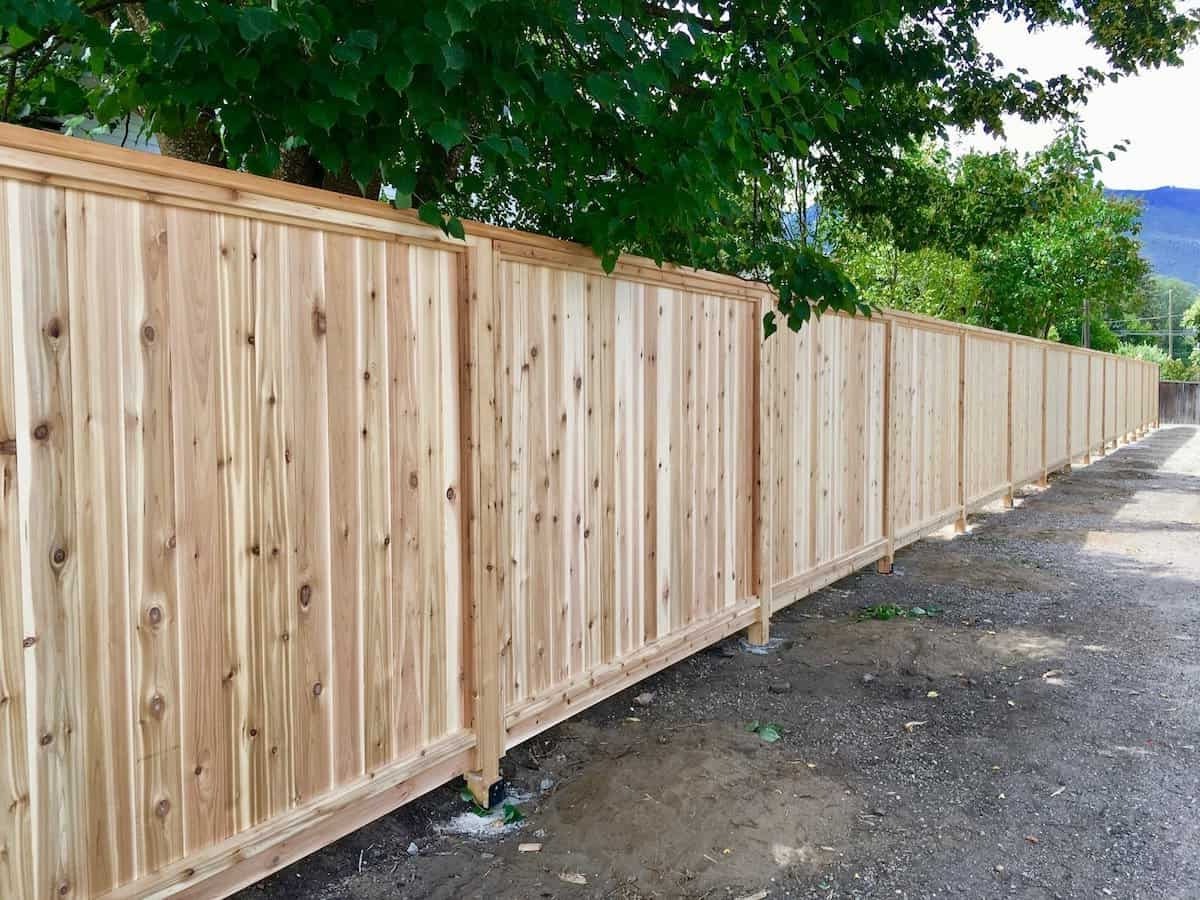
So, you've decided it's time to build a privacy fence with panels. Whether you want to create a secluded oasis in your backyard or keep nosy neighbors at bay, a privacy fence can provide the peace and quiet you're looking for. But where do you start? How do you go about choosing the right panels, preparing the area, and installing the fence posts? Don't worry, we've got you covered. In this guide, we'll walk you through the step-by-step process of building a privacy fence with panels, from start to finish. By the time you're done, you'll have the privacy you crave and the satisfaction of a job well done. Let's get started!
Choosing the Right Panels for Your Privacy Fence
When it comes to building a privacy fence with panels, choosing the right panels is crucial for both the aesthetic and functional aspects of your fence. Here are some factors to consider when selecting the panels:
-
Material: The material of the panels will greatly impact the look, durability, and maintenance of your privacy fence. Common materials for panels include wood, vinyl, metal, and composite. Wood panels offer a natural and rustic look, while vinyl panels are low-maintenance and come in various styles and colors. Metal panels provide a modern and industrial aesthetic, and composite panels offer the look of wood with the durability of plastic.
-
Style and Design: Consider the style and design of the panels to complement the overall look of your property. Whether you prefer a traditional picket fence, a sleek and modern design, or a decorative lattice pattern, there are panel options to suit your preferences.
-
Height and Width: The height and width of the panels will determine the level of privacy and security your fence provides. Taller and wider panels offer more privacy and can deter intruders, while shorter panels may be suitable for decorative or boundary purposes.
-
Maintenance: Think about the maintenance requirements of the panels. Wood panels may require staining or sealing to maintain their appearance, while vinyl and metal panels are generally low-maintenance and easy to clean.
-
Budget: Set a budget for your privacy fence project and choose panels that align with your financial plan. Keep in mind that while some materials may have a higher upfront cost, they could save you money in the long run due to their durability and low maintenance needs.
By carefully considering these factors, you can select the right panels that not only enhance the privacy and security of your property but also add to its visual appeal.
Preparing the Area for Installation
Before diving into the installation process, it's crucial to prepare the area where your privacy fence will stand. Proper preparation ensures a smooth and successful installation, so here's what you need to do:
-
Mark the Boundaries: Begin by clearly marking the boundaries where the fence will be installed. Use stakes and string to outline the perimeter, ensuring that the fence will be positioned exactly where you want it.
-
Check Local Regulations: Check with your local building department or homeowners' association to determine any regulations or permits required for installing a fence. This step is essential to avoid any legal issues and ensure that your fence complies with local guidelines.
-
Clear the Area: Remove any obstacles, debris, or vegetation within the marked boundaries. This includes rocks, tree roots, bushes, and other obstructions that could interfere with the installation process.
-
Level the Ground: Ensure that the ground where the fence will be installed is level and even. Use a shovel, rake, or a small bulldozer to level the ground, removing any bumps or uneven areas that could affect the stability of the fence.
-
Locate Utility Lines: Before digging any post holes, contact your local utility companies to locate any underground utility lines. This step is crucial for safety and prevents accidental damage to gas, water, or electrical lines.
-
Gather Materials and Tools: Prepare all the necessary materials and tools for the installation, including the fence panels, posts, concrete, gravel, screws, and any specialized tools required for the specific type of panels you've chosen.
By thoroughly preparing the area for installation, you'll set the stage for a seamless and efficient process, ensuring that your privacy fence will stand strong and secure for years to come.
Installing the Fence Posts
Installing the fence posts is a critical step in building a sturdy and reliable privacy fence with panels. Here's a detailed guide on how to properly install the fence posts:
-
Marking Post Locations: Begin by marking the locations for the fence posts along the boundary line. The spacing between the posts will depend on the width of the panels and the overall design of your fence. Use a measuring tape and stakes to mark the exact positions where the posts will be placed.
-
Digging Post Holes: Using a post hole digger or an auger, dig holes for the fence posts. The depth of the holes should be approximately one-third of the length of the posts, with an additional 6 inches for gravel at the bottom. This extra depth allows for proper drainage and stability.
-
Adding Gravel: Once the holes are dug, pour a layer of gravel into the bottom of each hole. The gravel helps with drainage and prevents the wooden posts from direct contact with the soil, reducing the risk of rot over time.
-
Setting the Posts: Place the fence posts into the holes, ensuring they are level and plumb. Use a level to check the vertical and horizontal alignment of each post. For added stability, consider bracing the posts with temporary supports until the concrete sets.
-
Pouring Concrete: After positioning the posts, pour concrete into the holes around the posts. Use a shovel to compact the concrete and eliminate air pockets. Ensure that the posts remain level and aligned during this process. The concrete should be filled to slightly above ground level to create a slight slope away from the post, aiding in water runoff.
-
Allowing the Concrete to Set: Allow the concrete to cure and set for at least 24-48 hours before proceeding with the installation of the fence panels. This waiting period is crucial for ensuring the stability and strength of the fence posts.
By following these steps, you can ensure that your fence posts are securely installed, providing a solid foundation for attaching the privacy fence panels. Properly installed fence posts are essential for the longevity and stability of your privacy fence.
Attaching the Panels to the Posts
Now that the fence posts are securely in place, it's time to attach the privacy fence panels. The method of attaching the panels will depend on the type of panels you've chosen and the design of your fence. Here's a step-by-step guide to attaching the panels to the posts:
-
Positioning the Panels: Begin by positioning the first panel between the installed posts. Ensure that the panel is aligned evenly with the ground and the adjacent panels, if multiple panels will be installed in a row.
-
Securing the Panels: Depending on the panel material, you may use screws, nails, or specialized fasteners to secure the panels to the posts. For wood panels, use corrosion-resistant screws to prevent rust and staining. For vinyl or composite panels, follow the manufacturer's guidelines for recommended fastening methods.
-
Leveling and Alignment: Use a level to ensure that the panels are plumb and level before securing them to the posts. This step is crucial for maintaining a uniform and professional appearance for your privacy fence.
-
Spacing and Overlap: If you are installing multiple panels in a row, ensure that there is a consistent and aesthetically pleasing spacing between the panels. Additionally, if the panels have an overlapping design, ensure that the overlap is consistent and provides the desired level of privacy.
-
Customizing the Panels: Depending on the design of your fence, you may need to customize the panels to fit the desired length or height. Use a saw or specialized cutting tools to trim the panels to the required dimensions, ensuring a perfect fit between the posts.
-
Additional Support: For added stability and longevity, consider adding horizontal or vertical support beams between the panels. These support beams can enhance the structural integrity of the fence and prevent warping or sagging over time.
By following these steps, you can effectively attach the privacy fence panels to the posts, creating a solid and visually appealing barrier for your property. Proper installation and attachment of the panels will ensure that your privacy fence stands the test of time while providing the security and seclusion you desire.
Adding Finishing Touches and Maintenance Tips
Once the privacy fence panels are securely installed, it's time to add the finishing touches that will enhance both the appearance and longevity of your fence. Additionally, understanding the maintenance requirements of your privacy fence is essential for preserving its beauty and functionality over time. Here's a comprehensive guide on adding finishing touches and essential maintenance tips for your privacy fence:
Adding Finishing Touches
-
Applying a Protective Finish: Depending on the material of your fence panels, consider applying a protective finish to enhance durability and resistance to the elements. For wood panels, a coat of weather-resistant sealant or paint can protect against moisture, UV rays, and rot. Vinyl and metal panels may benefit from a protective coating to prevent fading and corrosion.
-
Decorative Elements: Add decorative elements such as post caps, finials, or lattice accents to personalize the look of your privacy fence. These embellishments not only add visual interest but also provide additional protection for the exposed ends of the fence posts.
-
Landscaping and Greenery: Enhance the aesthetic appeal of your privacy fence by incorporating landscaping and greenery. Planting shrubs, vines, or climbing plants along the fence line can soften its appearance and create a natural barrier for added privacy.
-
Lighting: Consider installing outdoor lighting fixtures along the fence to illuminate the area and enhance security. Solar-powered lights, string lights, or lanterns can create a welcoming ambiance while serving a practical purpose.
Maintenance Tips
-
Regular Cleaning: Keep your privacy fence looking its best by regularly cleaning the panels and posts. Use a mild detergent and water to remove dirt, grime, and mildew. For stubborn stains, consider using specialized cleaners recommended for the specific material of your fence.
-
Inspection and Repairs: Periodically inspect the fence for any signs of damage, loose fasteners, or structural issues. Promptly address any damage or wear to prevent further deterioration and maintain the integrity of the fence.
-
Sealing and Repainting: If you have a wooden privacy fence, periodic resealing or repainting may be necessary to protect the wood from moisture and UV damage. Follow the manufacturer's recommendations for the frequency of sealing or repainting to ensure long-term durability.
-
Trimming Vegetation: Regularly trim any vegetation that grows near or against the fence to prevent damage and maintain airflow. Overgrown plants can exert pressure on the panels and posts, leading to potential damage over time.
-
Weather Protection: In regions with extreme weather conditions, consider taking additional measures to protect your privacy fence. This may include applying a protective coating, securing loose components before storms, or reinforcing the fence against strong winds.
By incorporating these finishing touches and following essential maintenance practices, you can ensure that your privacy fence remains a functional and attractive addition to your property for years to come. Regular care and attention will preserve the beauty and structural integrity of your fence, providing the privacy and security you desire.