
Home>Create & Decorate>DIY & Crafts>How To Install Floating Shelves Without Brackets
DIY & Crafts
How To Install Floating Shelves Without Brackets
Published: April 28, 2024

Senior Editor in Create & Decorate, Kathryn combines traditional craftsmanship with contemporary trends. Her background in textile design and commitment to sustainable crafts inspire both content and community.
Learn how to install floating shelves without brackets with this easy DIY & Crafts tutorial. Create a stylish and functional storage solution for your home.
(Many of the links in this article redirect to a specific reviewed product. Your purchase of these products through affiliate links helps to generate commission for Twigandthistle.com, at no extra cost. Learn more)
Introduction
So, you've decided to add some floating shelves to your home, but you're not a fan of the traditional bracket look. No worries! Installing floating shelves without brackets is a great way to achieve a clean, modern look while maximizing space. In this guide, we'll walk you through the step-by-step process of installing floating shelves without the need for unsightly brackets. Whether you're looking to display decorative items, store books, or simply add a touch of elegance to your walls, this method will give you the sleek, minimalist look you desire. Let's dive in and get those shelves up!
Tools and Materials Needed
To get started with installing floating shelves without brackets, you'll need the following tools and materials:
- Stud Finder: This tool will help you locate the studs in your wall, which are essential for providing the necessary support for your floating shelves.
- Level: Ensuring that your shelves are perfectly straight is crucial for achieving a professional and polished look.
- Drill and Drill Bits: You'll need a drill to create holes for the wall anchors and screws.
- Wall Anchors and Screws: These will provide the necessary support for your shelves, especially if you're not able to anchor them directly into studs.
- Measuring Tape: Accurate measurements are key to ensuring that your shelves are properly aligned and spaced.
- Pencil: You'll need a pencil for marking the wall and shelves during the installation process.
- Floating Shelf Kit: Depending on the type of shelves you choose, you may need a specific kit that includes the necessary hardware and instructions for installation.
- Safety Gear: Always prioritize safety by wearing protective gear such as goggles and gloves when using power tools.
Gathering these tools and materials before you begin will help streamline the installation process and ensure that you have everything you need to complete the project successfully.
Finding the Right Location
Before you start drilling any holes, it's crucial to find the perfect location for your floating shelves. Here's how to do it:
-
Consider Functionality: Think about the purpose of the shelves. Are they purely decorative, or will they be used to store items? This will help determine the ideal height and placement.
-
Use a Stud Finder: Locate the studs in your wall using a stud finder. Securing your shelves to the studs will provide the necessary support for heavier items and ensure a sturdy installation.
-
Visualize the Layout: Use painter's tape to outline where you envision the shelves. This allows you to step back and assess the placement from different angles before making any permanent marks.
-
Account for Clearance: Ensure that there is enough space above and below the shelves to accommodate the items you plan to display or store.
-
Consider Aesthetic Balance: If you're installing multiple shelves, strive for visual balance by spacing them evenly and aligning them with other elements in the room, such as furniture or architectural features.
By carefully considering these factors, you can find the perfect location for your floating shelves, ensuring both functionality and aesthetic appeal.
Marking and Measuring
Once you've found the ideal location for your floating shelves, it's time to mark and measure for the installation. Here's a step-by-step guide to ensure precision and accuracy:
-
Mark the Wall: Use a pencil to mark the spots where the holes for the shelf brackets will be drilled. Double-check the markings to ensure they align with your desired placement.
-
Measure Twice, Drill Once: Using a measuring tape, carefully measure the distances between the marked spots for each shelf. Ensure that the measurements are consistent and level to avoid any crooked or uneven installation.
-
Account for Shelf Thickness: If your shelves have a specific thickness, take this into account when marking and measuring. This will help ensure that the shelves sit flush against the wall once installed.
-
Mark the Shelf Position: Place the shelves on the wall in their intended positions and use a pencil to mark the locations where the shelves will sit. This will serve as a guide when it comes time to attach the shelves to the wall.
-
Double-Check Everything: Before drilling any holes, take a moment to review your markings and measurements. Ensuring everything is level and properly aligned at this stage will save you from potential headaches during the installation process.
By taking the time to mark and measure accurately, you'll set yourself up for a successful and visually pleasing installation of your floating shelves.
Preparing the Shelves
Before you can install your floating shelves, it's essential to prepare the shelves themselves. Here's how to get them ready for installation:
-
Clean the Shelves: Wipe down the shelves with a clean, dry cloth to remove any dust or debris. This will ensure a clean surface for the installation process.
-
Attach Mounting Hardware: If your shelves require specific mounting hardware, such as brackets or support rods, follow the manufacturer's instructions to attach them securely to the shelves. This step is crucial for ensuring that the shelves are properly supported once installed.
-
Check for Imperfections: Inspect the shelves for any imperfections or damage. Address any issues before proceeding with the installation to avoid complications later on.
-
Apply Finish (Optional): If desired, apply a finish to the shelves according to the manufacturer's recommendations. This could involve staining, painting, or sealing the shelves to achieve the desired aesthetic.
-
Double-Check Measurements: Confirm that the measurements of the shelves align with the markings on the wall. Ensuring that the shelves are the correct size and shape for the intended space is crucial for a seamless installation.
By properly preparing the shelves before installation, you'll set the stage for a smooth and successful mounting process.
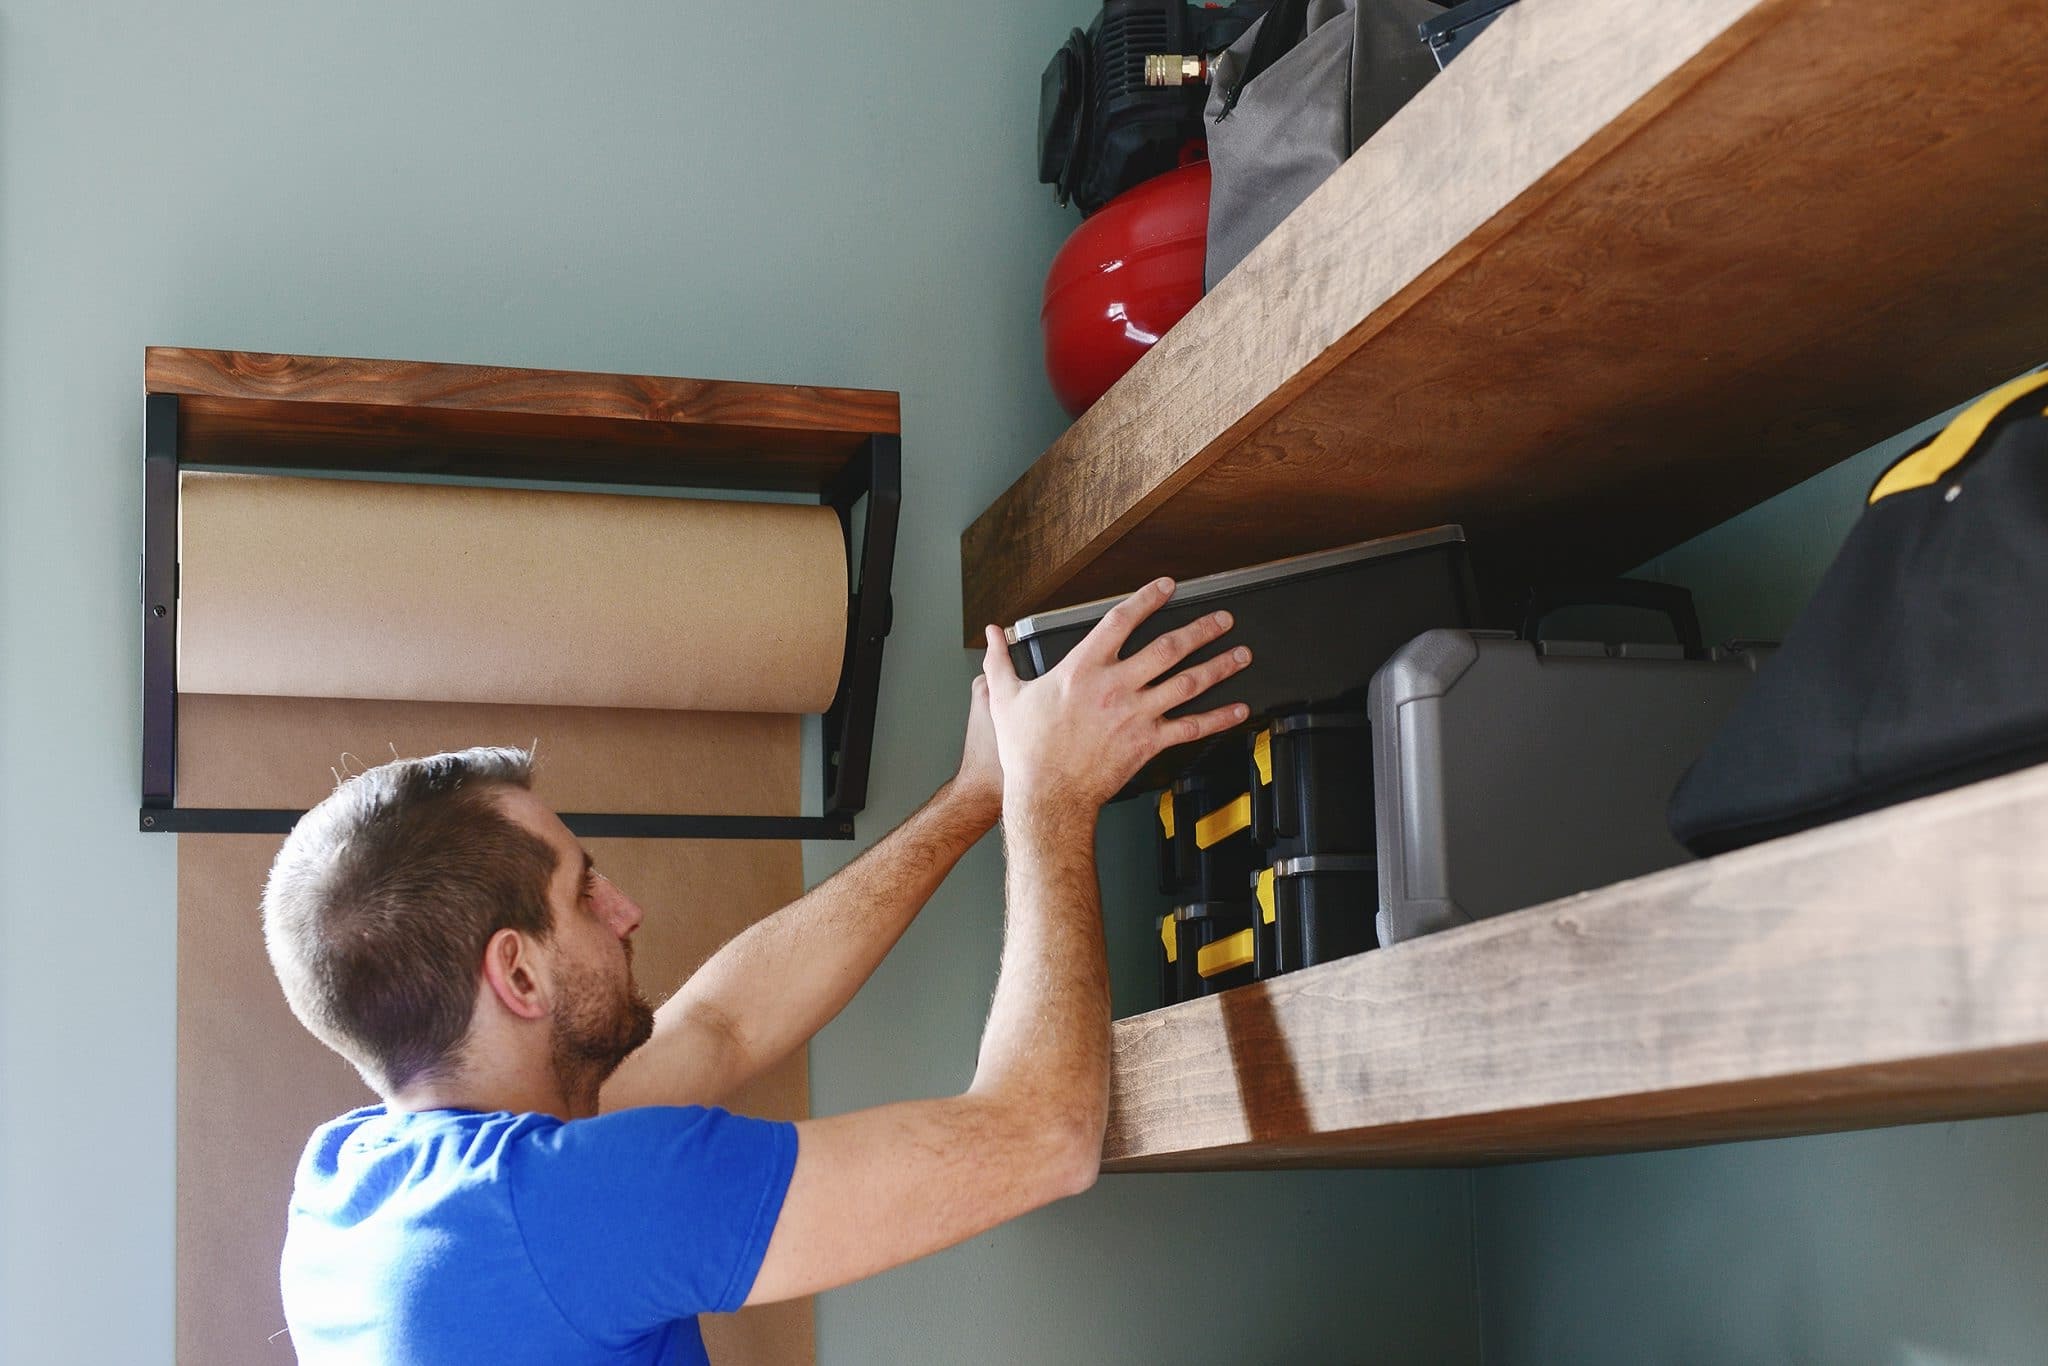
Installing the Shelves
-
Positioning the Shelves: Place the shelves against the wall, aligning them with the markings you made earlier. Ensure that they are level and positioned according to your design plan.
-
Marking the Drill Points: With the shelves in place, use a pencil to mark the spots on the wall where the holes for the mounting hardware will be drilled. This step is crucial for ensuring that the shelves are installed in the correct position.
-
Drilling Holes: Using a drill and the appropriate drill bit, carefully create the holes at the marked points. If you're drilling into studs, make sure to use the correct size of drill bit for the screws or bolts you'll be using.
-
Inserting Wall Anchors: If you're not able to anchor the shelves directly into studs, insert wall anchors into the drilled holes. These anchors will provide the necessary support for the screws or bolts that will hold the shelves in place.
-
Attaching the Shelves: With the holes prepared, it's time to attach the shelves to the wall. Depending on the type of shelves and mounting hardware, this may involve securing them with screws, bolts, or other fasteners. Ensure that the shelves are firmly and securely attached to the wall.
-
Checking for Stability: Once the shelves are installed, give them a gentle but firm tug to ensure they are stable and securely anchored to the wall. This step is essential for verifying that the shelves can support the intended weight without any risk of coming loose.
-
Final Adjustments: Take a step back and assess the shelves from different angles. Make any necessary adjustments to ensure that they are level and aligned with your initial vision. This is the time to fine-tune the positioning and make sure everything looks just right.
By following these steps, you can successfully install floating shelves without brackets, achieving a sleek and modern look while creating functional and visually appealing storage or display space in your home.
Final Touches and Tips
-
Add Decorative Elements: Once your floating shelves are installed, take the opportunity to add decorative elements such as framed photos, small potted plants, or decorative figurines. These items can enhance the visual appeal of your shelves and personalize the space to reflect your style.
-
Use Lighting: Consider incorporating subtle lighting to highlight the items on your shelves. LED strip lights or small, battery-operated puck lights can add a warm and inviting ambiance to the display while drawing attention to your cherished items.
-
Maintain Consistency: If you've installed multiple floating shelves, strive for consistency in spacing and alignment. This creates a cohesive and balanced look that enhances the overall aesthetic of the display.
-
Regular Maintenance: Periodically check the stability of your floating shelves and ensure that they are securely anchored to the wall. Additionally, dusting and cleaning the shelves and their contents will help maintain their appearance and prolong their lifespan.
-
Experiment with Arrangement: Don't be afraid to experiment with the arrangement of items on your shelves. Rearranging the display can breathe new life into the space and allow you to showcase different items or seasonal decorations.
-
Consider Weight Capacity: Be mindful of the weight capacity of your floating shelves. Avoid overloading them with heavy items, as this can compromise their stability and safety. Refer to the manufacturer's guidelines for weight limits.
-
Seek Inspiration: Browse home decor magazines, websites, or social media platforms for inspiration on styling and arranging floating shelves. You may discover creative ideas for displaying items and creating visually captivating arrangements.
-
Personalize Your Display: Use your floating shelves as an opportunity to showcase your personality and interests. Whether it's displaying a collection of vintage books, travel souvenirs, or handmade crafts, infusing your personal touch adds character to the space.
-
Share the Experience: If you've enjoyed the process of installing floating shelves without brackets and have achieved a stunning result, consider sharing your experience with friends or on social media. Your insights and tips may inspire others embarking on similar home improvement projects.
-
Enjoy Your New Space: Finally, take a moment to step back and appreciate the transformation that your floating shelves have brought to your home. Embrace the functionality and beauty they add to your living space and enjoy the satisfaction of a successful DIY project.