Home>Create & Decorate>DIY & Crafts>How To Build A Closet

DIY & Crafts
How To Build A Closet
Published: February 27, 2024

Content Creator specializing in woodworking and interior transformations. Caegan's guides motivate readers to undertake their own projects, while his custom furniture adds a personal touch.
Learn how to build a custom closet with our DIY & Crafts guide. Get step-by-step instructions and expert tips for creating your dream closet.
(Many of the links in this article redirect to a specific reviewed product. Your purchase of these products through affiliate links helps to generate commission for Twigandthistle.com, at no extra cost. Learn more)
Introduction
Building a closet can be a rewarding and practical DIY project that adds both functionality and style to your living space. Whether you're looking to maximize storage in a small bedroom, create a custom wardrobe in your walk-in closet, or simply organize your belongings more efficiently, constructing a closet allows you to tailor the design to your specific needs and preferences.
A well-designed closet not only enhances the organization of your clothes, shoes, and accessories but also contributes to the overall aesthetics of your home. By embarking on this project, you have the opportunity to unleash your creativity and craftsmanship, resulting in a personalized storage solution that complements your lifestyle.
In this comprehensive guide, we will walk you through the step-by-step process of building a closet from scratch. From measuring the space and selecting the right materials to designing the layout, installing the closet system, and adding finishing touches, we will cover everything you need to know to successfully complete this project.
By the end of this guide, you will have the knowledge and confidence to embark on your closet-building journey, whether you're a seasoned DIY enthusiast or a novice looking to explore the world of home improvement. So, roll up your sleeves, gather your tools, and let's dive into the exciting and fulfilling endeavor of creating a custom closet that reflects your unique style and organizational needs.
Read more: How To Build Shelves In A Closet
Step 1: Measure the Space
Before diving into the construction of your dream closet, it's crucial to start with accurate measurements of the space where the closet will be installed. Whether you're working with a small alcove or a spacious walk-in area, precise measurements will serve as the foundation for the entire project. Here's a detailed breakdown of the essential steps involved in measuring the space for your new closet:
-
Assess the Dimensions: Begin by assessing the dimensions of the area where the closet will be situated. Use a reliable tape measure to record the width, height, and depth of the space. It's important to measure not only the main wall but also any alcoves, nooks, or irregularities that may impact the design and layout of the closet.
-
Consider Obstacles and Features: Take note of any obstacles or features within the space, such as electrical outlets, light switches, baseboard heaters, or architectural elements. These details will influence the placement of shelves, rods, and other components within the closet.
-
Account for Door Clearances: If the closet will have doors, ensure that you account for door clearances when measuring the space. This includes considering the swing radius of the doors and the space required for them to open and close freely without obstruction.
-
Evaluate Ceiling Height: For closets with shelving or hanging rods, it's essential to evaluate the ceiling height to determine the maximum vertical space available for storage. This step is particularly crucial in walk-in closets where you may have the opportunity to incorporate taller storage solutions.
-
Document the Measurements: Once you've gathered all the necessary measurements, document them accurately. It's helpful to create a simple diagram or sketch of the space, indicating the measurements for reference during the design and installation phases.
By meticulously measuring the space and taking into account all relevant factors, you'll lay the groundwork for a successful closet-building project. These precise measurements will guide the selection of materials and the creation of a customized closet design that maximizes the available space while seamlessly integrating with the surrounding environment.
Step 2: Choose the Right Materials
Selecting the appropriate materials is a pivotal aspect of building a durable and visually appealing closet. The chosen materials will not only contribute to the overall aesthetics of the closet but also determine its longevity and functionality. Here's a detailed exploration of the key materials to consider for your closet construction project:
1. Wood:
Wood is a popular choice for closet construction due to its versatility and timeless appeal. When opting for wood, consider the specific type of wood that aligns with your design preferences and budget. Common options include solid wood, plywood, and medium-density fiberboard (MDF). Solid wood offers durability and a natural aesthetic, while plywood and MDF provide cost-effective alternatives without compromising on strength and stability.
2. Shelving and Rods:
For shelving and hanging rods, materials such as melamine, laminate, or wood veneer are commonly used. Melamine and laminate offer a smooth and easy-to-clean surface, making them ideal for shelves and drawers. Wood veneer, on the other hand, provides a classic wood appearance and can be stained or painted to match the overall design scheme.
Read more: How to Build a Walk-In Closet
3. Hardware and Accessories:
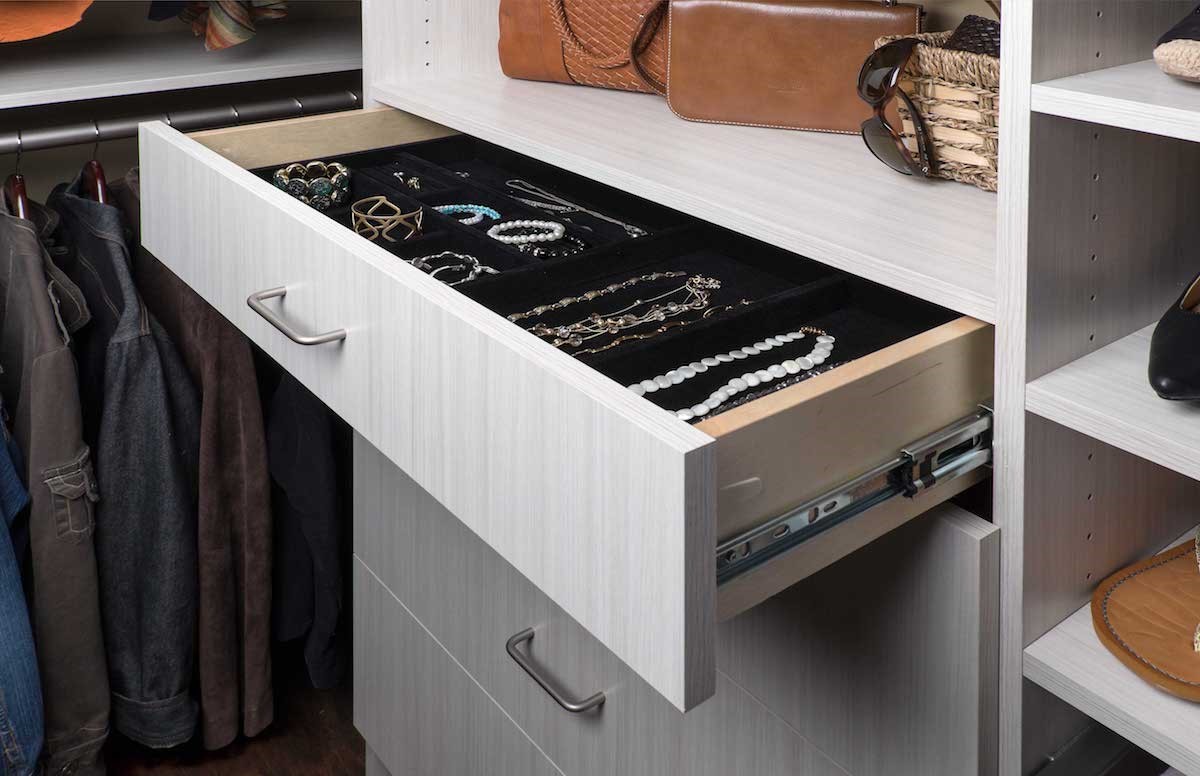
Selecting high-quality hardware and accessories is essential for ensuring the functionality and longevity of your closet. When choosing hardware such as drawer slides, hinges, and handles, opt for durable materials like stainless steel or nickel to withstand daily use. Additionally, consider accessories such as hooks, baskets, and shoe racks, which can be crafted from metal, plastic, or wood, depending on your preferences and organizational needs.
4. Finishing Materials:
The finishing materials, including paints, stains, and varnishes, play a crucial role in enhancing the visual appeal and protecting the surfaces of your closet components. When finishing wood-based materials, consider using low-VOC (volatile organic compound) paints and stains for an eco-friendly approach. Additionally, explore various finish options such as matte, satin, or glossy to achieve the desired aesthetic effect.
5. Backing Material:
The backing material for the closet, typically used for the rear wall of the shelving units, can be constructed from materials like hardboard, plywood, or beadboard. Hardboard offers a smooth and uniform surface, while plywood provides strength and stability. Beadboard, with its charming textured appearance, adds a touch of character to the interior of the closet.
By carefully considering and selecting the right materials for your closet project, you can ensure a well-crafted and resilient storage solution that aligns with your design vision and functional requirements. The chosen materials will form the foundation of your closet construction, setting the stage for the subsequent phases of the project, including layout design and installation.
Step 3: Design the Layout
Designing the layout of your closet is a pivotal phase that merges creativity with practicality, allowing you to envision a cohesive and efficient storage space tailored to your specific needs. This process involves strategic planning to optimize the available area, maximize storage capacity, and create a visually appealing arrangement. Here's a comprehensive exploration of the key considerations and steps involved in designing the layout of your custom closet:
Read more: How to Build a DIY Closet Rod
1. Assess Storage Requirements:
Begin by assessing your storage requirements based on the types of items you plan to store in the closet. Consider the quantity of clothing, shoes, accessories, and other belongings, as well as any specific storage needs, such as long-hanging garments, folded items, or specialized storage for accessories and shoes.
2. Utilize Vertical Space:
Maximize the use of vertical space by incorporating a combination of shelves, hanging rods, and drawers. This approach allows for efficient organization and easy accessibility to a variety of items. Consider adjustable shelving and hanging rods to accommodate different clothing lengths and to adapt to changing storage needs over time.
3. Create Zones:
Establish distinct zones within the closet to streamline organization. Designate specific areas for different categories of items, such as a section for formal attire, a compartment for casual wear, dedicated shoe storage, and specialized compartments for accessories. Creating designated zones enhances organization and simplifies the retrieval of items.
4. Incorporate Lighting:
Integrate adequate lighting into the closet design to enhance visibility and functionality. Consider options such as recessed LED lighting, track lighting, or battery-operated LED fixtures to illuminate the interior of the closet. Well-placed lighting not only improves visibility but also contributes to a welcoming and stylish ambiance.
Read more: How to Build a DIY Closet Wine Cellar
5. Consider Accessibility:
Ensure that the layout promotes ease of access to all storage areas. Place frequently used items at eye level or within arm's reach, while reserving higher or lower spaces for less frequently accessed belongings. This approach optimizes accessibility and convenience, making it effortless to locate and retrieve items.
6. Personalize the Design:
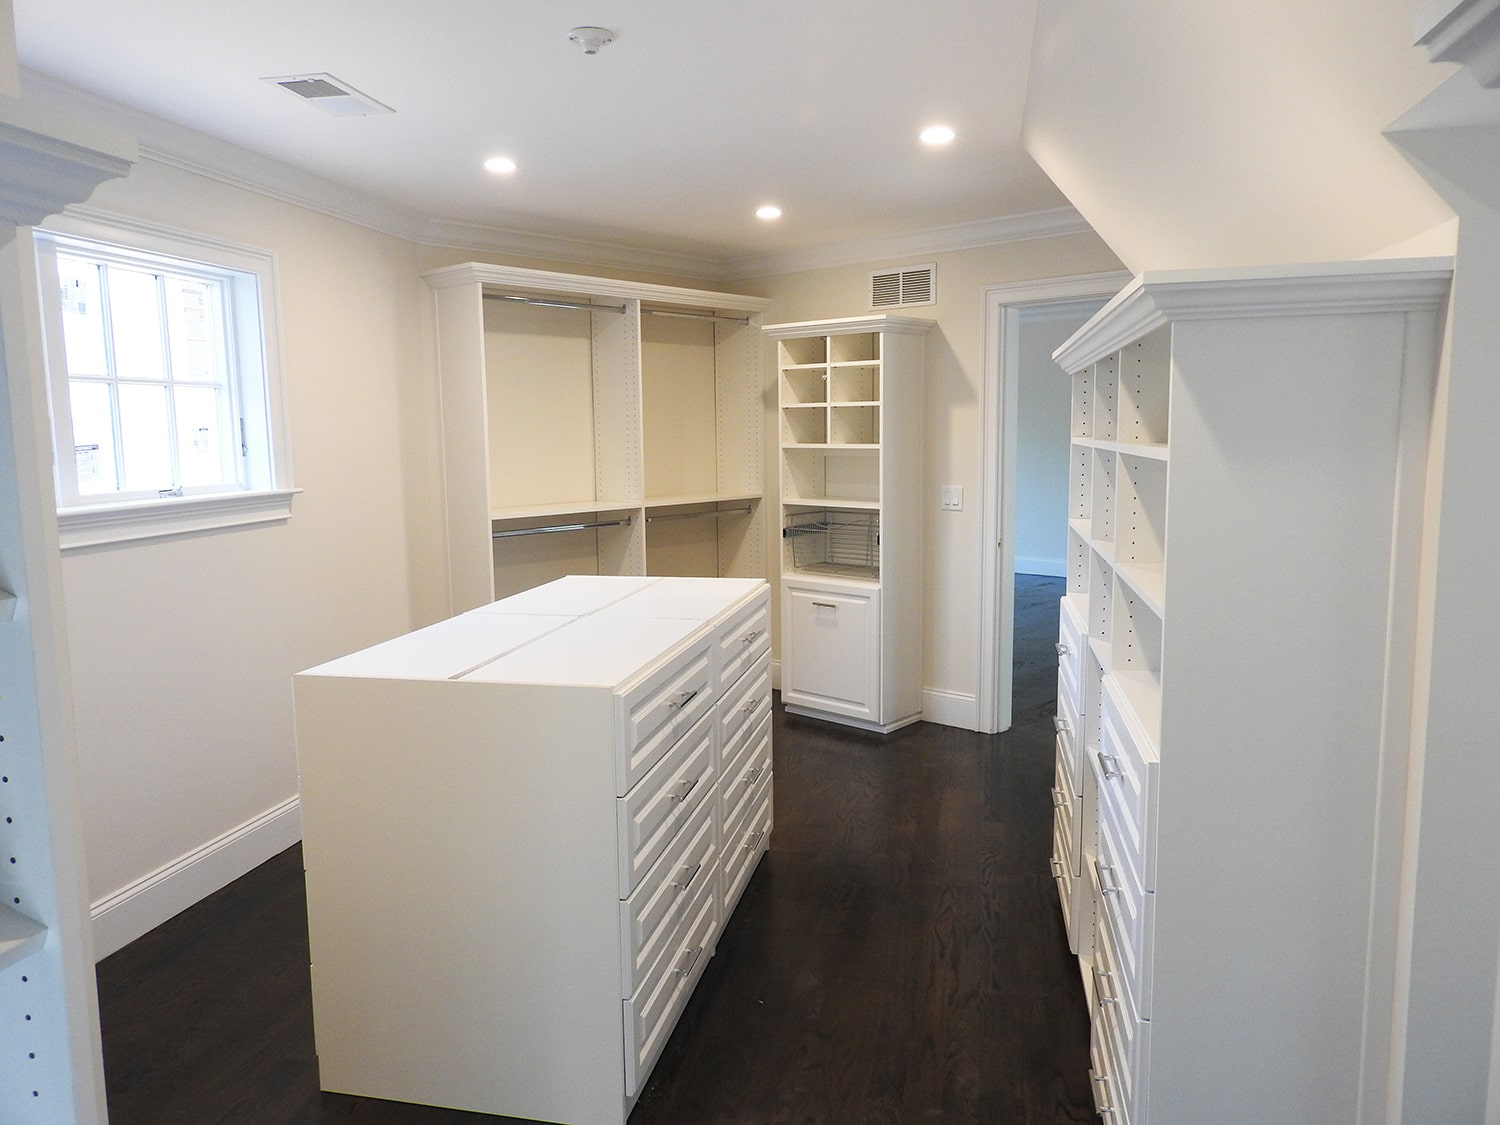
Infuse your personal style into the layout by incorporating decorative elements and customization options. Consider adding decorative molding, stylish hardware, or personalized touches such as a built-in vanity, full-length mirror, or seating area, depending on the available space and your preferences.
By meticulously designing the layout of your closet, you can create a well-organized and visually appealing storage space that harmonizes with your lifestyle and reflects your unique sense of style. This thoughtful approach to layout design sets the stage for the next phase of the project: installing the closet system and bringing your vision to life.
Step 4: Install the Closet System
With the meticulous planning and preparation completed, it's time to embark on the exciting phase of installing the closet system. This pivotal step brings your vision to life as you transform the measured space and carefully selected materials into a functional and aesthetically pleasing storage solution. Here's a detailed exploration of the essential steps involved in installing the closet system:
-
Prepare the Space: Clear the designated area and ensure it is clean and free of any obstructions. If necessary, make any final adjustments to the walls, such as patching holes or sanding rough surfaces, to create a smooth and even backdrop for the installation.
-
Assemble Components: If your closet system includes pre-fabricated components such as shelving units, drawers, or modular storage elements, carefully assemble them according to the manufacturer's instructions. Pay close attention to alignment and stability during assembly to ensure a secure and reliable end result.
-
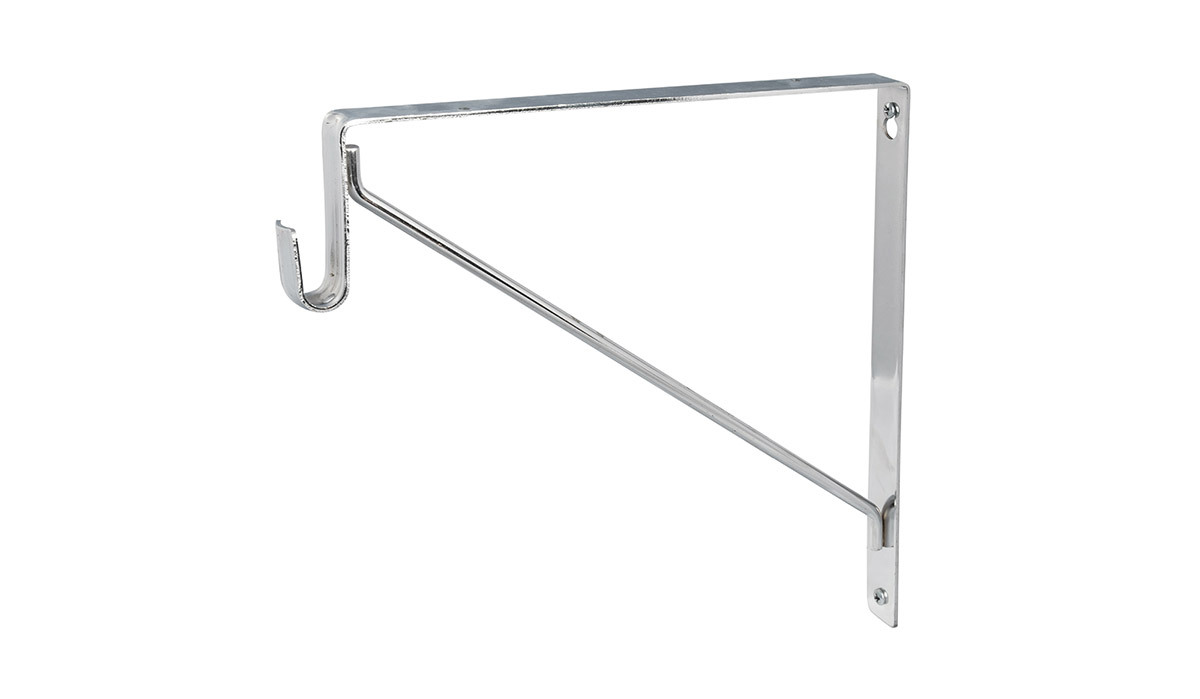
Mounting and Anchoring: When installing fixed components such as shelving, hanging rods, or support brackets, use appropriate mounting hardware and anchors to secure them to the walls. Ensure that the mounting points are level and securely anchored to provide stable support for the weight of clothing and other items.
-
Adjust for Precision: Fine-tune the positioning of shelves, rods, and other components to achieve precise alignment and spacing. Use a level to ensure that horizontal elements are perfectly straight, and make any necessary adjustments to achieve a uniform and professional-looking installation.
-
Integrate Lighting and Accessories: If your closet design includes integrated lighting fixtures, now is the time to install them according to the specified guidelines. Additionally, incorporate accessories such as hooks, baskets, and specialty organizers into the designated areas to enhance the functionality and organization of the closet.
-
Test Functionality: Once the primary components are installed, test the functionality of drawers, sliding mechanisms, and any moving parts to ensure smooth operation. Verify that doors, if included, open and close without obstruction, and that all elements are securely in place.
-
Final Touches: Add any finishing touches such as decorative trim, molding, or touch-up paint to refine the appearance of the closet system. Pay attention to detail and ensure that all visible surfaces are clean, polished, and free of any imperfections.
By meticulously following these steps and exercising precision and care throughout the installation process, you can bring your custom closet system to fruition. This phase marks the transition from planning and preparation to the tangible realization of your vision, setting the stage for the final phase of the project: adding finishing touches to complete the closet construction.
Step 5: Add Finishing Touches
As the closet system nears completion, adding finishing touches elevates the overall aesthetic appeal and functionality of the space. This phase focuses on refining the details and incorporating elements that enhance the visual impact and usability of the custom closet. Here's a detailed exploration of the essential steps involved in adding finishing touches to your newly constructed closet:
Read more: How to Build DIY Closet Doors
1. Install Decorative Hardware:
Enhance the visual appeal of the closet by installing decorative hardware such as stylish handles, knobs, and drawer pulls. Choose hardware that complements the overall design theme and adds a touch of elegance to the storage components.
2. Apply Trim and Molding:
Incorporate trim and molding to create a polished and cohesive look for the closet system. Crown molding, baseboards, and decorative trim can be added to conceal seams, transitions, and edges, providing a refined and professional finish to the entire structure.
3. Organize and Arrange Items:
Once the primary construction is complete, organize and arrange your clothing, shoes, and accessories within the closet. Utilize storage bins, dividers, and organizers to maintain a tidy and efficient storage space, ensuring that each item has a designated place.
4. Personalize with Décor:
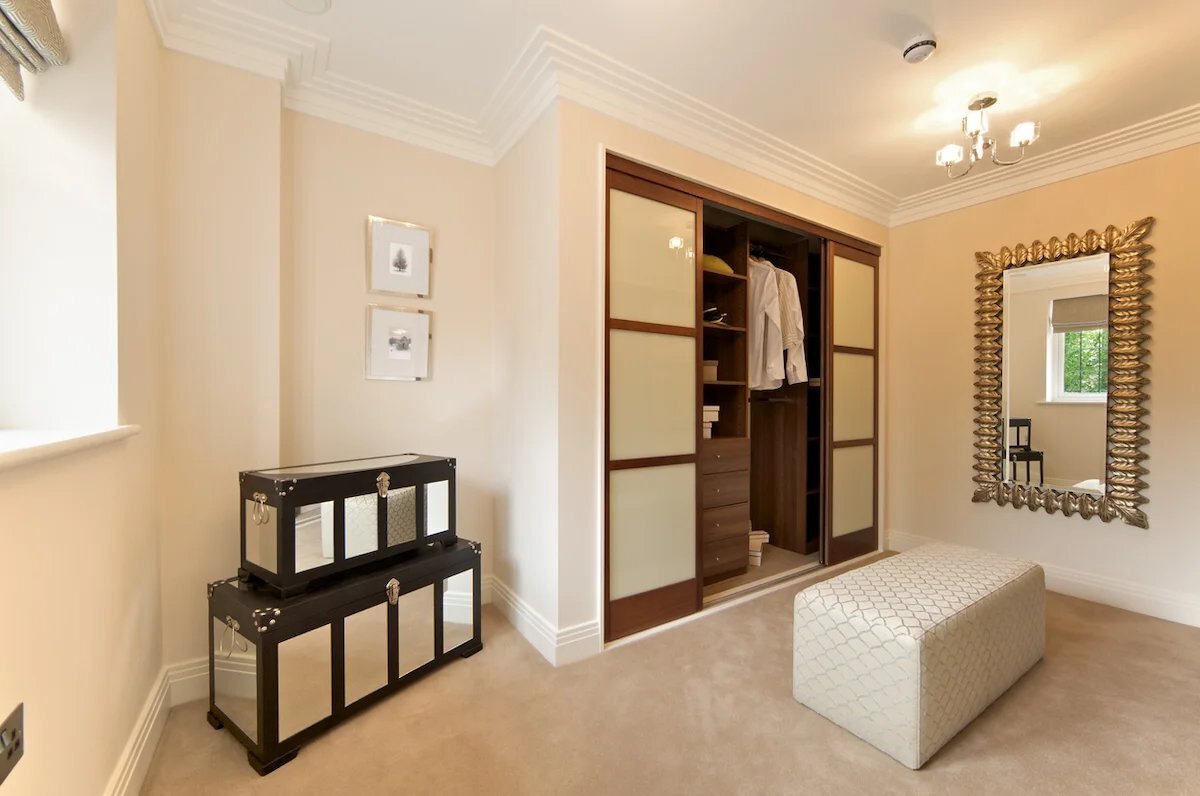
Infuse personality into the closet by adding decorative elements such as framed artwork, wall decals, or inspirational quotes. Consider incorporating a full-length mirror, decorative hooks, or a stylish rug to create a personalized and inviting atmosphere within the space.
Read more: How to Build a DIY Broom Closet
5. Clean and Inspect:
Thoroughly clean the interior and exterior surfaces of the closet, removing any dust, debris, or construction residues. Inspect the entire system for any overlooked imperfections or areas that may require touch-up paint or minor adjustments.
6. Evaluate Functionality:
Test the functionality of the completed closet system by interacting with the various storage components. Open and close drawers, test the sliding mechanisms of shelves, and ensure that all accessories and organizational elements are effectively contributing to the functionality of the space.
7. Final Quality Check:
Conduct a final quality check to verify that all finishing touches have been executed to the desired standards. Pay attention to details such as alignment, cleanliness, and overall presentation, ensuring that the closet exudes a sense of craftsmanship and attention to detail.
By meticulously adding these finishing touches, you elevate the custom closet from a functional storage space to a refined and personalized area that seamlessly integrates with your lifestyle. This phase marks the culmination of your closet-building journey, resulting in a well-crafted and visually captivating storage solution that enhances the organization and aesthetics of your living space.
Conclusion
Embarking on the journey of building a custom closet is a fulfilling endeavor that allows you to merge practical functionality with personalized style. Throughout this comprehensive guide, we've delved into the step-by-step process of constructing a closet from the initial measurements to the final finishing touches. By following these detailed steps, you have gained the knowledge and confidence to undertake this rewarding DIY project and create a storage solution that seamlessly integrates with your lifestyle.
As you conclude this transformative journey, take pride in the craftsmanship and attention to detail that have shaped your custom closet. The meticulous measurements conducted at the outset have laid the foundation for a well-fitted and purposeful storage space. The careful selection of materials has not only contributed to the durability and resilience of the closet but has also added a touch of elegance and warmth to the overall design.
The thoughtful layout design has optimized the available space, ensuring that every inch is utilized efficiently while reflecting your unique organizational needs and aesthetic preferences. The installation of the closet system has brought your vision to life, transforming raw materials into a functional and visually captivating storage solution that enhances the organization and aesthetics of your living space.
As you add the finishing touches, the closet evolves from a mere construction project to a personalized sanctuary for your belongings. The incorporation of decorative hardware, trim, and personalized décor elements infuses the space with character and charm, reflecting your individual style and creating a welcoming atmosphere within the closet.
With the completion of this project, you have not only built a custom closet but have also cultivated a sense of accomplishment and ownership. Your newly constructed closet stands as a testament to your creativity, resourcefulness, and dedication to enhancing your living environment. It serves as a functional and aesthetically pleasing addition to your home, offering a tailored storage solution that aligns with your lifestyle and organizational needs.
As you admire the finished closet, take a moment to appreciate the transformation that has taken place. From a blank canvas to a meticulously crafted storage space, your custom closet embodies the fusion of practicality and creativity, showcasing your ability to turn a vision into reality. Whether it's a compact reach-in closet or a spacious walk-in wardrobe, the process of building a closet has empowered you to shape your living space according to your unique preferences and requirements.
In conclusion, the journey of building a custom closet transcends the mere construction of a storage space; it represents a personal expression of creativity, functionality, and craftsmanship. As you revel in the completion of this project, may your custom closet stand as a testament to your ingenuity and dedication, enriching your living environment for years to come.

