
Home>Create & Decorate>DIY & Crafts>Wooden DIY Shelves: Create Stylish Storage With Ease
DIY & Crafts
Wooden DIY Shelves: Create Stylish Storage With Ease
Published: April 6, 2024

Content Creator specializing in woodworking and interior transformations. Caegan's guides motivate readers to undertake their own projects, while his custom furniture adds a personal touch.
Discover how to craft stylish and practical storage solutions with our DIY wooden shelves. Get inspired to create your own unique designs and add a personal touch to your home decor. Perfect for DIY & Crafts enthusiasts!
(Many of the links in this article redirect to a specific reviewed product. Your purchase of these products through affiliate links helps to generate commission for Twigandthistle.com, at no extra cost. Learn more)
Introduction
Are you looking to add a touch of rustic charm and practicality to your home? Wooden DIY shelves are a fantastic way to achieve both. Whether you're a seasoned DIY enthusiast or just starting out, creating your own wooden shelves can be a rewarding and budget-friendly project. In this article, we'll guide you through the process of building and styling your very own wooden DIY shelves, providing you with the knowledge and inspiration to transform your space with stylish storage solutions. So, grab your tools and let's get started on this exciting DIY adventure!
Choosing the Right Wood for Your DIY Shelves
When it comes to creating wooden DIY shelves, selecting the right type of wood is crucial for both the aesthetic and functional aspects of your project. Here are some popular wood options to consider:
1. Pine
- Pros: Pine is affordable, lightweight, and easy to work with, making it an excellent choice for beginners. It also takes stains and finishes well, allowing you to achieve various looks.
- Cons: While pine is durable, it is softer than some other woods, so it may be more prone to dents and scratches.
2. Oak
- Pros: Oak is known for its strength and durability, making it a reliable option for heavy-duty shelves. It also features beautiful grain patterns that add a touch of elegance to your space.
- Cons: Oak can be more expensive than other types of wood, but its longevity and timeless appeal make it a worthwhile investment.
3. Plywood
- Pros: Plywood is a versatile and budget-friendly choice for DIY shelves. It comes in various grades and finishes, offering options for different aesthetics and load-bearing capacities.
- Cons: The visible layers in plywood may not suit every design preference, but it can be covered with edge banding or a veneer for a polished look.
4. Reclaimed Wood
- Pros: Using reclaimed wood not only adds character to your shelves but also contributes to sustainable practices. Each piece of reclaimed wood tells a unique story and brings a sense of history to your home.
- Cons: Availability and sourcing may require extra effort, but the environmental and aesthetic benefits make it a compelling option.
Consider the overall style of your space and the intended use of the shelves when choosing the wood. Whether you prefer the natural warmth of pine, the timeless appeal of oak, the versatility of plywood, or the character of reclaimed wood, selecting the right wood sets the foundation for a successful DIY shelf project.
Tools and Materials Needed for Building Wooden Shelves
Before diving into your wooden DIY shelf project, it's essential to gather the necessary tools and materials to ensure a smooth and efficient building process. Here's a comprehensive list of what you'll need:
Tools:
- Measuring Tape: Accurate measurements are crucial for precise cuts and a perfect fit.
- Circular Saw or Table Saw: Ideal for cutting large pieces of wood to the desired dimensions.
- Drill and Drill Bits: For creating pilot holes and securing screws or nails.
- Screwdriver or Power Screwdriver: Essential for driving screws into the wood.
- Level: Ensures that your shelves are installed straight and even.
- Sandpaper or Sander: Smoothens rough edges and surfaces for a polished finish.
- Paintbrushes or Stain Applicators: For applying paint or stain to the shelves.
- Safety Gear: Including goggles, gloves, and a dust mask to protect yourself during the construction process.
Materials:
- Wooden Boards: The main material for constructing the shelves. Ensure they are cut to the desired dimensions at the hardware store or cut them yourself if you have the necessary tools.
- Wood Screws or Nails: For securing the shelves and providing structural support.
- Wood Glue: Optional but useful for reinforcing joints and adding extra stability.
- Wood Stain or Paint: To enhance the appearance of the shelves and protect the wood from wear and tear.
- Wall Anchors (if applicable): Necessary for securing the shelves to the wall, especially for floating or heavy-duty shelves.
- Mounting Brackets (if applicable): Provides additional support for wall-mounted shelves.
- Decorative Hardware (optional): Such as knobs, handles, or brackets to add a personalized touch to your shelves.
By ensuring you have all the required tools and materials on hand, you'll be well-prepared to tackle the construction of your wooden DIY shelves with confidence and efficiency.
Step-by-Step Guide to Building Wooden DIY Shelves
Now that you have your tools and materials ready, it's time to embark on the exciting journey of building your very own wooden DIY shelves. Follow these step-by-step instructions to bring your vision to life:
-
Measure and Plan: Begin by measuring the space where you intend to install the shelves. Consider the height, width, and depth of the shelves, ensuring they complement the area. Sketch a simple design or layout to visualize the placement of the shelves.
-
Cut the Wood: Using a circular saw or table saw, carefully cut the wooden boards to the measured dimensions. If you don't have the tools to cut the wood yourself, most hardware stores offer cutting services to achieve precise cuts.
-
Sand the Edges: After cutting the wood, use sandpaper or a sander to smooth out any rough edges or surfaces. This step is crucial for achieving a professional and polished look for your shelves.
-
Assemble the Shelves: Depending on your design, begin assembling the shelves by attaching the sides to the shelves using wood screws, wood glue, or a combination of both. Ensure the pieces are aligned and level during assembly.
-
Reinforce the Joints: For added stability, consider reinforcing the joints with wood glue before securing them with screws or nails. This extra step can enhance the overall strength and durability of your shelves.
-
Apply Finish: Once the shelves are assembled, it's time to apply the desired finish. Whether you prefer a natural wood look, a vibrant paint color, or a rich stain, use a paintbrush or stain applicator to coat the shelves evenly. Allow sufficient drying time as per the product instructions.
-
Install the Shelves: If your shelves are wall-mounted, use a level to mark the positions for mounting brackets or wall anchors. Secure the shelves in place, ensuring they are level and securely attached to the wall.
-
Add Decorative Touches: To personalize your shelves, consider adding decorative hardware such as knobs, handles, or brackets. These small details can elevate the visual appeal of your shelves and tie in with your overall home decor.
By following these step-by-step instructions, you can create custom wooden DIY shelves that not only provide practical storage but also serve as a stylish focal point in your home. Enjoy the satisfaction of showcasing your craftsmanship and the functional benefits of your newly built shelves.
Finishing and Staining Your Wooden DIY Shelves
After the construction of your wooden DIY shelves, the finishing and staining process is a crucial step to enhance their appearance and protect the wood from wear and tear. Whether you prefer a natural wood look, a pop of color, or a rich stained finish, the following steps will guide you through the process of achieving the perfect aesthetic for your shelves.
1. Sanding the Surfaces
Before applying any finish or stain, it's essential to sand the surfaces of the shelves to ensure they are smooth and free of any imperfections. Use fine-grit sandpaper or a sander to gently sand the wood, focusing on any rough areas or sharp edges. This step not only creates a polished look but also allows the finish to adhere evenly to the wood.
2. Choosing the Finish
Decide whether you want to maintain the natural look of the wood or add a pop of color with paint. If you opt for a natural finish, consider using a clear varnish or polyurethane to protect the wood while preserving its natural beauty. For a painted finish, select a high-quality wood paint in the color of your choice. Ensure the paint is suitable for wooden surfaces and provides a durable finish.
3. Applying the Finish
Using a paintbrush or a paint applicator, carefully apply the chosen finish to the shelves. If you're using a clear varnish or polyurethane, apply thin, even coats, allowing each coat to dry completely before applying the next. For painted finishes, ensure the paint is applied evenly, and consider applying multiple coats for a vibrant and long-lasting color.
4. Staining the Wood (Optional)
If you prefer a stained finish, select a wood stain that complements your home decor and the natural characteristics of the wood. Before applying the stain, test it on a small, inconspicuous area of the wood to ensure it achieves the desired color. Once you're satisfied with the stain, use a clean cloth or brush to apply it to the shelves, following the wood grain for an even application.
5. Sealing the Finish
After the finish or stain has dried completely, consider sealing the shelves with a clear topcoat to provide added protection and durability. A clear topcoat can shield the wood from scratches, moisture, and UV damage, extending the lifespan of your shelves and preserving their appearance over time.
By following these steps, you can achieve a professional and long-lasting finish for your wooden DIY shelves, elevating their visual appeal and ensuring they withstand daily use. Whether you prefer a natural, painted, or stained finish, the right application and sealing of the finish will contribute to the overall beauty and functionality of your custom shelves.
Styling and Decorating Your Wooden DIY Shelves
Once your wooden DIY shelves are constructed and finished, it's time to infuse them with personality and style through thoughtful decor and arrangement. Whether you aim for a minimalist, modern look or a cozy, eclectic vibe, styling your shelves can transform them from functional storage units into captivating design elements within your home.
1. Consider the Overall Theme
Before diving into the decor, consider the overall theme or aesthetic you want to achieve. Are you aiming for a sleek and contemporary feel, or do you prefer a more rustic and cozy ambiance? Understanding the theme will guide your decor choices and ensure a cohesive look for your shelves.
2. Balance and Symmetry
Achieving balance and symmetry in your shelf decor can create a visually pleasing display. Arrange items in a way that balances the visual weight throughout the shelves. For example, if you place a larger item on one end, balance it out with a grouping of smaller items on the opposite side.
3. Mix and Match
Mixing different types of decor elements adds depth and interest to your shelves. Consider incorporating a variety of items such as framed photos, potted plants, decorative vases, books, and sculptural pieces. Mixing textures and heights can create a dynamic and visually appealing arrangement.
4. Personal Touches
Infuse your personality into the shelf decor by displaying items that hold sentimental value or reflect your hobbies and interests. Whether it's a collection of vintage cameras, travel souvenirs, or handmade pottery, incorporating personal touches adds a unique and meaningful dimension to your shelves.
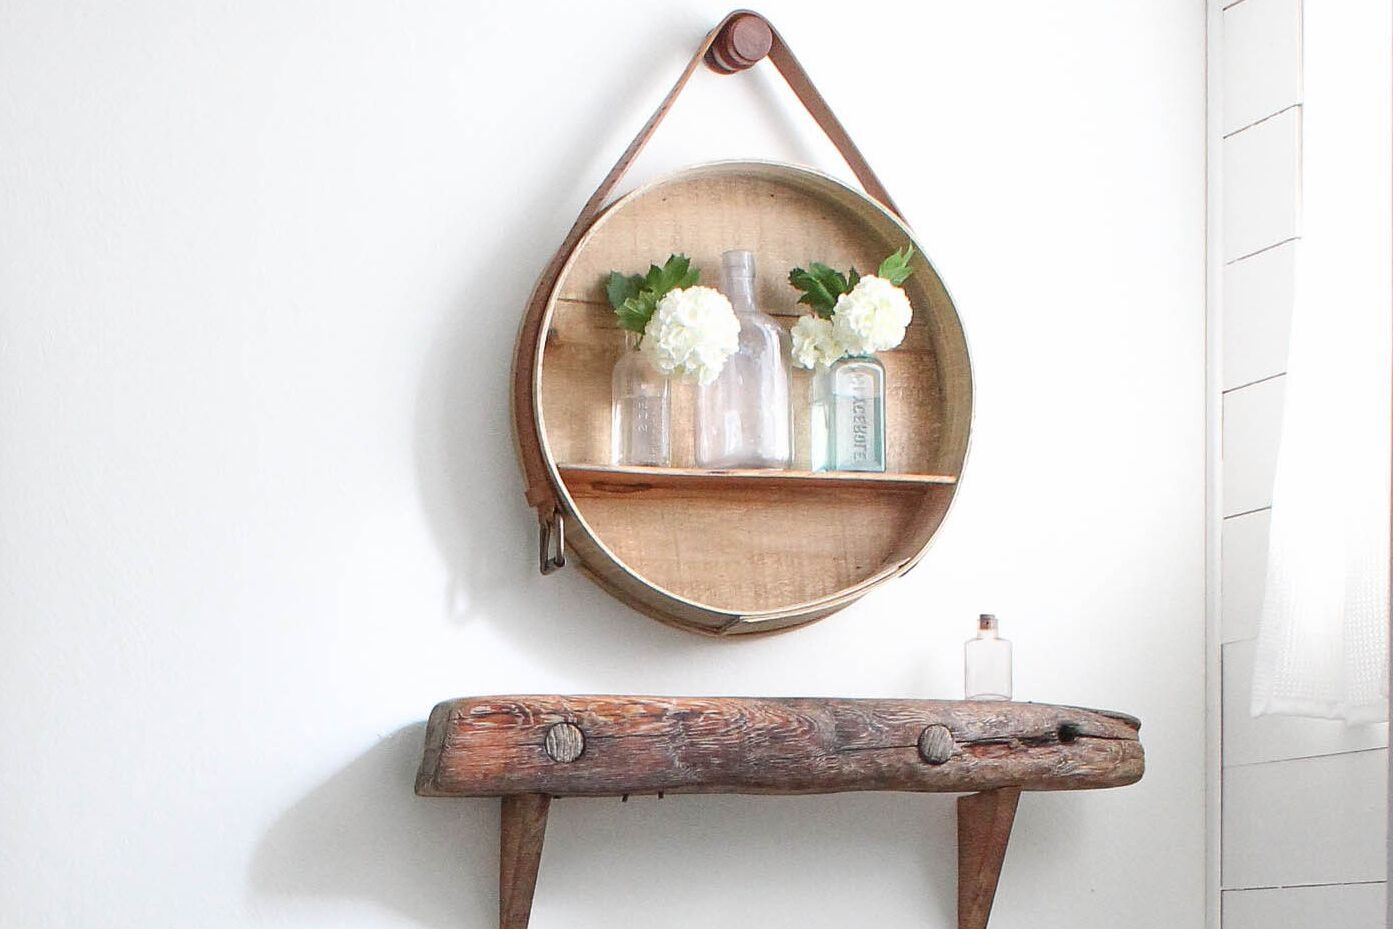
5. Greenery and Natural Elements
Introducing greenery and natural elements, such as potted plants, succulents, or a vase of fresh flowers, can breathe life into your shelves. Not only do they add a refreshing touch of nature, but they also contribute to a vibrant and inviting atmosphere within your space.
6. Layering and Depth
Create visual interest by layering items and varying the depth of your decor. Place artwork or framed photos against the back of the shelf and layer smaller items in front to add depth and dimension. This technique adds a sense of richness and complexity to the overall display.
7. Negative Space
Embrace the beauty of negative space by allowing some areas of your shelves to remain unadorned. This practice prevents overcrowding and provides breathing room for the eye, allowing the curated decor to stand out and shine.
8. Seasonal Rotation
Consider updating your shelf decor with the changing seasons. Incorporating seasonal elements such as holiday decor, seasonal colors, or thematic items can keep your shelves feeling fresh and relevant throughout the year.
By incorporating these styling and decorating tips, you can elevate the visual impact of your wooden DIY shelves, turning them into captivating focal points within your home. Whether you opt for a curated, minimalist look or a vibrant, eclectic display, the styling process allows you to showcase your creativity and design sensibilities while enhancing the functionality of your custom shelves.
Conclusion and Final Tips for Maintaining Your Wooden DIY Shelves
Regular Cleaning
Regularly dust and wipe down your wooden shelves to prevent the accumulation of dirt and grime. Use a soft, microfiber cloth to gently clean the surfaces, and avoid harsh chemical cleaners that may damage the wood.
Inspect for Wear and Tear
Periodically inspect your shelves for any signs of wear, such as scratches, dents, or loose hardware. Addressing minor issues promptly can prevent them from escalating into more significant problems.
Avoid Excessive Weight
Be mindful of the weight capacity of your shelves and avoid overloading them with heavy items. Distribute the weight evenly across the shelves to maintain their structural integrity and prevent sagging.
Protect from Moisture
Avoid placing your wooden shelves in areas prone to high humidity or direct moisture exposure, as this can lead to warping or damage. Use coasters or protective pads for items that may cause moisture buildup.
Retouching and Refinishing
If you notice any minor scratches or blemishes on the shelves, consider using a touch-up pen or wood filler to address the imperfections. Periodically refinishing the shelves can also revive their appearance and provide added protection.
Reinforce Wall-Mounted Shelves
For wall-mounted shelves, periodically check the stability of the mounting brackets and wall anchors. Tighten any loose hardware and ensure the shelves are securely attached to the wall to prevent accidents.
Rotate and Rearrange Decor
Periodically rotate and rearrange the decor on your shelves to prevent prolonged exposure to sunlight or uneven wear. This practice also allows you to refresh the look of your shelves without making significant changes.
Prevent Sun Damage
Avoid prolonged exposure to direct sunlight, as it can cause the wood to fade or discolor over time. Consider using window treatments or repositioning the shelves to minimize sun exposure.
By implementing these maintenance tips, you can ensure that your wooden DIY shelves remain in optimal condition, preserving their beauty and functionality for years to come. With regular care and attention, your custom shelves will continue to enhance your space and provide reliable storage solutions.