
Home>Create & Decorate>DIY & Crafts>How To Build A Bike Ramp
DIY & Crafts
How To Build A Bike Ramp
Modified: May 30, 2024

Content Creator specializing in woodworking and interior transformations. Caegan's guides motivate readers to undertake their own projects, while his custom furniture adds a personal touch.
Learn how to build a bike ramp with our easy DIY guide. Perfect for DIY & Crafts enthusiasts looking for a fun and practical project.
(Many of the links in this article redirect to a specific reviewed product. Your purchase of these products through affiliate links helps to generate commission for Twigandthistle.com, at no extra cost. Learn more)
Introduction
So, you want to learn how to build a bike ramp? You've come to the right place! Building a bike ramp can be a fun and rewarding DIY project that will not only improve your biking skills but also add a cool feature to your backyard or local bike park. Whether you're a beginner or an experienced rider, having your own bike ramp can provide hours of entertainment and help you practice new tricks and techniques. In this article, we'll guide you through the step-by-step process of building a bike ramp that is safe, sturdy, and perfect for honing your biking skills. Let's get started!
Choosing the Right Location
When it comes to building a bike ramp, choosing the right location is crucial for both safety and functionality. Here are some key factors to consider when selecting the perfect spot for your bike ramp:
-
Space: Ensure that you have enough space to accommodate the size of the ramp and provide a clear approach and landing area for your bike. A flat, open area with sufficient clearance is ideal.
-
Accessibility: The location should be easily accessible for you to transport materials and tools. Consider the terrain and make sure it's not too difficult to reach with your equipment.
-
Permission: If you're building the ramp on public or shared property, make sure to obtain the necessary permissions from the relevant authorities or landowners. For private property, ensure that you have the owner's consent.
-
Terrain: The terrain should be relatively flat and stable. Avoid areas with uneven ground or potential hazards such as rocks, roots, or other obstacles that could affect the ramp's stability.
-
Safety: Choose a location away from high-traffic areas, pedestrian pathways, or other potential hazards. Safety should be a top priority when selecting the right spot for your bike ramp.
Once you've considered these factors and found the perfect location, you're ready to move on to the next steps in building your bike ramp.
Gathering Materials and Tools
Before you start building your bike ramp, it's essential to gather all the necessary materials and tools. Here's a comprehensive list to ensure you have everything you need to complete the project:
Materials:
- Pressure-Treated Wood: For the ramp surface and support structure, pressure-treated wood is durable and resistant to rot, making it ideal for outdoor use.
- Plywood: Use plywood for the ramp surface to provide a smooth and sturdy riding surface.
- Wood Screws and Nails: These will be used to secure the wooden components together.
- Wood Glue: Opt for weather-resistant wood glue to reinforce the connections between the ramp's structural elements.
- Brackets and Angle Braces: These will help provide additional support and stability to the ramp structure.
- Ramp Surface Material: Consider using a durable and weather-resistant material such as Skatelite or Masonite for the ramp surface.
- Safety Gear: Don't forget to invest in safety equipment such as goggles, gloves, and a dust mask to protect yourself during the construction process.
Tools:
- Circular Saw: A circular saw will be essential for cutting the wood to the required dimensions.
- Drill and Bits: You'll need a drill to create pilot holes and drive screws into the wood.
- Screwdriver: Both a manual and electric screwdriver will come in handy for assembling the ramp components.
- Measuring Tape and Carpenter's Square: Accurate measurements and precise angles are crucial for constructing a safe and functional bike ramp.
- Clamps: Use clamps to hold the wood pieces together securely during assembly.
- Level: A level will ensure that the ramp is constructed on a flat and even surface.
- Safety Equipment: In addition to the safety gear mentioned in the materials section, consider using ear protection and a hard hat for added safety.
By gathering these materials and tools, you'll be well-prepared to embark on the construction of your bike ramp. Once you have everything on hand, you can move on to the next steps in the building process.
Designing the Ramp
Designing the bike ramp is a crucial step that requires careful planning and consideration of various factors to ensure the ramp meets your specific needs and preferences. Here's a detailed guide to help you design a functional and safe bike ramp:
-
Ramp Dimensions: Determine the dimensions of the ramp based on the available space and your riding preferences. Consider the width, length, and height of the ramp to accommodate different riding styles and skill levels. A typical starting point for a beginner's ramp is a width of 4 feet, a length of 8-12 feet, and a height of 2-3 feet.
-
Transition and Slope: The transition, or the curve of the ramp, plays a significant role in how smoothly you can ride the ramp. A mellow transition with a gradual slope is ideal for beginners, while more experienced riders may prefer a steeper transition for performing advanced tricks. Use a carpenter's square and measuring tape to ensure precise angles and dimensions.
-
Ramp Shape: Decide on the shape of the ramp, whether it's a traditional straight ramp, a quarter pipe, or a banked ramp. Each shape offers different riding experiences, so choose one that aligns with your skill level and riding style.
-
Support Structure: Plan the support structure of the ramp, including the placement of joists, braces, and additional framing to ensure the ramp is sturdy and stable. Consider the weight-bearing capacity of the materials and the load they will need to support.
-
Safety Features: Incorporate safety features into the design, such as smooth transitions, rounded edges, and secure fastenings. These elements will minimize the risk of accidents and enhance the overall safety of the ramp.
-
Materials Compatibility: Ensure that the chosen materials are compatible with the design specifications. Pressure-treated wood, plywood, and durable ramp surface materials should be selected based on their suitability for the intended design.
-
Budget and Time Considerations: Factor in your budget and the time you can dedicate to the project when finalizing the design. Opt for a design that aligns with your resources and schedule to avoid unnecessary delays or overspending.
By carefully considering these aspects during the design phase, you can create a well-planned and customized bike ramp that meets your riding needs and provides a safe and enjoyable experience for riders of all skill levels. Once the design is finalized, you can proceed to the construction phase with confidence and clarity.
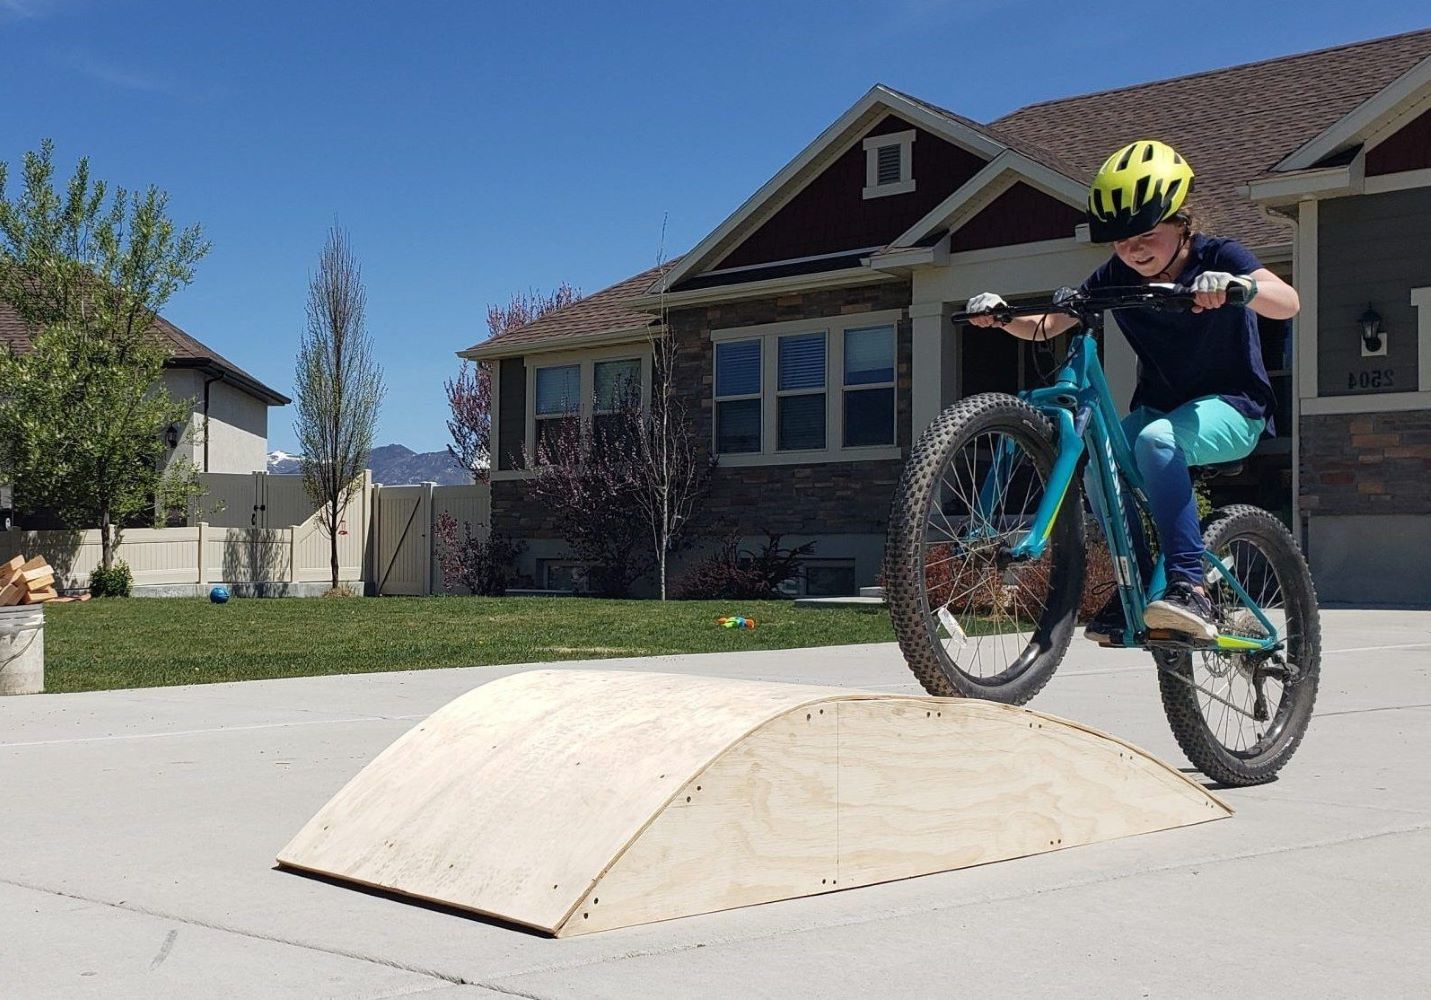
Building the Ramp
Now that you've chosen the perfect location, gathered all the necessary materials and tools, and designed your bike ramp, it's time to roll up your sleeves and start building. The construction phase is where your vision takes shape, and each step brings you closer to the thrill of riding your custom-built ramp. Here's a detailed guide to help you navigate the construction process with confidence and precision:
-
Prepare the Site: Clear the chosen location of any debris, rocks, or obstacles that could interfere with the construction process. Ensure the ground is level and stable to provide a solid foundation for the ramp.
-
Lay Out the Ramp Dimensions: Use measuring tape, stakes, and string to mark the dimensions of the ramp on the ground. This step will serve as a visual guide for the construction process and help you ensure that the ramp is built according to your design specifications.
-
Cut the Wood: Using a circular saw, carefully cut the pressure-treated wood and plywood to the required dimensions based on your design plan. Accurate cuts are essential to ensure the structural integrity and stability of the ramp.
-
Assemble the Ramp Structure: Begin by constructing the support structure of the ramp, including the framing, joists, and bracing. Secure the wooden components together using wood screws, nails, and wood glue to create a sturdy and durable framework.
-
Install the Ramp Surface: Once the support structure is in place, it's time to install the ramp surface material, such as Skatelite or Masonite. Secure the ramp surface to the framework using appropriate fasteners, ensuring a smooth and seamless riding surface.
-
Add Safety Features: Round off the edges of the ramp surface to minimize the risk of injuries and enhance the safety of the ramp. Smooth transitions and secure fastenings are essential safety features that should be incorporated during the construction process.
-
Test the Ramp: Before finalizing the construction, test the ramp to ensure its stability, structural integrity, and riding functionality. Ride the ramp with caution to identify any potential issues or adjustments that may be needed.
-
Make Adjustments: If necessary, make any adjustments or modifications to the ramp based on the test ride. This may include reinforcing certain areas, adjusting the transition, or fine-tuning the riding experience to meet your preferences.
By following these steps and paying attention to detail during the construction phase, you can build a bike ramp that is not only safe and sturdy but also tailored to your riding style and skill level. Once the ramp is constructed and tested, you'll be ready to enjoy the exhilarating experience of riding your very own custom-built bike ramp.
Testing and Adjusting the Ramp
Once the construction of the bike ramp is complete, it's crucial to thoroughly test and fine-tune the ramp to ensure its safety, functionality, and riding experience. Here's a detailed guide on how to effectively test and adjust the ramp:
-
Safety Inspection: Before testing the ramp, conduct a comprehensive safety inspection. Check all the connections, fastenings, and structural elements to ensure they are secure and stable. Inspect the ramp surface for any protruding nails, screws, or imperfections that could pose a safety hazard.
-
Test Ride: Begin by taking a cautious test ride on the ramp to evaluate its performance. Start with slow and controlled maneuvers to assess the ramp's stability, transitions, and riding surface. Pay attention to any unusual noises, vibrations, or unexpected movements during the test ride.
-
Evaluate Stability: As you ride the ramp, assess its overall stability and structural integrity. Ensure that the ramp remains firmly in place and does not shift or wobble under the weight and impact of the bike. Check for any signs of flexing or bending in the ramp structure.
-
Transition and Riding Experience: Pay close attention to the transition and riding experience on the ramp. Evaluate the smoothness of the transition and the overall feel of riding the ramp. Determine if the ramp provides a comfortable and predictable riding experience, especially during takeoff and landing.
-
Identify Adjustments: Based on the test ride, identify any areas that may require adjustments or fine-tuning. This could include reinforcing specific sections of the ramp, adjusting the transition angle, or addressing any inconsistencies in the riding surface. Take note of any potential improvements that could enhance the ramp's performance.
-
Fine-Tuning: Once potential adjustments are identified, proceed to fine-tune the ramp accordingly. This may involve adding additional support, reinforcing connections, or smoothing out any rough spots on the ramp surface. Pay attention to detail and make precise adjustments to optimize the ramp's performance.
-
Re-Testing: After making adjustments, conduct another round of testing to evaluate the impact of the modifications. Ride the ramp again to assess the effectiveness of the fine-tuning process and ensure that the adjustments have improved the ramp's stability and riding experience.
-
Iterative Process: Testing and adjusting the ramp may involve an iterative process of making refinements and re-evaluating the ramp's performance. Continuously test, adjust, and re-test the ramp until you are satisfied with its safety, stability, and riding characteristics.
By following these steps and conducting thorough testing and adjustments, you can fine-tune the bike ramp to meet your specific requirements and ensure a safe and enjoyable riding experience. Once the ramp has been thoroughly tested and adjusted, you can confidently showcase your custom-built bike ramp and enjoy countless hours of exhilarating riding.
Conclusion
Congratulations! You've successfully completed the construction of your very own bike ramp. By carefully selecting the right location, gathering the necessary materials and tools, designing a customized ramp, and meticulously building, testing, and adjusting the ramp, you've embarked on a rewarding journey of DIY craftsmanship. Your dedication and attention to detail have resulted in a safe, sturdy, and tailored bike ramp that will provide endless opportunities for honing your biking skills, practicing new tricks, and enjoying the thrill of riding.
As you stand back and admire your creation, take pride in the fact that you've not only built a functional bike ramp but also a source of excitement and entertainment for yourself, your friends, and fellow riders. Your custom-built ramp is a testament to your creativity, perseverance, and passion for biking, and it stands as a tangible symbol of your dedication to the sport.
Whether you're a beginner looking to improve your riding skills or an experienced rider seeking new challenges, your bike ramp is a versatile and valuable addition to your biking repertoire. Embrace the endless possibilities it offers, from perfecting your jumps and landings to experimenting with new techniques and maneuvers. Your ramp is a canvas for creativity and progression, inviting you to push your limits and explore the exhilarating world of biking.
As you enjoy the fruits of your labor, remember to prioritize safety and responsible riding practices. Share your knowledge and experience with others, and encourage a culture of respect and consideration for fellow riders and the biking community. Your bike ramp is not just a structure; it's a platform for fostering camaraderie, sharing experiences, and inspiring others to pursue their biking passions.
In conclusion, the journey of building a bike ramp is not just about constructing a physical structure; it's about embracing the spirit of adventure, creativity, and community that defines the world of biking. Your custom-built ramp is a reflection of your commitment to the sport and a catalyst for endless moments of joy, growth, and camaraderie. So, grab your bike, hit the ramp, and let the thrill of riding take you to new heights.