
Home>Knowledge & Skills>Masonry & Tilework>How To Build A Brick Wall
Masonry & Tilework
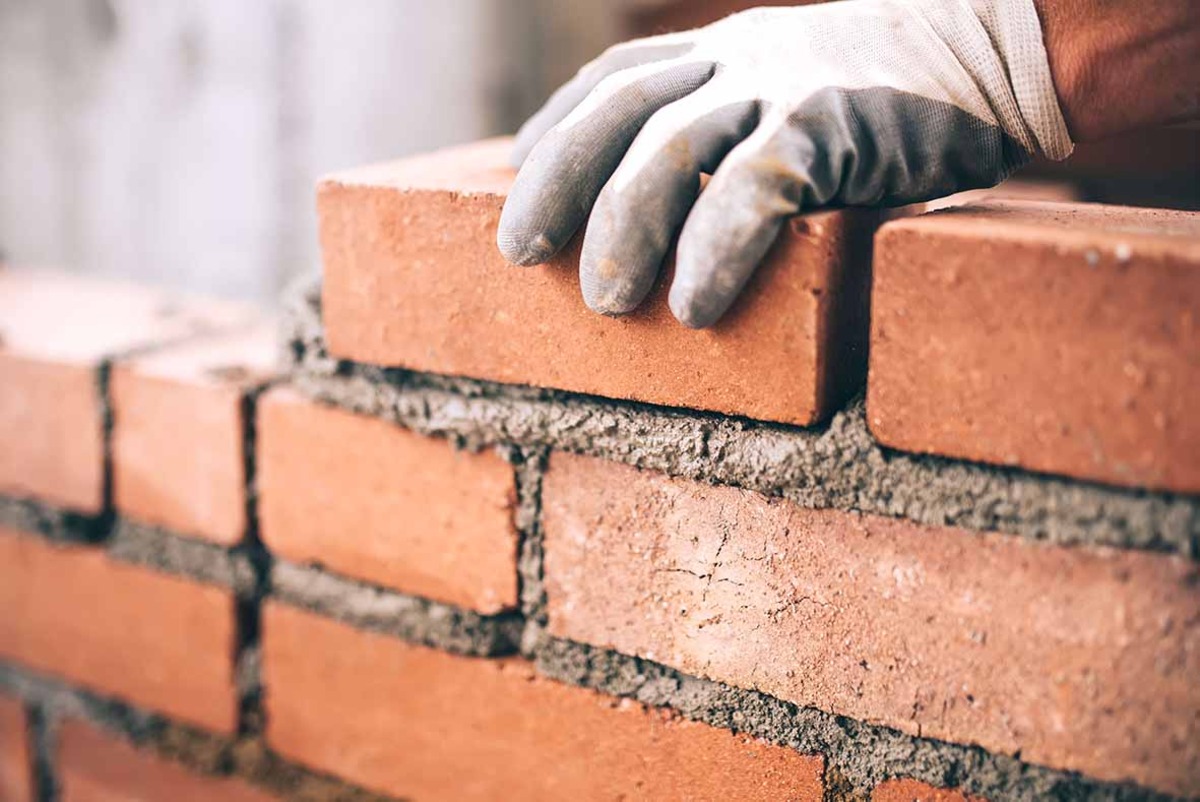
How To Build A Brick Wall
Published: February 20, 2024

Our Editor-in-Chief brings a fresh perspective with his expertise in modern home technologies and eco-friendly solutions. Philip bridges tradition with innovation across a wide range of DIY topics.
Learn the step-by-step process of building a sturdy brick wall with our comprehensive guide. Perfect for those interested in masonry and tilework projects.
(Many of the links in this article redirect to a specific reviewed product. Your purchase of these products through affiliate links helps to generate commission for Twigandthistle.com, at no extra cost. Learn more)
Introduction
Building a brick wall is a timeless craft that has adorned homes, gardens, and structures for centuries. The art of masonry and tilework has been passed down through generations, and the process of constructing a brick wall remains a testament to human ingenuity and skill. Whether you're embarking on a DIY project or seeking to understand the intricacies of this age-old trade, mastering the art of building a brick wall can be a rewarding and fulfilling endeavor.
The process of creating a brick wall involves a harmonious blend of precision, creativity, and patience. Each brick is meticulously placed, forming a sturdy and visually appealing structure that can withstand the test of time. From selecting the right materials to mastering the techniques of laying bricks with finesse, every step in the construction process contributes to the creation of a durable and aesthetically pleasing wall.
As we delve into the intricacies of building a brick wall, we will explore the essential materials and tools required for the task, the meticulous process of preparing the foundation, and the art of laying bricks with precision and care. Additionally, we will uncover the techniques for building up the wall, ensuring its stability and strength, and the final steps to complete the wall with finesse.
Embarking on the journey of constructing a brick wall is a testament to the human spirit of creation and craftsmanship. It is a journey that invites us to embrace the artistry of masonry and tilework, and to appreciate the timeless beauty and functionality of a well-built brick wall. So, let's embark on this enriching journey, where each brick laid is a testament to our dedication and reverence for the art of masonry.
Step 1: Gather Materials and Tools
Before embarking on the construction of a brick wall, it is essential to gather the necessary materials and tools to ensure a smooth and efficient building process. The following items are crucial for the successful completion of the project:
Materials:
- Bricks: Select high-quality bricks that are suitable for the intended purpose and environment. Consider factors such as durability, color, and texture to achieve the desired aesthetic appeal.
- Mortar: Choose a reliable mortar mix that is compatible with the bricks and suitable for the specific environmental conditions. The mortar should provide strong adhesion and long-term stability.
- Foundation Material: Depending on the project requirements, gather the appropriate material for the foundation, such as concrete or compacted gravel. The foundation material serves as the base for the brick wall, providing stability and support.
- Wall Ties: Wall ties are essential for securing the brick wall to an existing structure or for connecting multiple layers of bricks. Ensure that the wall ties are of the correct length and material for the intended application.
Tools:
- Trowel: A trowel is a fundamental tool for spreading mortar and laying bricks with precision. Choose a trowel with a comfortable grip and a sturdy, rust-resistant blade for optimal performance.
- Spirit Level: A spirit level is indispensable for ensuring that the brick wall is straight and level during construction. This tool is essential for maintaining the structural integrity and visual appeal of the wall.
- Mason's Hammer: A mason's hammer is used for cutting and shaping bricks to fit specific dimensions and angles. It is a versatile tool that facilitates precise brickwork.
- Jointer: A jointer is utilized to create uniform and aesthetically pleasing mortar joints between the bricks. Select a jointer with the appropriate size and shape to achieve the desired finish.
- Safety Gear: Prioritize safety by equipping yourself with protective gear, including gloves, safety glasses, and a dust mask, to safeguard against potential hazards during the construction process.
By meticulously gathering the essential materials and tools, you are laying the groundwork for a successful and efficient brick wall construction project. Each item plays a crucial role in ensuring the structural integrity, visual appeal, and longevity of the completed wall. With the necessary materials and tools at your disposal, you are ready to embark on the next phase of the construction process, laying the foundation for a sturdy and enduring brick wall.
Step 2: Prepare the Foundation
The foundation serves as the backbone of a sturdy and durable brick wall, providing essential support and stability. Proper preparation of the foundation is crucial to ensure the longevity and structural integrity of the entire construction. The following steps outline the meticulous process of preparing the foundation for a brick wall:
-
Site Preparation: Begin by clearing the designated area where the brick wall will be constructed. Remove any debris, vegetation, or obstructions to create a clean and level surface for the foundation. It is essential to assess the soil conditions and make any necessary adjustments to ensure a stable base for the wall.
-
Excavation and Compaction: Excavate the soil to the required depth for the foundation, taking into account the specific dimensions and load-bearing requirements of the brick wall. Once the excavation is complete, compact the soil thoroughly to achieve a firm and stable base. Proper compaction is essential for preventing settling and ensuring the uniform support of the foundation.
-
Adding Base Material: Depending on the soil composition and drainage considerations, add a layer of suitable base material, such as crushed stone or compacted gravel, to enhance the stability and load-bearing capacity of the foundation. The base material provides a solid and level surface for laying the foundation of the brick wall.
-
Formwork Installation: Construct formwork to define the shape and dimensions of the foundation. The formwork serves as a mold for the concrete or mortar that will constitute the foundation. Ensure that the formwork is securely positioned and accurately aligned to achieve the desired foundation dimensions.
-
Pouring Concrete or Mortar: Once the formwork is in place, pour the concrete or mortar mixture into the defined area to create the foundation. Use a screed or leveling tool to achieve a smooth and even surface, ensuring that the foundation is level and uniform in thickness. Proper consolidation of the concrete or mortar is essential to eliminate air pockets and achieve optimal strength.
-
Curing and Protection: After pouring the foundation, allow the concrete or mortar to cure according to the manufacturer's recommendations. Proper curing is essential for the development of strength and durability. Additionally, protect the freshly poured foundation from adverse weather conditions and external disturbances to facilitate the curing process.
By meticulously following these steps, you will establish a robust and reliable foundation for the brick wall, laying the groundwork for the subsequent stages of construction. The preparation of the foundation is a critical phase that sets the stage for the seamless integration of the bricks and the creation of a structurally sound and visually appealing wall.
Step 3: Lay the First Course of Bricks
Laying the first course of bricks is a pivotal stage in the construction of a brick wall, setting the foundation for the subsequent layers and shaping the overall integrity of the structure. This process demands precision, attention to detail, and a keen eye for alignment and levelness. Here's a detailed breakdown of the steps involved in laying the first course of bricks:
-
Prepare the Mortar: Begin by preparing the mortar to the appropriate consistency. The mortar should have a workable texture, allowing for easy application and strong adhesion to the bricks. Use a trowel to mix the mortar thoroughly, ensuring a uniform composition.
-
Apply Mortar to the Foundation: Using the trowel, apply a layer of mortar along the prepared foundation where the first course of bricks will be laid. The mortar should be spread evenly to create a solid base for the bricks.
-
Lay the Bricks: Carefully place the bricks on the mortar, ensuring a consistent mortar joint width between each brick. Use a spirit level to check for both horizontal and vertical alignment, adjusting the position of the bricks as needed to maintain a straight and level first course.
-
Cutting Bricks: If necessary, use a mason's hammer and chisel to cut bricks to fit the dimensions of the wall. Precision is key in achieving a seamless fit, and the cut bricks should align with the overall pattern and design of the wall.
-
Check for Alignment: Continuously verify the alignment and levelness of the bricks as you progress, making adjustments to maintain a uniform and straight first course. A well-aligned initial layer is essential for the stability and visual appeal of the entire wall.
-
Tooling Joints: Once the bricks are in place, use a jointer to tool the mortar joints, creating a clean and uniform finish. The jointer helps to compact the mortar and shape the joints, enhancing the overall aesthetic of the brickwork.
-
Clean Excess Mortar: As you lay the first course of bricks, periodically remove any excess mortar that seeps out from the joints. This ensures a tidy and professional appearance while preventing mortar from hardening on the face of the bricks.
Laying the first course of bricks requires patience, precision, and a meticulous approach. By adhering to these steps, you will establish a solid foundation for the subsequent courses, setting the stage for the gradual elevation of the brick wall. Each brick laid with care contributes to the strength and enduring beauty of the completed structure.
Step 4: Build Up the Wall
With the foundation laid and the first course of bricks meticulously positioned, the process of building up the wall commences, marking a significant stride towards the realization of a sturdy and visually captivating brick structure. This phase demands a seamless integration of bricks, mortar, and craftsmanship, culminating in the gradual elevation of the wall to its intended height. Here's a detailed exploration of the pivotal steps involved in building up the wall:
-
Apply Mortar and Lay Bricks: Begin by applying a layer of mortar on top of the first course of bricks, ensuring even coverage to facilitate strong adhesion. Carefully lay the subsequent courses of bricks, maintaining consistent mortar joint widths and aligning each brick with precision. The application of mortar and the placement of bricks should proceed systematically, ensuring a uniform and stable progression as the wall ascends.
-
Check for Plumb and Level: As each course of bricks is laid, use a spirit level and a plumb bob to verify both vertical and horizontal alignment. It is essential to maintain the plumb and levelness of the wall at every stage of construction, rectifying any deviations to uphold the structural integrity and aesthetic appeal of the evolving structure.
-
Secure Wall Ties: If the brick wall is being constructed as a freestanding structure or as an extension to an existing wall, secure wall ties at appropriate intervals to reinforce the connection between the new and existing sections. Wall ties play a crucial role in enhancing the stability and strength of the entire wall, ensuring cohesion and resilience.
-
Tooling and Cleaning Joints: As each course is laid, utilize a jointer to tool the mortar joints, refining their appearance and enhancing the overall finish of the wall. Simultaneously, diligently clean any excess mortar that emerges, preserving the neatness and professionalism of the brickwork.
-
Maintain Consistency: Throughout the process of building up the wall, maintain a consistent and meticulous approach, paying attention to detail and craftsmanship. Each course of bricks should seamlessly integrate with the preceding layer, forming a cohesive and robust structure that embodies the artistry of masonry and tilework.
The process of building up the wall epitomizes the harmonious fusion of skill, precision, and dedication, culminating in the gradual emergence of a formidable and visually striking brick structure. As the wall ascends, each layer of bricks contributes to the collective strength and enduring allure of the completed construction, embodying the timeless art of masonry and the enduring legacy of brickwork craftsmanship.
Step 5: Finish the Wall
As the brick wall nears its intended height, the final phase of finishing the wall encompasses a series of meticulous tasks aimed at refining the structure's appearance and ensuring its long-term durability. This stage represents the culmination of the bricklaying process, where attention to detail and craftsmanship converge to elevate the wall to its completed form.
Pointing and Finishing Touches
-
Pointing the Joints: Once the wall reaches its designated height, the mortar joints require careful attention to achieve a polished and uniform finish. Using a pointing trowel, the excess mortar is skillfully removed, and the joints are meticulously shaped to create a consistent and aesthetically pleasing appearance. This process, known as pointing, enhances the overall visual appeal of the brick wall, underscoring the precision and artistry inherent in masonry.
-
Cleaning and Sealing: Following the pointing of the joints, any residual mortar or debris on the surface of the bricks is diligently cleaned to reveal the natural beauty of the brickwork. Additionally, applying a suitable sealant to the completed wall serves to protect the bricks and mortar from environmental elements, ensuring their longevity and resilience against weathering and deterioration.
-
Final Inspections: With the wall fully constructed and finished, a comprehensive inspection is conducted to verify the structural integrity, alignment, and overall quality of the brickwork. Any imperfections or discrepancies are addressed, reaffirming the commitment to delivering a meticulously crafted and enduring brick wall.
Admiring the Craftsmanship
As the finishing touches are applied, the brick wall stands as a testament to the artistry and dedication invested in its construction. Each brick, meticulously laid and pointed, embodies the timeless tradition of masonry and tilework, showcasing the enduring allure of this age-old craft.
The completion of the brick wall marks not only the fulfillment of a construction project but also the celebration of human ingenuity and craftsmanship. It stands as a tangible manifestation of the art of masonry, inviting admiration for its strength, beauty, and the enduring legacy of brickwork craftsmanship.
In the culmination of finishing the wall, the journey of constructing a brick wall transcends the mere assembly of materials; it becomes a narrative of dedication, precision, and the timeless artistry of masonry.
Conclusion
The construction of a brick wall is a testament to the enduring legacy of masonry and tilework, embodying the artistry, precision, and dedication inherent in this age-old craft. As the final brick is laid and the finishing touches are applied, the culmination of the construction process evokes a profound sense of accomplishment and reverence for the timeless tradition of brickwork craftsmanship.
The journey of building a brick wall transcends the mere assembly of materials; it represents a narrative of human ingenuity, perseverance, and the seamless fusion of art and functionality. Each meticulously laid brick, each carefully tooled joint, and each level plumb line speaks to the unwavering commitment to excellence and the pursuit of enduring quality.
The completion of a brick wall signifies not only the realization of a physical structure but also the celebration of tradition, heritage, and the timeless allure of masonry. It stands as a tangible testament to the craftsmanship and skill of those who have dedicated themselves to the art of bricklaying, preserving a tradition that has spanned centuries and left an indelible mark on the architectural landscape.
As the mortar sets and the sealant glistens in the sunlight, the brick wall stands as a symbol of strength, resilience, and the enduring beauty of carefully crafted brickwork. It invites admiration for its structural integrity, visual appeal, and the timeless elegance that only a well-constructed brick wall can exude.
In the conclusion of this enriching journey, we are reminded of the profound connection between the past and the present, as the art of masonry continues to shape our surroundings and inspire awe with its timeless charm. The completion of a brick wall is not merely the end of a construction project; it is the continuation of a legacy, a testament to the enduring artistry of masonry and the timeless allure of brickwork craftsmanship.