Home>Create & Decorate>DIY & Crafts>How To Build A Small Pool Deck

DIY & Crafts
How To Build A Small Pool Deck
Published: February 23, 2024

Senior Editor in Create & Decorate, Kathryn combines traditional craftsmanship with contemporary trends. Her background in textile design and commitment to sustainable crafts inspire both content and community.
Learn how to create a DIY small pool deck with our step-by-step guide. Get creative with your crafts and build the perfect outdoor oasis.
(Many of the links in this article redirect to a specific reviewed product. Your purchase of these products through affiliate links helps to generate commission for Twigandthistle.com, at no extra cost. Learn more)
Introduction
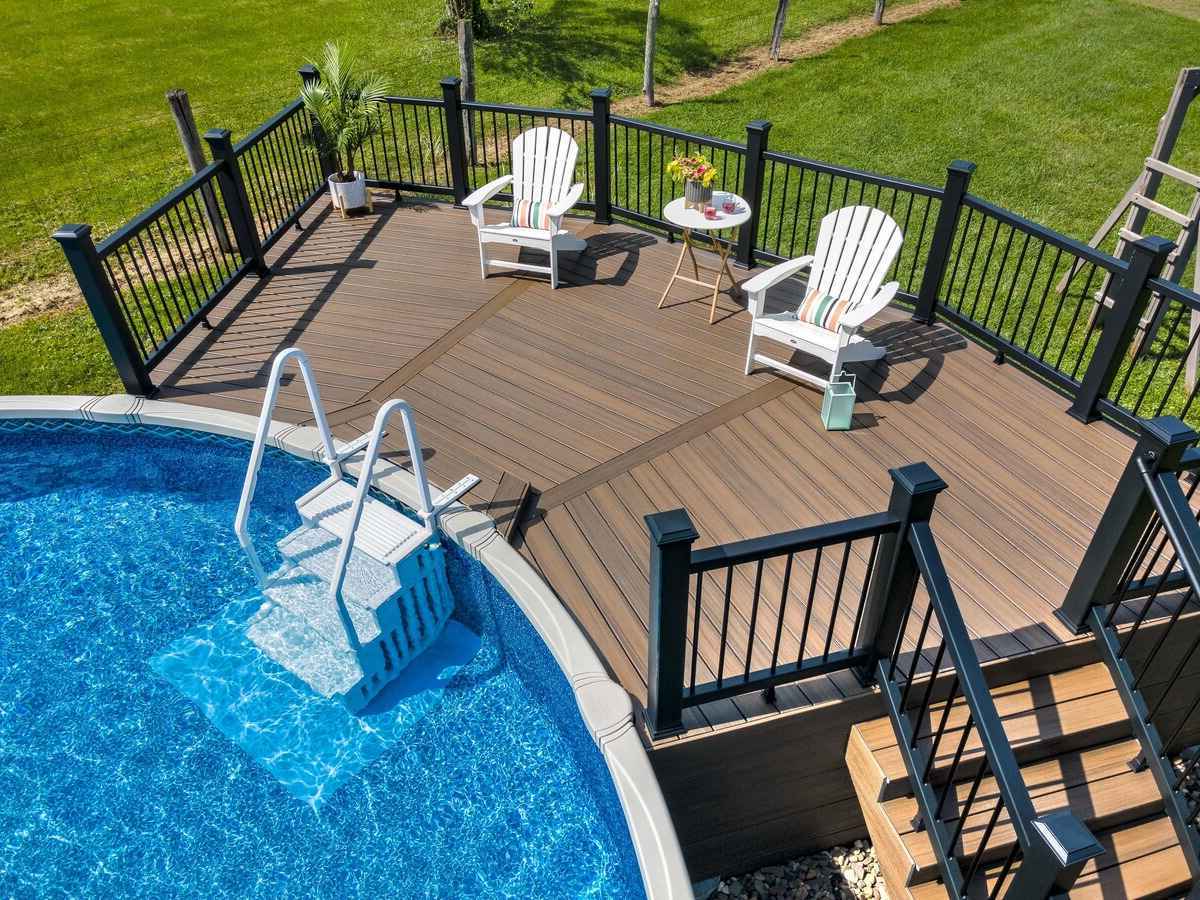
Building a small pool deck can transform your outdoor space into a relaxing oasis and provide a perfect spot for lounging, entertaining, and enjoying the sunshine. Whether you have an above-ground or in-ground pool, a well-designed deck can enhance the aesthetics and functionality of your pool area. By following a few simple steps and utilizing basic carpentry skills, you can create a beautiful and functional pool deck that complements your home and lifestyle.
A well-constructed pool deck not only adds value to your property but also offers a safe and convenient space for family and friends to gather. From poolside barbecues to lazy afternoons basking in the sun, a thoughtfully designed deck can elevate your outdoor living experience. Additionally, a pool deck provides a designated area for placing lounge chairs, tables, and umbrellas, making it easier to keep the poolside organized and inviting.
In this comprehensive guide, we will walk you through the step-by-step process of building a small pool deck. From initial planning and gathering materials to the final touches, you will learn the essential techniques and considerations for creating a sturdy and visually appealing deck. Whether you are a seasoned DIY enthusiast or a novice looking to embark on your first major outdoor project, this guide will equip you with the knowledge and confidence to tackle the construction of a small pool deck.
So, roll up your sleeves, gather your tools, and get ready to embark on an exciting journey of transforming your pool area into a stunning retreat. With careful planning, attention to detail, and a dash of creativity, you can bring your vision of a charming and functional pool deck to life. Let's dive into the rewarding process of building a small pool deck that will become the focal point of your outdoor space.
Read more: How To Build A Pool Deck
Step 1: Planning and Design
Before diving into the construction of a small pool deck, meticulous planning and thoughtful design are essential for a successful outcome. This initial phase sets the stage for the entire project, allowing you to envision the layout, functionality, and aesthetic elements of your future deck. Here's a detailed breakdown of the crucial steps involved in the planning and design process:
-
Assess the Space: Begin by evaluating the area surrounding your pool. Take measurements and note any existing features, such as landscaping, pathways, or utilities. Understanding the dimensions and topography of the space will guide your design decisions and help you determine the optimal size and shape for the deck.
-
Define Your Needs: Consider how you intend to use the pool deck. Will it primarily serve as a lounging area for sunbathing and relaxation, or do you envision hosting gatherings and outdoor meals on the deck? By clarifying your requirements, you can tailor the design to accommodate specific activities and amenities, such as seating areas, built-in storage, or a grilling station.
-
Explore Design Options: Research various deck designs and styles to gather inspiration. Whether you prefer a sleek and modern aesthetic or a rustic, natural look, exploring different design options will help you refine your vision for the pool deck. Take into account the architectural style of your home and the overall ambiance of your outdoor space to ensure cohesiveness in the design.
-
Consider Safety and Accessibility: Incorporate safety features into your design, such as sturdy railings, non-slip surfaces, and adequate lighting. Additionally, ensure that the deck provides easy access to the pool while maintaining a safe distance from the water's edge. Adhering to safety guidelines is paramount in creating a secure and enjoyable pool deck for your family and guests.
-
Obtain Necessary Permits: Depending on your local regulations, you may need to obtain permits before commencing construction. Check with your municipality or homeowners' association to determine the specific requirements and ensure compliance with building codes and zoning ordinances.
By investing time and effort into the planning and design phase, you can lay a solid foundation for the construction of your small pool deck. This preparatory stage allows you to clarify your objectives, explore creative possibilities, and address practical considerations, ultimately setting the stage for a smooth and rewarding building process.
Step 2: Gathering Materials and Tools
The successful construction of a small pool deck hinges on the availability of the right materials and tools. By carefully selecting high-quality materials and ensuring that you have the necessary tools at your disposal, you can streamline the building process and achieve a professional-looking result. Here's a comprehensive overview of the essential materials and tools required for building a small pool deck:
Materials:
-
Pressure-Treated Lumber: Opt for pressure-treated lumber, known for its durability and resistance to rot and decay. Common choices include treated pine, cedar, or redwood, all of which offer longevity and structural stability.
-
Decking Boards: Select decking boards that are suitable for outdoor use and can withstand exposure to moisture and sunlight. Composite decking, cedar, or tropical hardwoods are popular options known for their durability and visual appeal.
-
Concrete Footings or Piers: Depending on the design of your deck, you may need concrete footings or piers to provide a stable foundation. Ensure that these components are designed to support the weight of the deck and comply with local building codes.
-
Galvanized Nails or Deck Screws: Use corrosion-resistant fasteners to secure the structural elements and decking boards. Galvanized nails or deck screws are ideal for outdoor applications, offering superior strength and weather resistance.
-
Joist Hangers and Connectors: Incorporate joist hangers and connectors to reinforce the structural integrity of the deck frame. These metal components provide crucial support and stability, enhancing the overall strength of the deck.
-
Concrete Mix: If you are installing concrete footings, procure high-quality concrete mix to ensure the stability and longevity of the foundation. Follow the manufacturer's guidelines for proper mixing and pouring.
-
Waterproof Sealant or Stain: To protect the wood from moisture and UV exposure, invest in a high-quality waterproof sealant or stain. This essential finishing touch enhances the longevity and visual appeal of the deck while safeguarding it from the elements.
Tools:
-
Circular Saw: A reliable circular saw is indispensable for cutting lumber and decking boards to the desired dimensions. Ensure that the saw blade is suitable for outdoor-grade materials.
-
Cordless Drill/Driver: A cordless drill/driver facilitates the assembly of the deck frame and the installation of fasteners. Opt for a model with sufficient power and battery life to handle the demands of deck construction.
-
Level: A sturdy level is essential for ensuring that the deck frame and decking boards are installed evenly and accurately. Invest in a high-quality level to achieve precise results.
-
Tape Measure: Accurate measurements are critical in deck construction. A durable tape measure enables you to assess dimensions, layout components, and verify alignment during the building process.
-
Post Hole Digger or Auger: If you are installing concrete footings, a post hole digger or auger is indispensable for excavating the holes to the required depth and diameter. This tool streamlines the process of preparing the foundation for the deck.
-
Hammer and Rubber Mallet: A hammer and rubber mallet are essential for driving nails, adjusting components, and ensuring a snug fit during assembly. These versatile tools are invaluable for various tasks throughout the construction process.
By procuring the necessary materials and tools, you can set the stage for a smooth and efficient construction process. With careful planning and attention to detail, you can ensure that your small pool deck is built to last, providing a beautiful and functional outdoor space for years to come.
Step 3: Preparing the Area
Preparing the area for the construction of a small pool deck is a critical phase that sets the groundwork for a sturdy and visually appealing structure. This step involves a series of essential tasks aimed at ensuring the stability, safety, and longevity of the deck. By meticulously preparing the area, you can create a solid foundation for the subsequent stages of construction. Here's a detailed breakdown of the key components involved in preparing the area for your small pool deck:
-
Clearing and Leveling: Begin by clearing the designated area of any debris, vegetation, or obstructions. Use a shovel, rake, or a powered sod cutter to remove grass, rocks, and roots, ensuring that the ground is level and free of impediments. A smooth and level surface provides the ideal starting point for building the deck, promoting structural integrity and a polished finish.
-
Marking the Layout: Use stakes, string, or spray paint to outline the perimeter of the deck. Accurately mark the dimensions and shape of the deck, taking into account any design considerations, such as curved edges or integrated features. This visual guide will serve as a reference point for the subsequent construction phases, facilitating precise alignment and layout.
-
Excavating Footings: If your deck design requires concrete footings or piers, excavate the designated areas to the specified depth and diameter. Utilize a post hole digger, auger, or a rented excavator to create the foundation for the footings. Ensure that the excavated holes are uniform in size and depth, adhering to the structural requirements outlined in your deck plans.
-
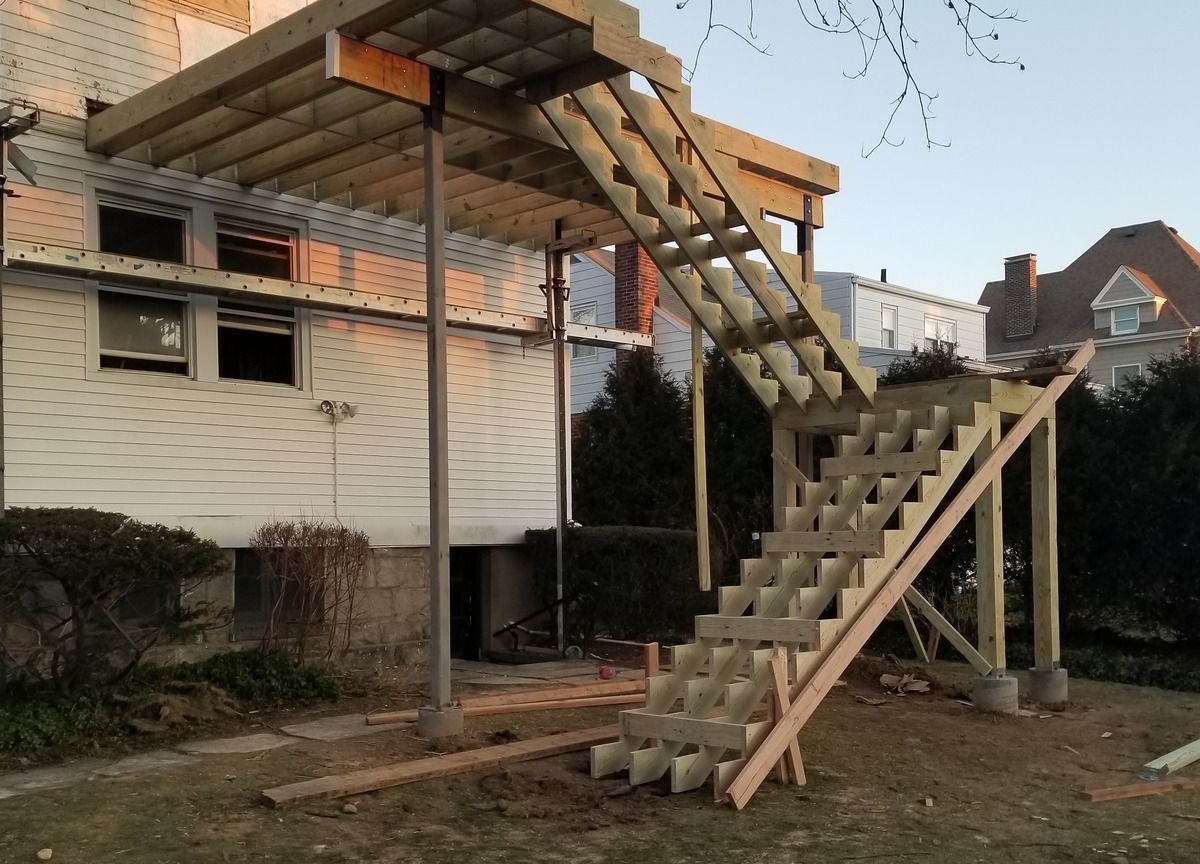
Installing Support Posts: For decks requiring support posts, set the posts in the excavated holes, ensuring that they are plumb and securely anchored. Use temporary bracing to maintain the correct positioning of the posts as you proceed with the construction. Verify the alignment and height of the posts to guarantee uniform support for the deck frame.
-
Laying Landscape Fabric: To prevent weed growth and promote drainage, consider laying landscape fabric over the cleared and leveled area. This permeable barrier inhibits the emergence of weeds while allowing water to permeate the soil, contributing to the long-term stability and maintenance of the deck's foundation.
By meticulously executing the preparatory tasks outlined in this phase, you can establish a solid and well-prepared area for the construction of your small pool deck. Attention to detail, precision in layout, and adherence to structural guidelines are paramount in ensuring a successful and enduring deck installation. With the area meticulously prepared, you are poised to transition to the next phase of building the deck frame and bringing your vision to fruition.
Step 4: Building the Frame
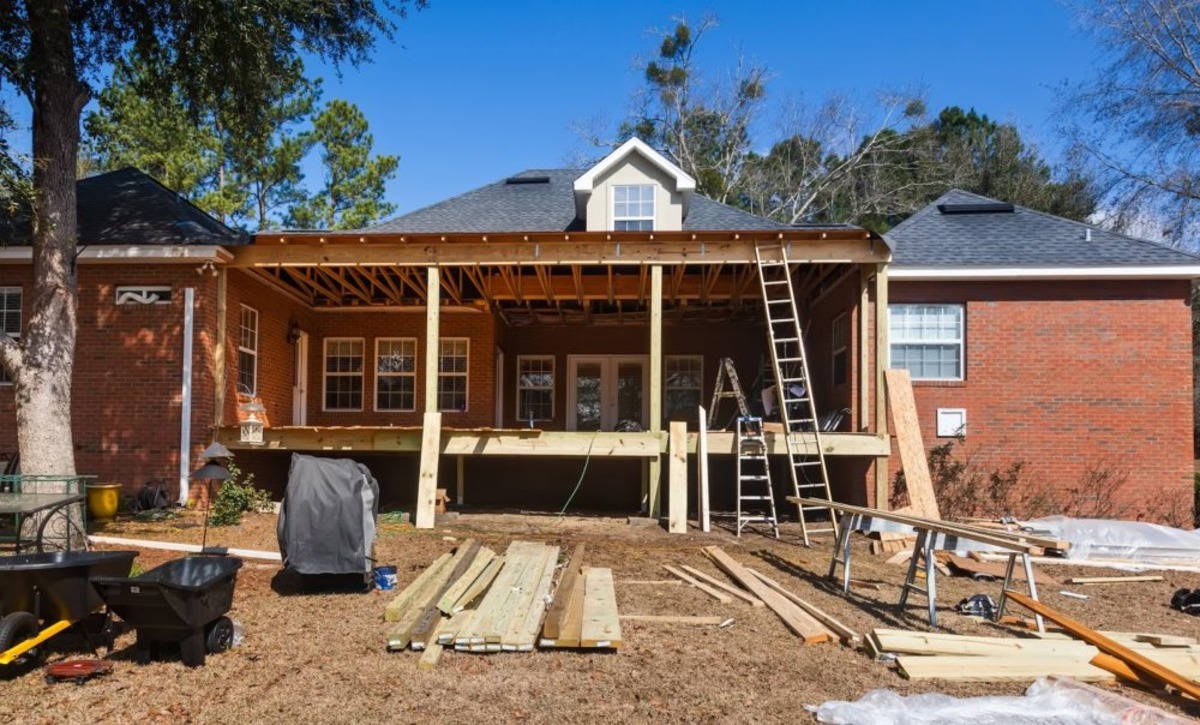
With the area meticulously prepared, it's time to embark on the pivotal phase of constructing the frame for your small pool deck. The frame serves as the structural backbone of the deck, providing support for the decking boards and ensuring the overall stability and integrity of the structure. By following precise measurements and employing sound construction techniques, you can lay the groundwork for a durable and visually appealing deck frame. Here's a comprehensive guide to building the frame for your small pool deck:
-
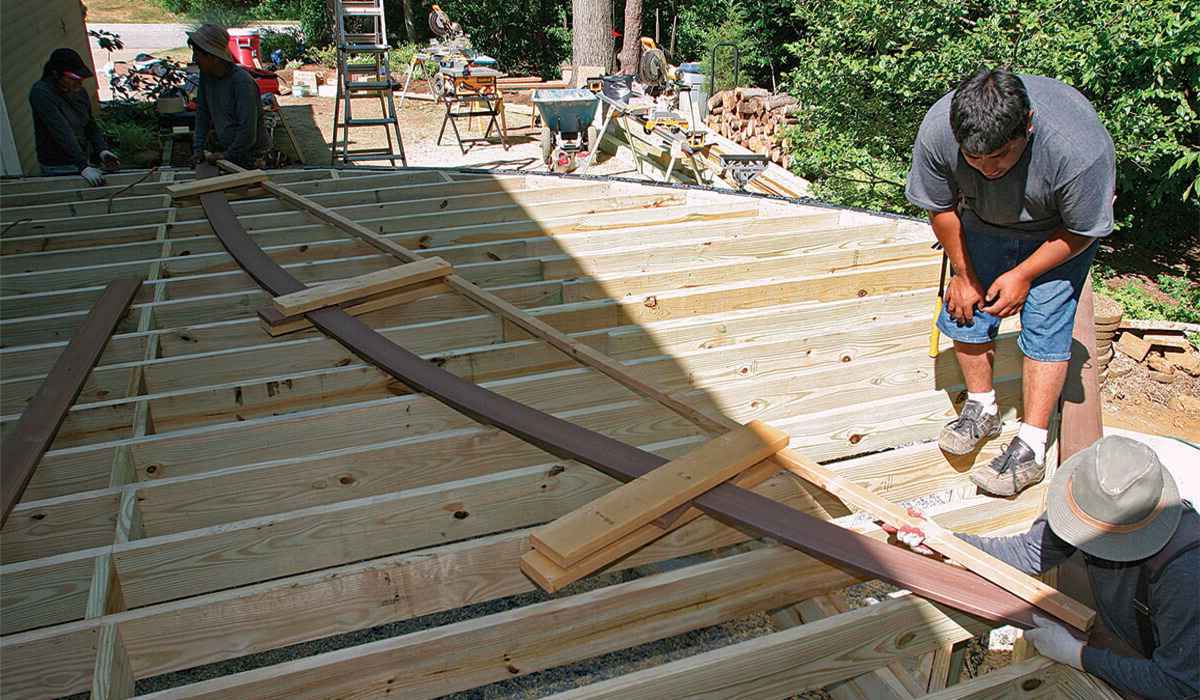
Laying Out the Joists: Begin by positioning the joists according to the layout specified in your deck plans. Whether you opt for a traditional perpendicular joist layout or a diagonal pattern for added visual interest, ensure that the joists are spaced uniformly and aligned accurately. Use a level to verify that the joists are horizontal and adjust their positioning as needed to achieve a level surface for the decking.
-
Attaching the Ledger Board: If your deck abuts the exterior of your home, attach a ledger board to the house to support the deck's frame. Ensure that the ledger board is securely fastened to the house's structure using lag bolts or structural screws. Verify that the ledger board is level and properly flashed to prevent water infiltration.
-
Installing Beam Supports: Depending on the size and design of your deck, install beam supports to bolster the joists and distribute the load evenly. Use metal joist hangers or construct notched supports to secure the beams in place. Ensure that the beams are level and aligned with the layout of the deck, providing robust reinforcement for the frame.
-
Securing the Joists: Fasten the joists to the ledger board and beam supports using appropriate fasteners, such as joist hangers, galvanized nails, or deck screws. Ensure that the joists are securely attached and spaced according to the specifications outlined in your deck plans. Double-check the alignment and levelness of the joists to maintain structural integrity.
-
Adding Cross Bracing (if applicable): For larger decks or those with complex designs, consider incorporating cross bracing to enhance the stability of the frame. Diagonal bracing between joists can mitigate lateral movement and sway, reinforcing the overall rigidity of the deck structure. Install the cross bracing securely, adhering to the recommended angles and attachment methods.
-
Verifying Alignment and Levelness: Throughout the construction process, consistently verify the alignment and levelness of the frame components. Utilize a level and measuring tools to confirm that the frame is square, plumb, and dimensionally accurate. Address any discrepancies promptly to ensure a uniform and structurally sound frame.
By meticulously executing the steps outlined in this phase, you can establish a robust and well-constructed frame for your small pool deck. Attention to detail, precision in layout, and adherence to structural guidelines are paramount in ensuring a successful and enduring deck installation. With the frame in place, you are poised to transition to the next phase of installing the decking and bringing your vision of a stunning pool deck to fruition.
Step 5: Installing the Decking
With the solid frame in place, the installation of the decking marks a significant stride toward realizing the vision of a functional and visually captivating small pool deck. The decking serves as the surface upon which you and your guests will tread, lounge, and bask in the sun, making it essential to approach this phase with precision and care. Here's a detailed breakdown of the crucial steps involved in installing the decking for your small pool deck:
-
Selecting the Decking Material: Begin by selecting the appropriate decking material that aligns with your aesthetic preferences, maintenance requirements, and budget. Whether you opt for natural wood, composite decking, or PVC boards, ensure that the material is designed for outdoor use and can withstand exposure to moisture, UV rays, and foot traffic. Consider the color, texture, and durability of the decking material to complement the overall design of your outdoor space.
-
Laying the First Decking Board: Commence the installation process by laying the first decking board perpendicular to the joists, ensuring a uniform overhang at the deck's edge. Use corrosion-resistant fasteners, such as deck screws or hidden fastening systems, to secure the board to the joists. Employ a spacer to maintain consistent spacing between the boards, promoting proper drainage and ventilation while enhancing the visual appeal of the deck.
-
Securing Subsequent Decking Boards: Proceed to install the subsequent decking boards, staggering the end joints for a seamless and polished appearance. Employ a pneumatic nailer or a drill/driver to fasten the boards securely to the joists, maintaining uniform spacing and alignment throughout the installation. Verify that the boards are level and free of warping or irregularities, addressing any discrepancies promptly to ensure a smooth and even surface.
-
Trimming and Finishing: As you approach the perimeter of the deck or encounter obstructions, such as posts or protruding features, measure and cut the decking boards to fit the designated areas accurately. Utilize a circular saw or a specialized deck board cutting tool to achieve precise cuts and accommodate the unique layout of your deck. Employ a router to round off the edges of the decking for a polished and safe finish, minimizing the risk of splinters and enhancing the visual appeal of the deck.
-
Applying Protective Finish: Once the decking is installed, consider applying a protective finish, such as a waterproof sealant or UV-resistant stain, to safeguard the wood from moisture, sunlight, and wear. This essential step enhances the longevity and visual allure of the deck while providing crucial protection against the elements. Follow the manufacturer's guidelines for proper application and maintenance to ensure optimal performance and durability.
By meticulously executing the steps outlined in this phase, you can achieve a flawlessly installed decking that elevates the functionality and allure of your small pool deck. Attention to detail, precision in layout, and adherence to best practices are paramount in ensuring a successful and enduring deck installation. With the decking in place, you are poised to transition to the final phase of adding finishing touches and bringing your vision of a stunning pool deck to fruition.
Step 6: Adding Finishing Touches
The addition of finishing touches is the culminating phase that infuses character, functionality, and visual allure into your small pool deck. This pivotal step allows you to personalize the space, enhance safety, and elevate the overall ambiance of the deck, transforming it into a welcoming retreat for relaxation and recreation. Here's a comprehensive guide to adding the essential finishing touches to your small pool deck:
-
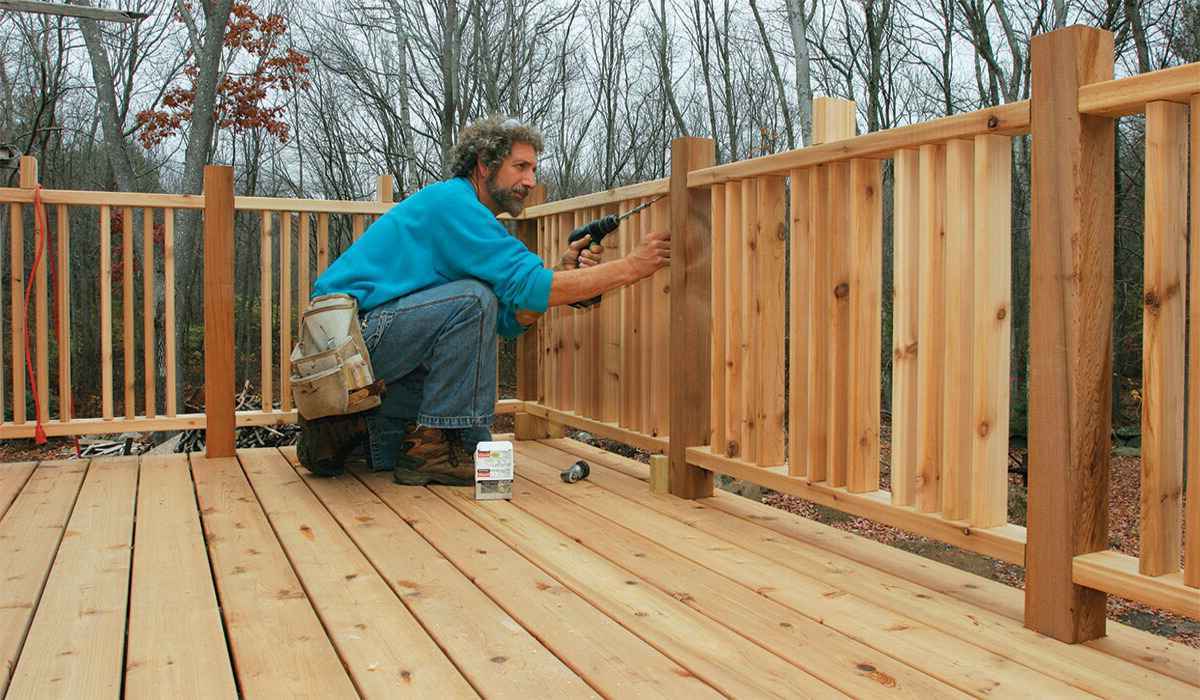
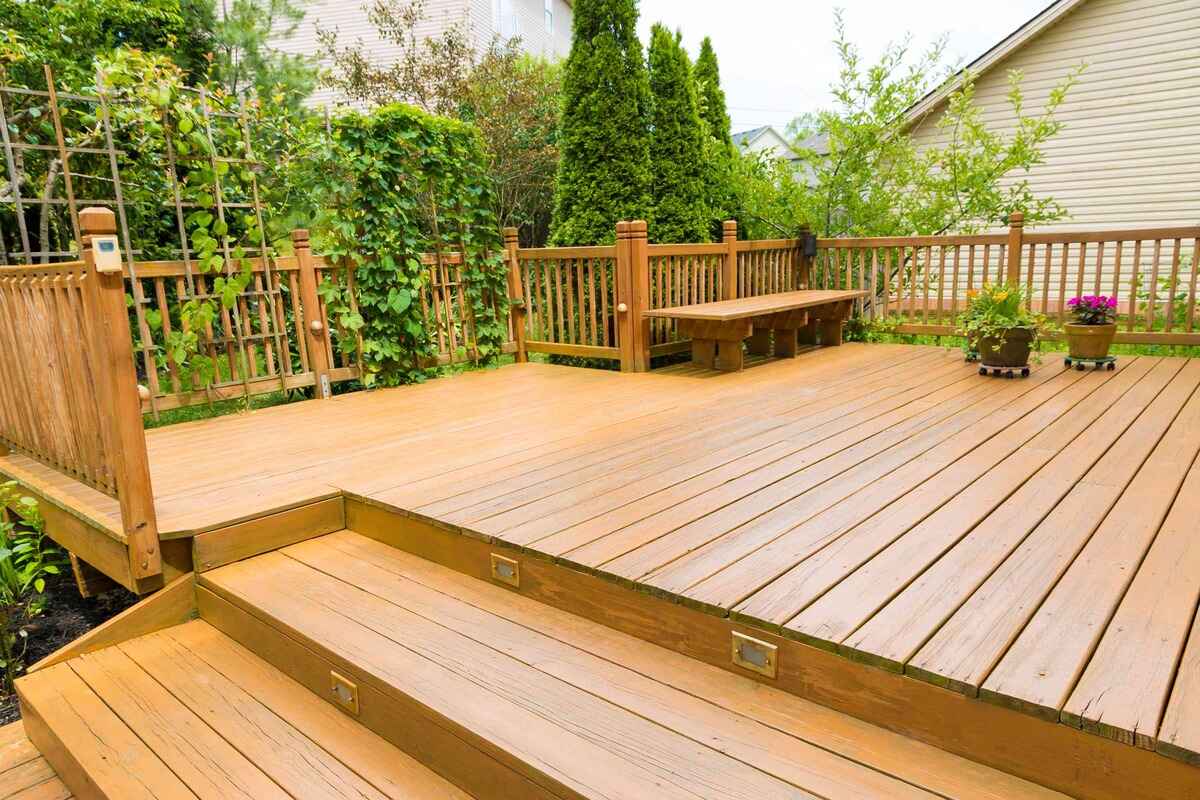
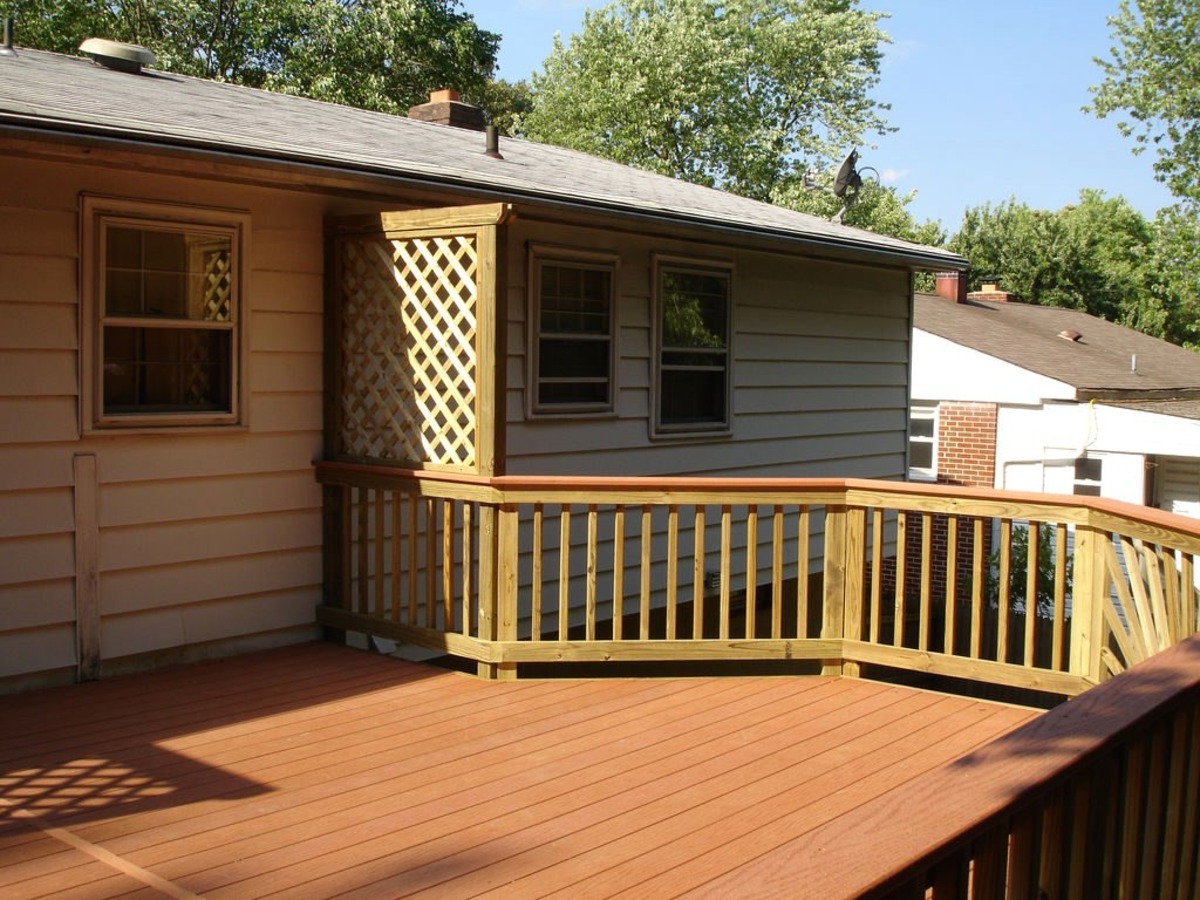
Railing and Balustrades: If your deck design necessitates railing for safety or aesthetic reasons, install sturdy and visually appealing railings and balustrades. Choose materials that complement the deck's style, such as wood, metal, or composite components, and ensure that the railing height and spacing adhere to local building codes and safety standards.
-
Lighting Fixtures: Illuminate the deck with strategically placed lighting fixtures to extend its functionality into the evening hours. Consider installing low-voltage LED lights, solar-powered lanterns, or recessed lighting to create a warm and inviting ambiance while enhancing safety and visibility.
-
Seating and Storage: Integrate built-in seating or storage solutions to optimize the deck's utility and comfort. Whether incorporating benches with hidden storage compartments or custom seating arrangements, thoughtful seating and storage additions contribute to the practicality and charm of the deck.
-
Decorative Accents: Infuse personality and charm into the deck by incorporating decorative accents, such as potted plants, outdoor rugs, and weather-resistant artwork. These elements add visual interest, color, and a touch of nature, creating an inviting and harmonious outdoor environment.
-
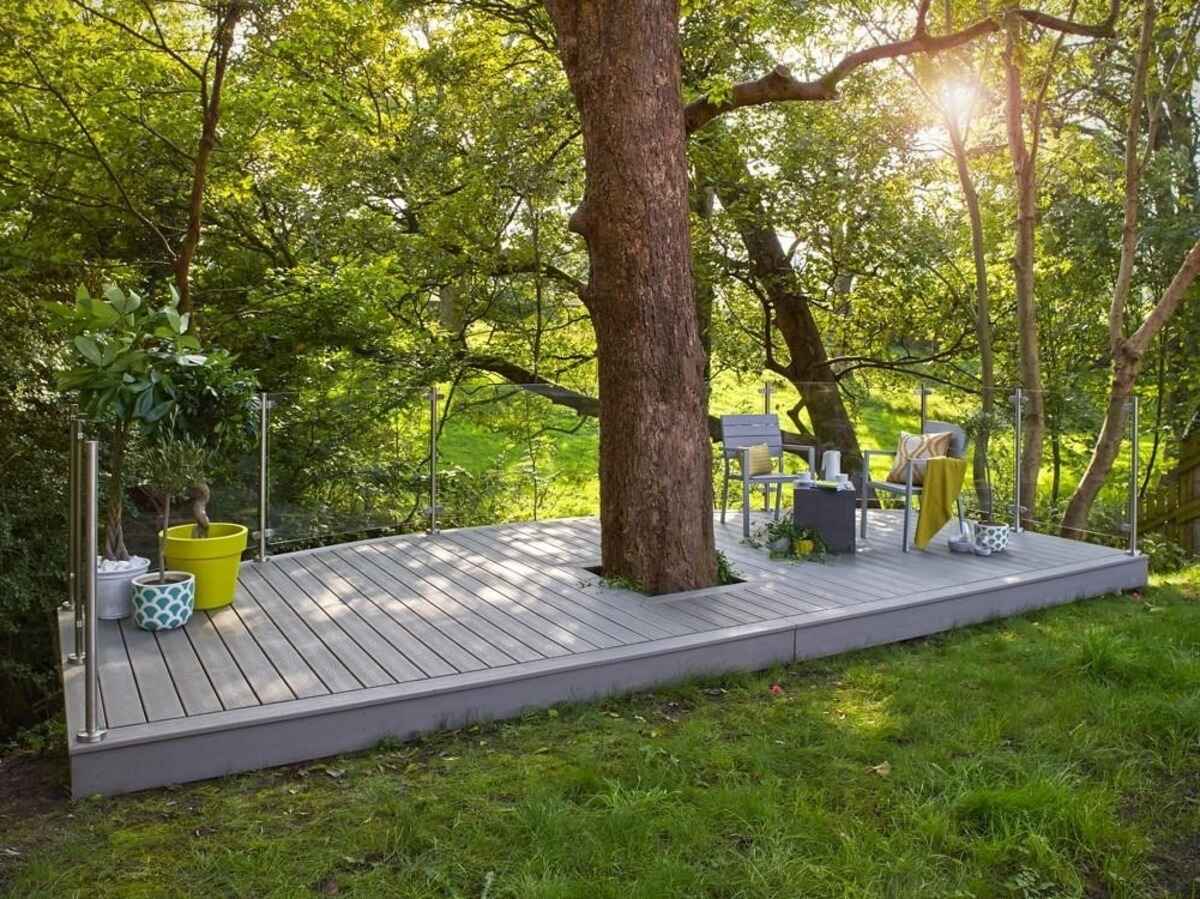
Outdoor Furnishings: Select and arrange outdoor furnishings, such as lounge chairs, dining sets, and umbrellas, to create inviting zones for relaxation and entertainment. Choose weather-resistant and durable furnishings that harmonize with the deck's design, providing comfort and functionality for outdoor activities.
-
Privacy Features: If desired, implement privacy features, such as latticework, planters, or retractable screens, to establish a secluded and intimate atmosphere on the deck. These elements offer privacy from neighboring properties while contributing to the deck's aesthetic appeal.
-
Maintenance Considerations: Develop a maintenance plan to preserve the beauty and structural integrity of the deck. Regular cleaning, inspections, and refinishing will prolong the lifespan of the deck, ensuring that it remains a captivating and safe outdoor haven for years to come.
By meticulously attending to the finishing touches outlined in this phase, you can elevate your small pool deck into a captivating and functional outdoor sanctuary. Attention to detail, creativity in design, and a focus on safety and comfort are paramount in realizing the full potential of your small pool deck. With the addition of these finishing touches, your deck will stand as a testament to your vision and craftsmanship, providing a delightful and inviting space for leisure and enjoyment.
Read more: How To Build A Pool
Conclusion
In conclusion, the construction of a small pool deck represents a gratifying journey of creativity, craftsmanship, and transformation. From the initial stages of planning and gathering materials to the meticulous execution of building the frame, installing the decking, and adding finishing touches, each phase contributes to the realization of a captivating and functional outdoor space. As the final hammer strikes and the finishing touches are delicately arranged, the small pool deck emerges as a testament to vision, dedication, and the pursuit of outdoor living excellence.
The completion of a small pool deck signifies more than the assembly of lumber, fasteners, and decorative elements; it embodies the creation of a haven for relaxation, social gatherings, and cherished moments under the open sky. The deck becomes a seamless extension of the home, beckoning residents and guests to embrace the pleasures of outdoor living while basking in the allure of a thoughtfully designed and expertly crafted space.
Furthermore, the small pool deck stands as a testament to the fusion of form and function, where aesthetic appeal harmonizes with practicality. The careful selection of materials, the precision in construction, and the infusion of personalized touches culminate in a space that not only captivates the eye but also fulfills the needs and desires of those who inhabit it. Whether it's the warm glow of integrated lighting, the comfort of well-appointed furnishings, or the tranquility offered by privacy features, the deck embodies a holistic approach to outdoor living.
Moreover, the small pool deck represents a commitment to quality, longevity, and responsible stewardship of the outdoor environment. Through the application of protective finishes, the integration of sustainable materials, and the implementation of maintenance strategies, the deck stands as a resilient and enduring feature of the landscape. It serves as a canvas for countless memories, a backdrop for seasonal celebrations, and a sanctuary for quiet contemplation.
In essence, the construction of a small pool deck transcends the mere act of building; it encapsulates the art of curating an outdoor sanctuary that enriches daily life and fosters connections with nature and loved ones. As the deck beckons with open arms, it invites inhabitants to savor the simple joys of al fresco dining, the serenity of a morning coffee, and the laughter of shared moments. It stands as a testament to the transformative power of craftsmanship and the boundless possibilities of outdoor living.

