
Home>Home & Furniture>Garage & Basement>DIY Lawn Mower Shed: Step-by-Step Guide
Garage & Basement
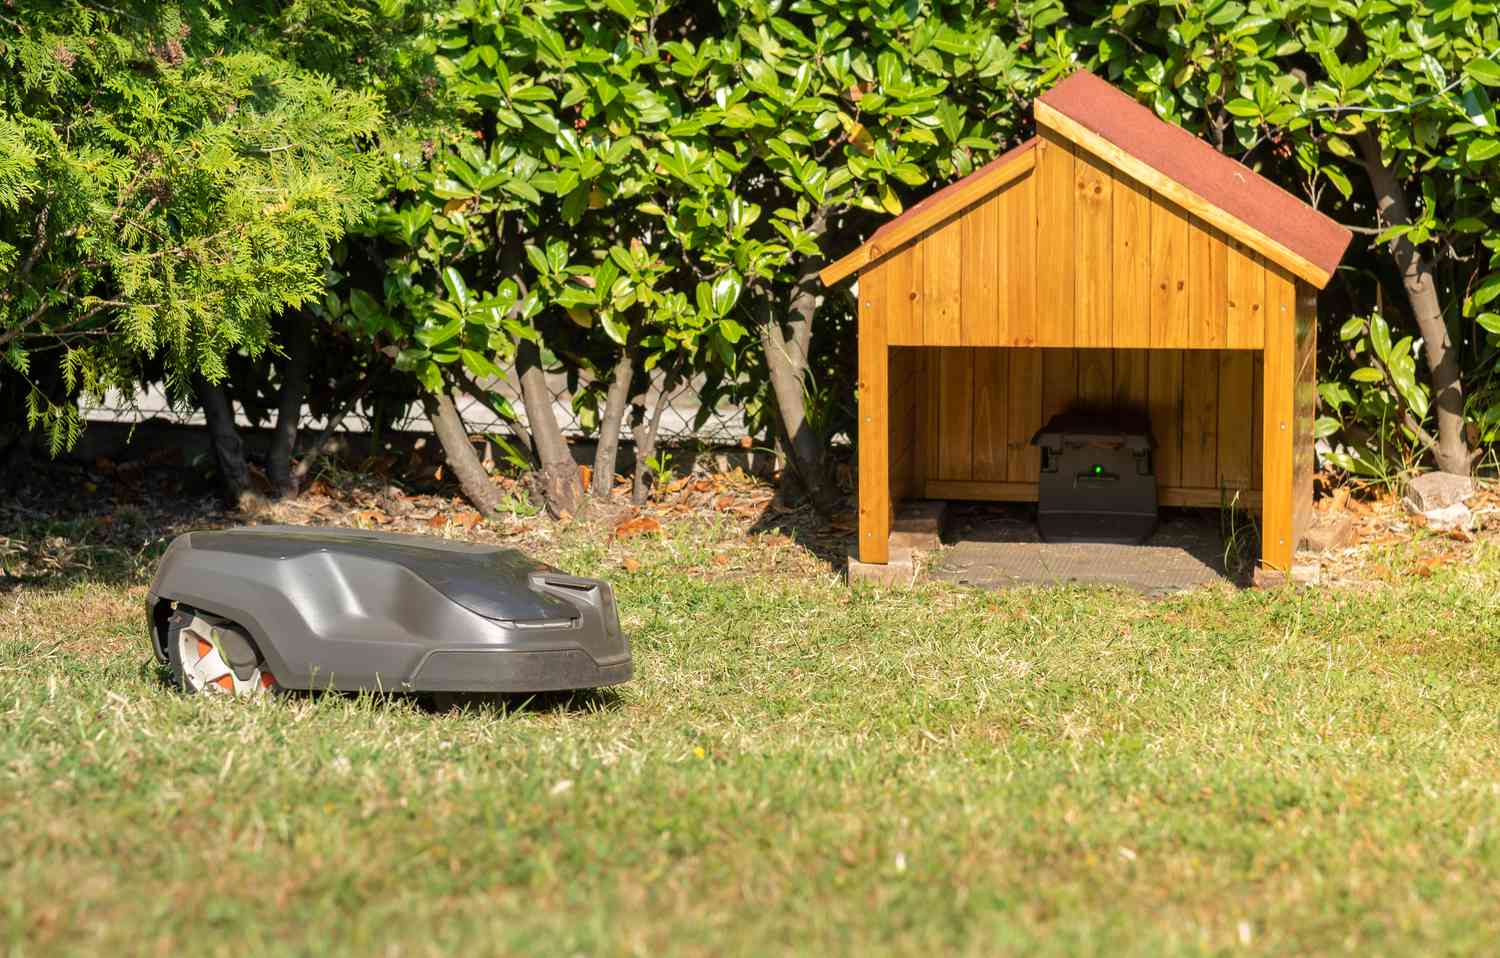
DIY Lawn Mower Shed: Step-by-Step Guide
Published: February 20, 2024
Editor-in-Chief with a decade in home renovation and a passion for vintage furniture. Diane is known for her weekend treasure hunts at flea markets, enriching our content with unique style insights.
Learn how to build a DIY lawn mower shed with our step-by-step guide. Perfect for organizing your garage & basement space efficiently.
(Many of the links in this article redirect to a specific reviewed product. Your purchase of these products through affiliate links helps to generate commission for Twigandthistle.com, at no extra cost. Learn more)
Introduction
Are you tired of your lawn mower taking up valuable space in your garage or being left exposed to the elements in your yard? If so, building a DIY lawn mower shed could be the perfect solution. Not only will it protect your equipment from the elements, but it will also free up space in your garage for other tools and storage.
In this comprehensive guide, we will walk you through the step-by-step process of building your own lawn mower shed. Whether you're a seasoned DIY enthusiast or a novice looking to take on a new project, this guide will provide you with all the information you need to create a functional and attractive storage solution for your lawn mower and other outdoor equipment.
By following the detailed instructions and tips provided in this guide, you'll be able to customize the shed to suit your specific needs and preferences. From choosing the right location for your shed to adding the finishing touches, we'll cover every aspect of the construction process, ensuring that you have all the knowledge and confidence to tackle this project with ease.
So, roll up your sleeves, gather your tools, and get ready to embark on a rewarding DIY journey. Building a lawn mower shed not only adds practical value to your property but also allows you to showcase your craftsmanship and creativity. Let's dive into the exciting world of DIY construction and create a dedicated space to protect and store your lawn mower.
Step 1: Gather Materials and Tools
Before diving into the construction of your DIY lawn mower shed, it's crucial to gather all the necessary materials and tools. This step sets the foundation for a smooth and efficient building process. Here's a comprehensive list to ensure you have everything you need:
Materials:
- Lumber: Purchase high-quality, pressure-treated lumber for the shed's frame and exterior cladding. Opt for weather-resistant wood to ensure durability.
- Plywood: Choose sturdy plywood for the shed's walls, roof, and flooring. Consider using exterior-grade plywood to withstand outdoor conditions.
- Roofing Materials: Select roofing shingles or metal panels, along with appropriate underlayment, to protect the shed from rain and snow.
- Fasteners: Stock up on nails, screws, and other fasteners suitable for outdoor use. Ensure they are corrosion-resistant to prolong the shed's lifespan.
- Door Hardware: Acquire hinges, handles, and a latch for the shed door, ensuring they are robust and capable of enduring frequent use.
- Foundation Materials: Depending on your chosen foundation type, gather concrete blocks, gravel, or concrete mix to establish a stable base for the shed.
Tools:
- Measuring Tape: A reliable measuring tape is essential for accurate dimensions and cuts throughout the construction process.
- Circular Saw: Invest in a quality circular saw for cutting lumber and plywood with precision.
- Hammer and Nails: Ensure you have a sturdy hammer and a variety of nails for securing the shed's frame and cladding.
- Screwdriver and Screws: Have a selection of screwdrivers and weather-resistant screws on hand for assembling the shed components.
- Level: A level is indispensable for ensuring the shed's foundation, walls, and roof are perfectly aligned and plumb.
- Safety Gear: Prioritize safety by wearing protective gear, including goggles, gloves, and a dust mask, during construction.
By gathering these materials and tools, you'll be well-equipped to commence the construction of your DIY lawn mower shed. With everything at your disposal, you can proceed to the next step with confidence, knowing that you have the essentials to bring your project to fruition.
Step 2: Choose a Location for the Shed
Selecting the optimal location for your DIY lawn mower shed is a pivotal decision that significantly impacts its functionality and visual appeal. Before breaking ground, carefully assess various factors to ensure that the chosen spot aligns with your practical needs and enhances the overall aesthetics of your outdoor space.
Considerations for Location Selection:
Proximity to Lawn Area:
Ideally, position the shed in close proximity to your lawn area to minimize the distance your lawn mower needs to travel. This strategic placement streamlines the mowing process, saving time and effort while maintaining the accessibility of your equipment.
Natural Light and Ventilation:
Evaluate the sunlight exposure and natural ventilation in different areas of your yard. Choosing a location that receives ample natural light helps prevent dampness and mold growth inside the shed. Additionally, adequate ventilation aids in regulating the shed's internal temperature, preserving the condition of your lawn mower and other stored items.
Property Boundaries and Regulations:
Before finalizing the shed's location, familiarize yourself with local zoning regulations and property boundaries. Ensure compliance with setback requirements and obtain any necessary permits to avoid potential legal issues in the future.
Aesthetic Harmony:
Harmonize the shed's placement with the existing landscape to create a visually pleasing outdoor environment. Consider how the shed will complement the overall aesthetics of your property, blending seamlessly with the surrounding elements such as trees, shrubs, and other outdoor structures.
Accessibility and Safety:
Prioritize accessibility and safety by choosing a location that allows convenient entry and exit from the shed. Avoid obstructing pathways and ensure that the shed's placement does not pose any safety hazards, especially in relation to potential falling branches or uneven terrain.
Future Landscaping Plans:
Anticipate future landscaping projects and potential expansions when selecting the shed's location. By considering future developments, such as garden enhancements or patio installations, you can strategically position the shed to accommodate these plans without the need for relocation.
By carefully weighing these considerations, you can confidently pinpoint the perfect location for your DIY lawn mower shed. This thoughtful approach ensures that the shed not only serves its practical purpose but also enhances the overall functionality and visual appeal of your outdoor space.
Step 3: Build the Foundation
The foundation serves as the anchor of your DIY lawn mower shed, providing stability and structural integrity. A well-constructed foundation ensures that the shed withstands environmental elements and remains durable for years to come. When building the foundation, it's essential to consider the specific requirements of your shed, the local climate, and the type of soil on your property.
Foundation Types:
Concrete Slab:
A concrete slab foundation offers a solid and level base for the shed. To begin, excavate the area to the required depth, ensuring a level surface. Next, construct a formwork to contain the concrete, reinforcing it with steel mesh for added strength. Once the concrete is poured and cured, you'll have a robust foundation ready to support the shed's weight.
Concrete Blocks:
For a more versatile and cost-effective option, consider using concrete blocks to create a pier foundation. Position the blocks strategically to support the shed's corners and midpoints, ensuring they are level and properly aligned. This method provides adequate airflow beneath the shed, minimizing moisture buildup and potential damage.
Gravel Foundation:
In areas with well-draining soil, a gravel foundation can be a practical choice. Clear the designated area and spread a layer of compacted gravel to create a stable base for the shed. This approach facilitates natural drainage and prevents water accumulation, safeguarding the shed against moisture-related issues.
Construction Process:
-
Site Preparation: Clear the designated area of any debris, vegetation, or obstructions. Use a shovel and rake to level the ground, ensuring a uniform surface for the foundation.
-
Marking and Layout: Use stakes and string to outline the dimensions of the shed's foundation. Double-check the measurements to guarantee accuracy before proceeding to the next steps.
-
Excavation: Depending on the chosen foundation type, excavate the area to the appropriate depth, accounting for the thickness of the foundation material. Take care to maintain a level base during the excavation process.
-
Formwork Installation: If opting for a concrete slab foundation, construct formwork using sturdy boards and stakes. Ensure the formwork is square and level, as it will dictate the shape and alignment of the foundation.
-
Material Placement: Whether pouring concrete or arranging concrete blocks, meticulously place the materials according to the predetermined layout. Use a level and measuring tools to confirm precise positioning and alignment.
-
Compaction and Finishing: Compact the foundation material to enhance stability and load-bearing capacity. For concrete foundations, finish the surface with a trowel to achieve a smooth and even texture.
By meticulously following these steps and tailoring the foundation construction to your shed's specific requirements, you'll establish a solid base that forms the cornerstone of your DIY lawn mower shed. A well-executed foundation lays the groundwork for the subsequent stages of construction, ensuring a sturdy and reliable structure that safeguards your lawn mower and equipment.
Step 4: Construct the Walls
With the foundation in place, it's time to shift our focus to constructing the walls of your DIY lawn mower shed. The walls play a crucial role in providing structural support, defining the shed's enclosure, and safeguarding its contents from external elements. Whether you opt for traditional stud walls or prefabricated panels, meticulous attention to detail and precision is paramount in this phase of the construction process.
Framing the Walls
-
Lumber Selection: Begin by selecting high-quality lumber for the wall framing. Opt for pressure-treated or weather-resistant wood to ensure longevity and resilience against outdoor conditions.
-
Measurement and Cutting: Accurate measurements are essential for precise cuts and a seamless assembly process. Utilize a measuring tape and a reliable circular saw to cut the lumber to the required dimensions, including studs, plates, and headers.
-
Assembling the Frame: Assemble the wall frame on a level surface, ensuring that the corners are square and the studs are evenly spaced. Secure the frame components using galvanized nails or screws, reinforcing the joints for added stability.
Adding Sheathing and Insulation
-
Sheathing Installation: Once the frame is assembled, attach exterior-grade plywood or oriented strand board (OSB) to the outer surface of the frame. Secure the sheathing with appropriate fasteners, ensuring a uniform and secure attachment.
-
Insulation Consideration: Depending on your climate and intended shed usage, consider incorporating insulation between the wall studs to regulate internal temperature and enhance energy efficiency. Insulation also aids in soundproofing the shed, creating a more conducive environment for storage and maintenance activities.
Installing Windows and Doors
-
Window Placement: If desired, plan for window openings in the walls to introduce natural light and ventilation. Carefully cut and frame the window openings, ensuring proper sealing and weatherproofing to prevent moisture infiltration.
-
Door Frame Assembly: Construct a sturdy frame for the shed door, ensuring it aligns with the wall dimensions and provides a secure entry point. Install appropriate hardware, such as hinges and a latch, to complete the door assembly.
Exterior Cladding and Finishing Touches
-
Cladding Selection: Choose an exterior cladding material that complements your property's aesthetics and provides robust protection against the elements. Options include vinyl siding, wood shingles, or metal panels, each offering unique visual appeal and durability.
-
Weatherproofing and Trim Installation: Apply weatherproofing barriers, such as house wrap or tar paper, beneath the exterior cladding to fortify the walls against moisture and air infiltration. Complete the walls' exterior by adding trim elements, such as corner boards and window casings, for a polished and cohesive appearance.
By meticulously following these steps and tailoring the wall construction to your shed's specific requirements, you'll establish a robust and visually appealing enclosure for your lawn mower shed. The walls serve as the protective barrier that shelters your equipment, reflecting your craftsmanship and attention to detail in every aspect of the construction process.
Step 5: Install the Roof
As you progress in building your DIY lawn mower shed, the installation of the roof marks a significant milestone in completing the structure. The roof not only provides essential protection from the elements but also contributes to the shed's overall aesthetic appeal. From selecting the roofing materials to executing precise installation, each step plays a crucial role in ensuring a durable and visually appealing roof for your shed.
Roofing Material Selection
The first step in installing the roof involves selecting the appropriate roofing materials based on your climate, aesthetic preferences, and budget. Common options include asphalt shingles, metal roofing panels, and corrugated fiberglass sheets. Consider the durability, weather resistance, and maintenance requirements of each material before making your decision.
Roof Framing and Sheathing
Before installing the roofing material, it's essential to ensure a sturdy and properly framed roof structure. Begin by framing the roof according to the shed's design, ensuring that the rafters or trusses are securely in place. Once the framing is complete, add a layer of sheathing, typically plywood or OSB, to provide a solid base for the roofing material and enhance the roof's structural integrity.
Weatherproofing and Underlayment
To safeguard the shed from moisture infiltration and enhance the roof's resilience, apply a weatherproofing underlayment over the sheathing. This underlayment acts as a protective barrier, preventing water penetration and minimizing the risk of leaks. Proper installation of the underlayment is crucial for ensuring the long-term performance of the roof.
Roofing Material Installation
Whether you opt for shingles, metal panels, or another roofing material, meticulous installation is paramount. Follow the manufacturer's guidelines and best practices for installing the chosen roofing material, ensuring proper overlap, fastening, and sealing. Pay close attention to details such as ridge caps, flashing, and edge trim to create a watertight and visually appealing roof.
Ventilation Considerations
Incorporating adequate ventilation in the roof design is essential for regulating the shed's internal temperature and preventing moisture buildup. Consider adding ridge vents, soffit vents, or gable vents to promote air circulation within the shed, contributing to the longevity of the roof and the items stored inside.
Final Inspections and Finishing Touches
Once the roofing material is installed, conduct a thorough inspection to ensure that the roof is securely fastened, free of defects, and properly sealed. Address any potential issues promptly to prevent future complications. Complete the roof with finishing touches such as fascia boards, gutters, and downspouts to enhance both the functionality and visual appeal of the shed.
By meticulously following these steps and paying attention to detail during the roof installation, you'll achieve a robust and visually striking roof that complements the overall design of your DIY lawn mower shed. The completed roof not only provides essential protection for your equipment but also adds a touch of craftsmanship to your outdoor space.
Step 6: Add Finishing Touches
As you approach the final phase of constructing your DIY lawn mower shed, adding finishing touches elevates the functionality, aesthetics, and overall appeal of the structure. These details not only enhance the shed's visual impact but also contribute to its durability and usability. From addressing interior organization to enhancing exterior features, the finishing touches complete the shed, transforming it into a fully functional and visually pleasing addition to your property.
Interior Organization and Storage Solutions
Maximize the shed's utility by incorporating interior storage solutions tailored to your specific needs. Install sturdy shelving units to organize tools, equipment, and gardening supplies, optimizing the shed's storage capacity and facilitating easy access to essential items. Additionally, consider hanging hooks or racks for smaller tools and accessories, keeping the interior space tidy and efficiently utilized.
Lighting and Electrical Considerations
Introduce adequate lighting to the shed's interior, ensuring visibility and convenience, especially during early mornings or evenings. Install durable, weather-resistant light fixtures to illuminate the space, enabling you to work comfortably and safely regardless of the time of day. If desired, consider adding electrical outlets to power tools and equipment, further enhancing the shed's functionality.
Exterior Enhancements and Landscaping Integration
Incorporate exterior enhancements to seamlessly integrate the shed with your property's landscape. Consider adding decorative elements such as window boxes, trellises, or planters to soften the shed's exterior and create a cohesive connection with the surrounding greenery. Additionally, apply a fresh coat of weather-resistant paint or stain to the exterior surfaces, enhancing both the shed's visual appeal and its protection against the elements.
Security and Access Control
Prioritize the security of your shed and its contents by installing robust locks and latches on the doors. Consider adding a motion-activated security light to deter potential intruders and enhance nighttime visibility around the shed. Additionally, evaluate the need for additional security measures such as padlocks or an alarm system based on your specific requirements and the shed's location.
Personalization and Customization
Infuse your personality into the shed by adding personalized touches such as decorative signage, custom artwork, or unique architectural details. These elements not only reflect your individual style but also contribute to the shed's character, making it a distinctive and cherished feature of your outdoor space.
By meticulously attending to these finishing touches, you'll transform your DIY lawn mower shed into a fully realized and personalized space that not only serves its practical purpose but also enriches the visual appeal and functionality of your property. Each detail contributes to the shed's overall charm and utility, ensuring that it stands as a testament to your craftsmanship and attention to detail.
Conclusion
Congratulations on successfully completing the construction of your DIY lawn mower shed! This transformative journey has not only resulted in the creation of a dedicated space to safeguard and store your lawn mower but has also showcased your craftsmanship, creativity, and determination to undertake a rewarding DIY project. As you reflect on the culmination of this endeavor, it's essential to recognize the significance of your achievement and the valuable lessons learned throughout the construction process.
The completion of your lawn mower shed marks the establishment of a functional and visually appealing addition to your property. This versatile structure not only provides essential protection for your lawn mower and outdoor equipment but also contributes to the organization and optimization of your outdoor space. By integrating thoughtful design elements, durable materials, and meticulous construction techniques, you have created a space that aligns with your practical needs while enhancing the overall aesthetics of your property.
Furthermore, the construction of the shed has empowered you with valuable skills and knowledge in the realm of DIY construction. From gathering materials and tools to executing precise measurements and cuts, each step of the process has honed your abilities and expanded your understanding of construction principles. The hands-on experience gained from this project serves as a foundation for future endeavors, instilling confidence and proficiency in tackling similar or more complex construction projects.
Beyond the tangible outcomes, the journey of building your lawn mower shed has fostered a sense of accomplishment and pride in your ability to transform a vision into reality. The dedication, perseverance, and attention to detail demonstrated throughout the construction process exemplify your commitment to excellence and your capacity to overcome challenges with ingenuity and resourcefulness.
As you admire the completed shed, take a moment to appreciate the transformation it has brought to your outdoor space. The shed stands as a testament to your dedication, creativity, and determination, serving as a functional and visually striking asset that enhances the overall appeal and utility of your property.
In conclusion, the construction of your DIY lawn mower shed represents not only the fulfillment of a practical need but also the embodiment of your passion for craftsmanship and the pursuit of self-improvement. This project has not only enriched your property but has also enriched your skills, confidence, and sense of accomplishment. As you embark on future endeavors, may the lessons learned and the satisfaction derived from this project continue to inspire and guide you in your pursuit of meaningful and fulfilling DIY endeavors.