Home>Home & Furniture>Roof>How to Build a Pergola with Roof
Roof
How to Build a Pergola with Roof
Published: August 17, 2024
Learn how to build a pergola with a roof in this step-by-step guide. Enhance your outdoor space with our expert tips on design, materials, and construction techniques.
(Many of the links in this article redirect to a specific reviewed product. Your purchase of these products through affiliate links helps to generate commission for Twigandthistle.com, at no extra cost. Learn more)
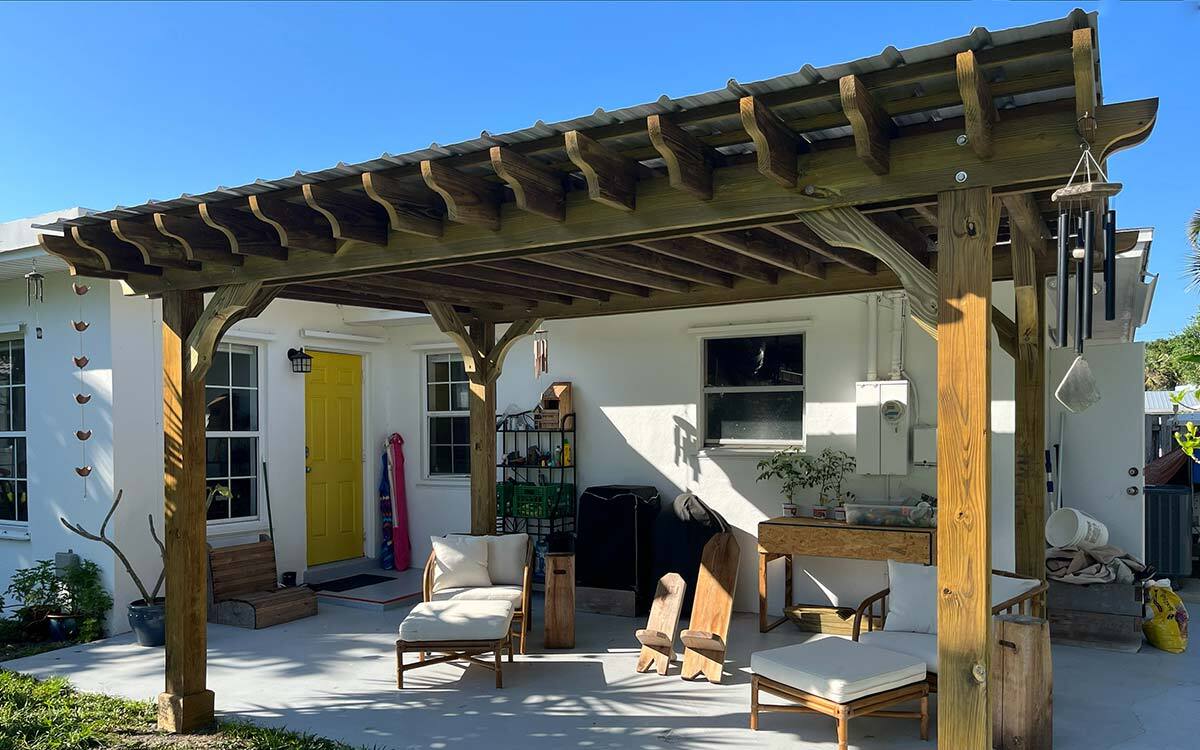
Building a pergola with a roof can transform your backyard into a cozy, shaded retreat. A pergola provides a fantastic space for relaxation, dining, or entertaining guests. Adding a roof offers extra protection from the elements, making your outdoor area usable in various weather conditions. This project might seem challenging, but with some planning, basic tools, and a bit of effort, you can create a beautiful, functional addition to your home. Whether you’re an experienced DIY enthusiast or just starting, this guide will help you through each step, ensuring your pergola is both sturdy and stylish. Let’s get started!
Getting Ready for Your Pergola Project
Gather Materials: Collect wood, screws, nails, roofing material, and tools like a saw, drill, and measuring tape.
Check Permits: Verify if local regulations require permits for building structures like pergolas.
Choose Location: Pick a flat, stable area in your yard. Ensure it has enough space for the pergola's size.
Measure and Mark: Measure the dimensions of your pergola. Mark the spots where posts will go.
Safety Gear: Wear gloves, safety glasses, and ear protection. Keep a first aid kit nearby.
Clear Workspace: Remove debris, rocks, and plants from the area. Ensure the ground is level.
Pre-cut Wood: Cut all wood pieces to the required lengths. This saves time during assembly.
Check Weather: Plan to build on a day with good weather. Avoid rainy or extremely windy days.
Gather Helpers: Ask friends or family to assist. Some tasks require more than one person.
Prepare Tools: Ensure all tools are in good working condition. Charge any battery-operated tools.
Review Instructions: Go over the building plan or instructions thoroughly. Make sure you understand each step.
Essential Materials and Tools
- Pressure-Treated Lumber: Used for the main structure, including posts, beams, and rafters. It resists rot and insects.
- Concrete Mix: Secures the posts in the ground, providing stability.
- Galvanized Screws and Bolts: Fasten the lumber together. Galvanized ones resist rust.
- Metal Brackets: Provide extra support at joints and connections.
- Roofing Material: Options include metal sheets, polycarbonate panels, or shingles. Protects from rain and sun.
- Post Anchors: Secure the posts to the ground or concrete.
- Wood Stain or Paint: Protects the wood from weather damage and adds color.
- Gravel: Used at the base of the posts for drainage.
- Level: Ensures the structure is even and straight.
- Tape Measure: Measures wood and spacing accurately.
- Circular Saw: Cuts the lumber to the required lengths.
- Drill: Makes holes for screws and bolts.
- Hammer: Drives nails and helps with assembly.
- Ladder: Reaches higher areas safely.
- Safety Gear: Includes gloves, safety glasses, and ear protection. Keeps you safe during construction.
Required Skills and Time Commitment
Skill Level: Intermediate
Time Required: 2-3 days
- Planning and Measuring: 2-3 hours
- Gathering Materials: 1-2 hours
- Cutting Wood: 3-4 hours
- Assembling Frame: 4-6 hours
- Installing Roof: 4-5 hours
- Finishing Touches: 2-3 hours
Building Your Pergola: Step-by-Step Guide
Gather Materials and Tools
- Lumber (4x4 posts, 2x6 beams, 2x4 rafters)
- Roofing material (metal sheets, shingles, or polycarbonate panels)
- Concrete mix
- Screws and nails
- Drill, saw, measuring tape, level, ladder
Choose Location
- Pick a flat, stable area in your yard.
- Ensure there’s enough space for the pergola size you want.
Measure and Mark
- Measure the area where the pergola will stand.
- Mark the four corners with stakes.
Dig Post Holes
- Dig holes at the marked spots, about 2 feet deep.
- Make sure holes are evenly spaced.
Set Posts
- Place 4x4 posts in the holes.
- Pour concrete mix around each post.
- Use a level to ensure posts are vertical.
- Let concrete dry for 24 hours.
Attach Beams
- Cut 2x6 beams to the desired length.
- Attach beams horizontally to the top of the posts using screws.
- Ensure beams are level.
Install Rafters
- Cut 2x4 rafters to fit between the beams.
- Space rafters evenly across the beams.
- Secure rafters with screws.
Add Roofing Material
- Lay roofing material over the rafters.
- Secure with screws or nails, depending on the material.
- Ensure roofing is watertight.
Finish and Inspect
- Sand any rough edges.
- Apply weatherproof sealant to wood.
- Inspect the structure for stability.
Enjoy Your Pergola
- Add furniture or plants.
- Enjoy your new outdoor space.
Helpful Tips and Tricks
Measure twice, cut once. Always double-check measurements before cutting wood. This avoids wasting materials and ensures pieces fit together properly.
Use treated lumber for the frame. Treated wood resists rot and insects, making your pergola last longer.
Pre-drill holes before screwing. This prevents wood from splitting and makes assembly easier.
Level the posts. Ensure all posts are level and plumb. Use a spirit level to check vertical and horizontal alignment.
Secure the posts with concrete. Dig holes for the posts, fill them with concrete, and let it set. This provides a sturdy foundation.
Add crossbeams for extra support. Crossbeams help distribute weight evenly and add stability.
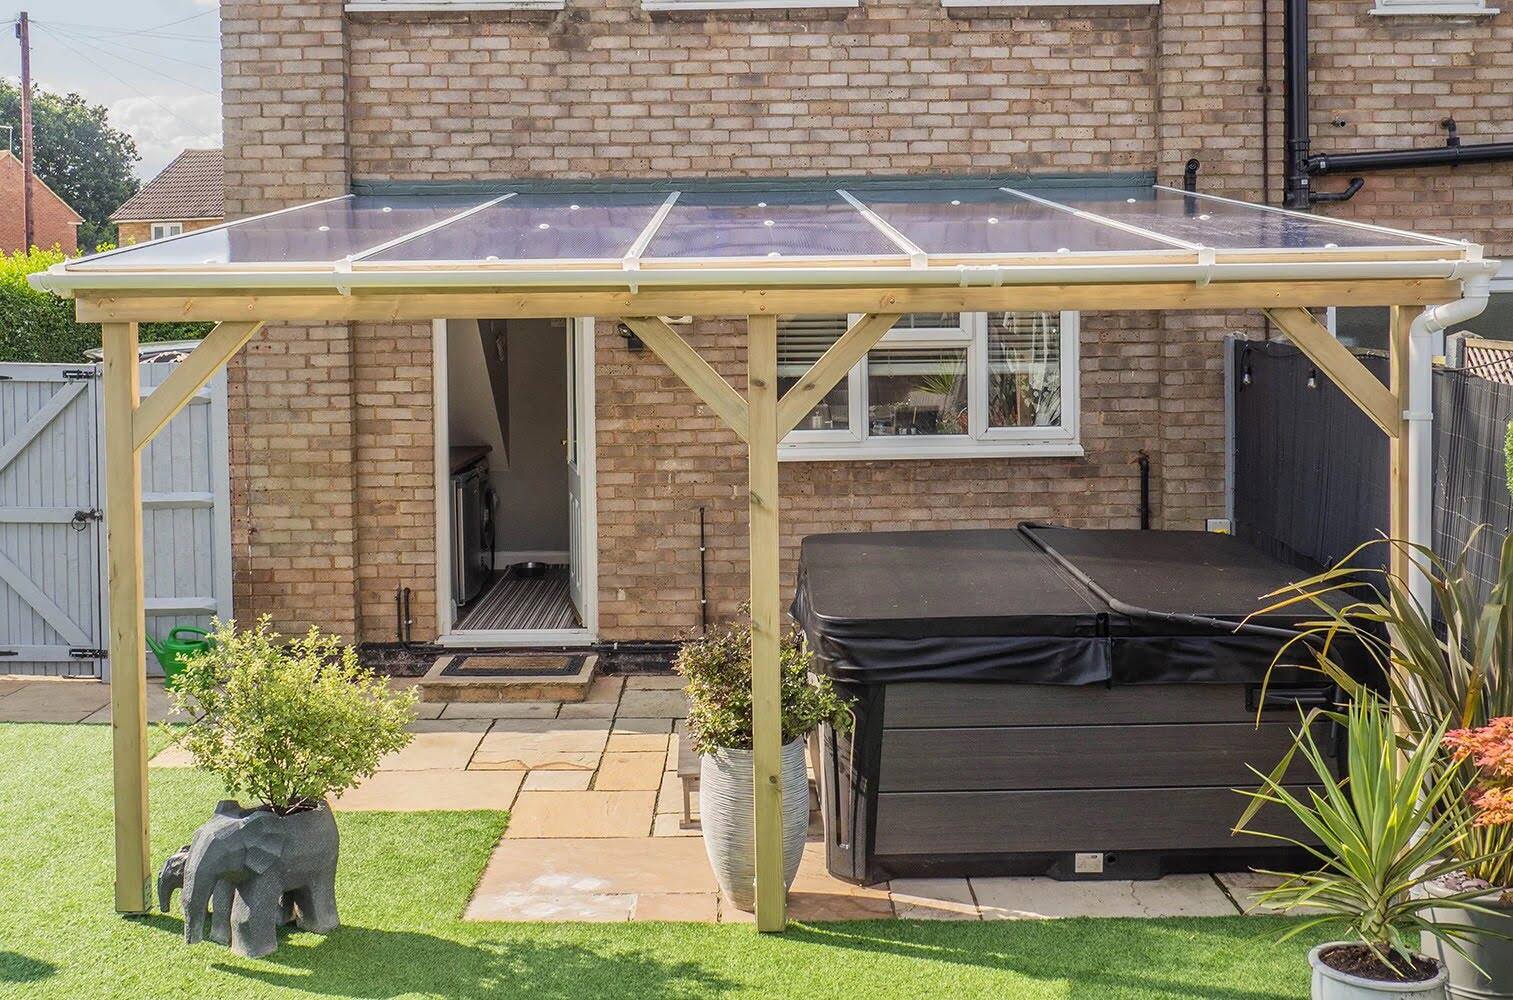
Install a waterproof roof. Use materials like polycarbonate panels or metal roofing to keep the area dry.
Common mistakes to avoid:
- Skipping permits. Check local building codes and get necessary permits.
- Ignoring safety gear. Wear gloves, safety glasses, and ear protection.
- Rushing the concrete. Let concrete cure fully before adding weight.
- Misaligning posts. Misaligned posts lead to an unstable structure.
Alternatives for materials or methods:
- Composite decking instead of wood. Composite materials are low-maintenance and durable.
- Shade cloth instead of a solid roof. Shade cloth provides partial shade and is easier to install.
- Metal brackets for connections. Metal brackets offer strong, easy-to-use connections.
- Gravel base instead of concrete. Gravel provides good drainage and is easier to install.
Estimating the Cost
Lumber: For a standard 10x10 pergola, you'll need around 8-10 posts (4x4 or 6x6), beams, and rafters. Expect to spend about $500-$800 on wood.
Concrete: For securing posts, you'll need around 6-8 bags of concrete mix. Each bag costs about $5, totaling $30-$40.
Roofing Material: Options include polycarbonate panels, metal sheets, or wood slats. Polycarbonate panels cost around $150-$200, metal sheets about $200-$300, and wood slats $100-$150.
Hardware: Screws, bolts, and brackets will cost around $50-$100.
Tools: Basic tools include a saw, drill, measuring tape, level, and post hole digger. If you don't own these, renting might cost around $50-$100.
Stain/Paint: To protect the wood, you'll need stain or paint. This will cost around $30-$50.
Total Cost: Expect to spend between $810 and $1,440.
Budget-Friendly Alternatives:
- Use pressure-treated wood instead of cedar or redwood to save $100-$200.
- Opt for corrugated plastic roofing instead of polycarbonate or metal, saving $50-$100.
- Borrow or rent tools from friends or neighbors to cut costs.
Unique Variations and Customizations
Materials: Instead of traditional wood, try bamboo for a tropical feel or metal for a modern look. Reclaimed wood adds a rustic charm, while composite materials offer durability with less maintenance.
Colors: Paint or stain the pergola in bold colors like navy blue or forest green for a standout piece. For a more natural look, use earth tones like browns and greens. White or light gray can give a classic, clean appearance.
Roof Styles: Use clear polycarbonate panels for a roof that lets in light but keeps out rain. Fabric canopies offer a softer, more flexible option. For a more solid roof, consider corrugated metal or wooden slats.
Decorative Elements: Add string lights or hanging lanterns for evening ambiance. Climbing plants like wisteria or ivy can create a lush, green canopy. Install curtains for added privacy and shade.
Shape and Size: Customize the pergola’s shape by making it round or hexagonal instead of the traditional rectangular. Adjust the size to fit your space, whether you need a small, intimate nook or a large, open area for gatherings.
Flooring Options: Place the pergola on a deck or patio for a more finished look. Use gravel or pavers for a rustic feel. A concrete slab can offer a modern, sleek base.
Additional Features: Incorporate built-in seating or a fire pit for added functionality. Install a ceiling fan for comfort during hot days. Add shelves or planter boxes for extra storage and greenery.
Eco-Friendly Building Tips
Reclaimed Wood: Use old barn wood or pallets. They add character and reduce waste.
Bamboo: Strong and fast-growing, bamboo is a great eco-friendly choice.
Recycled Metal: For the roof, consider using recycled metal sheets. They last long and can be recycled again.
Natural Stains and Sealants: Choose non-toxic, water-based stains and sealants to protect the wood without harming the environment.
Solar Panels: Install solar panels on the roof to generate electricity. This can power outdoor lights or other small devices.
Rainwater Collection: Design the roof to collect rainwater. Use this water for gardening or other outdoor needs.
Native Plants: Surround the pergola with native plants. They require less water and support local wildlife.
Energy-Efficient Lighting: Use LED lights for any lighting needs. They consume less power and last longer.
Recycled Plastic: Some pergola kits use recycled plastic. They are durable and low-maintenance.
Local Materials: Source materials locally to reduce transportation emissions and support local businesses.
Your Pergola Awaits
Building a pergola with a roof isn't just a rewarding DIY project; it's a fantastic way to enhance your outdoor space. You've learned how to plan, measure, and assemble all the parts. Now, it's time to enjoy the fruits of your labor. Whether you're looking for a cozy spot to relax or a stylish area to entertain guests, your new pergola will serve you well. Remember, the key to a successful build is patience and attention to detail. Don't rush the process. Take your time, follow the steps, and you'll have a sturdy, beautiful pergola that stands the test of time. So grab a cold drink, sit back, and admire your handiwork. You've earned it!
What materials do I need to build a pergola with a roof?
You’ll need wood (like cedar or redwood), screws, brackets, concrete for the posts, roofing material (like polycarbonate panels or metal sheets), and tools like a saw, drill, and level.
How long does it take to build a pergola with a roof?
It usually takes a weekend or two, depending on your experience and the size of the pergola. Plan for about 20-30 hours of work.
Do I need a permit to build a pergola with a roof?
Check with your local building department. Some areas require permits for structures like pergolas, especially if they have a roof.
How do I ensure my pergola is sturdy?
Make sure to anchor the posts in concrete, use strong brackets, and ensure everything is level and square. Follow the manufacturer’s guidelines for the roofing material.
Can I customize the design of my pergola?
Absolutely! You can choose different styles, sizes, and roofing materials. Add decorative elements like lattice, curtains, or lights to make it unique.
What type of roof is best for a pergola?
It depends on your needs. Polycarbonate panels are lightweight and let light through, while metal sheets are more durable and provide better shade. Consider your climate and aesthetic preferences.
How do I maintain my pergola with a roof?
Regularly check for loose screws or brackets, clean the roof to prevent debris buildup, and treat the wood with a sealant or stain to protect it from the elements.