Home>Create & Decorate>DIY & Crafts>How To Build A Sofa Frame


DIY & Crafts
How To Build A Sofa Frame
Published: May 21, 2024

Senior Editor in Create & Decorate, Kathryn combines traditional craftsmanship with contemporary trends. Her background in textile design and commitment to sustainable crafts inspire both content and community.
Learn how to build a sturdy sofa frame with our step-by-step DIY guide. Perfect for DIY & Crafts enthusiasts looking to create their own furniture.
(Many of the links in this article redirect to a specific reviewed product. Your purchase of these products through affiliate links helps to generate commission for Twigandthistle.com, at no extra cost. Learn more)
Introduction
So, you've decided to take on the challenge of building your own sofa frame. Congratulations! Building a sofa frame can be a rewarding and cost-effective DIY project. Whether you're looking to customize the size and style of your sofa or simply enjoy the satisfaction of creating something with your own hands, constructing a sofa frame is a great way to add a personal touch to your living space. In this guide, we'll walk you through the step-by-step process of building a sturdy and stylish sofa frame that will serve as the foundation for your comfortable seating oasis. Let's dive in and get started on this exciting DIY adventure!
Read more: How to Build Aluminum Storm Window Frames
Choosing the Right Wood for Your Sofa Frame
When it comes to building a sofa frame, selecting the right type of wood is crucial for ensuring the durability and longevity of your DIY creation. Here are some key factors to consider when choosing the perfect wood for your sofa frame:
1. Strength and Durability
Opt for hardwoods such as oak, maple, or birch, as they are known for their strength and resilience. These woods are less prone to warping or cracking, making them ideal for supporting the weight and usage of a sofa.
2. Moisture Resistance
Since sofas are often subjected to spills and varying humidity levels, it's important to choose a wood that is resistant to moisture. Woods like teak and cedar are naturally resistant to moisture, making them suitable choices for a sofa frame.
3. Workability
Consider the ease of working with the wood. Some woods, like pine and poplar, are relatively easy to cut, shape, and sand, making them suitable for DIY projects. However, keep in mind that softer woods may require additional reinforcement for structural support.
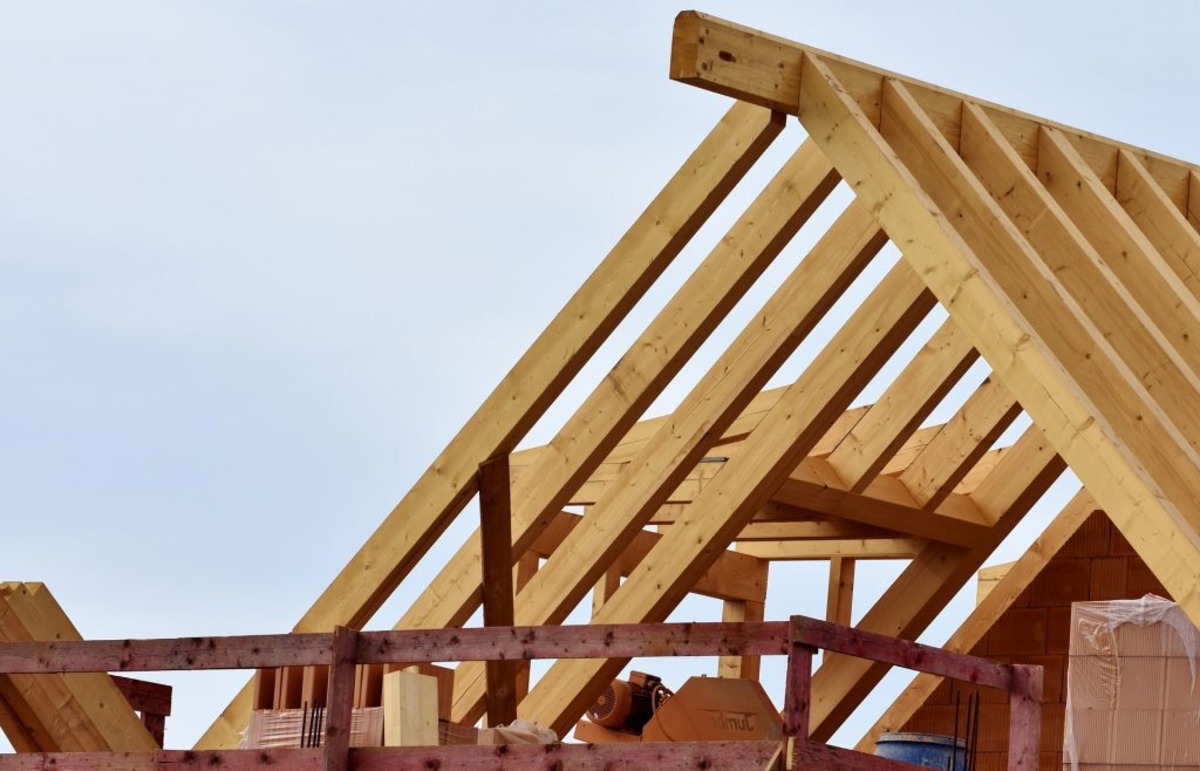
Read more: How To Build A Pitched Roof Frame
4. Appearance
The aesthetic appeal of the wood is also an important factor to consider. Choose a wood that complements the overall design and style of your sofa. For a more rustic look, you might opt for a knotty pine, while a sleek and modern sofa may benefit from the smooth finish of maple or cherry.
By carefully considering these factors, you can select the ideal wood that will not only provide the necessary strength and support for your sofa frame but also enhance the visual appeal of your finished piece.
Measuring and Cutting the Frame Pieces
Now that you've chosen the perfect wood for your sofa frame, it's time to roll up your sleeves and get to work on measuring and cutting the frame pieces. This step is crucial for ensuring that your sofa frame comes together with precision and stability. Here's a detailed guide on how to tackle this essential phase of the construction process:
-
Gather Your Tools: Before diving into the measuring and cutting process, make sure you have all the necessary tools at your disposal. You'll need a tape measure, a pencil, a miter saw or circular saw, a straight edge, and safety equipment such as goggles and gloves.
-
Take Accurate Measurements: Begin by measuring and marking the dimensions of each frame piece according to your sofa design. Use a tape measure to ensure precise measurements, and mark the wood with a pencil to indicate where you'll make your cuts.
-
Double-Check Your Measurements: It's always a good idea to double-check your measurements before making any cuts. This extra step can help prevent costly mistakes and ensure that your frame pieces fit together seamlessly.
-
Cut with Care: Once you've confirmed your measurements, carefully use a miter saw or circular saw to make the necessary cuts. Remember to follow all safety precautions and use a straight edge as a guide to achieve clean and accurate cuts.
-
Label Your Pieces: As you cut each frame piece, it's helpful to label them accordingly. This simple step can save you time and confusion during the assembly process, especially if you have multiple pieces to work with.
-
Sand the Edges: After cutting the frame pieces, use sandpaper to smooth out any rough edges or uneven surfaces. This will not only enhance the appearance of your sofa frame but also prevent any splinters or snags.
By following these steps, you can ensure that your sofa frame's components are precisely measured and expertly cut, setting the stage for a successful assembly process. With the frame pieces ready to go, you're one step closer to bringing your DIY sofa to life!
Assembling the Sofa Frame
With the frame pieces cut and prepared, it’s time to move on to the exciting phase of assembling your sofa frame. This step is where all your hard work begins to take shape, and you can see your DIY sofa coming together. Follow these steps to ensure a smooth and successful assembly process:
- Layout the Frame Pieces: Start by laying out all the frame pieces in the designated assembly area. Arrange them according to your sofa design, ensuring that you have a clear visual of how they will fit together.
- Pre-Drill Screw Holes: To prevent the wood from splitting and to ensure a secure fit, it’s advisable to pre-drill pilot holes for the screws or bolts that will be used to join the frame pieces. Use a drill bit that is slightly smaller than the diameter of the screws to create the pilot holes.
- Assemble the Base: If your sofa design includes a base or foundation, begin by assembling this section first. Use wood glue and screws to join the base pieces together, following the measurements and layout you’ve established.
- Attach the Sides and Back: Once the base is assembled, it’s time to attach the sides and back of the sofa frame. Position the pieces carefully and use clamps to hold them in place while you secure them with screws or bolts. This step may require assistance to ensure that the frame is aligned and level.
- Reinforce the Joints: To enhance the strength and stability of the frame, consider adding corner braces or L-brackets at the joints. These additional supports can help distribute the weight evenly and prevent the frame from wobbling or shifting over time.
- Check for Squareness: As you progress through the assembly process, periodically check for squareness using a carpenter’s square. This simple step can help you identify and correct any misalignments before the frame is fully assembled.
- Apply Wood Finish (Optional): If desired, this is the stage where you can apply a wood finish or stain to enhance the appearance of your sofa frame. Be sure to follow the manufacturer’s instructions and allow adequate drying time before moving on to the next steps.
- Test the Stability: Once the frame is fully assembled, give it a gentle shake and test its stability. Look for any signs of wobbling or weakness, and make any necessary adjustments or reinforcements to ensure that your sofa frame is solid and secure.
By following these steps and taking your time to ensure precision and attention to detail, you can successfully assemble a sturdy and reliable sofa frame that will serve as the foundation for your custom seating masterpiece. With the frame assembled, you’re now ready to move on to the next exciting phases of your DIY sofa project!
Adding Support and Bracing
Once the main structure of the sofa frame is assembled, it's essential to focus on adding support and bracing to ensure the strength and stability of the entire piece. This step is crucial for reinforcing the frame and preventing any potential issues such as sagging or structural weakness over time. Here's a detailed guide on how to effectively add support and bracing to your sofa frame:
-
Evaluate Load-Bearing Areas: Begin by identifying the load-bearing areas of the sofa frame, such as the seat and backrest. These are the areas that will experience the most weight and pressure when the sofa is in use. By pinpointing these critical zones, you can strategically reinforce them to withstand the demands of daily use.
-
Install Cross Braces: Cross braces are an effective way to distribute weight and provide additional support to the frame. Measure and cut pieces of wood to fit diagonally across the underside of the seat and backrest. Secure these cross braces using wood screws or brackets, ensuring that they are firmly anchored to the frame.
-
Add Center Supports: For longer sofa frames, it's beneficial to incorporate center supports to prevent any bowing or flexing in the middle. Install a sturdy center support beam underneath the seat area, extending from the front to the back of the frame. This will help distribute the weight evenly and maintain the structural integrity of the sofa.
-
Utilize Corner Braces: Corner braces are ideal for reinforcing the joints and corners of the sofa frame. Attach metal corner braces at the inside corners of the frame, both on the seat and backrest sections. These braces will help prevent the frame from shifting or becoming misaligned over time, especially in high-stress areas.
-
Consider Additional Blocking: Depending on the design of your sofa frame, you may want to add additional blocking or support pieces in specific areas. This could involve installing vertical support pieces between the seat and the floor, or horizontal blocking between the backrest and the seat. These extra reinforcements can significantly enhance the overall stability of the frame.
-
Inspect and Test for Sturdiness: Once the support and bracing elements are in place, thoroughly inspect the entire sofa frame for sturdiness. Apply pressure to different areas and check for any signs of movement or weakness. Make any necessary adjustments or additions to ensure that the frame is solid and capable of withstanding the demands of everyday use.
By incorporating these support and bracing techniques, you can reinforce the structural integrity of your sofa frame and create a durable foundation for your seating arrangement. This proactive approach to support and bracing will contribute to the longevity and reliability of your DIY sofa, providing you with a comfortable and secure piece of furniture for years to come.
Read more: How To Build A Mirror Frame
Conclusion
In conclusion, building a sofa frame is a gratifying DIY project that allows you to create a customized and sturdy foundation for your seating needs. By carefully selecting the right wood, measuring and cutting the frame pieces with precision, assembling the frame with attention to detail, and adding essential support and bracing, you can construct a sofa frame that meets your specific design preferences and structural requirements. With the completion of the sofa frame, you are now ready to move on to the exciting phases of adding upholstery, cushions, and personal touches to transform your creation into a comfortable and stylish sofa. Embrace the satisfaction of seeing your DIY sofa come to life and enjoy the fruits of your labor as you relax on a piece of furniture that reflects your craftsmanship and creativity.

