
Home>Create & Decorate>DIY & Crafts>How To Frame A Wall
DIY & Crafts
How To Frame A Wall
Published: April 22, 2024

Content Creator specializing in woodworking and interior transformations. Caegan's guides motivate readers to undertake their own projects, while his custom furniture adds a personal touch.
Learn how to frame a wall with our step-by-step DIY guide. Perfect for DIY & Crafts enthusiasts looking to tackle home improvement projects.
(Many of the links in this article redirect to a specific reviewed product. Your purchase of these products through affiliate links helps to generate commission for Twigandthistle.com, at no extra cost. Learn more)
Introduction
So, you're ready to take on a new DIY project and you've decided to frame a wall. Whether you're creating a new room, dividing a space, or simply adding some structure to your home, framing a wall is a fundamental skill for any DIY enthusiast. In this article, we'll walk you through the step-by-step process of framing a wall, from gathering the necessary tools and materials to measuring, cutting, and assembling the frame. By the end of this guide, you'll have the knowledge and confidence to tackle this essential home improvement task on your own. Let's get started!
Tools and Materials Needed
When it comes to framing a wall, having the right tools and materials at your disposal is crucial for a successful project. Here's a list of what you'll need:
Tools:
- Measuring Tape: Essential for taking accurate measurements.
- Stud Finder: Helps locate the vertical framing studs behind the wall.
- Level: Ensures that your wall is straight and plumb.
- Circular Saw or Miter Saw: For cutting the lumber to the required lengths.
- Hammer or Nail Gun: Used to secure the frame together.
- Screwdriver or Drill: For driving screws or nails into the frame.
Materials:
- Lumber: 2×4 or 2×6 boards for the frame.
- Nails or Screws: To secure the frame together.
- Construction Adhesive: Provides extra strength and stability for the frame.
- Shims: Used for adjusting the frame and making it level.
- Safety Gear: Including gloves, goggles, and ear protection for safe construction.
Gathering these tools and materials before you begin will ensure a smooth and efficient framing process.
Measuring and Marking
Before you start cutting and assembling the frame, it's crucial to take accurate measurements and make precise markings to ensure that your wall frame fits perfectly into place. Here's a step-by-step guide to the measuring and marking process:
-
Measure the Space: Use a measuring tape to determine the length and height of the area where the wall will be installed. Take measurements at multiple points to account for any irregularities in the space.
-
Mark the Lumber: Once you have your measurements, transfer them to the lumber that will form the frame. Use a pencil and a square to mark the cutting lines clearly. Remember to label each piece according to its placement in the frame to avoid confusion during assembly.
-
Account for Openings: If your wall will have any openings for doors or windows, measure and mark their locations on the lumber. This will help you visualize the layout of the frame and ensure that the openings are properly framed.
-
Add Allowances: When marking the lumber, consider the thickness of the wall covering (drywall, paneling, etc.) and make adjustments to the measurements to accommodate this. This will ensure that the finished wall fits seamlessly into the space.
-
Double-Check: Before making any cuts, double-check all your measurements and markings to avoid any costly mistakes. It's always better to be safe than sorry when it comes to framing a wall.
By taking the time to measure and mark accurately, you'll set yourself up for success in the subsequent stages of framing the wall. This meticulous approach will help you avoid errors and ensure that your wall frame fits perfectly into place.
Cutting and Assembling the Frame
With your lumber marked and ready, it's time to move on to the cutting and assembling stage of framing your wall. Follow these steps to bring your wall frame to life:
-
Cut the Lumber: Using a circular saw or miter saw, carefully cut the lumber according to the marked measurements. Remember to wear appropriate safety gear, such as goggles and gloves, during this process to protect yourself from any potential hazards.
-
Lay Out the Pieces: Once the lumber is cut, lay out all the pieces on the ground or a work surface, arranging them according to their placement in the frame. This will give you a clear visual of how the frame will come together.
-
Assemble the Frame: Begin by constructing the top and bottom plates of the frame. Lay the pieces on edge and use nails or screws to secure them together at the corners. Next, insert the vertical studs between the plates, spacing them according to your building code or project requirements.
-
Use Construction Adhesive: For added strength, apply construction adhesive between the joints before securing them with nails or screws. This will help create a more rigid and stable frame.
-
Check for Square: Use a tape measure to check the diagonals of the frame. If the measurements are equal, the frame is square. If not, make any necessary adjustments to ensure the frame is perfectly square.
-
Add Support: Depending on the size and purpose of the wall, you may need to add additional support, such as blocking between the studs, to enhance the structural integrity of the frame.
-
Install Headers and Footers: If your wall includes openings for doors or windows, install headers and footers above and below these openings to provide additional support and distribute the weight of the structure.
By carefully cutting and assembling the frame, you'll create a sturdy and well-constructed wall that is ready for installation. Taking the time to ensure the frame is square and properly supported will contribute to the overall stability and longevity of your wall.
Installing the Frame
With the wall frame fully assembled, it's time to install it in its designated location. Follow these steps to ensure a successful installation process:
-
Prepare the Area: Clear the area where the wall will be installed, removing any obstructions and ensuring a clean and level surface for the frame to rest against.
-
Lift the Frame: Enlist the help of a friend or family member to assist you in lifting the frame into place. Depending on the size and weight of the frame, using a lifting device or temporary braces may also be necessary to support the frame during installation.
-
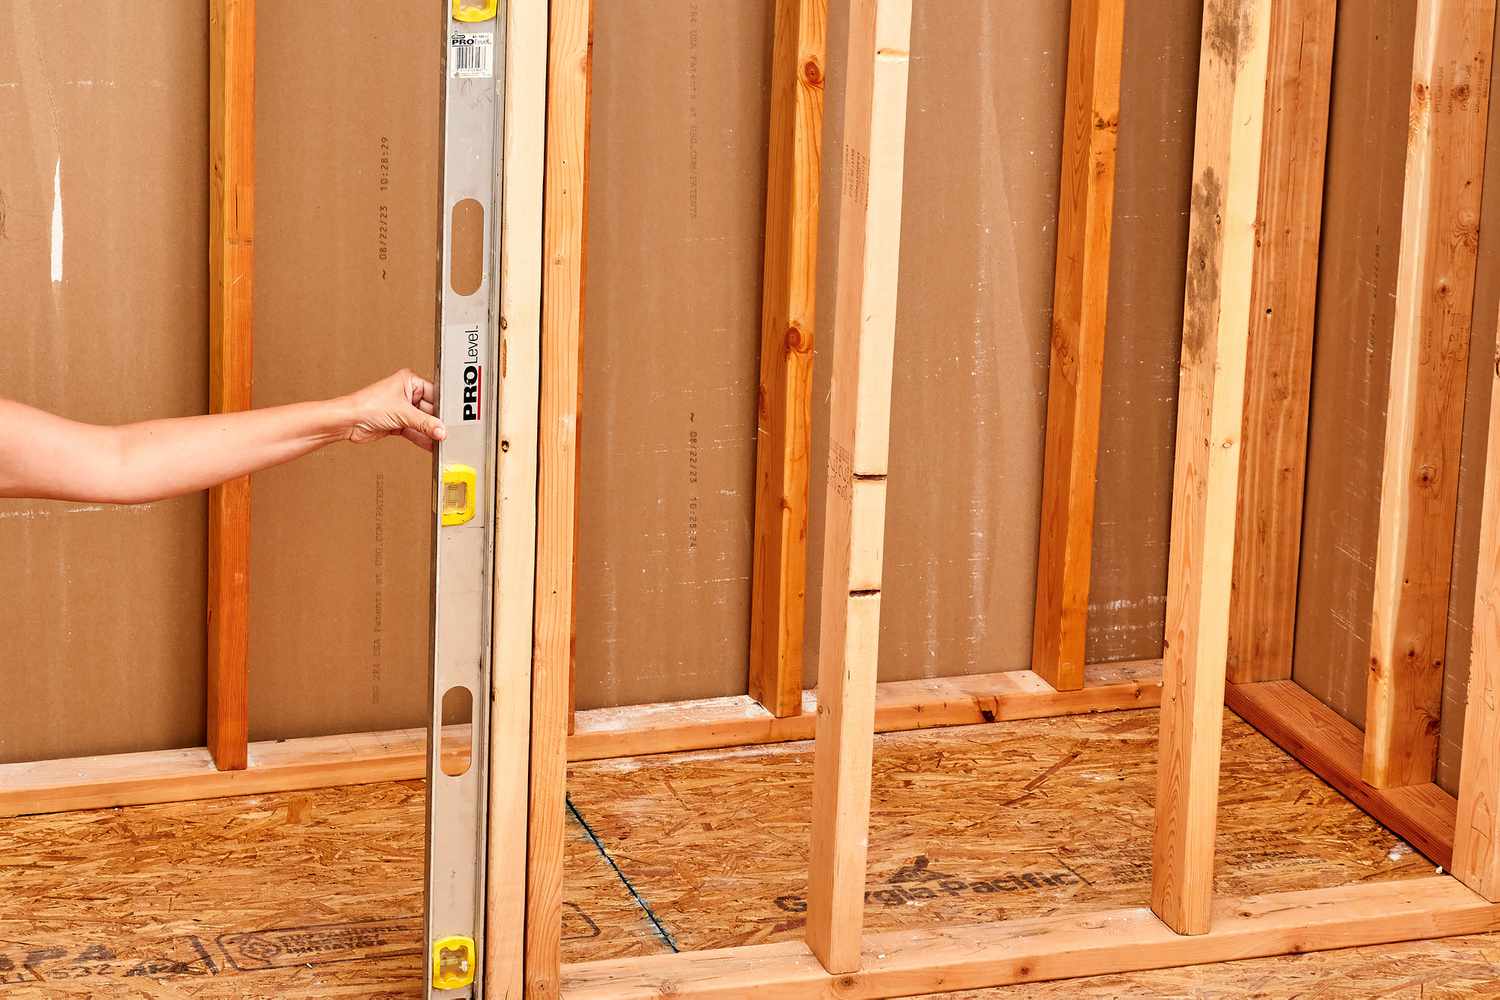
Secure the Frame: Position the frame in its designated location, ensuring that it is plumb and level. Use shims as needed to adjust the frame and make it perfectly level and straight. Once in position, secure the frame to the floor, ceiling, and adjacent walls using nails, screws, or appropriate fasteners.
-
Anchor the Frame: For added stability, consider anchoring the frame to the floor and ceiling using anchor bolts or brackets. This will help prevent the frame from shifting or moving once it's installed.
-
Check for Stability: After the frame is installed, give it a gentle shake to ensure that it is securely in place and does not wobble or shift. Making any necessary adjustments at this stage will contribute to the overall stability of the wall.
-
Add Sheathing: Depending on your project requirements, you may need to add sheathing to one or both sides of the wall frame. Sheathing provides additional strength and rigidity to the structure, as well as a surface for attaching wall coverings such as drywall or paneling.
-
Address Openings: If your wall includes openings for doors or windows, ensure that these are properly framed and supported. Install additional framing members as needed to reinforce the openings and provide structural integrity to the wall.
By following these steps, you'll successfully install the wall frame, ensuring that it is securely in place and ready for the next phase of your construction project. Taking the time to properly position and secure the frame will contribute to the overall strength and durability of the finished wall.
Conclusion
Framing a wall is a fundamental skill for any DIY enthusiast, and by following the step-by-step process outlined in this guide, you can successfully tackle this essential home improvement task. From gathering the necessary tools and materials to measuring, cutting, assembling, and installing the frame, each stage plays a crucial role in creating a sturdy and well-constructed wall. By taking the time to measure accurately, cut precisely, and ensure the frame is level and square, you'll set yourself up for success in your DIY endeavors. With the wall frame securely in place, you're now ready to proceed with the next phases of your construction project, whether it's adding drywall, creating a new room, or dividing a space. Armed with the knowledge and confidence gained from framing a wall, you're well on your way to enhancing your home with your DIY skills.