
Home>Create & Decorate>DIY & Crafts>DIY Bed Frame: How To Build Your Own Custom Bed Frame
DIY & Crafts
DIY Bed Frame: How To Build Your Own Custom Bed Frame
Published: February 22, 2024

Senior Editor in Create & Decorate, Kathryn combines traditional craftsmanship with contemporary trends. Her background in textile design and commitment to sustainable crafts inspire both content and community.
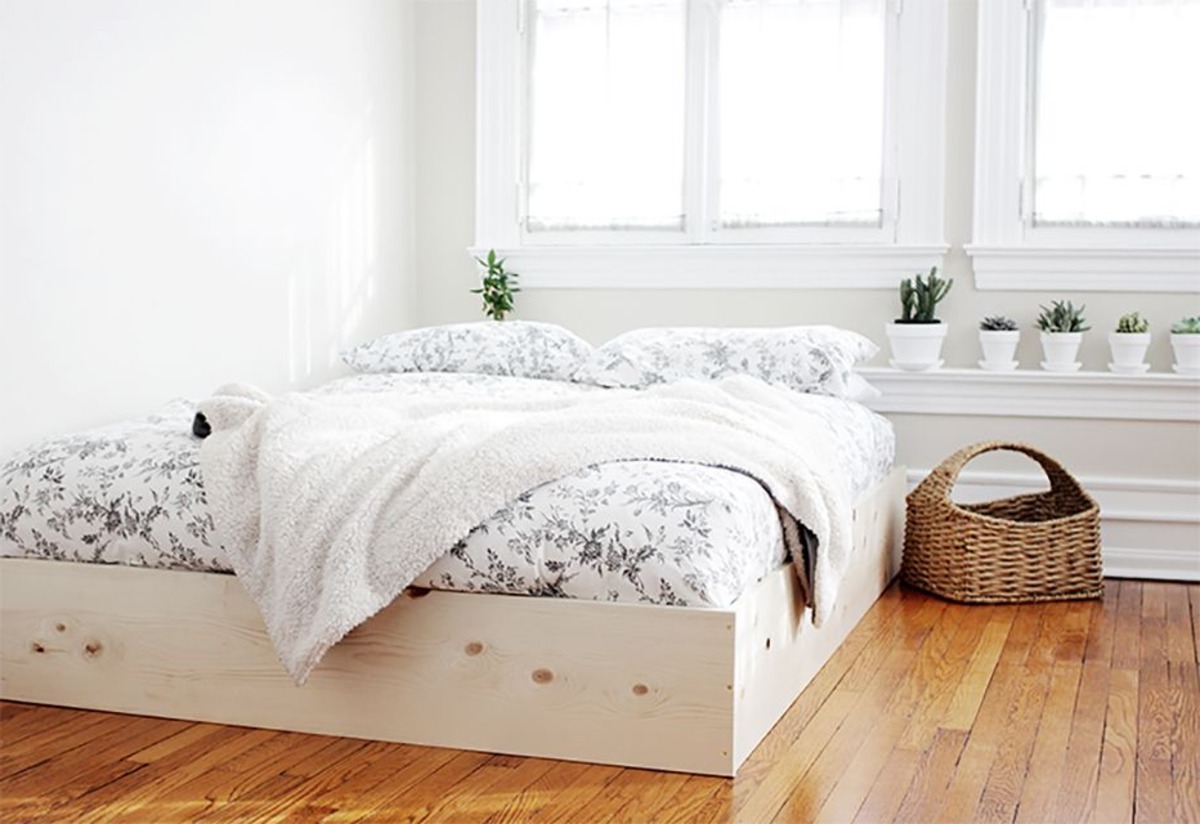
Learn how to create a custom DIY bed frame with our step-by-step guide. Discover the best tips and tricks for building your own bed frame. Perfect for DIY & Crafts enthusiasts!
(Many of the links in this article redirect to a specific reviewed product. Your purchase of these products through affiliate links helps to generate commission for Twigandthistle.com, at no extra cost. Learn more)
Introduction
Building your own custom bed frame can be a rewarding and fulfilling DIY project that not only adds a personal touch to your bedroom but also allows you to tailor the design to your specific preferences and needs. Whether you're a seasoned DIY enthusiast or a novice looking to embark on your first major woodworking project, constructing a bed frame from scratch can be an exciting and achievable endeavor.
By creating a custom bed frame, you have the freedom to choose the materials, dimensions, and style that align with your vision for the perfect sleeping space. From rustic farmhouse charm to sleek modern aesthetics, the possibilities are endless when you take the reins of the construction process. Additionally, crafting your own bed frame can result in substantial cost savings compared to purchasing a pre-made frame, making it a budget-friendly option for those willing to invest time and effort into the project.
Not only does building a DIY bed frame offer the opportunity for creative expression, but it also provides a sense of accomplishment and ownership. As you assemble each piece and witness the frame taking shape, you'll experience the satisfaction of creating a functional piece of furniture with your own hands. Furthermore, the skills and knowledge gained from this project can be applied to future woodworking endeavors, empowering you to tackle more ambitious projects with confidence.
In this comprehensive guide, we will walk you through the step-by-step process of constructing a custom bed frame, from initial measurements and planning to the finishing touches that will elevate the aesthetic appeal of your creation. With the right materials, tools, and a willingness to embrace the DIY spirit, you can embark on this fulfilling journey to build a bed frame that reflects your unique style and craftsmanship. So, roll up your sleeves, gather your tools, and let's dive into the gratifying world of DIY bed frame construction.
Materials and Tools Needed
Before diving into the construction process, it's essential to gather all the necessary materials and tools to ensure a smooth and efficient building experience. Here's a comprehensive list of items you'll need to bring your DIY bed frame to life:
Materials:
- Lumber: Select high-quality lumber based on your desired bed frame dimensions and preferred wood type. Common choices include pine, oak, or maple, each offering distinct aesthetics and durability.
- Wood Screws: Choose screws of appropriate length and gauge to securely fasten the frame components. Opt for corrosion-resistant screws for longevity.
- Wood Glue: A reliable wood adhesive will reinforce joints and enhance the structural integrity of the bed frame.
- Sandpaper: Invest in various grits of sandpaper to smoothen rough edges and achieve a polished finish.
- Wood Stain or Paint: Depending on your design preference, acquire wood stain or paint to add color and protection to the frame.
- Polyurethane Sealant (optional): For added protection and a glossy finish, consider using polyurethane sealant to coat the completed bed frame.
Tools:
- Measuring Tape: Accurate measurements are crucial for precision in cutting and assembly.
- Circular Saw or Miter Saw: A reliable saw for cutting lumber to the required dimensions.
- Drill and Drill Bits: Essential for creating pilot holes and driving screws into the wood.
- Screwdriver: Both manual and electric screwdrivers can be used for assembling the frame.
- Clamps: These will hold the wood pieces in place during assembly and glue application.
- Wood Chisel: Useful for fine-tuning joints and removing excess wood.
- Hammer: For tasks such as tapping joints into place and minor adjustments.
- Safety Gear: Prioritize safety with protective eyewear, gloves, and a dust mask to safeguard against potential hazards during the construction process.
By ensuring you have all the required materials and tools at your disposal, you can streamline the construction process and minimize interruptions. With these essentials in hand, you're well-equipped to embark on the exciting journey of building your own custom bed frame.
Step 1: Measuring and Planning
The initial phase of constructing a custom bed frame involves meticulous measurements and thoughtful planning to lay the groundwork for a successful build. Accurate measurements are paramount to ensure that the bed frame fits seamlessly within your bedroom space and accommodates your mattress perfectly. Here's a detailed breakdown of the essential steps involved in the measuring and planning stage:
Assessing Available Space:
Begin by assessing the available space in your bedroom where the bed frame will be placed. Measure the length and width of the area, taking into account any existing furniture or architectural features that may impact the placement of the bed. This assessment will guide the overall dimensions of the bed frame, ensuring it harmonizes with the room's layout.
Determining Bed Frame Dimensions:
Based on the mattress size and any specific design preferences, determine the dimensions of the bed frame. Standard mattress sizes include twin, full, queen, and king, each requiring corresponding frame dimensions for a proper fit. Additionally, consider the desired height of the bed frame, factoring in any decorative elements or storage considerations.
Sketching the Design:
With the measurements in hand, sketch a rough design of the bed frame, incorporating details such as the headboard and footboard styles, as well as any additional features like built-in storage compartments or decorative accents. This visual representation will serve as a guide throughout the construction process, allowing you to visualize the final product and make necessary adjustments before cutting the wood.
Selecting Lumber:
Based on the planned dimensions and design, select the appropriate lumber for the bed frame construction. Consider the wood species, grain patterns, and structural integrity of the lumber to ensure it aligns with your aesthetic and functional requirements. Take into account the quantity of lumber needed for the frame components, including the headboard, footboard, side rails, and support slats.
Planning Joinery and Assembly:
Plan the joinery and assembly methods that will be employed to construct the bed frame. Consider whether you'll use traditional joinery techniques such as mortise and tenon joints, or opt for simpler methods like pocket hole joinery for ease of assembly. Visualize the sequence of assembly steps to streamline the construction process and minimize potential challenges.
By meticulously measuring the space, determining dimensions, sketching the design, selecting lumber, and planning the joinery and assembly methods, you'll establish a solid foundation for the subsequent stages of building your custom bed frame. This careful preparation sets the stage for a smooth and rewarding construction process, ensuring that the end result aligns with your vision for the perfect bed frame.
Step 2: Cutting the Wood
With the meticulous planning and measurements completed, the next crucial step in constructing a custom bed frame is cutting the wood to the precise dimensions required for assembly. This phase demands precision and attention to detail to ensure that each component fits together seamlessly, laying the groundwork for a sturdy and visually appealing bed frame. Here's a detailed breakdown of the essential aspects involved in cutting the wood for your DIY bed frame:
Translating Measurements to Lumber:
Using the previously determined dimensions and design sketches as a guide, transfer the measurements to the selected lumber. Carefully mark the cut lines on the wood, ensuring accuracy and clarity to avoid errors during the cutting process. Double-check the measurements to guarantee that each piece is tailored to the exact specifications required for the bed frame components.
Utilizing the Appropriate Saw:
Select the appropriate saw based on the type of cuts needed for the bed frame components. A circular saw or miter saw is commonly used for straight cuts, while a jigsaw may be employed for curved or intricate designs. Prioritize safety by following the manufacturer's guidelines for operating the saw and using the necessary safety equipment, such as protective eyewear and gloves.
Cutting Headboard and Footboard:
Begin by cutting the lumber for the headboard and footboard according to the predetermined dimensions and design details. Whether crafting a simple, sleek headboard or a more elaborate and ornate design, ensure precise cuts to achieve the desired shape and proportions. Take your time to execute clean and accurate cuts, as these components will serve as focal points of the bed frame.
Crafting Side Rails and Support Slats:
Proceed to cut the lumber for the side rails and support slats, adhering to the specified lengths and widths essential for accommodating the mattress and providing structural support. Consistency in the dimensions of these components is crucial to ensure uniformity and stability in the final assembly of the bed frame.
Fine-Tuning and Sanding:
After cutting the wood components, inspect each piece for smoothness and uniformity. Use sandpaper to refine the edges, remove any rough surfaces, and achieve a polished finish. This step contributes to the overall aesthetic appeal of the bed frame and prepares the wood for subsequent assembly and finishing processes.
By meticulously executing the wood cutting process, you set the stage for a seamless assembly and a visually striking custom bed frame. The precision and care invested in this phase lay the groundwork for a successful construction journey, bringing you one step closer to realizing your vision for the perfect DIY bed frame.
Step 3: Assembling the Frame
Assembling the frame marks a pivotal stage in the construction of a custom bed frame, where individual components come together to form a cohesive and functional piece of furniture. This phase requires precision, patience, and attention to detail to ensure that the frame is structurally sound and visually appealing. Here's a comprehensive guide to the essential steps involved in assembling the bed frame:
Dry-Fitting the Components:
Before applying any adhesive or fasteners, conduct a dry fit of the bed frame components to assess how they align and fit together. This step allows you to identify any discrepancies in the cuts or measurements, enabling adjustments to be made before proceeding to the final assembly. Pay close attention to the alignment of the headboard, footboard, side rails, and support slats to ensure a seamless fit.
Applying Wood Glue:
Once satisfied with the fit of the components, apply wood glue to the joints before securing them with screws. The wood glue enhances the structural integrity of the frame by creating a strong bond between the joined pieces. Use a brush or small roller to evenly distribute the glue along the mating surfaces, ensuring thorough coverage for optimal adhesion.
Securing with Screws:
With the wood glue applied, carefully position the components according to the design layout and begin driving screws into the pre-drilled pilot holes. Utilize clamps to hold the joints in place during this process, maintaining alignment and preventing shifting as the screws are driven in. Ensure that the screws are driven flush with the wood surface to achieve a seamless and professional finish.
Reinforcing Joints:
Incorporate additional reinforcement, such as corner brackets or metal bed rail fasteners, to further strengthen the joints and enhance the stability of the frame. These reinforcements provide added support, particularly at the connection points of the side rails to the headboard and footboard, contributing to the overall durability and longevity of the bed frame.
Installing Support Slats:
Once the main frame is assembled, install the support slats within the bed frame to provide a stable base for the mattress. Position the slats evenly across the frame, ensuring adequate spacing to support the mattress uniformly. Secure the slats in place using screws or brackets, taking care to maintain consistent spacing and alignment for optimal mattress support.
Verifying Stability and Alignment:
Upon completing the assembly, carefully inspect the frame for stability and alignment. Test the structural integrity by applying gentle pressure to various points of the frame, ensuring that it remains sturdy and free from wobbling or shifting. Verify that the frame is level and square, making any necessary adjustments to achieve optimal stability.
By meticulously following these steps, you can achieve a well-constructed and visually appealing bed frame that reflects your craftsmanship and attention to detail. The assembly process is a critical juncture in bringing your DIY bed frame to fruition, setting the stage for the final touches that will elevate its aesthetic appeal and functionality.
Step 4: Adding Support and Reinforcement
Once the main components of the bed frame are assembled, it's crucial to focus on adding support and reinforcement to enhance the structural integrity and durability of the frame. This step is essential for ensuring that the bed frame can withstand the weight of the mattress and provide long-term stability. Here's a detailed exploration of the key aspects involved in adding support and reinforcement to your custom bed frame:
Corner Brackets and Fasteners:
Incorporating corner brackets and metal bed rail fasteners at the joints where the side rails connect to the headboard and footboard can significantly reinforce the frame's structure. These hardware components provide additional support and stability, effectively distributing the weight of the mattress and preventing the frame from shifting or creaking over time. By securing these reinforcements in place with screws, you can fortify the critical junctions of the bed frame, minimizing the risk of structural weaknesses.
Center Support Beam:
For larger bed frames, particularly those designed to accommodate queen or king-sized mattresses, integrating a center support beam becomes imperative. This horizontal beam runs from the headboard to the footboard, bolstering the frame's load-bearing capacity and preventing sagging in the middle. By evenly distributing the weight of the mattress and occupants, the center support beam plays a pivotal role in maintaining the frame's stability and prolonging its lifespan. Secure the center support beam in place using sturdy brackets or fasteners, ensuring it aligns with the slats to provide comprehensive support.
Additional Leg Supports:
In scenarios where the bed frame's length necessitates additional reinforcement, consider installing supplementary leg supports along the center support beam. These legs serve to further distribute the weight and minimize any potential flexing or bowing of the frame, particularly in the absence of a box spring. By strategically positioning these leg supports and anchoring them securely to the frame, you can mitigate the risk of structural strain and ensure uniform weight distribution across the entire bed frame.
Inspection and Adjustment:
Following the installation of support and reinforcement elements, conduct a thorough inspection of the bed frame to verify the effectiveness of the added measures. Test the frame's stability and weight-bearing capacity, paying close attention to areas where support and reinforcement components have been integrated. Make any necessary adjustments to ensure that the frame remains solid and resilient, ready to provide a secure foundation for restful nights of sleep.
By diligently incorporating these support and reinforcement measures, you can elevate the structural robustness of your custom bed frame, instilling confidence in its ability to withstand daily use and provide enduring comfort. This proactive approach to fortifying the frame sets the stage for the final phase of the construction process, where finishing touches will further enhance the aesthetic appeal and functionality of your DIY bed frame.
Step 5: Finishing Touches
With the structural elements of the bed frame solidified, attention turns to the finishing touches that will elevate its aesthetic appeal and ensure a polished, professional appearance. This phase encompasses a range of tasks aimed at refining the visual presentation, enhancing the tactile experience, and protecting the wood for long-term durability.
Sanding and Smoothing
Begin by meticulously sanding the entire surface of the bed frame, paying particular attention to the edges and corners. Progress through progressively finer grits of sandpaper to achieve a silky-smooth finish, removing any imperfections and ensuring that the wood feels velvety to the touch. This step not only enhances the tactile comfort but also prepares the surface for the application of wood stain or paint.
Staining or Painting
Depending on your design preference, apply a wood stain or paint to the bed frame to impart color, depth, and protection. Wood stain accentuates the natural grain and character of the wood, adding warmth and richness to the frame. Alternatively, paint offers endless possibilities for customization, allowing you to coordinate the bed frame with your bedroom decor. Apply multiple coats as needed, allowing each layer to dry thoroughly for a flawless finish.
Sealing with Polyurethane
For an added layer of protection and a lustrous sheen, consider sealing the bed frame with polyurethane. This clear sealant not only safeguards the wood from moisture, stains, and wear but also imparts a glossy, professional appearance. Apply the polyurethane in thin, even coats, sanding between applications for a glass-smooth finish that enhances the visual allure of the bed frame.
Installing Hardware
Complete the finishing touches by installing any hardware components, such as decorative knobs, handles, or bed frame feet. These details can impart a personalized touch and complement the overall design aesthetic. Ensure that the hardware is securely attached, adding functionality and visual interest to the bed frame.
Final Inspection
Conduct a comprehensive inspection of the finished bed frame, scrutinizing every detail for consistency, smoothness, and visual appeal. Verify that the stain or paint application is uniform, the edges are smooth, and the hardware is securely fastened. This meticulous assessment ensures that the bed frame meets your exacting standards and is ready to take its place as the centerpiece of your bedroom.
By meticulously attending to these finishing touches, you can transform a functional bed frame into a stunning piece of furniture that reflects your craftsmanship and attention to detail. The culmination of these efforts results in a custom bed frame that not only provides a comfortable and supportive foundation for rest but also serves as a visually captivating and enduring addition to your living space.
Conclusion
Embarking on the journey of constructing a custom bed frame through the art of do-it-yourself woodworking is a gratifying and empowering experience. From the initial stages of measuring and planning to the meticulous cutting of wood, precise assembly, and the final embellishments, every step of the process is infused with creativity, craftsmanship, and a sense of accomplishment.
As you meticulously measure the available space, select the lumber, and plan the design, you are not just creating a bed frame; you are shaping a functional piece of art that will become the focal point of your bedroom. The careful consideration given to dimensions, joinery, and assembly methods lays the foundation for a well-crafted and personalized bed frame that seamlessly integrates with your living space.
The process of cutting the wood demands precision and attention to detail, as each piece is tailored to fit seamlessly into the overall design. As the components come together during the assembly phase, the transformation from individual pieces of lumber to a sturdy and visually striking bed frame is a testament to your dedication and skill.
Adding support and reinforcement ensures that the bed frame is not only aesthetically pleasing but also structurally sound, capable of providing enduring comfort and stability. The integration of corner brackets, center support beams, and additional leg supports fortifies the frame, instilling confidence in its ability to withstand the rigors of daily use.
The final touches, including sanding, staining or painting, and the application of a protective sealant, elevate the bed frame to a level of refinement that reflects your attention to detail and commitment to quality craftsmanship. The installation of hardware components adds a personalized touch, infusing the bed frame with character and functionality.
As you stand back and admire the completed bed frame, you are not merely looking at a piece of furniture; you are beholding the tangible manifestation of your creativity and skill. The custom bed frame stands as a testament to your ability to transform raw materials into a functional and visually captivating work of art.
In conclusion, the journey of building a custom bed frame is a testament to the power of DIY craftsmanship and the satisfaction of creating a piece of furniture that is not only practical but also a reflection of your unique style and ingenuity. The skills acquired and the sense of achievement gained from this endeavor will continue to inspire future projects, empowering you to explore the boundless possibilities of woodworking and creative expression.