Home>Create & Decorate>DIY & Crafts>Easy Shed Door Plans: Step-by-Step DIY Guide For Building A Sturdy And Stylish Door

DIY & Crafts
Easy Shed Door Plans: Step-by-Step DIY Guide For Building A Sturdy And Stylish Door
Published: February 24, 2024

Content Creator specializing in woodworking and interior transformations. Caegan's guides motivate readers to undertake their own projects, while his custom furniture adds a personal touch.
Discover easy shed door plans for a sturdy and stylish DIY project. Step-by-step guide for building a durable door. Perfect for DIY & Crafts enthusiasts.
(Many of the links in this article redirect to a specific reviewed product. Your purchase of these products through affiliate links helps to generate commission for Twigandthistle.com, at no extra cost. Learn more)
Introduction
Welcome to the ultimate guide for building a sturdy and stylish shed door! Whether you're a seasoned DIY enthusiast or a novice looking to embark on a new project, this step-by-step guide will equip you with the knowledge and skills to construct a durable and visually appealing door for your shed.
A well-constructed shed door not only enhances the overall aesthetics of your outdoor space but also plays a crucial role in ensuring the security and functionality of your shed. By following the instructions outlined in this guide, you'll be able to create a door that not only withstands the elements but also adds a touch of charm to your backyard or garden.
Throughout this DIY journey, you'll learn how to measure and cut the door frame, assemble the components, attach hinges for smooth operation, install a reliable door handle and lock for security, and add those finishing touches that elevate the door's appearance.
With the right materials and tools at your disposal, along with a willingness to roll up your sleeves and get hands-on, you'll soon be on your way to crafting a door that not only meets your practical needs but also reflects your personal style.
So, grab your tools, put on your DIY hat, and let's dive into the exciting world of building a shed door that will stand the test of time!
Materials and Tools Needed
Before embarking on the journey of building a sturdy and stylish shed door, it's essential to gather all the necessary materials and tools. Having the right supplies at hand will streamline the construction process and ensure a seamless DIY experience. Here's a comprehensive list of the materials and tools you'll need to bring your shed door to life:
Materials:
-
Wood: Select high-quality lumber for the door frame and panels. Opt for a durable wood species such as cedar, redwood, or pressure-treated pine to withstand outdoor conditions.
-
Plywood or Panels: Choose sturdy plywood or panels to fill the door frame. The thickness of the plywood will depend on the desired sturdiness of the door.
-
Wood Glue: Invest in a reliable wood glue to reinforce the joints and enhance the overall strength of the door assembly.
-
Screws and Nails: Stock up on screws and nails of appropriate lengths to secure the components during assembly. Stainless steel or galvanized fasteners are ideal for outdoor applications as they resist corrosion.
-
Hinges: Select heavy-duty hinges designed for exterior doors. Opt for corrosion-resistant hinges to ensure smooth operation and longevity.
-
Door Handle and Lockset: Choose a durable and aesthetically pleasing door handle and lockset to complement the overall look of the shed door while providing security.
-
Paint or Stain: If you plan to add a pop of color or protect the wood from the elements, gather paint or wood stain along with the necessary application tools.
-
Weather Stripping: Consider adding weather stripping to the door to enhance insulation and prevent drafts, especially if the shed serves as a workspace or storage area.
Tools:
-
Measuring Tape: A reliable measuring tape is essential for accurately determining the dimensions of the door frame and panels.
-
Circular Saw or Miter Saw: A quality circular saw or miter saw will facilitate precise cutting of the wood components to the required lengths and angles.
-
Drill and Bits: A power drill with a set of drill bits is indispensable for creating pilot holes and driving screws during assembly.
-
Screwdriver Set: Ensure you have a variety of screwdrivers, including Phillips and flat-head, to accommodate different types of screws.
-
Clamps: Utilize clamps to hold the door components in place during assembly, ensuring a snug and secure fit.
-
Chisel and Hammer: These tools will come in handy for fine-tuning the fit of hinges and mortising the door for the lockset.
-
Sandpaper and Wood Finish: Prepare the wood surfaces for finishing by having sandpaper and wood finish on hand to achieve a smooth and polished look.
By gathering these materials and tools, you'll be well-prepared to embark on the door-building journey with confidence and efficiency. With everything in place, you're ready to move on to the next step: Measuring and Cutting the Door Frame.
Step 1: Measuring and Cutting the Door Frame
The foundation of a well-constructed shed door lies in the precise measurement and cutting of the door frame. This crucial step sets the stage for a door that fits seamlessly and functions flawlessly within the shed structure. To begin, gather your selected wood for the door frame, ensuring it is straight, free from defects, and of the appropriate dimensions for your specific shed opening.
Start by measuring the width and height of the shed opening to determine the exact dimensions for the door frame. It's essential to measure both the width and height at multiple points to account for any irregularities in the opening. Once you have obtained accurate measurements, add a small clearance allowance to ensure the door can open and close without obstruction. Typically, a 1/2-inch gap on all sides is sufficient to accommodate the door's movement and allow for easy installation.
With the measurements in hand, transfer the dimensions to the selected wood, marking the locations for cuts with a pencil or marking tool. Utilize a reliable circular saw or miter saw to make precise cuts, ensuring that the frame components are cut to the exact measurements. If the shed door requires a traditional rectangular frame, remember to cut the top and bottom pieces to the same length as the width of the shed opening, while the side pieces should match the height of the opening.
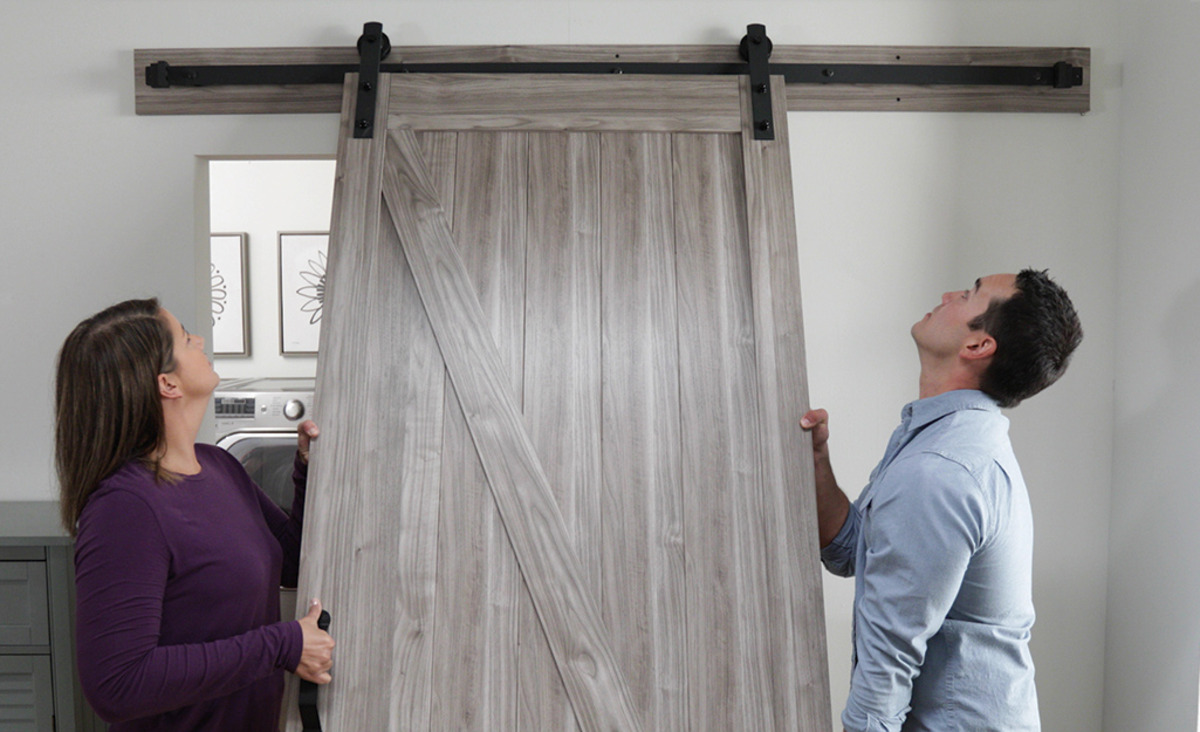
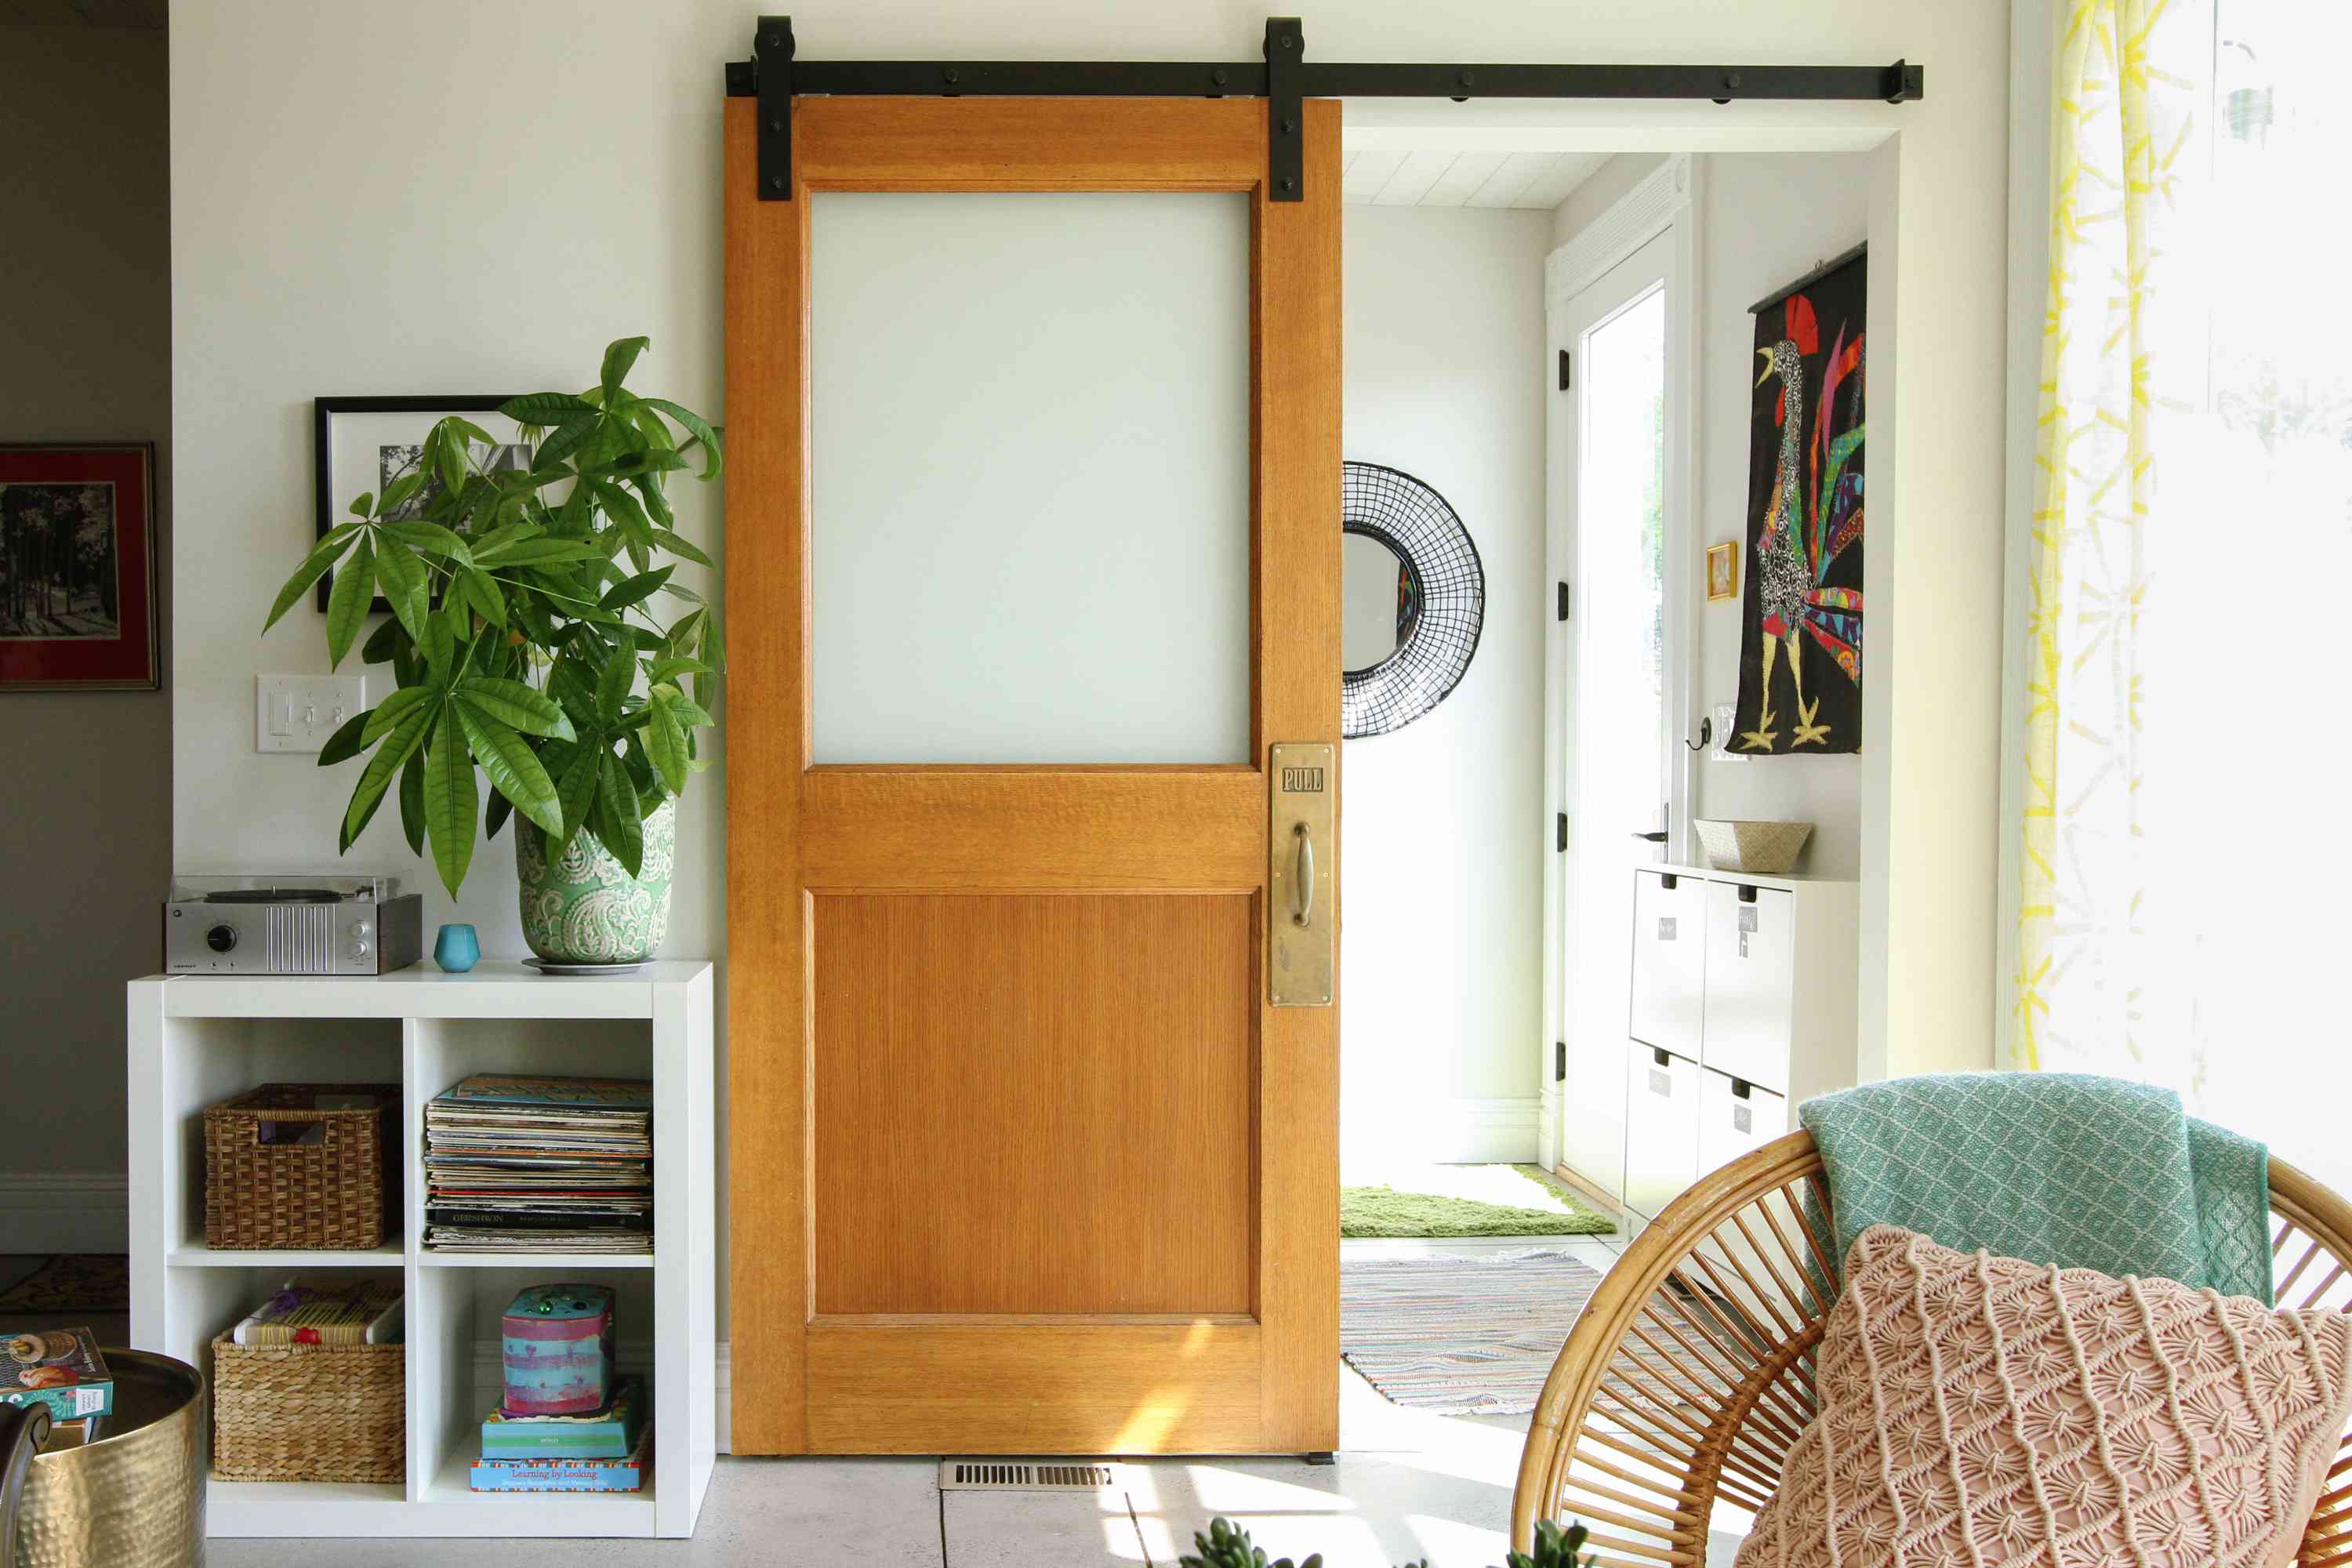
In the case of a shed door with a more intricate design, such as a barn-style door, additional attention to detail is necessary during the cutting process. Be mindful of any angles or decorative elements that may be incorporated into the door frame, and use a miter saw to achieve accurate and clean cuts at the specified angles.
After cutting the individual components of the door frame, perform a dry fit within the shed opening to verify that the pieces align correctly and the frame fits snugly. Any adjustments to the length or angles of the frame pieces can be made at this stage to ensure a precise fit.
By meticulously measuring and cutting the door frame to the exact specifications, you are laying the groundwork for a door that not only fits seamlessly within the shed opening but also exudes a professional and polished appearance. With the door frame components ready, you are now prepared to move on to the next exciting phase: Assembling the Door Frame.
Step 2: Assembling the Door Frame
With the individual components of the door frame cut to precision, it's time to embark on the assembly process. Assembling the door frame is a pivotal step that demands attention to detail and a focus on structural integrity. By following the steps outlined below, you'll be well on your way to creating a robust and well-constructed door frame for your shed.
-
Lay Out the Components: Begin by laying out the cut pieces of the door frame on a flat and spacious work surface. Arrange the components in the intended configuration, ensuring that the edges align seamlessly. This initial setup allows for a clear visual of how the frame will come together and provides an opportunity to make any last-minute adjustments before securing the pieces.
-
Apply Wood Glue: Prior to fastening the frame components together, apply a generous amount of high-quality wood glue along the mating surfaces of the joints. The wood glue serves as a reinforcement, enhancing the overall strength and stability of the door frame. Ensure that the glue is evenly distributed and covers the entire surface area to promote a solid bond.
-
Secure with Screws or Nails: Once the wood glue is applied, use appropriate screws or nails to secure the frame components together. Position the fasteners at regular intervals along the joints, ensuring that they penetrate both pieces of wood to create a secure connection. Opt for corrosion-resistant screws or galvanized nails to safeguard against rust and corrosion, especially if the shed is exposed to outdoor elements.
-
Check for Squareness: As you progress with fastening the frame components, periodically check for squareness using a carpenter's square. Verifying that the corners form perfect right angles is essential for ensuring that the door frame is not skewed or misaligned. Adjust the positioning of the components if necessary to maintain squareness throughout the assembly process.
-
Reinforce with Corner Braces (Optional): For added structural support, consider reinforcing the corners of the door frame with metal corner braces. These braces can be affixed to the interior of the frame corners using screws, providing extra stability and preventing the frame from twisting or warping over time.
-
Allow for Drying Time: Once the door frame is fully assembled, allow sufficient time for the wood glue to cure and create a strong bond between the joined components. Follow the manufacturer's recommendations for the specific type of wood glue used, ensuring that the frame is fully set and ready for the next phase of the door construction process.
By meticulously following these steps, you'll successfully assemble a sturdy and well-aligned door frame that forms the backbone of your shed door. With the frame securely assembled, you're now poised to progress to the next stage of the door-building journey: Attaching the Hinges.
Step 3: Attaching the Hinges
Attaching the hinges is a critical step in the construction of a shed door, as it directly influences the functionality and durability of the door. Properly installed hinges ensure smooth operation and long-term reliability, allowing the door to open and close seamlessly while withstanding the rigors of daily use and outdoor exposure. Follow these detailed steps to expertly attach the hinges to your shed door:
-
Select the Right Hinges: Begin by selecting heavy-duty hinges designed for exterior doors. Opt for hinges made from corrosion-resistant materials such as stainless steel or galvanized steel to ensure longevity and reliable performance in outdoor environments.
-
Positioning the Hinges: With the door frame securely assembled, determine the placement of the hinges on the door and frame. Typically, three hinges are recommended for optimal support and stability. The top and bottom hinges should be positioned a few inches from the respective edges of the door and frame, while the third hinge is placed equidistant between them.
-
Marking the Screw Holes: Once the hinge placement is determined, use a pencil or marking tool to outline the positions of the screw holes on both the door and the frame. Ensure that the hinge leaves are aligned flush with the edge of the door and frame to guarantee proper function and a professional finish.
-
Pre-Drilling Pilot Holes: To prevent the wood from splitting and to facilitate easier installation, pre-drill pilot holes at the marked locations for the hinge screws. Use a drill bit that matches the diameter of the hinge screws to create clean and precise pilot holes in both the door and the frame.
-
Attaching the Hinges: With the pilot holes in place, align the hinges with the marked positions on the door and frame. Secure the hinges using corrosion-resistant screws, driving them through the pre-drilled pilot holes to firmly attach the hinges to the wood. Ensure that the screws penetrate the underlying structure to provide a secure and stable connection.
-
Checking Alignment and Movement: Once the hinges are installed, verify that they are aligned correctly and that the door swings smoothly without any obstructions. Test the movement of the door to confirm that it opens and closes effortlessly, adjusting the hinge positioning if necessary to achieve optimal functionality.
By meticulously following these steps, you'll expertly attach the hinges to your shed door, setting the stage for a door that operates seamlessly and withstands the test of time. With the hinges securely in place, you're now ready to advance to the next phase of the door construction process: Installing the Door Handle and Lock.
Step 4: Installing the Door Handle and Lock
The installation of the door handle and lock is a pivotal stage in the construction of a shed door, as it not only contributes to the door's functionality but also plays a crucial role in ensuring the security of the shed's contents. By following the detailed steps outlined below, you'll expertly install a reliable door handle and lock, providing both convenience and peace of mind.
1. Selecting the Door Handle and Lockset
Begin by selecting a durable and aesthetically pleasing door handle and lockset that complements the overall look of the shed door while offering the desired level of security. Opt for a handle and lockset designed for exterior use, constructed from materials that can withstand outdoor exposure and provide long-term reliability. Consider factors such as the style, finish, and security features to ensure that the chosen hardware aligns with both your functional and aesthetic preferences.
2. Preparing the Door
Before installing the handle and lockset, ensure that the door is positioned securely in place, either within the door frame or on a stable work surface. Verify that the door is level and stable to facilitate accurate installation and smooth operation of the handle and lock.
3. Marking the Drill Points
Using the selected handle and lockset as a guide, mark the drill points for the handle, latch, and lock components on the door surface. Pay careful attention to the alignment and positioning of the hardware to ensure that they are centered and symmetrical, enhancing both the visual appeal and functionality of the door.
4. Drilling the Holes
With the drill points marked, use a drill and appropriately sized drill bits to create clean and precise holes for the handle, latch, and lock components. Exercise caution and precision during this step to avoid splintering or damaging the door surface, as accurately drilled holes are essential for the seamless installation of the hardware.
5. Installing the Handle and Lockset
Once the holes are drilled, proceed to install the door handle and lockset according to the manufacturer's instructions. Secure the handle and lock components in their respective positions, ensuring a snug fit and smooth operation. Verify that the latch engages properly and that the lock functions as intended, providing both security and ease of use.
6. Testing and Adjustment
After installing the handle and lockset, thoroughly test the functionality of the door handle and lock to ensure that they operate smoothly and securely. Make any necessary adjustments to the hardware or door components to optimize the fit and functionality, ensuring that the handle and lockset provide reliable performance and peace of mind.
By meticulously following these steps, you'll expertly install a door handle and lockset that not only enhances the functionality of your shed door but also contributes to the overall security and aesthetic appeal of your outdoor space. With the handle and lockset securely in place, you're now prepared to add those finishing touches that elevate the door's appearance.
Step 5: Adding Finishing Touches
As you approach the final phase of constructing your shed door, it's time to add those essential finishing touches that elevate both the appearance and functionality of the door. These details not only contribute to the overall aesthetics of the door but also play a role in enhancing its durability and weather resistance. Here's a comprehensive guide to adding the finishing touches to your shed door:
1. Sanding and Smoothing
Begin by thoroughly sanding the surfaces of the door to achieve a smooth and polished finish. Utilize medium-grit sandpaper to remove any rough edges, imperfections, or splinters, paying particular attention to the edges and corners. Follow up with fine-grit sandpaper to further refine the surface, creating a touchable and visually appealing texture.
2. Applying Wood Finish
Consider applying a protective wood finish to safeguard the door against the elements and enhance its natural beauty. Whether you opt for a clear sealant to showcase the wood's grain or a vibrant stain to add a pop of color, ensure that the chosen finish is suitable for exterior use and provides long-lasting protection. Apply the finish according to the manufacturer's instructions, ensuring even coverage and allowing sufficient drying time between coats.
3. Adding Weather Stripping
For sheds used as workspaces or storage areas, consider adding weather stripping to the door to enhance insulation and prevent drafts. Weather stripping helps create a tight seal between the door and the frame, minimizing heat loss, and keeping out dust and debris. Choose weather stripping designed for exterior doors and follow the installation instructions to ensure a snug and effective seal.
4. Installing a Door Sweep
To further enhance the door's weather resistance, consider installing a door sweep along the bottom edge of the door. A door sweep helps prevent drafts, insects, and moisture from entering the shed, creating a more comfortable and secure interior environment. Select a door sweep that matches the width of the door and install it securely to create a tight seal when the door is closed.
5. Adding Decorative Elements
If desired, incorporate decorative elements such as trim, molding, or custom hardware to personalize the appearance of the shed door. These embellishments can add character and charm to the door while complementing the overall aesthetic of your outdoor space. Ensure that any decorative elements are securely attached and well-suited for exterior applications to withstand the elements.
By meticulously attending to these finishing touches, you'll not only enhance the visual appeal of your shed door but also bolster its resilience and functionality. With the completion of this phase, your DIY journey culminates in the creation of a sturdy, stylish, and fully functional shed door that adds both practical and aesthetic value to your outdoor environment.
Conclusion
Congratulations on successfully completing the construction of your sturdy and stylish shed door! Through meticulous measurements, precise cuts, and expert assembly, you've crafted a door that not only enhances the functionality of your shed but also adds a touch of charm to your outdoor space. As you reflect on the journey from raw materials to a fully functional door, it's evident that your dedication to craftsmanship has resulted in a tangible and enduring asset for your home.
By meticulously following each step of the DIY guide, you've not only honed your woodworking skills but also gained a deeper appreciation for the art of creating functional and visually appealing structures. The attention to detail in measuring and cutting the door frame, the precision in attaching the hinges, and the care in installing the handle and lockset have all contributed to the creation of a door that embodies both form and function.
As you stand back and admire your handiwork, take pride in the fact that your shed door is a testament to your creativity and resourcefulness. It stands as a symbol of your ability to transform raw materials into a practical and aesthetically pleasing element of your outdoor space. Moreover, the knowledge and skills you've acquired throughout this project serve as a foundation for future DIY endeavors, empowering you to take on new challenges with confidence and expertise.
Beyond the tangible outcome, the process of building your shed door has likely provided moments of fulfillment and satisfaction. The satisfaction of seeing the door frame come together seamlessly, the joy of witnessing the hinges and handle securely in place, and the sense of accomplishment as you added the finishing touches – these experiences are invaluable and contribute to the rich tapestry of your DIY journey.
As you move forward, the newly constructed shed door will serve as a constant reminder of your ability to bring ideas to life through hands-on work and creative ingenuity. Whether it's the satisfaction of a smoothly swinging door, the peace of mind provided by a reliable lockset, or the visual appeal of a well-finished surface, your shed door encapsulates the essence of craftsmanship and the fulfillment of a successful DIY project.
With your newfound expertise and a beautifully crafted shed door, you're now poised to embark on future DIY endeavors with a renewed sense of confidence and a deep appreciation for the art of hands-on creation. As you continue to explore the world of DIY and crafts, may your experiences be filled with creativity, fulfillment, and the joy of bringing your visions to life through the power of craftsmanship.

