
Home>Create & Decorate>DIY & Crafts>DIY Aquarium Stand: Step-by-Step Guide To Building A Sturdy And Stylish Stand
DIY & Crafts
DIY Aquarium Stand: Step-by-Step Guide To Building A Sturdy And Stylish Stand
Modified: November 28, 2024

Senior Editor in Create & Decorate, Kathryn combines traditional craftsmanship with contemporary trends. Her background in textile design and commitment to sustainable crafts inspire both content and community.
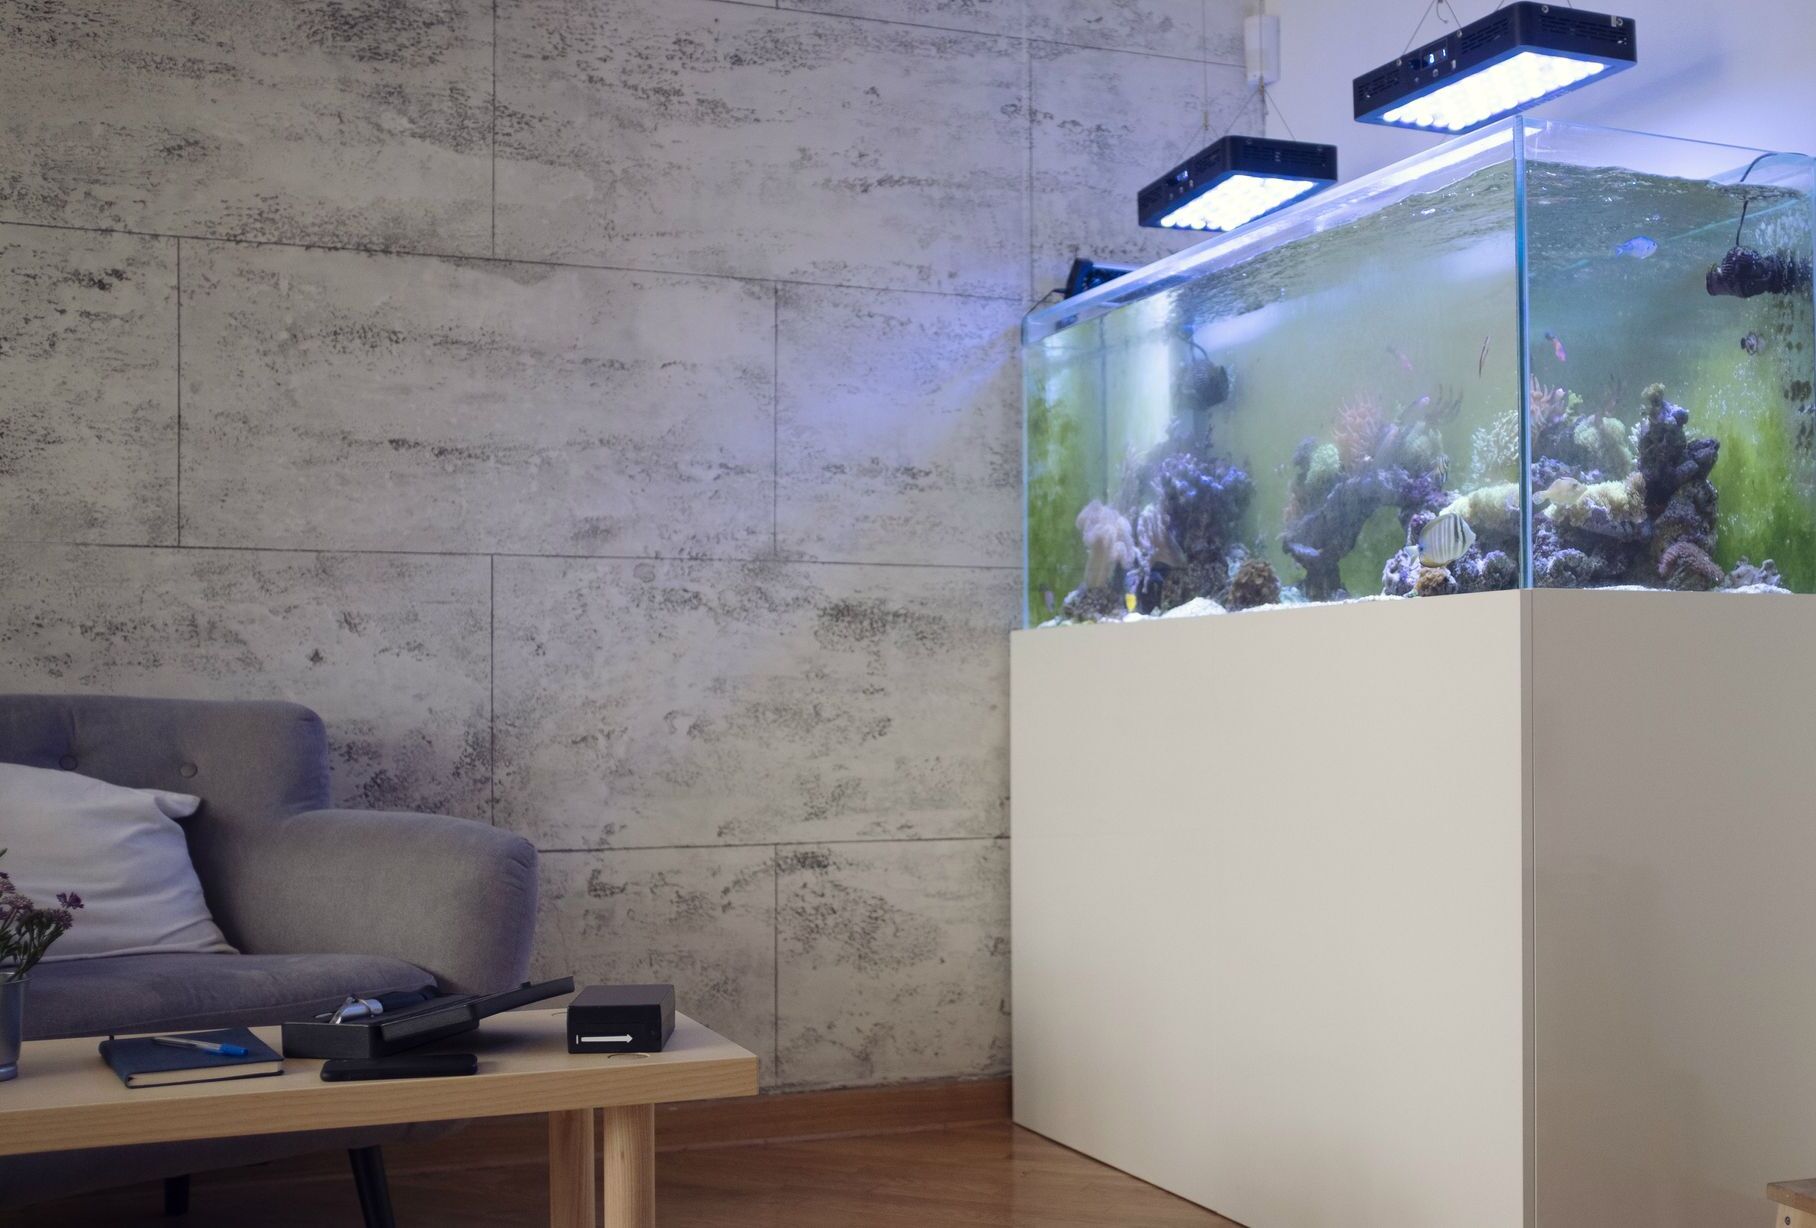
Learn how to build a sturdy and stylish DIY aquarium stand with our step-by-step guide. Perfect for DIY & Crafts enthusiasts looking to create a custom aquarium setup.
(Many of the links in this article redirect to a specific reviewed product. Your purchase of these products through affiliate links helps to generate commission for Twigandthistle.com, at no extra cost. Learn more)
Introduction
Building your own aquarium stand can be a rewarding and cost-effective way to showcase your aquatic masterpiece. Not only does a DIY aquarium stand provide a sturdy and secure foundation for your tank, but it also allows you to customize the design to complement your home decor. Whether you're a seasoned DIY enthusiast or a novice looking for a fulfilling project, constructing an aquarium stand can be an enjoyable and fulfilling endeavor.
In this comprehensive guide, we will walk you through the step-by-step process of building a sturdy and stylish aquarium stand. From selecting the right materials to adding the finishing touches, you'll gain the knowledge and confidence to create a stand that not only supports your aquarium but also enhances the aesthetic appeal of your living space.
By embarking on this DIY journey, you'll have the opportunity to tailor the dimensions and features of the stand to suit your specific needs. Whether you have a small freshwater tank or a large saltwater aquarium, constructing a custom stand ensures that it perfectly accommodates your aquatic environment while adding a touch of personal flair to your home.
Throughout this guide, we'll provide detailed instructions, practical tips, and insights to help you navigate each stage of the construction process with ease. Additionally, we'll highlight the importance of precision, safety, and durability, ensuring that your finished aquarium stand not only looks impressive but also stands the test of time.
So, roll up your sleeves, gather your tools, and let's dive into the exciting world of DIY aquarium stand construction. Whether you're seeking a weekend project or a long-term hobby, this guide will equip you with the skills and knowledge to create a functional and visually appealing stand that will elevate the beauty of your aquatic oasis.
Materials and Tools Needed
Before embarking on the construction of your DIY aquarium stand, it's essential to gather the necessary materials and tools to ensure a smooth and efficient building process. Here's a comprehensive list of items you'll need to bring your project to life:
Materials:
- Lumber: Select high-quality, sturdy lumber such as pine or oak that can support the weight of your aquarium. Ensure that the wood is free from warping or structural defects.
- Plywood: Choose a durable plywood for the panels and shelves of the stand. The thickness of the plywood should be appropriate for the size and weight of your aquarium.
- Wood Screws: Invest in high-quality wood screws of various lengths to secure the frame and panels together securely.
- Wood Glue: Opt for a strong wood glue to reinforce the joints and enhance the overall stability of the stand.
- Sandpaper: Acquire sandpaper of varying grits to smoothen the surfaces and edges of the wood for a professional finish.
- Stain or Paint: Depending on your aesthetic preferences, choose a suitable stain or paint to add a decorative touch to the stand while protecting the wood from moisture.
Tools:
- Measuring Tape: A reliable measuring tape is essential for accurately determining the dimensions of the stand components.
- Circular Saw or Table Saw: A saw will be required for cutting the lumber and plywood to the precise measurements needed for the stand.
- Drill and Bits: A power drill with a set of drill bits is necessary for creating pilot holes and driving screws into the wood.
- Screwdriver: Both manual and electric screwdrivers will be useful for assembling the stand and attaching the panels.
- Clamps: Clamps are indispensable for holding the wood pieces together securely during assembly and glue application.
- Level: A level will ensure that the stand is perfectly balanced and stable once assembled.
- Paintbrushes or Stain Applicators: If you choose to paint or stain the stand, quality brushes or applicators will be required for an even and professional finish.
- Safety Gear: Prioritize safety by wearing protective gear such as goggles, gloves, and a dust mask when working with wood and power tools.
By gathering these materials and tools, you'll be well-equipped to commence the construction of your DIY aquarium stand. With careful planning and attention to detail, you can create a sturdy and visually appealing stand that will showcase your aquatic world with pride.
Step 1: Measuring and Cutting the Wood
The initial step in constructing a sturdy and stylish DIY aquarium stand is to meticulously measure and cut the wood to the precise dimensions required for the frame and panels. Accurate measurements are crucial to ensure that the stand not only fits your aquarium perfectly but also provides the necessary support for its weight.
Begin by measuring the length, width, and height of your aquarium. These measurements will serve as the foundation for determining the dimensions of the stand. When calculating the dimensions of the stand's frame, remember to account for the thickness of the wood to ensure a snug fit for the aquarium.
Once the measurements are determined, use a measuring tape to mark the corresponding dimensions on the lumber and plywood. A straight edge or carpenter's square can aid in creating precise lines for cutting. Whether using a circular saw or table saw, it's essential to exercise caution and adhere to safety guidelines when cutting the wood.
After cutting the pieces for the frame, carefully measure and cut the plywood panels that will form the top, bottom, and sides of the stand. These panels should align seamlessly with the frame components, creating a cohesive and structurally sound structure.
As you proceed with the cutting process, double-check the measurements to ensure accuracy, as even minor discrepancies can affect the overall stability and appearance of the stand. Additionally, sand the cut edges of the wood to smoothen any rough surfaces and eliminate splinters, enhancing the overall finish of the stand.
By meticulously measuring and cutting the wood with precision, you'll lay the groundwork for a well-constructed aquarium stand that not only provides a secure foundation for your tank but also exudes a professional and polished aesthetic. With this crucial step completed, you're ready to progress to the next stage of assembling the frame, bringing you one step closer to realizing your custom-built aquarium stand.
Step 2: Assembling the Frame
With the wood pieces meticulously measured and cut to the precise dimensions, the next pivotal phase in constructing your DIY aquarium stand is assembling the frame. This foundational element forms the skeleton of the stand, providing the essential support and structure for the entire assembly.
Begin by laying out the lumber components for the frame in the designated assembly area. Using a carpenter's square, ensure that the corners are perfectly aligned at right angles, as this will contribute to the overall stability and symmetry of the stand. Once the positioning is verified, use wood glue to adhere the joints together, creating a strong bond between the intersecting pieces.
To reinforce the connections, carefully drive wood screws through the pre-drilled pilot holes, securing the frame components firmly in place. It's crucial to maintain uniform pressure during this process to prevent the wood from splitting and to ensure that the frame remains square and true.
As the frame takes shape, periodically check for any signs of misalignment or warping, making any necessary adjustments to maintain the structural integrity of the stand. Additionally, utilize clamps to hold the pieces in position as the glue sets, further enhancing the stability of the frame.
Once the frame is fully assembled, verify that it aligns accurately with the dimensions of your aquarium, ensuring a precise fit that will support the weight of the tank without any compromise. A level can be used to confirm that the frame is even and balanced, guaranteeing a secure foundation for the aquarium.
By methodically assembling the frame with precision and attention to detail, you'll establish a robust and reliable structure that forms the backbone of your DIY aquarium stand. This critical phase sets the stage for the subsequent steps, laying the groundwork for the addition of support braces and panels, bringing you closer to the completion of your custom-built stand.
With the frame securely in place, you're now prepared to advance to the next stage of the construction process, adding support braces to fortify the stand and enhance its load-bearing capacity. This progression will further solidify the structural integrity of the stand, setting the stage for the seamless integration of the panels and the final finishing touches.
Step 3: Adding Support Braces
As you progress in the construction of your DIY aquarium stand, the addition of support braces plays a crucial role in fortifying the structural integrity of the stand and enhancing its load-bearing capacity. These strategically placed braces serve to distribute the weight of the aquarium evenly, minimizing the risk of sagging or instability over time.
Begin by selecting sturdy and dimensionally appropriate lumber for the support braces, ensuring that they align with the overall design and dimensions of the stand. The braces should be cut to the precise lengths required to span the width and depth of the stand, providing essential reinforcement without obstructing access to the interior space.
Position the support braces strategically within the stand, taking care to space them evenly to effectively distribute the weight of the aquarium. Utilize a measuring tape and level to ensure accurate placement, guaranteeing that the braces align perfectly with the frame and will contribute to the overall stability of the stand.
Once the positioning is determined, secure the support braces in place by applying wood glue along the contact points and driving wood screws through the pre-drilled pilot holes. This combination of adhesive and mechanical fastening will create a robust connection, effectively integrating the braces into the framework of the stand.
As the support braces are affixed, verify that they align flush with the frame and are level to maintain the structural integrity of the stand. The addition of these braces will significantly enhance the stand's ability to support the weight of the aquarium, mitigating the risk of any potential stress points and ensuring long-term durability.
By methodically adding support braces to your DIY aquarium stand, you're reinforcing its foundation and bolstering its capacity to accommodate the aquarium with unwavering stability. This pivotal step sets the stage for the seamless integration of the panels, bringing you closer to the completion of your custom-built stand.
With the support braces securely in place, you're now poised to progress to the next phase of the construction process, seamlessly integrating the panels to encase the stand and provide a visually appealing enclosure for your aquarium. This progression will further enhance the aesthetic appeal and functionality of the stand, bringing you one step closer to showcasing your aquatic masterpiece with pride.
Step 4: Attaching the Panels
As you advance in the construction of your DIY aquarium stand, the integration of panels serves as a pivotal stage in encasing the stand and creating a visually appealing enclosure for your aquarium. These panels not only contribute to the aesthetic appeal of the stand but also provide essential support and protection for the aquatic environment.
Begin by positioning the precut plywood panels to encase the frame of the stand, ensuring a seamless fit that aligns with the dimensions of the aquarium. Carefully align the panels to create a uniform and symmetrical appearance, enhancing the overall visual appeal of the stand.
Once the positioning is verified, apply a layer of high-quality wood glue along the edges of the frame where the panels will be attached. This adhesive will create a strong bond between the wood components, ensuring a secure and durable connection.
With the panels in place, carefully drive wood screws through the pre-drilled pilot holes, securing the plywood firmly to the frame. Exercise caution to prevent over-tightening the screws, as this could potentially compromise the integrity of the panels.
As each panel is affixed, verify that it aligns flush with the frame and exhibits a consistent and level appearance. This meticulous attention to detail will contribute to the overall symmetry and professional finish of the stand, elevating its visual appeal.
Once the panels are securely attached, inspect the enclosure to ensure that it provides ample space for the aquarium while maintaining a snug and secure fit. This enclosure will not only enhance the aesthetic presentation of the aquarium but also safeguard it from potential damage.
By methodically attaching the panels to your DIY aquarium stand, you're creating a protective and visually appealing enclosure that complements the beauty of your aquatic display. This critical step sets the stage for the final touches, bringing you closer to the completion of your custom-built stand.
With the panels seamlessly integrated, you're now prepared to advance to the final stage of the construction process, adding the finishing touches that will enhance the overall appearance and functionality of the stand, culminating in the realization of your custom-built aquarium stand.
Step 5: Finishing Touches
With the structural components of your DIY aquarium stand meticulously assembled, it's time to focus on the finishing touches that will elevate the overall appearance and functionality of the stand. This phase encompasses a range of essential tasks, from applying protective finishes to adding thoughtful details that enhance the aesthetic appeal of the stand.
Begin by carefully inspecting the entire stand to identify any rough edges or imperfections that require attention. Utilize sandpaper to smoothen any uneven surfaces, ensuring a professional and polished finish that not only looks impressive but also minimizes the risk of splinters or rough spots.
Next, consider applying a protective finish to the exterior surfaces of the stand. Whether opting for a wood stain to accentuate the natural grain of the wood or a coat of paint to complement your home decor, the chosen finish should not only enhance the visual appeal of the stand but also provide protection against moisture and wear.
As you apply the finish, use quality brushes or applicators to ensure an even and consistent coating. Multiple thin layers are often preferable to a single thick coat, as they allow the wood to absorb the finish more effectively, resulting in a durable and lustrous appearance.
In addition to protective finishes, consider incorporating thoughtful details that add a personal touch to the stand. This could involve adding decorative trim, embellishments, or custom hardware that complements the overall design and reflects your individual style.
Furthermore, prioritize the installation of adjustable leveling feet or furniture pads on the base of the stand. These components will not only ensure that the stand remains stable and level on various floor surfaces but also provide an added layer of protection for both the stand and the underlying flooring.
Finally, take a moment to step back and admire your handiwork. Assess the stand from various angles, ensuring that it not only meets the functional requirements of supporting the aquarium but also serves as an aesthetically pleasing addition to your living space.
By meticulously attending to the finishing touches, you're adding the final layer of craftsmanship and personalization to your DIY aquarium stand. This phase marks the culmination of your efforts, resulting in a custom-built stand that not only provides a secure and stylish home for your aquarium but also reflects your dedication to creating a functional and visually appealing piece of furniture.
With the finishing touches complete, you can now proudly showcase your aquatic masterpiece, knowing that it is supported by a stand that embodies your creativity and attention to detail.
Conclusion
In conclusion, the journey of constructing a DIY aquarium stand is a fulfilling and rewarding endeavor that culminates in the creation of a sturdy, stylish, and personalized foundation for showcasing your aquatic world. Throughout the step-by-step process, meticulous attention to detail, precision, and creativity converge to produce a custom-built stand that not only supports the aquarium but also enhances the aesthetic appeal of your living space.
By embarking on this DIY journey, you have gained valuable insights into the art of woodworking, from measuring and cutting the wood to assembling the frame, adding support braces, integrating panels, and applying the finishing touches. Each phase of the construction process has contributed to the development of a stand that not only meets the functional requirements of supporting the aquarium but also reflects your dedication to craftsmanship and design.
The materials and tools you have utilized, from high-quality lumber and plywood to essential woodworking tools, have played a pivotal role in bringing your vision to life. The careful selection of these elements has ensured the structural integrity, durability, and visual appeal of the stand, underscoring the importance of using quality resources in DIY projects.
Furthermore, the attention to detail in the finishing touches, including the application of protective finishes, the addition of decorative details, and the installation of leveling feet, has elevated the stand to a level of craftsmanship that reflects your individual style and commitment to excellence.
As you stand back and admire the completed DIY aquarium stand, you can take pride in the fact that you have not only created a functional piece of furniture but also a work of art that harmonizes with your home decor and showcases your aquatic masterpiece with pride.
In essence, the construction of a DIY aquarium stand transcends the mere act of building; it represents a journey of creativity, craftsmanship, and personalization. Your custom-built stand stands as a testament to your dedication to creating a functional and visually appealing piece of furniture that enriches your living space and provides a secure and stylish home for your aquatic oasis.