Home>Create & Decorate>DIY & Crafts>Wood Carport Plan: DIY Guide For Building A Sturdy And Stylish Shelter

DIY & Crafts
Wood Carport Plan: DIY Guide For Building A Sturdy And Stylish Shelter
Published: May 23, 2024

Senior Editor in Create & Decorate, Kathryn combines traditional craftsmanship with contemporary trends. Her background in textile design and commitment to sustainable crafts inspire both content and community.
Discover the ultimate DIY guide for building a sturdy and stylish wood carport with our comprehensive plans. Perfect for DIY & Crafts enthusiasts.
(Many of the links in this article redirect to a specific reviewed product. Your purchase of these products through affiliate links helps to generate commission for Twigandthistle.com, at no extra cost. Learn more)
Introduction
Are you tired of leaving your car exposed to the elements, whether it's scorching sun, heavy rain, or snow? Building a wood carport can be a fantastic solution to protect your vehicle while adding a stylish addition to your property. In this DIY guide, we'll walk you through the process of constructing a sturdy and visually appealing wood carport. From planning and preparation to the finishing touches, you'll learn everything you need to know to create a shelter that not only safeguards your car but also enhances the overall aesthetic of your home. Let's dive in and explore the world of wood carport construction!
Benefits of Building a Wood Carport
-
Protection from the Elements: A wood carport provides essential protection for your vehicle against harsh weather conditions such as sun, rain, snow, and hail.
-
Enhanced Property Value: Adding a wood carport not only safeguards your vehicle but also increases the value of your property, making it an attractive feature for potential buyers.
-
Versatile Design Options: Wood carports offer a wide range of design possibilities, allowing you to customize the structure to complement the architectural style of your home.
-
Cost-Effective Solution: Compared to building a traditional garage, constructing a wood carport is a more budget-friendly option while still providing effective protection for your vehicle.
-
DIY-Friendly Project: Building a wood carport can be a rewarding DIY project, offering the opportunity to enhance your carpentry skills and create a practical and visually appealing addition to your property.
-
Additional Outdoor Space: In addition to sheltering your vehicle, a wood carport can also serve as a versatile outdoor space for gatherings, storage, or as a covered area for various activities.
-
Eco-Friendly Material: Wood is a renewable and sustainable building material, making a wood carport an environmentally friendly choice for your property.
By considering these benefits, you can see how a wood carport is a practical and valuable addition to any home.
Planning and Preparation
Before diving into the construction process, thorough planning and preparation are essential for the successful building of a wood carport. Here are the key steps to consider:
-
Assessing Local Regulations: Check with your local building authorities to understand any permits or regulations required for constructing a wood carport. Compliance with local codes is crucial to avoid any legal issues in the future.
-
Determining Size and Design: Measure the dimensions of your vehicle(s) to determine the appropriate size for the carport. Consider the number of vehicles you intend to shelter and plan for extra space if needed. Additionally, decide on the design elements that will complement your home's architecture.
-
Creating a Material List: Compile a detailed list of materials required for the project, including wood, roofing materials, fasteners, and any additional decorative elements. This list will serve as a guide when purchasing supplies.
-
Gathering Tools: Ensure you have all the necessary tools for the construction, such as a circular saw, drill, level, measuring tape, and safety equipment. Having the right tools on hand will streamline the building process.
-
Setting a Budget: Establish a budget for the project, considering the cost of materials, tools, and any professional assistance if needed. Setting a budget will help you stay on track and avoid overspending.
-
Selecting Quality Wood: Choose high-quality, durable wood for the carport structure. Pressure-treated lumber or cedar are popular choices due to their resistance to rot and decay.
-
Preparing the Building Site: Clear the designated area for the carport, ensuring it is level and free from any obstructions. Proper site preparation is crucial for the stability and longevity of the structure.
By thoroughly planning and preparing for the construction of your wood carport, you can lay a solid foundation for a successful and rewarding DIY project.
Choosing the Right Location
Selecting the optimal location for your wood carport is a critical decision that can significantly impact its functionality and visual appeal. Consider the following factors when choosing the right location for your carport:
-
Proximity to the House: Position the carport in close proximity to your home for convenient access. This not only provides easy entry and exit for your vehicles but also enhances the overall integration of the carport with your property.
-
Orientation and Sun Exposure: Take into account the orientation of the carport concerning the sun's path throughout the day. Orienting the carport to provide shade during the hottest parts of the day can offer additional comfort and protection for your vehicles.
-
Drainage and Water Runoff: Ensure that the chosen location allows for proper drainage and water runoff. Avoid areas prone to pooling water, as this can lead to potential damage to both the carport structure and your vehicles.
-
Aesthetics and Landscape: Consider the visual impact of the carport within your property's landscape. Choose a location that complements the overall aesthetics of your home and landscaping, creating a harmonious and visually appealing addition to your property.
-
Accessibility and Traffic Flow: Evaluate the accessibility and traffic flow around the chosen location. Ensure that the carport does not obstruct existing pathways or impede the movement of vehicles and pedestrians on your property.
-
Local Regulations and Zoning: Familiarize yourself with any local regulations and zoning requirements related to carport placement. Compliance with these regulations is essential to avoid potential conflicts and ensure a smooth construction process.
By carefully considering these factors, you can select the ideal location for your wood carport, maximizing its functionality, visual appeal, and integration with your property.
Gathering Materials and Tools
Gathering the necessary materials and tools is a crucial step in preparing for the construction of a wood carport. Here's a detailed breakdown of the essential items you'll need:
Read more: DIY: Building a Solid Wood Door
Materials
- Wood: Select high-quality lumber for the structural components of the carport, such as posts, beams, and rafters. Pressure-treated lumber or cedar are popular choices due to their durability and resistance to decay.
- Roofing Materials: Choose appropriate roofing materials, such as shingles or metal panels, to provide reliable protection from the elements. Consider the aesthetic appeal and longevity of the roofing materials when making your selection.
- Fasteners: Gather a variety of fasteners, including screws, nails, and bolts, to securely assemble the wood components. Ensure that the fasteners are suitable for outdoor use and compatible with the chosen wood.
- Concrete: If the carport will have a concrete foundation or footings, acquire the necessary concrete mix and reinforcement materials for the installation.
- Decorative Elements: If desired, gather decorative elements such as trim pieces, lattice panels, or other embellishments to enhance the visual appeal of the carport.
Tools
- Circular Saw: A circular saw is essential for cutting the lumber to the required dimensions, ensuring precise and accurate cuts during the construction process.
- Drill: A power drill with appropriate drill bits is necessary for creating pilot holes, driving screws, and assembling the wood components.
- Level: Ensure you have a reliable level to maintain the alignment and straightness of the structural elements as you assemble the carport.
- Measuring Tape: A measuring tape is indispensable for accurately measuring and marking the wood components, ensuring proper fit and alignment during construction.
- Safety Equipment: Prioritize safety by gathering safety goggles, work gloves, and hearing protection to safeguard yourself during the construction process.
- Ladder or Scaffolding: Depending on the height of the carport, a sturdy ladder or scaffolding may be required to access and work at elevated positions safely.
By gathering the necessary materials and tools in advance, you can streamline the construction process and ensure that you have everything you need to build a sturdy and stylish wood carport.
Step-by-Step Construction Guide
-
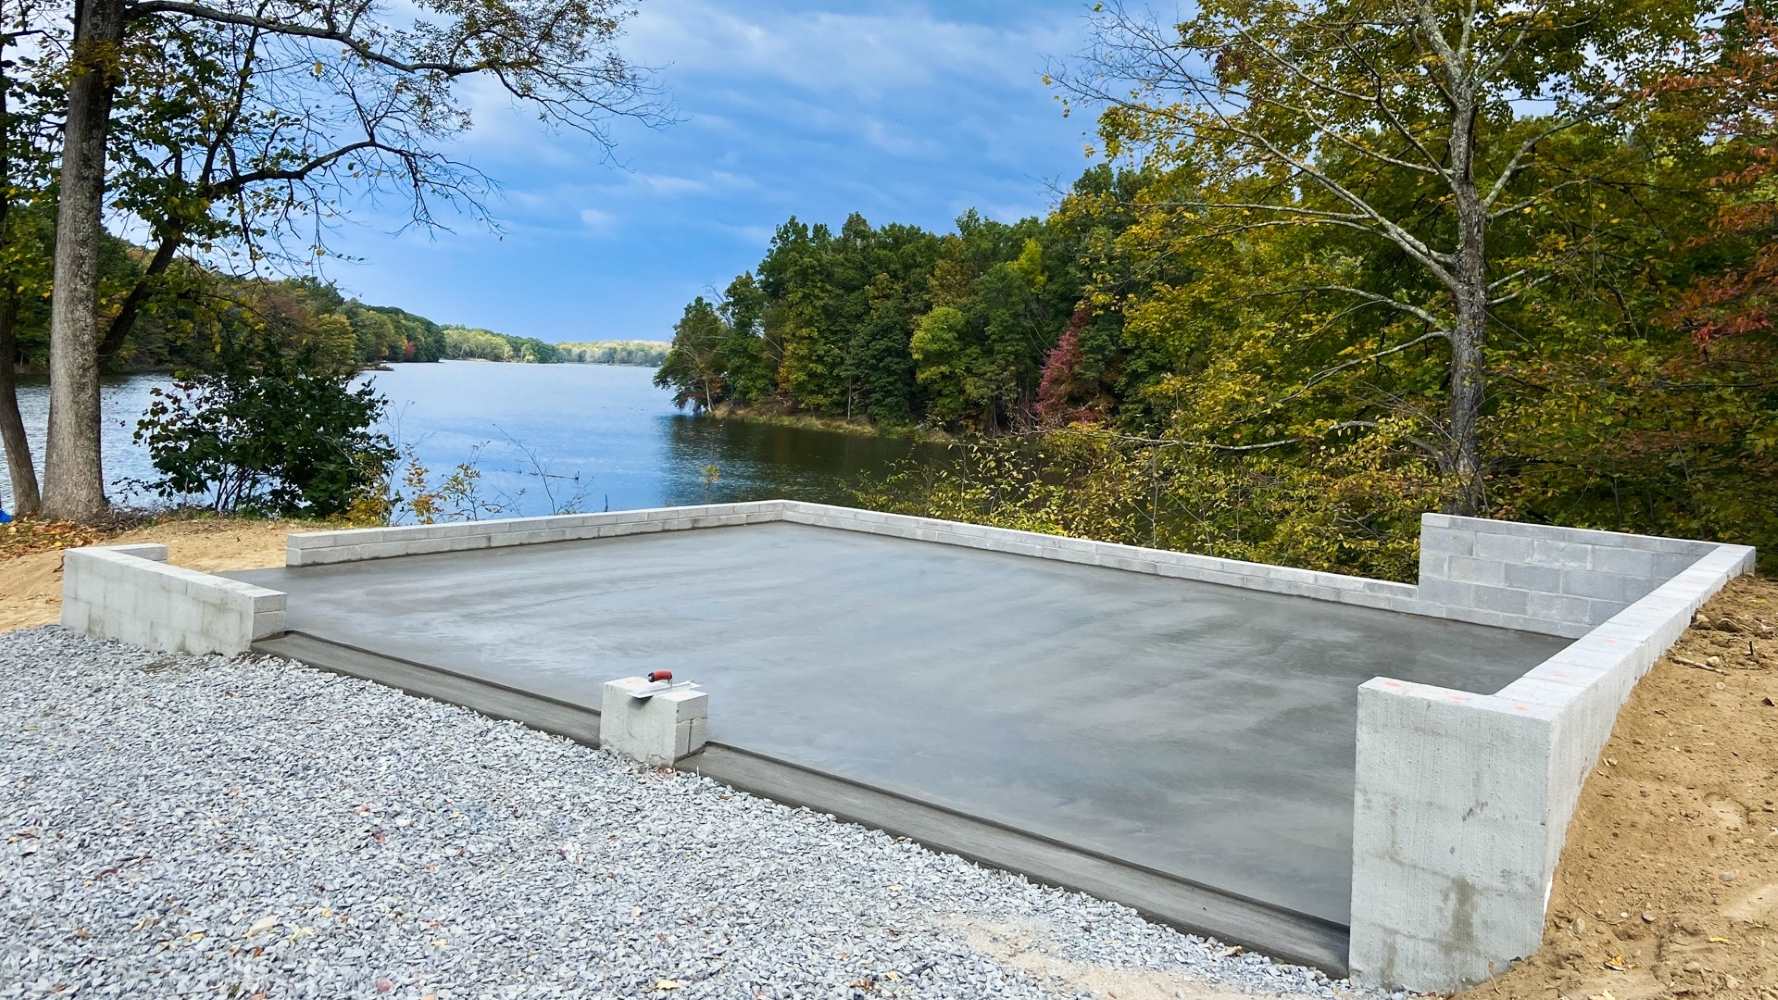
Setting the Foundation: Begin by marking the locations for the support posts of the carport. If a concrete foundation is required, dig the post holes to the appropriate depth and diameter, ensuring they are evenly spaced and aligned. Pour concrete into the holes and insert post anchors to secure the support posts in place. Allow the concrete to cure according to the manufacturer's instructions.
-
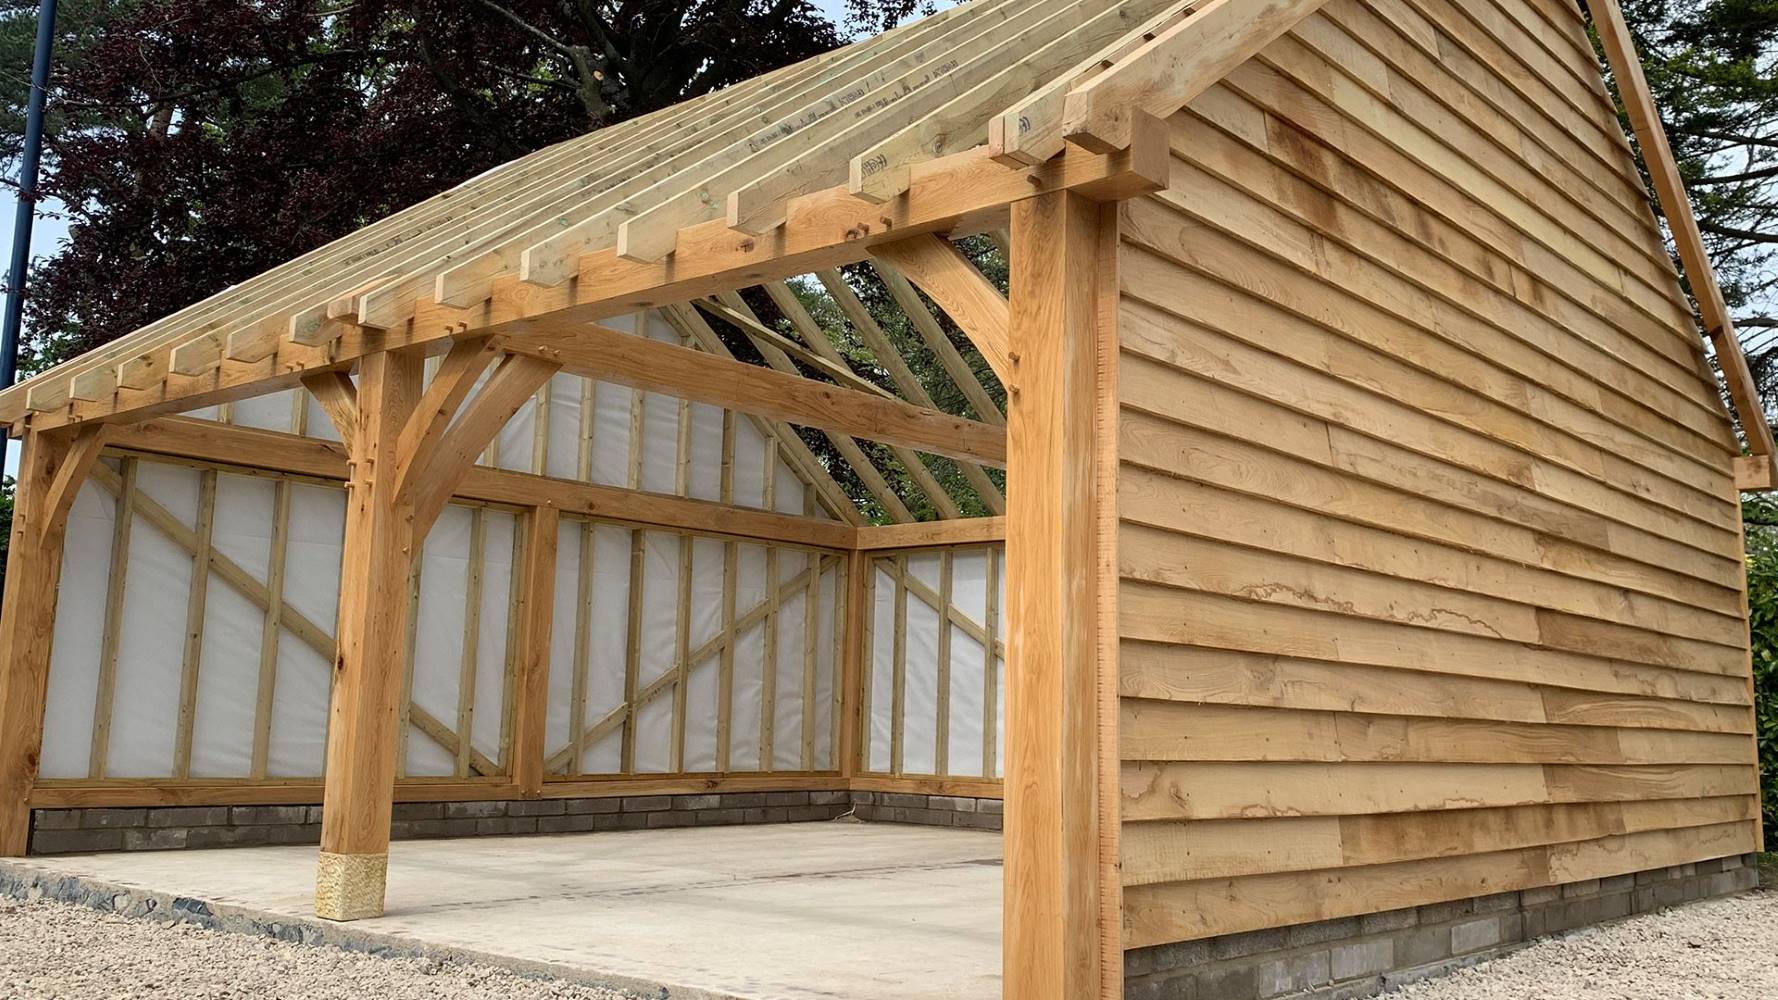
Installing the Support Posts: Once the foundation is set, position the support posts in the post anchors and secure them with appropriate fasteners. Use a level to ensure the posts are plumb and aligned. The number of support posts will depend on the size and design of the carport, with additional posts for larger structures.
-
Attaching the Beams and Headers: Connect the beams and headers to the support posts, creating the framework for the carport. Ensure that the beams are level and securely attached to the support posts using appropriate fasteners. The headers will provide additional support and stability for the roof structure.
-
Adding the Rafters: Install the rafters across the width of the carport, connecting them to the headers and ensuring they are evenly spaced. The rafters will form the framework for the roof and provide structural support for the roofing materials. Use a level to maintain the proper alignment of the rafters.
-
Applying Roofing Materials: Once the framework is in place, it's time to apply the selected roofing materials. Whether using shingles, metal panels, or another roofing option, carefully follow the manufacturer's instructions for installation. Ensure that the roofing materials are securely fastened and provide adequate coverage for the entire carport structure.
-
Adding Decorative Elements: If desired, incorporate decorative elements such as trim pieces, lattice panels, or other embellishments to enhance the visual appeal of the carport. These finishing touches can add a personalized and stylish touch to the structure.
-
Finishing and Weatherproofing: Inspect the entire carport structure to ensure that all components are securely fastened and aligned. Apply weatherproofing treatments to the wood, such as sealant or paint, to protect it from the elements and enhance its longevity. This step is crucial for maintaining the structural integrity and appearance of the wood carport.
-
Final Inspections and Adjustments: Conduct a thorough inspection of the completed carport, checking for any loose fasteners, alignment issues, or potential areas of concern. Make any necessary adjustments or reinforcements to ensure that the carport is structurally sound and visually appealing.
By following this step-by-step construction guide, you can successfully build a sturdy and stylish wood carport that provides reliable protection for your vehicles while enhancing the overall aesthetic of your property.
Installing the Roof
After the framework of the wood carport is in place, the next crucial step is to install the roof, providing essential protection for your vehicles and completing the structure. The process of installing the roof requires careful attention to detail and precision to ensure a durable and weather-resistant covering for the carport.
-
Selecting the Roofing Materials: Before beginning the installation, carefully select the roofing materials that best suit your preferences and climate conditions. Options such as asphalt shingles, metal panels, or polycarbonate sheets offer varying degrees of durability, aesthetics, and weather resistance. Consider the slope of the roof and the overall design of the carport when choosing the most suitable roofing material.
-
Preparing the Roof Surface: Ensure that the surface of the carport roof is clean, smooth, and free from any debris or protruding nails. If necessary, apply an underlayment or roof sheathing to provide an additional layer of protection and support for the chosen roofing materials.
-
Laying the Roofing Materials: Begin laying the roofing materials from the bottom of the roof, working your way upward. For asphalt shingles, start by installing a starter strip along the eaves, followed by the first row of shingles. Ensure that each subsequent row overlaps the one below it to prevent water infiltration. For metal panels or polycarbonate sheets, secure them according to the manufacturer's guidelines, ensuring proper alignment and fastening.
-
Securing the Roofing Materials: Use appropriate fasteners, such as roofing nails or screws, to securely attach the roofing materials to the carport structure. Follow the recommended spacing and placement for fasteners to ensure the stability and weather resistance of the roof. Pay close attention to the edges and ridges of the roof, ensuring that the roofing materials are securely fastened and sealed.
-
Flashing and Sealing: Install flashing around any roof penetrations, such as support posts or adjacent structures, to prevent water intrusion. Apply roofing sealant or caulk to seal any gaps or joints in the roofing materials, providing an additional layer of protection against moisture and weather elements.
-
Ridge Cap Installation: For pitched roofs, install a ridge cap along the peak of the roof to provide a finished and weatherproof transition between the two sides of the roof. The ridge cap also helps to prevent water infiltration and enhances the overall appearance of the roof.
-
Inspection and Maintenance: Once the roofing materials are installed, conduct a thorough inspection of the roof to ensure that all components are securely fastened and aligned. Check for any potential areas of concern, such as loose fasteners or damaged roofing materials, and make any necessary adjustments or repairs. Additionally, establish a regular maintenance schedule to inspect and maintain the roof, prolonging its lifespan and performance.
By following these detailed steps for installing the roof, you can ensure that your wood carport is equipped with a reliable and weather-resistant covering, providing essential protection for your vehicles and enhancing the overall functionality and aesthetics of the structure.
Read more: How to Build a Butcher Block Island
Finishing Touches and Styling
Once the structural elements of the wood carport are in place, attention turns to the finishing touches and styling that will enhance the overall appearance and functionality of the structure. Incorporating thoughtful design elements and aesthetic enhancements can elevate the visual appeal of the carport while providing additional practical benefits.
Decorative Trim and Details
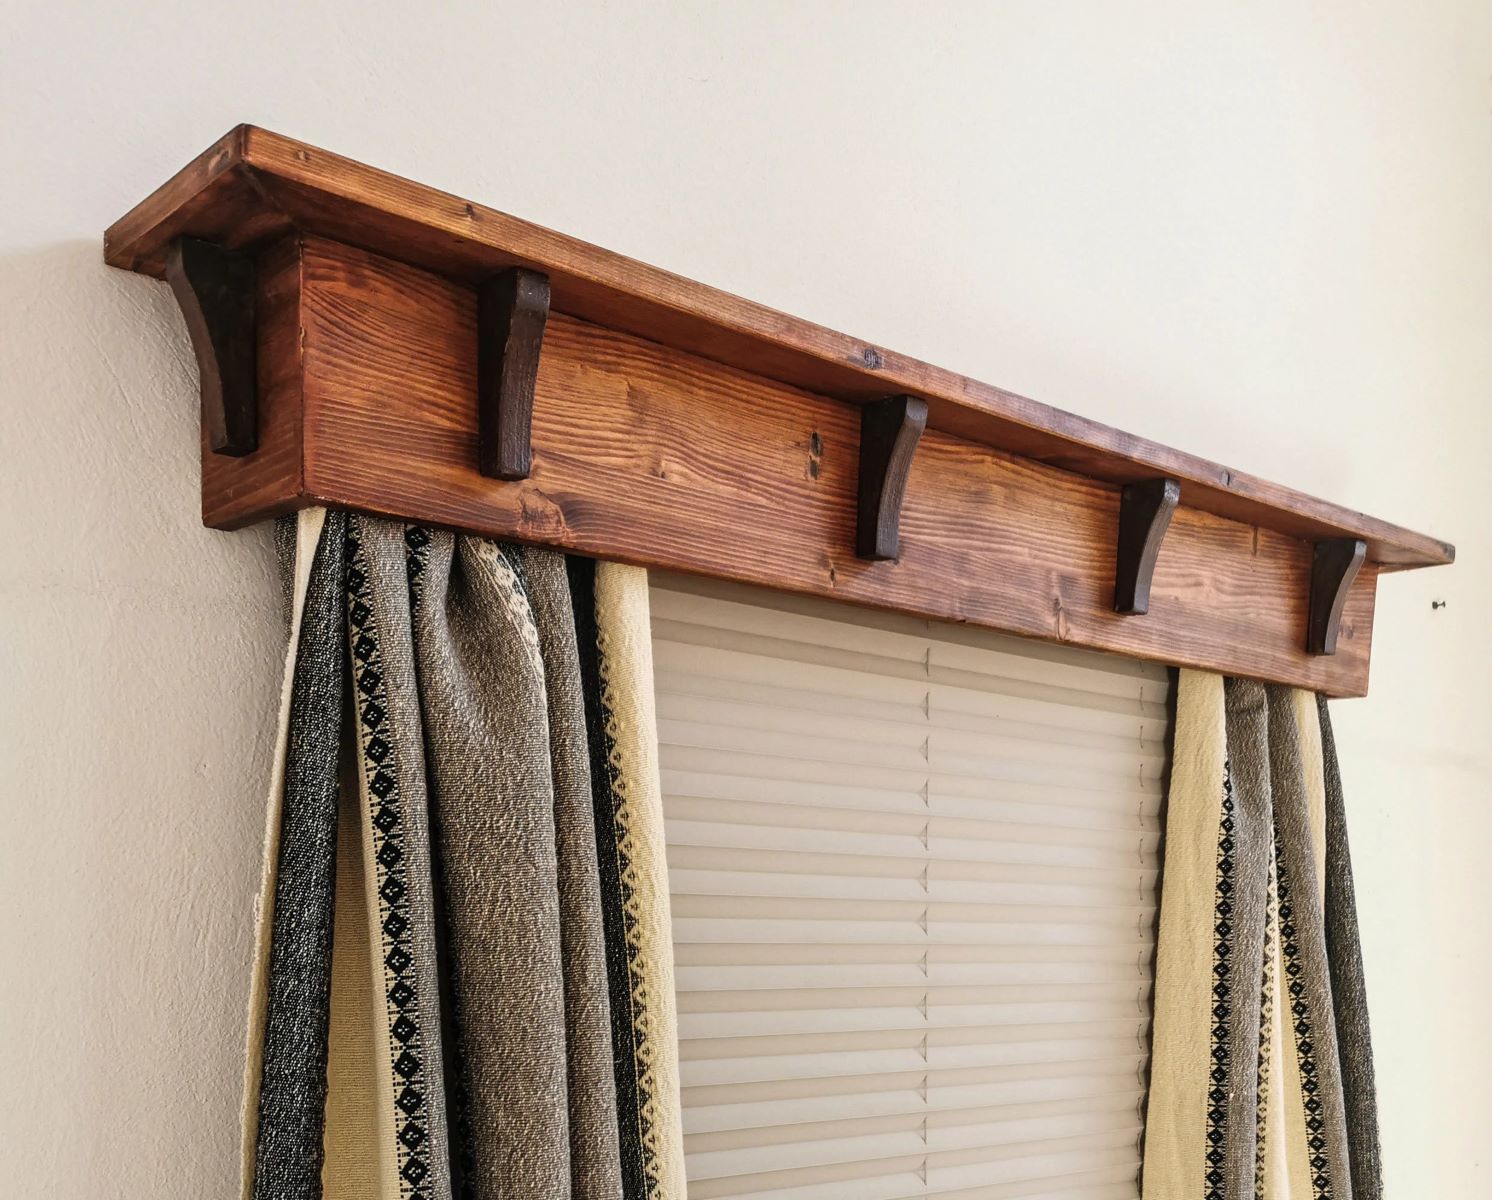
Consider adding decorative trim pieces, such as crown molding, lattice panels, or ornamental brackets, to accentuate the architectural features of the carport. These embellishments can create a polished and refined look, adding a touch of elegance to the structure. Additionally, decorative details can be customized to complement the existing design elements of your home, creating a cohesive and harmonious aesthetic.
Paint or Stain
Applying a fresh coat of paint or stain to the wood surfaces of the carport can significantly enhance its appearance while providing essential protection against the elements. Choose a color that complements the exterior of your home and blends seamlessly with the surrounding landscape. Additionally, consider using a high-quality exterior paint or stain that offers durability and resistance to fading, ensuring long-lasting beauty for the carport.
Lighting Features
Incorporating lighting features into the design of the carport can enhance its functionality and safety, especially during evening hours. Consider installing overhead lighting fixtures or wall-mounted sconces to illuminate the carport area, providing visibility and security for both vehicles and occupants. Additionally, pathway lighting or accent lights can create a welcoming ambiance and highlight the architectural details of the carport.
Read more: How to Build a DIY Storm Shelter Door
Greenery and Landscaping
Integrating greenery and landscaping around the perimeter of the carport can soften its appearance and blend it seamlessly with the natural surroundings. Consider planting shrubs, flowering plants, or climbing vines to create a lush and inviting environment. Strategic landscaping can also provide additional shade and privacy, enhancing the overall comfort and aesthetics of the carport area.
Functional Additions
Explore the possibility of incorporating functional additions to the carport, such as storage cabinets, workbenches, or seating areas. These practical elements can maximize the utility of the carport, creating a versatile space for various activities and storage needs. Additionally, consider integrating features such as hooks or racks for hanging tools, outdoor equipment, or recreational gear, further enhancing the functionality of the carport.
By carefully considering these finishing touches and styling options, you can transform your wood carport into a visually appealing and versatile addition to your property. These thoughtful enhancements not only elevate the aesthetic appeal of the carport but also contribute to its overall functionality and value within your home environment.
Maintenance and Care Tips
Proper maintenance is essential for preserving the longevity and performance of your wood carport. By implementing regular care and maintenance practices, you can ensure that the structure remains in optimal condition, providing reliable protection for your vehicles and enhancing the overall appeal of your property.
Regular Inspections
Schedule routine inspections of your wood carport to identify any signs of wear, damage, or structural issues. Check for loose fasteners, cracks in the wood, or areas of decay. Addressing minor issues promptly can prevent them from escalating into more significant problems and prolong the lifespan of the carport.
Read more: DIY Linen Closet Shelves Guide
Cleaning and Debris Removal
Regularly clean the surfaces of the carport to remove dirt, debris, and organic matter that can accumulate over time. Use a soft-bristled brush or a gentle pressure wash to clean the wood surfaces without causing damage. Clear any leaves, branches, or other debris from the roof and gutters to prevent water buildup and potential damage.
Wood Treatment
Apply a protective wood treatment, such as a sealant or wood preservative, to safeguard the carport against moisture, UV exposure, and insect damage. Choose a treatment product that is suitable for exterior wood applications and follow the manufacturer's guidelines for application frequency and method.
Roof Maintenance
Inspect the roofing materials regularly to ensure they are securely fastened and free from damage. Replace any missing or damaged shingles, tighten loose fasteners, and reseal any areas where the roofing materials may have shifted. Additionally, clear any debris from the roof surface to prevent water pooling and potential leaks.
Structural Integrity
Monitor the structural integrity of the carport, paying attention to the support posts, beams, and rafters. Look for signs of rot, warping, or insect infestation. Address any structural concerns promptly to maintain the stability and safety of the carport.
Read more: How to Build a Pergola with Roof
Weatherproofing
Reapply weatherproofing treatments, such as paint or stain, to the wood surfaces as needed. Over time, exposure to the elements can cause the finish to deteriorate. By refreshing the weatherproofing coatings, you can protect the wood from moisture, UV rays, and other environmental factors.
Professional Maintenance
Consider scheduling periodic professional inspections and maintenance services for your wood carport. A qualified contractor or carpenter can provide expert assessment and maintenance to address any structural or aesthetic issues, ensuring the long-term durability and performance of the carport.
By incorporating these maintenance and care tips into your routine, you can preserve the beauty and functionality of your wood carport, creating a lasting and valuable addition to your property. Regular attention to maintenance not only protects your investment but also enhances the overall enjoyment and utility of the carport for years to come.
Conclusion
In conclusion, building a wood carport is a rewarding DIY project that offers a multitude of benefits, including vehicle protection, property value enhancement, and versatile design options. By carefully planning and preparing, selecting the right location, gathering materials and tools, and following a step-by-step construction guide, you can create a sturdy and stylish shelter for your vehicles. Additionally, incorporating finishing touches, such as decorative elements, lighting features, and landscaping, can elevate the visual appeal and functionality of the carport. With regular maintenance and care, including inspections, cleaning, wood treatment, and roof maintenance, you can ensure the longevity and performance of your wood carport. Overall, a well-constructed and well-maintained wood carport not only provides essential protection for your vehicles but also adds value and charm to your property, making it a valuable and practical addition to your home.

