Home>Create & Decorate>DIY & Crafts>DIY Electric Fireplace Surround: Transform Your Living Space

DIY & Crafts
DIY Electric Fireplace Surround: Transform Your Living Space
Published: May 31, 2024

Content Creator specializing in woodworking and interior transformations. Caegan's guides motivate readers to undertake their own projects, while his custom furniture adds a personal touch.
Transform your living space with our DIY electric fireplace surround. Get creative with our DIY & Crafts project ideas and elevate your home decor. Discover how to make your living room cozy and stylish!
(Many of the links in this article redirect to a specific reviewed product. Your purchase of these products through affiliate links helps to generate commission for Twigandthistle.com, at no extra cost. Learn more)
Introduction
Are you looking to add a cozy and inviting ambiance to your living space? A DIY electric fireplace surround might just be the perfect project for you. Whether you're a seasoned DIY enthusiast or a beginner looking for a rewarding challenge, creating your own electric fireplace surround can be a fulfilling and practical endeavor. In this article, we'll guide you through the process of transforming your living space with a custom electric fireplace surround that not only adds warmth but also serves as a stunning focal point in your home. Let's dive into the world of DIY home improvement and create a space that you'll love to relax in.
Read more: Creative Window Painting Ideas
Choosing the Right Materials
When embarking on the journey of creating your own electric fireplace surround, selecting the right materials is crucial to the success of your project. Here are some key materials to consider:
1. MDF or Plywood
Opt for medium-density fiberboard (MDF) or plywood for the main structure of your electric fireplace surround. These materials are durable, easy to work with, and can be painted or stained to achieve the desired look.
2. Trim and Molding
Incorporate decorative trim and molding to add visual interest and elegance to your fireplace surround. Crown molding, baseboards, and panel molding can be used to create intricate details and a polished finish.
3. Electric Fireplace Insert
Select an electric fireplace insert that fits seamlessly within your chosen dimensions. Consider the heating capacity, flame effects, and remote control features when choosing the right insert for your space.
4. Heat-resistant Paint or Stain
If you opt to paint or stain your electric fireplace surround, ensure that the chosen finish is heat-resistant to withstand the warmth generated by the electric fireplace insert.
5. Hardware and Fasteners
Gather the necessary hardware and fasteners, such as screws, nails, and brackets, to assemble and secure the components of your electric fireplace surround.
By carefully selecting high-quality materials, you can ensure that your DIY electric fireplace surround not only looks impressive but also stands the test of time.
Designing Your Electric Fireplace Surround
Designing your electric fireplace surround is where your creativity can truly shine. Consider the following aspects as you plan the design of your custom surround:
-
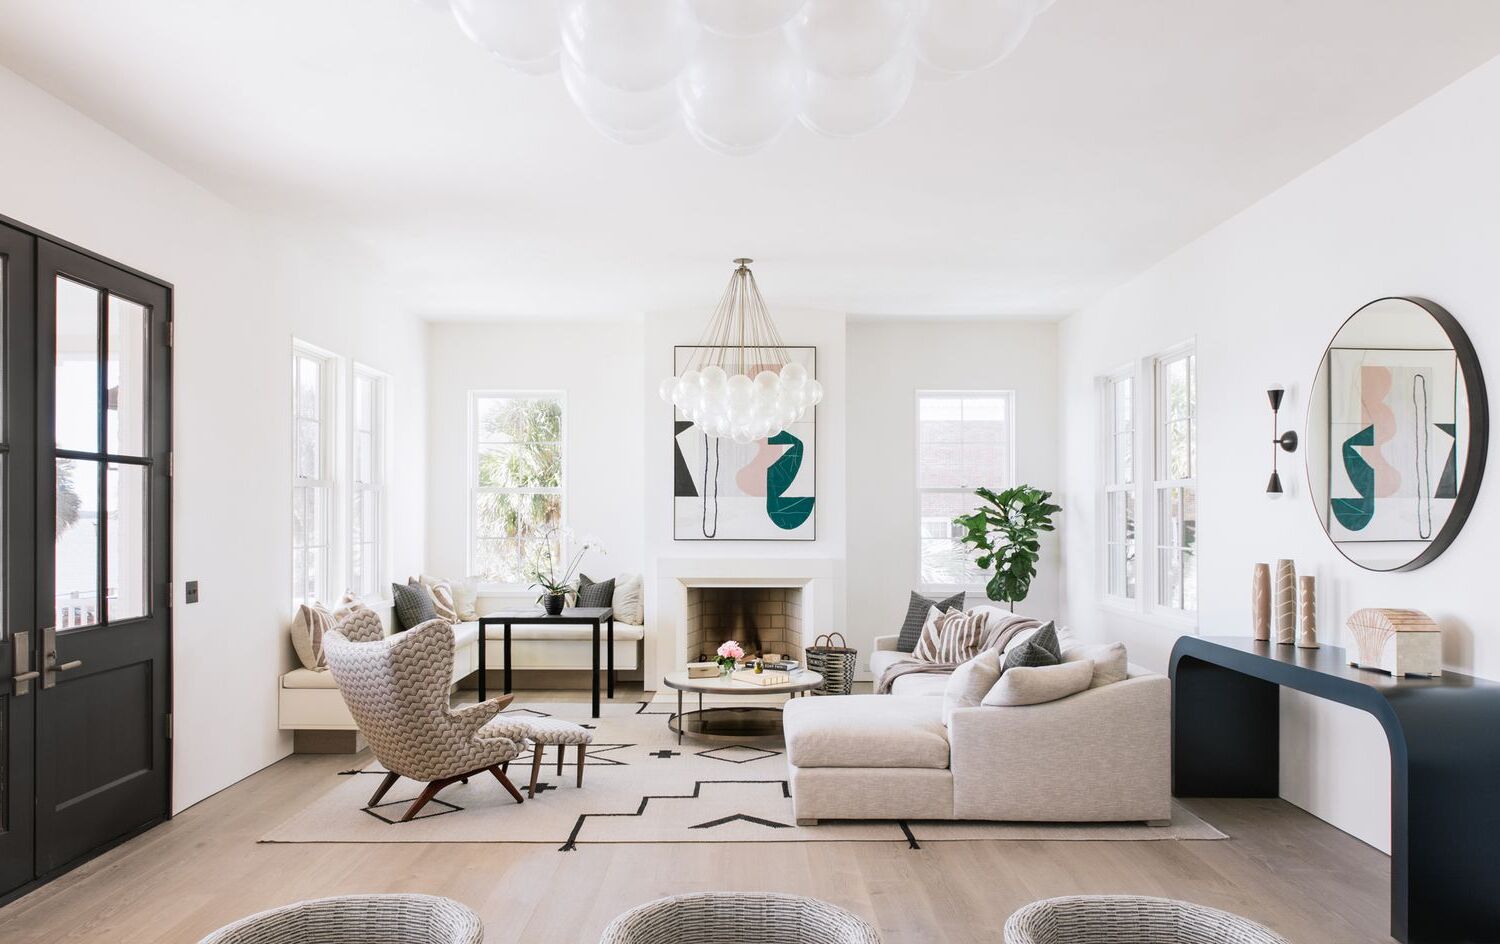
Overall Style and Aesthetic: Determine the overall style you want to achieve. Whether it's modern, traditional, rustic, or eclectic, aligning the design with your existing decor can create a cohesive look in your living space.
-
Dimensions and Proportions: Measure the space where the electric fireplace surround will be installed. Consider the height, width, and depth to ensure that the proportions are well-suited to the room and the electric fireplace insert.
-
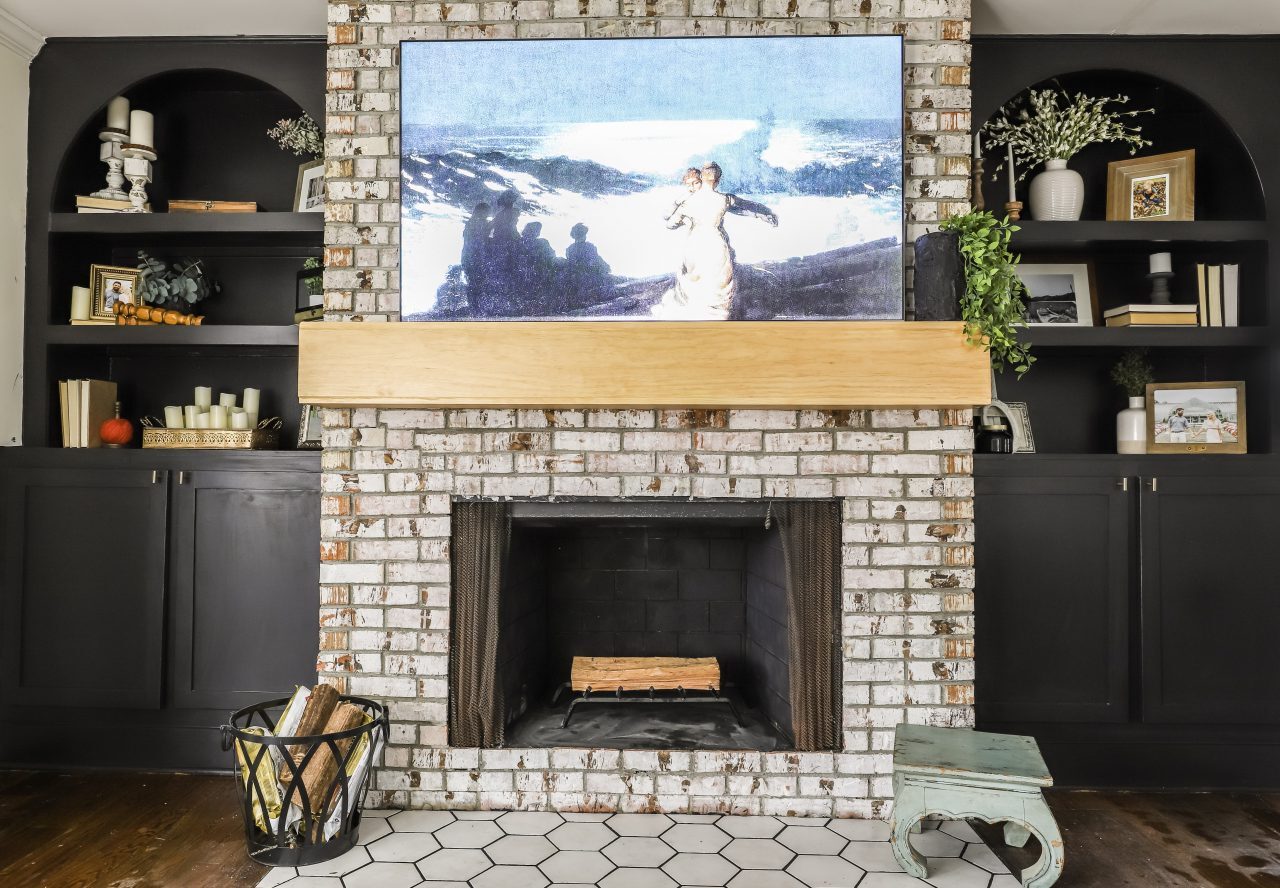
Architectural Details: Decide on the architectural details that will enhance the visual appeal of your surround. This could include pilasters, mantels, or alcoves to add depth and character to the design.
-
Integration of Storage: If desired, incorporate shelves or cabinets into the design to provide functional storage space for books, decor, or media components.
-
Visual Focal Point: Create a focal point above the fireplace by incorporating a mirror, artwork, or a decorative wall treatment to draw attention and add personality to the space.
-
Color and Finish: Choose a color scheme and finish that complements the room's decor. Whether it's a bold statement color, a classic white finish, or a rich wood stain, the color and finish will significantly impact the overall aesthetic.
By carefully considering these design elements, you can create a custom electric fireplace surround that not only enhances the visual appeal of your living space but also reflects your personal style and preferences.
Building and Installing the Surround
Once you have finalized the design of your electric fireplace surround, it's time to roll up your sleeves and bring your vision to life. Here's a step-by-step guide to building and installing your custom surround:
-
Cutting and Assembling the Frame: Begin by cutting the MDF or plywood to the appropriate dimensions based on your design plan. Assemble the frame using wood glue and screws, ensuring that the structure is sturdy and level.
-
Adding Decorative Molding: Incorporate the chosen trim and molding to enhance the visual appeal of the surround. Use a miter saw to achieve precise angles and seamless joints. Attach the molding with wood glue and finishing nails for a polished finish.
-
Creating the Mantel: If your design includes a mantel, construct it using solid wood or MDF. Consider adding decorative corbels or brackets to support the mantel shelf. Secure the mantel to the wall using appropriate brackets and hardware.
-
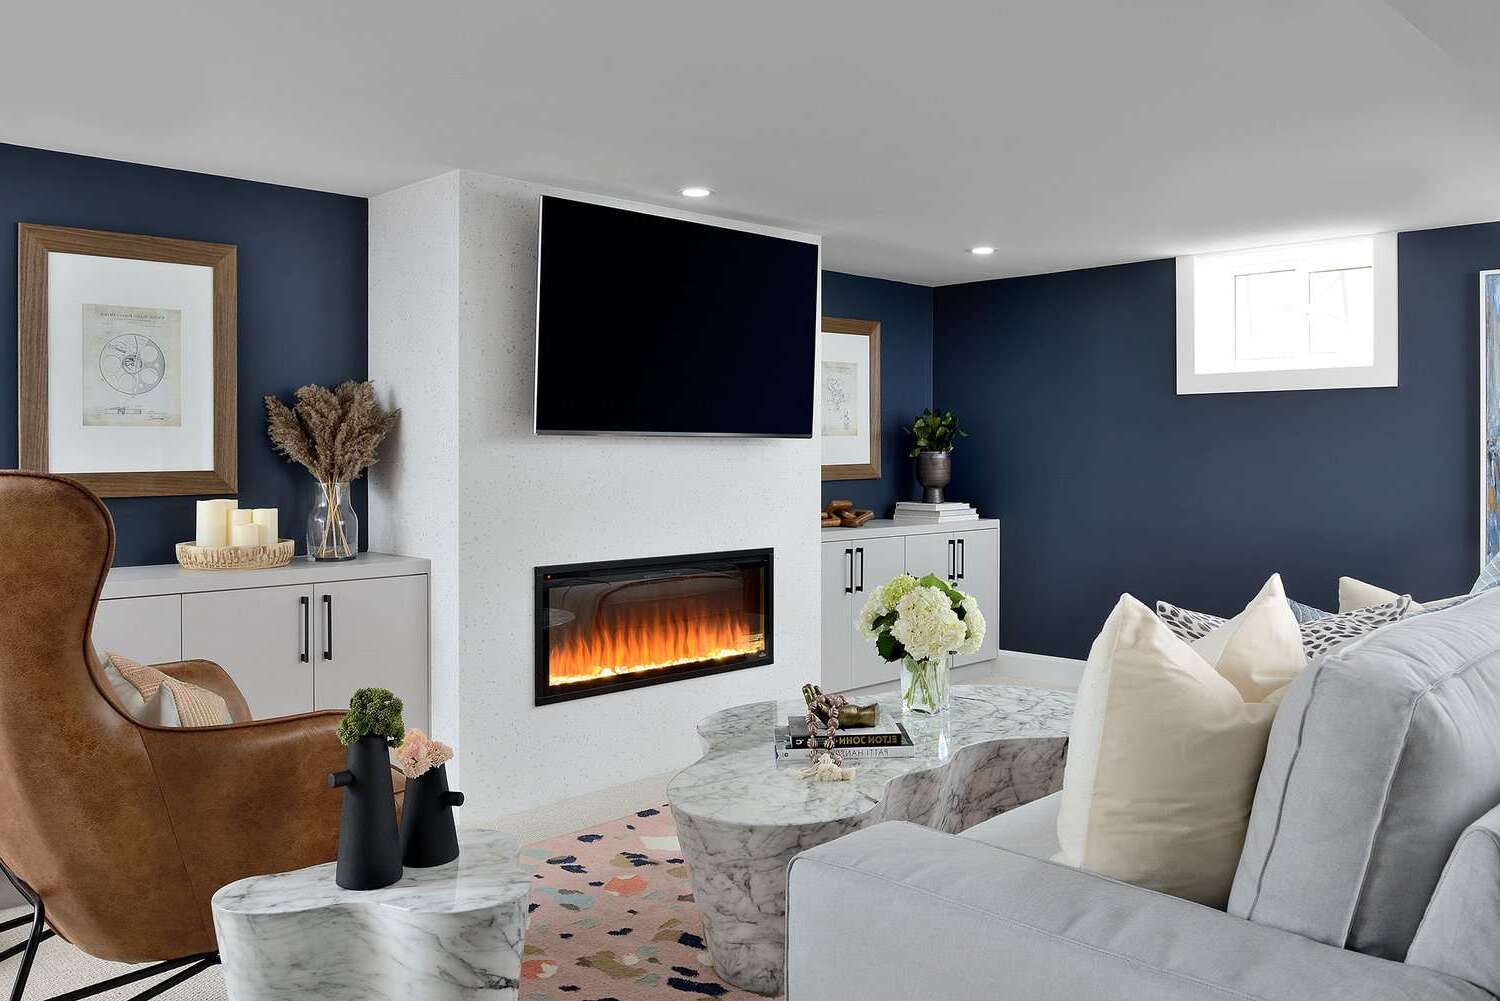
Installing the Electric Fireplace Insert: Follow the manufacturer's instructions to install the electric fireplace insert within the prepared opening. Ensure that the insert is securely in place and that all electrical connections are made according to safety standards.
-
Securing the Surround to the Wall: Once the surround is assembled and the fireplace insert is in position, secure the entire structure to the wall using brackets and screws. This step is crucial for stability and safety.
-
Finishing Touches: Fill any visible nail holes or gaps with wood filler, sand the surfaces for a smooth finish, and apply the chosen paint or stain. Take your time with the finishing touches to achieve a professional-looking result.
-
Accessorizing and Styling: After the surround is installed and finished, it's time to add decorative elements such as artwork, candles, or plants to complement the new focal point in your living space.
By following these steps with precision and attention to detail, you can successfully build and install your DIY electric fireplace surround, creating a stunning and functional addition to your home.
Read more: DIY Rustic Outdoor Shower Ideas
Finishing Touches and Decorative Elements
After the construction and installation of your DIY electric fireplace surround, it's time to add the finishing touches and decorative elements that will elevate the overall look and feel of the space. Here are some essential steps and considerations for this final phase of the project:
-
Selecting a Hearth Design: The hearth area of your electric fireplace surround provides an opportunity to introduce a visually appealing element. Whether you opt for a traditional raised hearth, a sleek flush design, or a decorative tiled surface, the hearth can contribute to the overall aesthetic of the fireplace.
-
Customizing the Mantel: If your design includes a mantel, consider personalizing it with decorative accents such as framed artwork, family photos, or unique collectibles. The mantel serves as a focal point for displaying items that reflect your personal style and interests.
-
Incorporating Lighting: Strategically placed lighting can enhance the ambiance of the fireplace surround. Consider adding sconces, recessed lighting, or LED strip lights to illuminate the area and create a warm and inviting atmosphere, especially during the evening hours.
-
Accessorizing with Decor: Introduce decorative elements such as vases, candles, or sculptures to adorn the mantel and surrounding shelves. These accessories can add personality and charm to the space while complementing the overall design aesthetic.
-
Choosing Artwork and Mirrors: Selecting artwork or mirrors to hang above the fireplace can further enhance the visual appeal of the surround. A carefully chosen piece of art or a well-positioned mirror can create a sense of balance and sophistication in the room.
-
Incorporating Greenery: Adding a touch of greenery with potted plants or a floral arrangement can bring life and freshness to the space. Consider placing plants on the hearth, on the mantel, or in adjacent areas to introduce a natural element.
-
Coordinating with Surrounding Decor: Ensure that the finishing touches and decorative elements harmonize with the existing decor in the room. Consider the color palette, style, and overall theme to create a cohesive and unified look.
By paying attention to these finishing touches and decorative elements, you can transform your DIY electric fireplace surround into a captivating focal point that not only adds warmth and functionality but also reflects your personal taste and style.
Conclusion
In conclusion, embarking on the journey of creating a DIY electric fireplace surround can be a fulfilling and rewarding experience. By carefully selecting the right materials, designing a custom surround that complements your living space, and executing the construction and installation with precision, you can transform your home with a stunning focal point that adds warmth, visual appeal, and a touch of personal style. The finishing touches and decorative elements serve to elevate the overall ambiance, creating a space that invites relaxation and comfort. Whether you're seeking a modern, traditional, or eclectic look, a DIY electric fireplace surround allows you to tailor the design to your preferences and create a space that you'll love to gather in. Embrace the creativity and craftsmanship involved in this project, and enjoy the cozy atmosphere and charm that your custom electric fireplace surround brings to your home.

