
Home>Home & Furniture>Kitchen>How to Build a DIY Grill Station
Kitchen
How to Build a DIY Grill Station
Published: July 28, 2024
Learn how to build a DIY grill station with our step-by-step guide. Transform your backyard into a grilling paradise with tips, tools, and materials you need!
(Many of the links in this article redirect to a specific reviewed product. Your purchase of these products through affiliate links helps to generate commission for Twigandthistle.com, at no extra cost. Learn more)
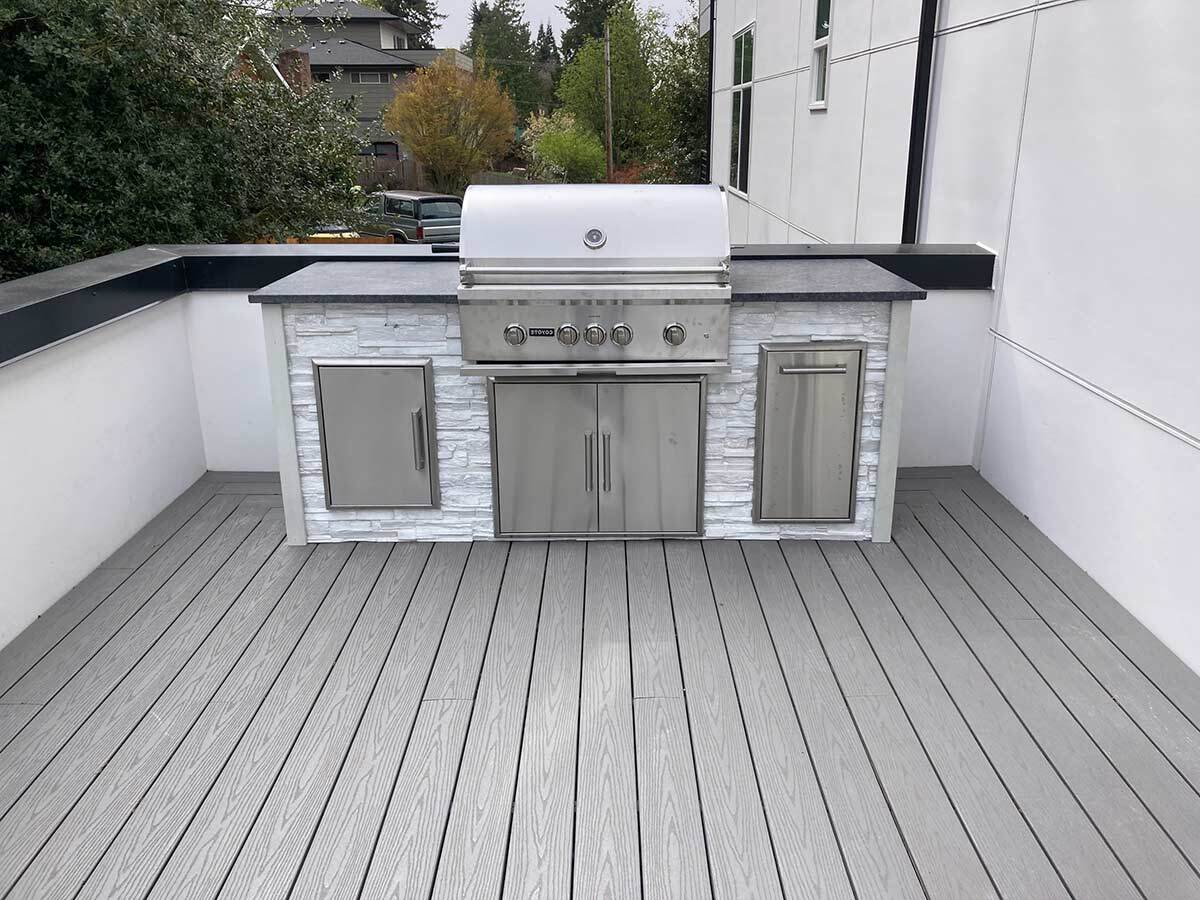
Imagine having your own grill station in the backyard, perfect for summer cookouts and family gatherings. Building a DIY grill station can be an exciting project that adds a touch of personality to your outdoor space. This guide will walk through the basics, breaking down the steps and materials needed to create a functional and stylish grilling area. Whether you're a seasoned DIY enthusiast or just starting, this project is attainable with a bit of planning. Ready to get those hands dirty and start crafting? Let’s dive into the essentials of building your very own grill station.
Getting Ready for Your DIY Grill Station
Gather Materials: Make sure you have all the necessary tools and materials like wood, screws, a drill, a saw, and a level.
Choose a Location: Pick a flat, stable area in your backyard. Ensure it's away from flammable objects like trees or your house.
Measure and Plan: Measure the space where you want to build the grill station. Sketch a simple plan with dimensions.
Safety Gear: Wear safety goggles, gloves, and ear protection. Keep a first aid kit nearby.
Clear the Area: Remove any debris, rocks, or plants from the chosen spot. Make sure the ground is level.
Workspace Setup: Set up a sturdy workbench or table. Keep your tools organized and within reach.
Check for Permits: Some areas require permits for outdoor structures. Check local regulations to avoid fines.
Weather Check: Ensure the weather forecast is clear. Rain or strong winds can make the project difficult and unsafe.
Electricity and Water: If your grill station will have electrical outlets or a sink, plan for these installations. Ensure all connections are safe and up to code.
Dry Run: Lay out all the pieces and do a dry run to see how everything fits together. This helps identify any adjustments needed before assembly.
Essential Materials and Tools
- Pressure-treated lumber: Used for the frame and shelves, resistant to rot and insects.
- Concrete blocks: Provide a sturdy base for the grill station.
- Plywood: Forms the surface of the shelves and countertop.
- Stainless steel screws: Secure the wood pieces together, resistant to rust.
- Grill insert: The main cooking component, fits into the station.
- Tile or stone: Covers the countertop, heat-resistant and easy to clean.
- Outdoor sealant: Protects wood from weather damage.
- Paint or stain: Adds color and extra protection to the wood.
- Measuring tape: Ensures accurate measurements for cutting materials.
- Circular saw: Cuts wood and plywood to the needed sizes.
- Drill: Makes holes for screws and assembles the frame.
- Level: Ensures the structure is even and stable.
- Screwdriver: Tightens screws, securing parts together.
- Trowel: Spreads adhesive for tiles or stone.
- Safety gear: Includes gloves, goggles, and ear protection for safe working conditions.
Skill Level and Time Commitment
Skill Level: Intermediate
Time Required: Approximately 2-3 days
- Planning and Design: 2-3 hours
- Gathering Materials: 1-2 hours
- Building the Frame: 4-6 hours
- Installing Countertops and Shelves: 3-4 hours
- Painting/Staining: 2-3 hours
- Final Assembly and Cleanup: 2-3 hours
Step-by-Step Guide
Gather Materials
- Cement blocks
- Wooden planks
- Screws
- Drill
- Level
- Measuring tape
- Grill
Choose Location
- Find a flat, stable area in your yard.
- Ensure the spot is away from flammable materials.
Lay Foundation
- Place cement blocks in a rectangular shape.
- Use the level to ensure blocks are even.
Build Frame
- Measure and cut wooden planks to desired height.
- Attach planks to cement blocks using screws and drill.
Install Countertop
- Place a large wooden plank on top of the frame.
- Secure it with screws.
Add Shelves
- Measure and cut smaller planks for shelves.
- Attach shelves inside the frame using screws.
Place Grill
- Position the grill on the countertop.
- Ensure it fits securely.
Finishing Touches
- Sand any rough edges on the wood.
- Paint or stain the wood if desired.
Test Stability
- Check that the grill station is sturdy.
- Make adjustments if needed.
Handy Tips and Tricks
Plan your layout before starting. Measure your space and decide where everything will go. Use pressure-treated wood for the frame to prevent rot. Add wheels to make your grill station mobile. Install a countertop made of granite or concrete for durability. Include storage for utensils and grilling tools. Add hooks for hanging tools and towels. Use stainless steel screws to avoid rust. Seal the wood to protect it from weather.
Common mistakes include not leveling the ground before building, which can make the station unstable. Skipping the sealant can lead to wood damage. Using untreated wood can result in rot and decay. Forgetting ventilation can cause heat buildup.
For materials, consider using metal for a modern look. Concrete blocks can replace wood for a more industrial feel. Pallet wood offers a rustic, budget-friendly option. Composite decking can be a low-maintenance alternative to wood.
Budgeting Your Project
Lumber: $100-$150 for treated wood or cedar.
Concrete blocks: $50-$75 for a sturdy base.
Grill: $200-$500 depending on size and features.
Countertop: $100-$200 for materials like tile or concrete.
Screws and nails: $20-$30 for a variety pack.
Paint or stain: $30-$50 for weatherproofing.
Tools: $100-$200 for a basic set including a saw, drill, and level.
Budget-friendly alternatives:
- Use pallet wood instead of treated lumber: $0-$50.
- Opt for a portable grill: $50-$100.
- Use reclaimed materials for the countertop: $0-$50.
- Borrow or rent tools from friends or a local tool library: $0-$50.
Creative Variations and Customizations
Materials: Instead of using wood, consider metal or brick for a more durable and fire-resistant structure. Concrete blocks can also provide a sturdy base.
Colors: Paint the station in bold colors like red or blue for a vibrant look. For a more natural feel, use earth tones like brown or green.
Styles: For a rustic look, use reclaimed wood and antique hardware. A modern style can be achieved with sleek metal and minimalist design.
Countertops: Use granite or marble for a high-end finish. Tile countertops can add a splash of color and are easy to clean.
Storage: Add shelves or cabinets for storing grilling tools and accessories. Hooks can be installed for hanging utensils.
Lighting: Install LED strip lights under the counter for nighttime grilling. Solar-powered lights can be an eco-friendly option.
Seating: Incorporate a bar area with stools for guests to sit and chat while you cook. Built-in benches can provide extra seating without taking up too much space.
Extras: Add a mini-fridge for keeping drinks cold. A sink with running water can make clean-up easier. Planter boxes can be added for growing herbs and spices.
Eco-Friendly Building Tips
Reclaimed wood can be used for the frame and shelves. Look for old pallets or barn wood. Recycled bricks or pavers make a sturdy base. These can often be found at salvage yards. Eco-friendly paint or sealant protects the wood without harmful chemicals. Choose products labeled low-VOC or zero-VOC. Bamboo is another sustainable option for shelves or countertops. It grows quickly and is very durable. Solar-powered lights can illuminate the grill station without using electricity. Recycled metal can be used for hooks or handles. Old pipes or scrap metal can be repurposed. Natural stone can be used for countertops or decorative elements. It’s durable and looks great. Compostable materials like untreated wood scraps can be used for kindling. Rainwater collection systems can be integrated to clean the grill or water nearby plants. Native plants around the grill station can create a natural, eco-friendly landscape.
Enjoy Your New Grill Station
You've built a grill station with your own hands. Now, it's time to enjoy the fruits of your labor. Invite friends over, fire up the grill, and make some memories. Remember, the key to a great DIY project is not just the end result but the journey. Each step you took, every screw you tightened, and all the adjustments made along the way have led to this moment. Your new grill station isn't just a place to cook; it's a testament to your hard work and creativity. Keep experimenting, adding new features, and making it truly yours. Whether it's a simple barbecue or a grand feast, your grill station will be the heart of many gatherings. So, grab your tongs, put on that apron, and get grilling!
What materials do I need to build a DIY grill station?
You'll need pressure-treated wood, concrete blocks, cement, grill, screws, nails, paint, and sealant.
How much time will it take to complete?
It usually takes a weekend to build, but it depends on your experience and the complexity of the design.
Do I need any special tools?
Basic tools like a saw, drill, hammer, level, and measuring tape should do the trick.
Can I customize the design?
Absolutely! You can add shelves, drawers, or even a sink if you want to get fancy.
How do I protect it from the weather?
Use weather-resistant paint and sealant to keep it safe from rain and sun.
Is it expensive to build?
Costs can vary, but you can build a simple one for around $200-$300.
Can I use any type of grill?
Most charcoal and gas grills will work, but make sure to check the dimensions before you start building.