
Home>Organize & Storage>Closet Organization>How To Build A Corner Closet
Closet Organization
How To Build A Corner Closet
Published: March 6, 2024

Senior Editor for Organize & Storage, Jeff transforms spaces with his DIY decor and organizational prowess. His design sensibility and engagement in the art community bring functional beauty to our pages.
Learn how to maximize space and improve closet organization with our step-by-step guide on building a corner closet. Transform your storage with ease!
(Many of the links in this article redirect to a specific reviewed product. Your purchase of these products through affiliate links helps to generate commission for Twigandthistle.com, at no extra cost. Learn more)
Introduction
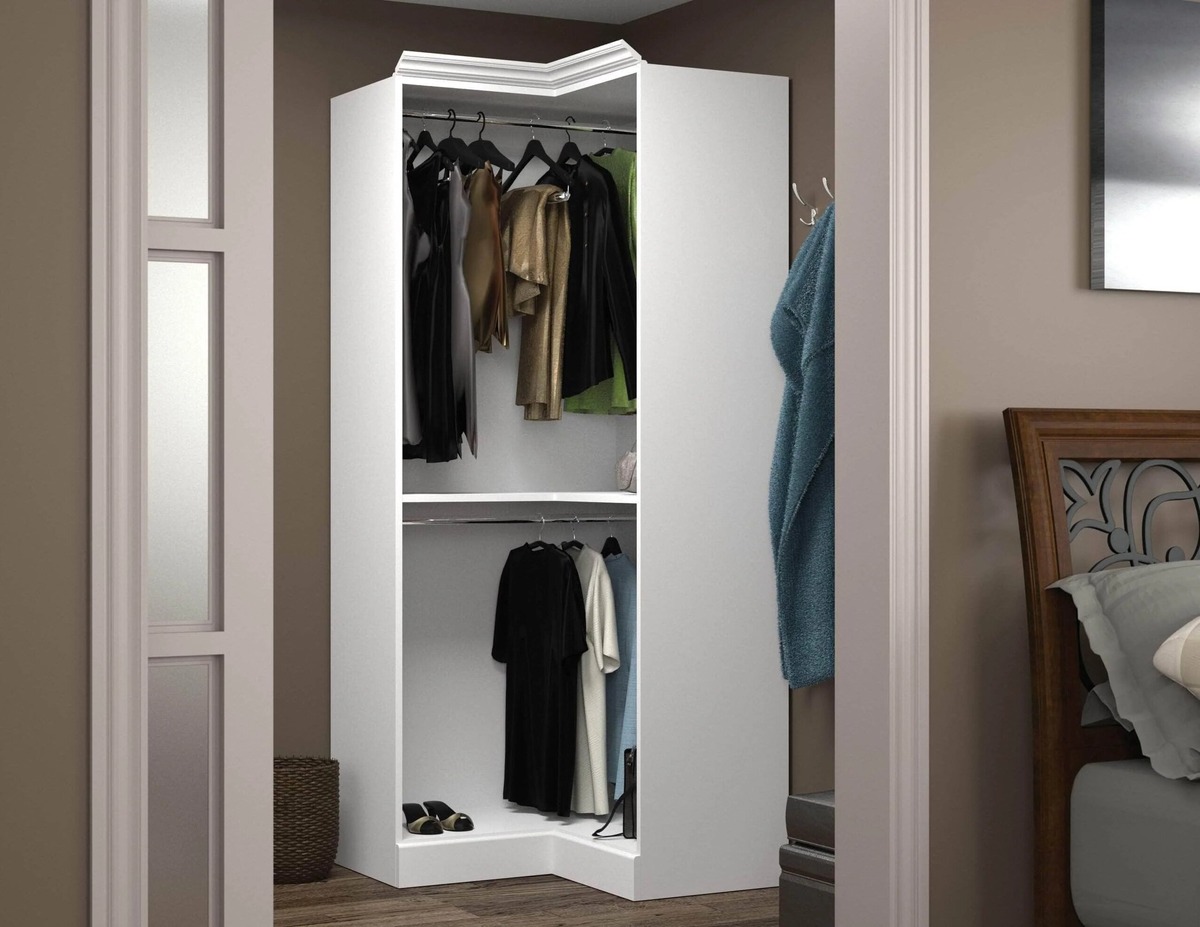
So, you've got a corner in your room that's just begging to be turned into a functional and stylish storage space. Building a corner closet can be a great solution to maximize the use of that often underutilized area. Whether you're looking to create more storage for your clothes, shoes, or other items, a corner closet can be a practical and aesthetically pleasing addition to your home. In this article, we'll walk you through the steps to build your own corner closet, from planning and measuring to adding the finishing touches. Let's get started!
Step 1: Planning and Measuring
Before diving into the construction of your corner closet, it's crucial to start with a well-thought-out plan. Here's how to get started:
-
Assess the Space: Take a good look at the corner where you plan to build your closet. Consider the dimensions, any obstacles such as electrical outlets or vents, and how the closet will fit into the overall layout of the room.
-
Determine Your Needs: Think about what you'll be storing in the closet. Will it be primarily for hanging clothes, folded items, or a combination of both? This will help you decide on the configuration of shelves, rods, and other storage elements.
-
Measure Carefully: Use a tape measure to accurately measure the dimensions of the corner where the closet will be built. Take note of the ceiling height, as well as any irregularities in the walls or floor that may need to be accommodated.
-
Create a Design: With your measurements in hand, sketch out a rough design for your corner closet. Consider how you want to arrange the shelves, rods, and any other features. This will serve as a guide as you move forward with the project.
By taking the time to plan and measure carefully, you'll set the stage for a successful and well-designed corner closet that meets your storage needs.
Step 2: Choosing Materials and Tools
When it comes to building a corner closet, selecting the right materials and tools is essential for a sturdy and functional end result. Here's what you'll need:
Materials
- Lumber: Choose high-quality lumber for the frame and shelves. Consider the dimensions and weight capacity of the items you plan to store in the closet.
- Shelving Material: Opt for sturdy materials such as plywood or melamine for the shelves. These materials can withstand the weight of clothing and other items.
- Closet Rods: Select metal or wooden closet rods that are strong enough to support hanging clothes without bending or sagging.
- Hardware: Purchase screws, nails, brackets, and other necessary hardware for assembling the closet frame and attaching shelves and rods.
- Finishing Materials: If you plan to add doors to your corner closet, choose hinges, handles, and any finishing materials such as paint or stain to complete the look.
Tools
- Measuring Tape: A reliable measuring tape is crucial for ensuring accurate dimensions and cuts.
- Circular Saw or Miter Saw: These tools will be essential for cutting lumber and shelving material to the appropriate sizes.
- Drill and Bits: A drill will be needed for making pilot holes and driving screws during assembly.
- Level: To ensure that your closet frame and shelves are installed straight and level.
- Screwdriver: Both manual and electric screwdrivers will be handy for attaching hardware and making adjustments.
By carefully selecting the right materials and having the necessary tools on hand, you'll be well-prepared to move on to the next steps of building your corner closet.
Step 3: Building the Frame
Now that you have your plan in place and all the necessary materials and tools at the ready, it's time to start building the frame for your corner closet. Here's a step-by-step guide to help you through this crucial phase:
-
Cutting the Lumber: Using your measurements and design plan, carefully cut the lumber to the appropriate lengths for the vertical and horizontal sections of the frame. A circular saw or miter saw will come in handy for this task.
-
Assembling the Frame: Begin by assembling the vertical and horizontal sections of the frame on the floor. Use a square to ensure that the corners are perfectly perpendicular. Secure the joints with screws, making sure to pre-drill pilot holes to prevent splitting the wood.
-
Attaching the Frame to the Wall: Once the frame is assembled, it's time to secure it to the walls of the corner. Use a level to ensure that the frame is plumb and level before attaching it with screws or brackets. It's essential to anchor the frame securely to the wall to support the weight of the shelves and clothing.
-
Adding Support Braces: Depending on the size of your closet and the weight it will bear, you may need to add support braces diagonally across the corners of the frame. This will provide additional stability and prevent the frame from shifting over time.
-
Checking for Stability: After the frame is in place, give it a gentle shake to ensure that it feels sturdy and secure. Making any necessary adjustments at this stage will save you from potential issues later on.
By following these steps, you'll have a solid and reliable frame in place, ready to support the shelves, rods, and other components of your corner closet.
Step 4: Installing Shelves and Rods
With the frame of your corner closet securely in place, it's time to focus on installing the shelves and rods that will provide the functional storage space you need. Here's how to proceed:
-
Measuring and Cutting Shelves: Begin by measuring the dimensions of the spaces within the frame where you plan to install shelves. Use a circular saw or a miter saw to cut the shelving material to the appropriate sizes, ensuring a precise fit.
-
Attaching the Shelves: Position the cut shelves within the frame, making sure they are level and evenly spaced. Use shelf brackets or cleats to secure the shelves in place, ensuring they can support the weight of the items you plan to store.
-
Installing Closet Rods: If your corner closet will include a hanging section for clothes, measure and cut the closet rods to fit the width of the space. Use a rod and shelf support bracket to attach the rods securely to the frame, ensuring they are level and can support the weight of hanging clothing.
-
Adjusting for Customization: Depending on your storage needs, you may want to customize the spacing and arrangement of the shelves and rods. Take the time to adjust the positioning to accommodate items of different sizes and shapes.
-
Testing Stability and Functionality: Once the shelves and rods are in place, test the stability and functionality of the closet. Ensure that the shelves can support the intended weight without sagging and that the rods are securely anchored and level.
By following these steps, you'll have a well-organized and functional storage space within your corner closet, ready to accommodate your clothing and other items.
Step 5: Adding Doors and Finishing Touches
After completing the construction of the frame, shelves, and rods for your corner closet, the final step involves adding doors and finishing touches to enhance the functionality and aesthetics of the space. Here's how to complete your corner closet project with finesse:
-
Selecting the Right Doors: Consider the style and functionality you desire for your corner closet doors. Options include hinged doors, sliding doors, or even a curtain for a more casual look. Choose doors that complement the overall design of your room and provide easy access to the contents of the closet.
-
Measuring and Installing Doors: Take precise measurements of the door openings and acquire the necessary materials for your chosen door style. Install the doors according to the manufacturer's instructions, ensuring they open and close smoothly and align properly with the closet frame.
-
Adding Door Hardware: Install hinges, handles, and any additional hardware required for your chosen door style. Ensure that the hardware is securely attached and functions as intended, providing ease of use and durability.
-
Applying Finishing Touches: Consider adding a coat of paint or stain to the closet frame and doors to match the existing decor of the room. This step can elevate the visual appeal of the closet and create a cohesive look within the space.
-
Organizational Accessories: To maximize the functionality of your corner closet, consider adding organizational accessories such as hooks, bins, or baskets. These accessories can help keep smaller items organized and easily accessible within the closet.
-
Final Inspection: Once all the finishing touches are in place, take a moment to inspect the completed corner closet. Ensure that the doors open and close smoothly, the hardware is secure, and the overall appearance meets your expectations.
By following these steps, you'll add the final touches to your corner closet, creating a well-organized and visually appealing storage space that enhances the functionality and aesthetics of your room.
Conclusion
Congratulations! You've successfully built your very own corner closet, adding valuable storage space and a touch of organization to your room. By following the steps outlined in this guide, you've transformed a previously underutilized corner into a functional and stylish storage solution. Your careful planning, precise measurements, and attention to detail have resulted in a custom closet that meets your specific storage needs. Whether it's for hanging clothes, folded items, or a combination of both, your corner closet is now ready to serve its purpose. With the addition of doors, finishing touches, and organizational accessories, you've created a space that not only offers practical storage but also enhances the overall aesthetics of your room. Enjoy the satisfaction of a DIY project well done, and revel in the convenience and organization that your new corner closet brings to your home.