
Home>Create & Decorate>DIY & Crafts>DIY Standing Desk: Create Your Own Ergonomic Workspace
DIY & Crafts
DIY Standing Desk: Create Your Own Ergonomic Workspace
Published: May 7, 2024

Content Creator specializing in woodworking and interior transformations. Caegan's guides motivate readers to undertake their own projects, while his custom furniture adds a personal touch.
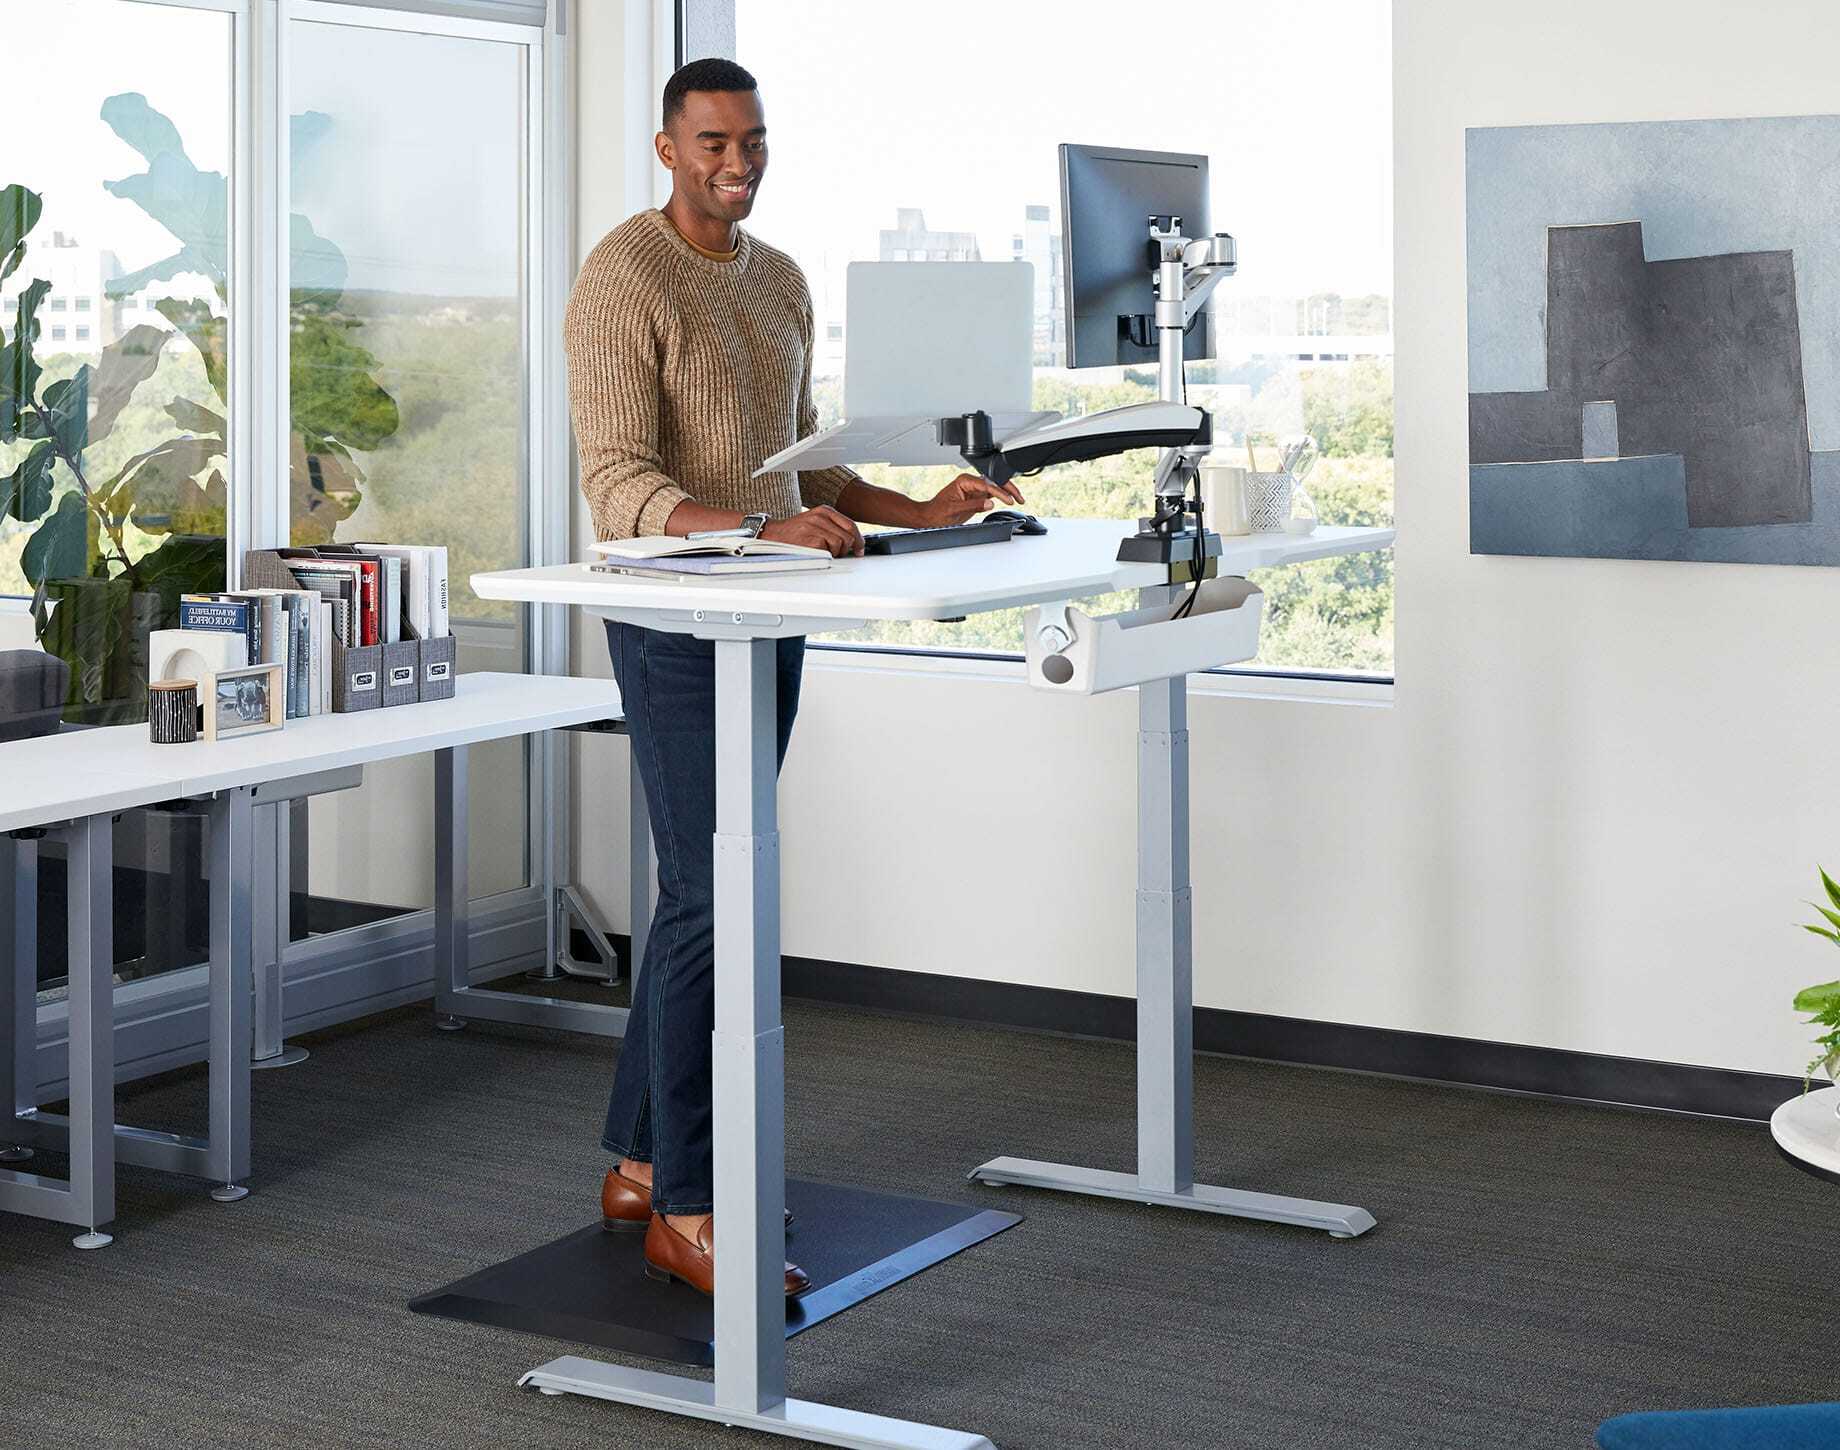
Create a custom DIY standing desk for a comfortable and ergonomic workspace with our easy-to-follow crafts tutorial. Improve your posture and productivity!
(Many of the links in this article redirect to a specific reviewed product. Your purchase of these products through affiliate links helps to generate commission for Twigandthistle.com, at no extra cost. Learn more)
Introduction
Are you tired of sitting at your desk all day, feeling the strain on your back and neck? Have you considered the benefits of using a standing desk? In this article, we will explore the advantages of incorporating a standing desk into your workspace and provide you with a step-by-step guide on how to create your very own DIY standing desk. Whether you work from home or in an office, a standing desk can offer a more ergonomic and comfortable alternative to traditional sitting desks. Let's dive into the world of DIY standing desks and discover how you can revolutionize your workspace.
Benefits of Using a Standing Desk
-
Improved Posture: Using a standing desk can help improve your posture by encouraging you to stand up straight and avoid slouching. This can alleviate the strain on your back and neck that often comes with prolonged sitting.
-
Increased Energy and Productivity: Standing while working can boost your energy levels and help you stay more alert and focused. It can also promote better circulation, preventing the mid-afternoon slump that often accompanies long hours of sitting.
-
Reduced Risk of Health Issues: Research has shown that excessive sitting can contribute to various health issues, including obesity, heart disease, and diabetes. By incorporating a standing desk into your workspace, you can reduce the amount of time spent sitting and lower the associated health risks.
-
Customizable Height: One of the key benefits of a DIY standing desk is the ability to customize the height to suit your specific needs. This ensures that your desk is tailored to your unique body proportions, allowing for a more comfortable and ergonomic working environment.
-
Versatility: A standing desk offers versatility, allowing you to easily switch between sitting and standing throughout the day. This flexibility can help prevent the stiffness and discomfort often associated with prolonged sitting.
-
Enhanced Mood and Well-being: Standing while working can have a positive impact on your mood and overall well-being. It can promote a sense of dynamism and engagement, leading to a more positive and productive work experience.
By considering these benefits, you can see how a DIY standing desk can be a valuable addition to your workspace, offering a range of advantages for both your physical health and productivity.
Choosing the Right Materials
When it comes to creating your own DIY standing desk, selecting the right materials is crucial to ensure stability, durability, and functionality. Here are some key considerations for choosing the right materials for your standing desk:
-
Sturdy Desk Legs: Opt for strong and stable desk legs that can support the weight of your desk surface and any additional equipment or accessories. Metal or hardwood legs are popular choices for their durability and load-bearing capacity.
-
Quality Desk Surface: The desk surface should be able to withstand the weight of your computer, monitor, and other work essentials. Consider using materials such as hardwood, plywood, or medium-density fiberboard (MDF) for a sturdy and reliable desk surface.
-
Adjustable Height Mechanism: If you prefer a height-adjustable standing desk, look for reliable and smooth height adjustment mechanisms. This could include electric or manual crank systems that allow you to easily transition between sitting and standing positions.
-
Hardware and Fasteners: Ensure that you have high-quality hardware and fasteners to assemble your standing desk securely. This includes screws, bolts, brackets, and other components that will hold the desk together and provide stability.
-
Ergonomic Accessories: Consider incorporating ergonomic accessories such as a keyboard tray, monitor stand, or cable management solutions to enhance the functionality and comfort of your standing desk setup.
By carefully selecting the right materials for your DIY standing desk, you can create a workspace that not only meets your ergonomic needs but also reflects your personal style and preferences. Remember to prioritize quality and functionality when choosing materials, as these factors will contribute to the overall performance and longevity of your standing desk.
Step-by-Step Instructions for Building Your Standing Desk
-
Gather Your Tools and Materials: Before you begin building your standing desk, gather all the necessary tools and materials. You will need a sturdy desk surface, desk legs, screws, a screwdriver, a drill (if necessary), a measuring tape, and any additional accessories or ergonomic components you plan to incorporate.
-
Prepare the Desk Surface: If you are using a pre-cut desk surface, ensure that it is smooth and free of any imperfections. If you are cutting your own desk surface, measure and mark the dimensions carefully before cutting to ensure a precise fit.
-
Attach the Desk Legs: Position the desk legs at each corner of the desk surface, ensuring they are evenly spaced and aligned. Use a measuring tape to confirm the equal distance between each leg and then secure them in place using screws and a screwdriver. If your desk legs have adjustable feet, adjust them to ensure the desk is level.
-
Add Stability Bracing (Optional): Depending on the design of your standing desk, you may want to add stability bracing for additional support. This could involve attaching crossbars between the legs or adding diagonal braces to enhance the overall stability of the desk.
-
Incorporate Height Adjustment Mechanism (If Desired): If you have chosen to create a height-adjustable standing desk, follow the manufacturer's instructions to install the height adjustment mechanism. This may involve attaching the lifting columns or frame components to the desk legs and ensuring they are securely fastened.
-
Install Ergonomic Accessories: If you have chosen to include ergonomic accessories such as a keyboard tray or monitor stand, now is the time to install them. Position the accessories at the appropriate height and secure them to the desk surface using the provided hardware.
-
Test for Stability and Functionality: Once the desk is fully assembled, test its stability and functionality by applying pressure to the surface and adjusting the height (if applicable). Ensure that the desk is level and that all components are securely fastened to prevent any wobbling or instability.
-
Personalize Your Workspace: With the basic structure of the standing desk in place, take the opportunity to personalize your workspace. Add any finishing touches, such as cable management solutions, a comfortable anti-fatigue mat, or decorative elements that reflect your personal style.
-
Adjust to Your Ideal Height: Finally, adjust the desk to your ideal standing height. Your elbows should be at a 90-degree angle when typing, and your monitor should be at eye level to promote proper ergonomics and reduce strain on your neck and shoulders.
By following these step-by-step instructions, you can successfully build your own DIY standing desk and create a customized workspace that promotes comfort, productivity, and overall well-being.
Tips for Maintaining Proper Ergonomics
-
Monitor Placement: Position your monitor at eye level to reduce strain on your neck and prevent eye fatigue. Ensure that the screen is an arm's length away from you to maintain a comfortable viewing distance.
-
Keyboard and Mouse Placement: Keep your keyboard and mouse at a height that allows your elbows to stay close to your body and your wrists to remain straight. This can help prevent wrist strain and discomfort.
-
Standing Desk Mat: Invest in an anti-fatigue mat to provide cushioning and support while standing. This can reduce the impact on your feet, legs, and lower back, promoting better posture and comfort during prolonged standing.
-
Foot Support: Use a footrest or an adjustable footrest to provide support and relieve pressure on your feet and lower body. This can help reduce fatigue and improve circulation while standing.
-
Take Breaks: Remember to take regular breaks to change your posture and avoid prolonged standing or sitting. Incorporate short walks, stretches, or seated breaks to prevent stiffness and promote circulation.
-
Organize Cables: Keep cables and wires organized and out of the way to prevent tripping hazards and maintain a clutter-free workspace. Use cable management solutions to secure and route cables neatly.
-
Use Proper Footwear: Wear supportive and comfortable footwear while standing at your desk. Choose shoes with adequate arch support and cushioning to minimize discomfort and fatigue.
-
Eye-Level Reference: Keep frequently used items, such as documents or reference materials, at eye level to avoid straining your neck or constantly looking down. Use document holders or stands to position materials within your line of sight.
-
Maintain Neutral Posture: Whether sitting or standing, aim to maintain a neutral posture with your shoulders relaxed, elbows close to your body, and wrists in a straight, natural position. This can help reduce muscle strain and tension.
-
Stay Hydrated: Remember to stay hydrated throughout the day, as proper hydration can contribute to overall comfort and well-being. Keep a water bottle within reach to encourage regular hydration.
By implementing these tips for maintaining proper ergonomics, you can optimize your DIY standing desk setup to promote comfort, productivity, and long-term well-being.
Conclusion
In conclusion, creating your own DIY standing desk can offer a range of benefits, including improved posture, increased energy and productivity, and reduced health risks associated with prolonged sitting. By carefully choosing the right materials and following step-by-step instructions, you can build a customized standing desk that meets your ergonomic needs and enhances your workspace. Additionally, by maintaining proper ergonomics and incorporating practical tips, you can optimize the functionality and comfort of your standing desk setup. Whether you work from home or in an office, a DIY standing desk provides a versatile and ergonomic solution for promoting a healthier and more productive work environment. Embracing the concept of a standing desk can revolutionize the way you work, offering a dynamic and comfortable alternative to traditional sitting desks.