
Home>Home & Furniture>Roof>How To Build a Roofed Platform Bird Feeder
Roof
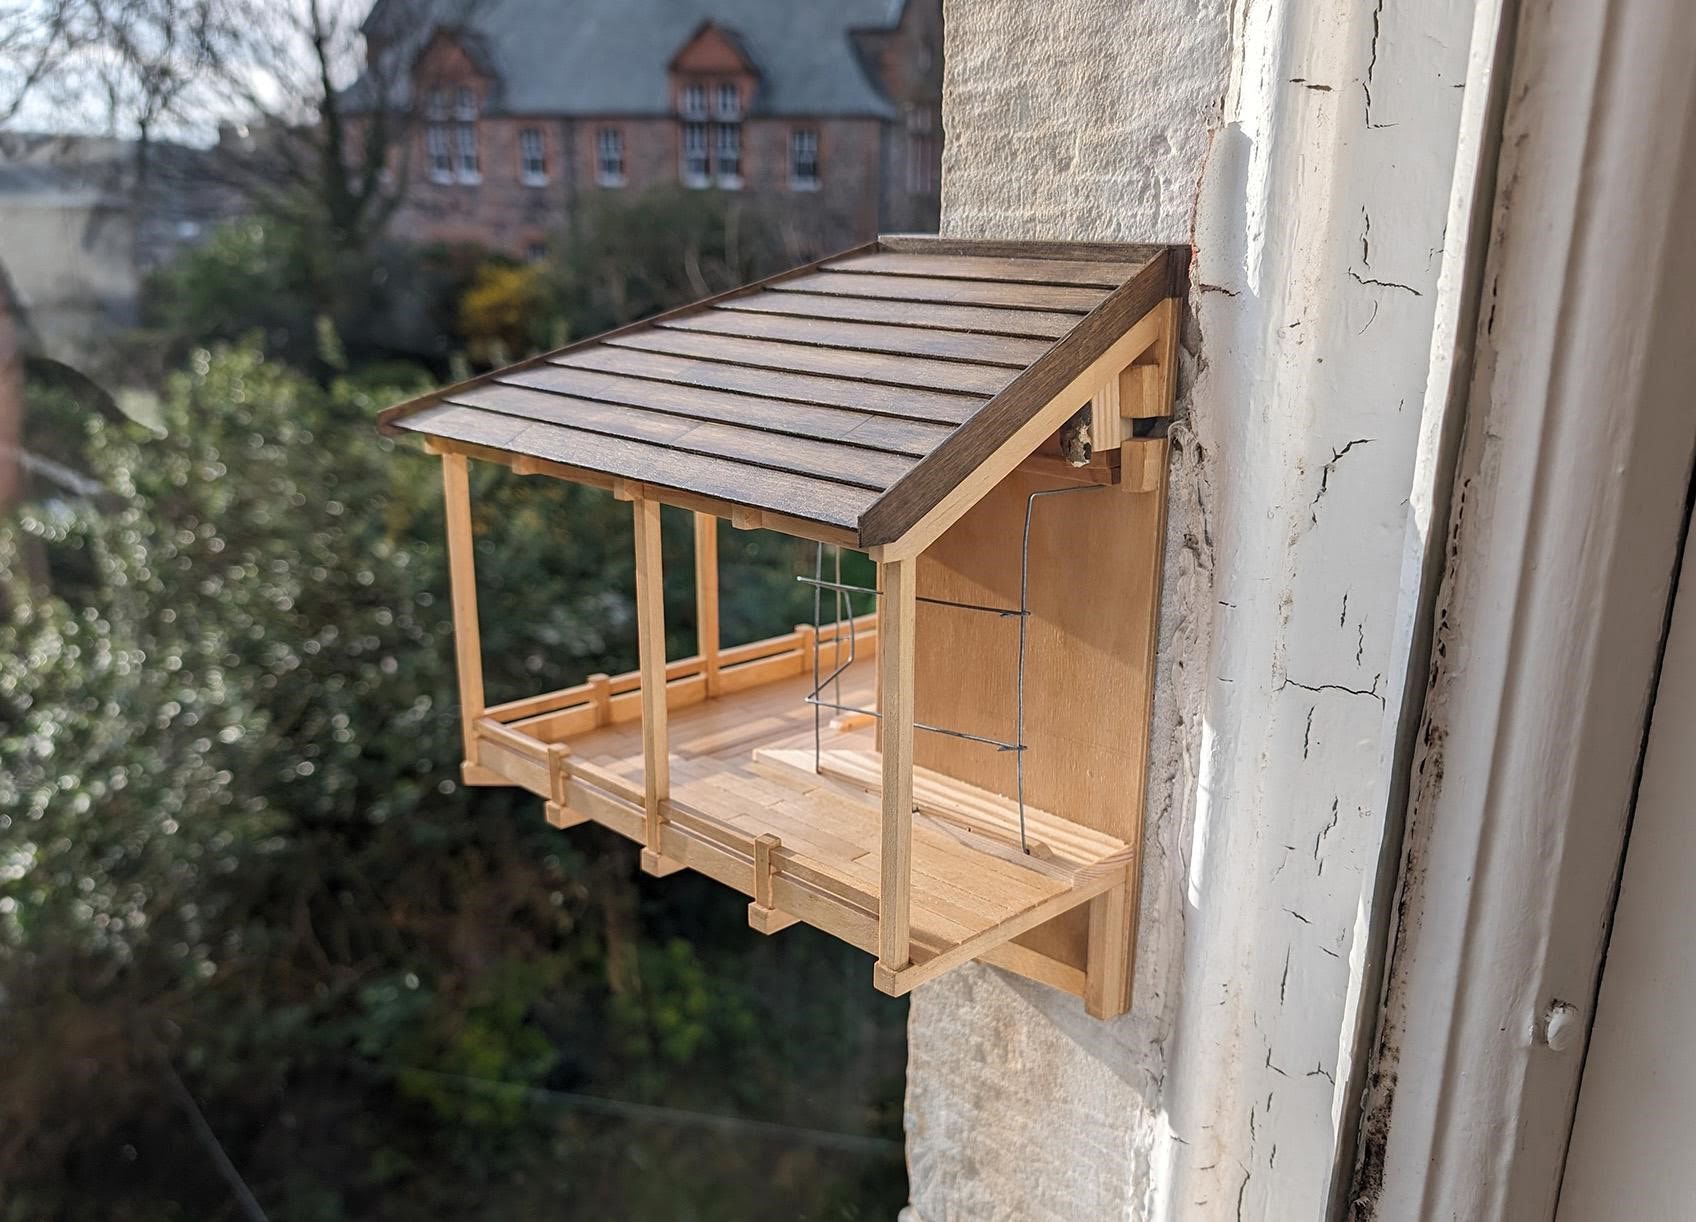
How To Build a Roofed Platform Bird Feeder
Published: August 18, 2024
Learn how to build a roofed platform bird feeder with our step-by-step guide. Perfect for attracting birds to your garden while providing them with shelter and food.
(Many of the links in this article redirect to a specific reviewed product. Your purchase of these products through affiliate links helps to generate commission for Twigandthistle.com, at no extra cost. Learn more)
Bird watching is a fun hobby, and building a bird feeder can bring more feathered friends to your yard. A roofed platform bird feeder is simple and provides birds with a place to eat while staying dry. This project suits beginners and experienced DIYers alike. You can use common materials and basic tools, making it both affordable and easy to create. Whether you want to attract songbirds or just enjoy some quiet time watching them, this project can add a touch of nature to your home. Plus, you get the satisfaction of building something useful with your own hands.
Getting Ready for the Project
Gather Materials: Collect wood, screws, nails, a saw, a hammer, a drill, sandpaper, and waterproof paint or sealant. Ensure you have a measuring tape, pencil, and safety gear like gloves and goggles.
Choose a Location: Find a spot in your yard where birds can easily access the feeder. It should be visible from a window but away from predators.
Measure and Cut Wood: Measure and mark the wood pieces for the platform, roof, and supports. Use the saw to cut the wood to the correct sizes.
Sand the Edges: Use sandpaper to smooth any rough edges on the wood pieces to prevent splinters.
Assemble the Platform: Attach the wood pieces to form the base of the feeder. Use screws or nails to secure the joints tightly.
Build the Roof: Construct the roof separately by attaching the cut wood pieces. Ensure the roof has a slight overhang to protect the bird food from rain.
Attach the Roof: Secure the roof to the platform using screws or nails. Make sure it is stable and well-aligned.
Apply Waterproof Paint: Coat the entire feeder with waterproof paint or sealant to protect it from weather damage.
Install the Feeder: Place the feeder on a sturdy post or hang it from a tree branch. Ensure it is stable and at a height safe from predators.
Safety Tips: Always wear gloves and goggles when cutting or assembling wood. Keep tools out of reach of children. Work in a well-ventilated area when using paint or sealant.
Materials and Tools Needed
Materials:
- Wooden Boards: Used for the base and roof of the feeder. Choose weather-resistant wood like cedar or pine.
- Wood Screws: Secure the wooden pieces together. Ensure they are rust-resistant.
- Wood Glue: Provides extra strength to the joints.
- Nails: Helps in attaching smaller parts.
- Bird Seed: The main attraction for the birds.
- Paint or Wood Sealant: Protects the wood from weather damage.
- Hinges: Allows the roof to open for easy refilling.
- Mesh or Wire Screen: Keeps the bird seed in place while allowing drainage.
Tools:
- Saw: Cuts the wooden boards to the required size.
- Drill: Makes holes for screws and nails.
- Screwdriver: Tightens screws.
- Hammer: Drives nails into the wood.
- Measuring Tape: Ensures accurate measurements.
- Paintbrush: Applies paint or sealant.
- Clamps: Holds pieces together while the glue dries.
- Sandpaper: Smooths rough edges on the wood.
These materials and tools will help you build a sturdy, weather-resistant bird feeder that birds will love.
Skill Level and Time Required
Skill Level: Intermediate
Estimated Time Required: 3-4 hours
- Gather Materials: 30 minutes
- Cut Wood Pieces: 45 minutes
- Assemble Platform: 30 minutes
- Build Roof: 45 minutes
- Attach Roof to Platform: 30 minutes
- Finishing Touches: 30 minutes
Step-by-Step Instructions
Gather Materials
- Wooden boards (for platform and roof)
- Screws
- Nails
- Wood glue
- Sandpaper
- Paint or wood sealant
- Saw
- Drill
- Measuring tape
- Pencil
Cut the Wood
- Measure and cut two boards for the platform (12 inches by 12 inches).
- Cut four smaller pieces for the sides (12 inches by 2 inches).
- Cut two boards for the roof (14 inches by 8 inches).
Assemble the Platform
- Sand all wood pieces to remove rough edges.
- Attach the four side pieces to the edges of one platform board using wood glue and screws.
- Place the second platform board on top, securing with screws.
Build the Roof
- Attach the two roof boards together at an angle to form an inverted "V" shape.
- Secure the joint with nails or screws.
Attach the Roof to the Platform
- Position the roof over the platform, ensuring it covers the entire area.
- Secure the roof to the platform using screws through the side pieces.
Finish the Feeder
- Sand any rough edges.
- Paint or seal the wood to protect it from weather.
- Allow the paint or sealant to dry completely.
Install the Feeder
- Choose a location in your yard.
- Mount the feeder on a post or hang it from a tree branch using sturdy rope or chain.
Tips and Tricks
Measure Twice, Cut Once: Always double-check measurements before cutting wood. This saves time and materials.
Pre-drill Holes: Prevent wood from splitting by pre-drilling holes for screws.
Use Weather-Resistant Wood: Cedar or redwood resists rot and insects better than pine.
Seal the Wood: Apply a sealant to protect the feeder from rain and snow.
Elevate the Feeder: Place the feeder on a pole or hang it to keep it safe from predators.
Add a Drainage System: Drill small holes in the platform to let water drain out, keeping seeds dry.
Use Screws, Not Nails: Screws hold better and make it easier to repair or adjust parts.
Common Mistakes to Avoid:
Skipping Sanding: Rough edges can hurt birds. Sand all surfaces smooth.
Ignoring Stability: Ensure the feeder is stable and won't tip over in the wind.
Using Toxic Paints: Avoid paints with harmful chemicals. Use bird-safe, non-toxic paint.
Overfilling with Seeds: Too many seeds can attract pests. Fill just enough for a day or two.
Alternatives for Materials or Methods:
Plastic Instead of Wood: Use recycled plastic lumber for a longer-lasting, eco-friendly option.
Metal Roof: A metal roof can last longer than wood and provide better protection from rain.
Hanging Feeder: If a platform feeder seems too complex, try a hanging feeder made from a plastic bottle or milk jug.
Repurpose Materials: Use old pallets or scrap wood to build the feeder, saving money and reducing waste.
Cost Estimation
Materials:
- Wood (Cedar or Pine): $20-$30
- Screws/Nails: $5-$10
- Wood Glue: $3-$5
- Roofing Material (Shingles or Metal): $10-$15
- Bird Seed: $5-$10
Tools:
- Saw: $20-$50 (or borrow)
- Hammer: $5-$10
- Screwdriver: $5-$10
- Measuring Tape: $3-$5
- Paint/Sealant: $5-$10
Total Estimated Cost: $76-$155
Budget-Friendly Alternatives:
- Use scrap wood or pallets: Free or very cheap
- Borrow tools from friends or family
- Use recycled materials for the roof, like old shingles or metal sheets
- Skip paint/sealant if using weather-resistant wood like cedar
Variations and Customizations
Materials: Instead of using wood, try using bamboo for a more natural look. Recycled plastic can also work well and is weather-resistant. For a rustic feel, consider driftwood or pallet wood.
Colors: Paint the feeder in bright colors like red, blue, or yellow to attract more birds. For a more subtle look, use earth tones like brown, green, or beige. You can also use stencils to add patterns or designs.
Styles: For a modern look, use sleek lines and minimalist design. A cottage style can be achieved with decorative trims and pastel colors. For a Victorian feel, add ornate details and intricate carvings.
Roof: Instead of a standard flat roof, try a sloped or gabled roof. Use metal sheets or shingles for a different texture. A living roof with succulents or moss can add a unique touch.
Feeding Platform: Use a mesh screen instead of a solid platform to allow water to drain. Add a perch or small branches for birds to sit on. Consider a removable tray for easy cleaning.
Extras: Attach a small mirror to attract curious birds. Add a water dish or birdbath nearby. Hang wind chimes or small bells to create soothing sounds.
Sustainability Tips
Use reclaimed wood from old furniture or pallets for the base and sides. This reduces waste and gives the feeder a rustic look. For the roof, consider recycled metal sheets or leftover shingles from previous projects. These materials provide durability and weather resistance.
Instead of nails, use natural jute twine or biodegradable screws to assemble the feeder. These options are more eco-friendly and still provide strong support. For the platform, repurpose an old baking tray or a piece of scrap wood. This creates a sturdy surface for the birds to perch and feed.
To make the feeder more sustainable, collect rainwater for cleaning it. This conserves water and keeps the feeder hygienic for the birds. Use non-toxic paint or sealant to protect the wood from the elements. This ensures the feeder lasts longer without harming the environment.
Hang the feeder using recycled wire or old chains. These materials are strong and keep the feeder secure. Finally, fill the feeder with organic birdseed to provide a healthy food source for the birds. This supports local ecosystems and encourages biodiversity.
Your Feathered Friends Will Thank You
Building a roofed platform bird feeder is a rewarding project. It’s not just about crafting something with your hands; it’s about creating a sanctuary for local birds. With some wood, screws, and a bit of patience, you’ve made a cozy spot for them to enjoy. Remember to place it in a safe location, away from predators. Regularly clean and refill it to keep your feathered visitors happy. This simple project can bring a lot of joy and life to your backyard. Plus, it’s a great way to connect with nature and learn more about the birds in your area. So, grab your tools, get outside, and start building. Your feathered friends will thank you with their cheerful songs and vibrant presence. Happy birdwatching!
What materials do I need to build a roofed platform bird feeder?
You'll need wooden planks, screws, nails, a saw, hammer, drill, measuring tape, wood glue, and paint or sealant.
How big should the platform be?
A good size for the platform is 12x12 inches. This gives birds plenty of space to perch and eat.
How do I make the roof?
Cut two pieces of wood to form a triangle for each side. Attach them to the top of the platform, then add a rectangular piece on top to complete the roof.
Should I paint or seal the wood?
Yes, painting or sealing the wood helps protect it from the elements, making your feeder last longer.
How high should I place the feeder?
Place the feeder about 5-6 feet off the ground. This keeps it out of reach of predators like cats.
What kind of food should I put in the feeder?
Use birdseed, sunflower seeds, or suet. Different birds prefer different foods, so you might want to experiment.
How often should I clean the feeder?
Clean the feeder every two weeks to prevent mold and bacteria, which can harm the birds.