
Home>Home & Furniture>Doors & Windows>How to Build a DIY Refrigerator Door Shelf Retainer Bar
Doors & Windows
How to Build a DIY Refrigerator Door Shelf Retainer Bar
Published: September 19, 2024
Learn how to build a DIY refrigerator door shelf retainer bar with our step-by-step guide. Save money and keep your fridge organized with this easy home improvement project!
(Many of the links in this article redirect to a specific reviewed product. Your purchase of these products through affiliate links helps to generate commission for Twigandthistle.com, at no extra cost. Learn more)
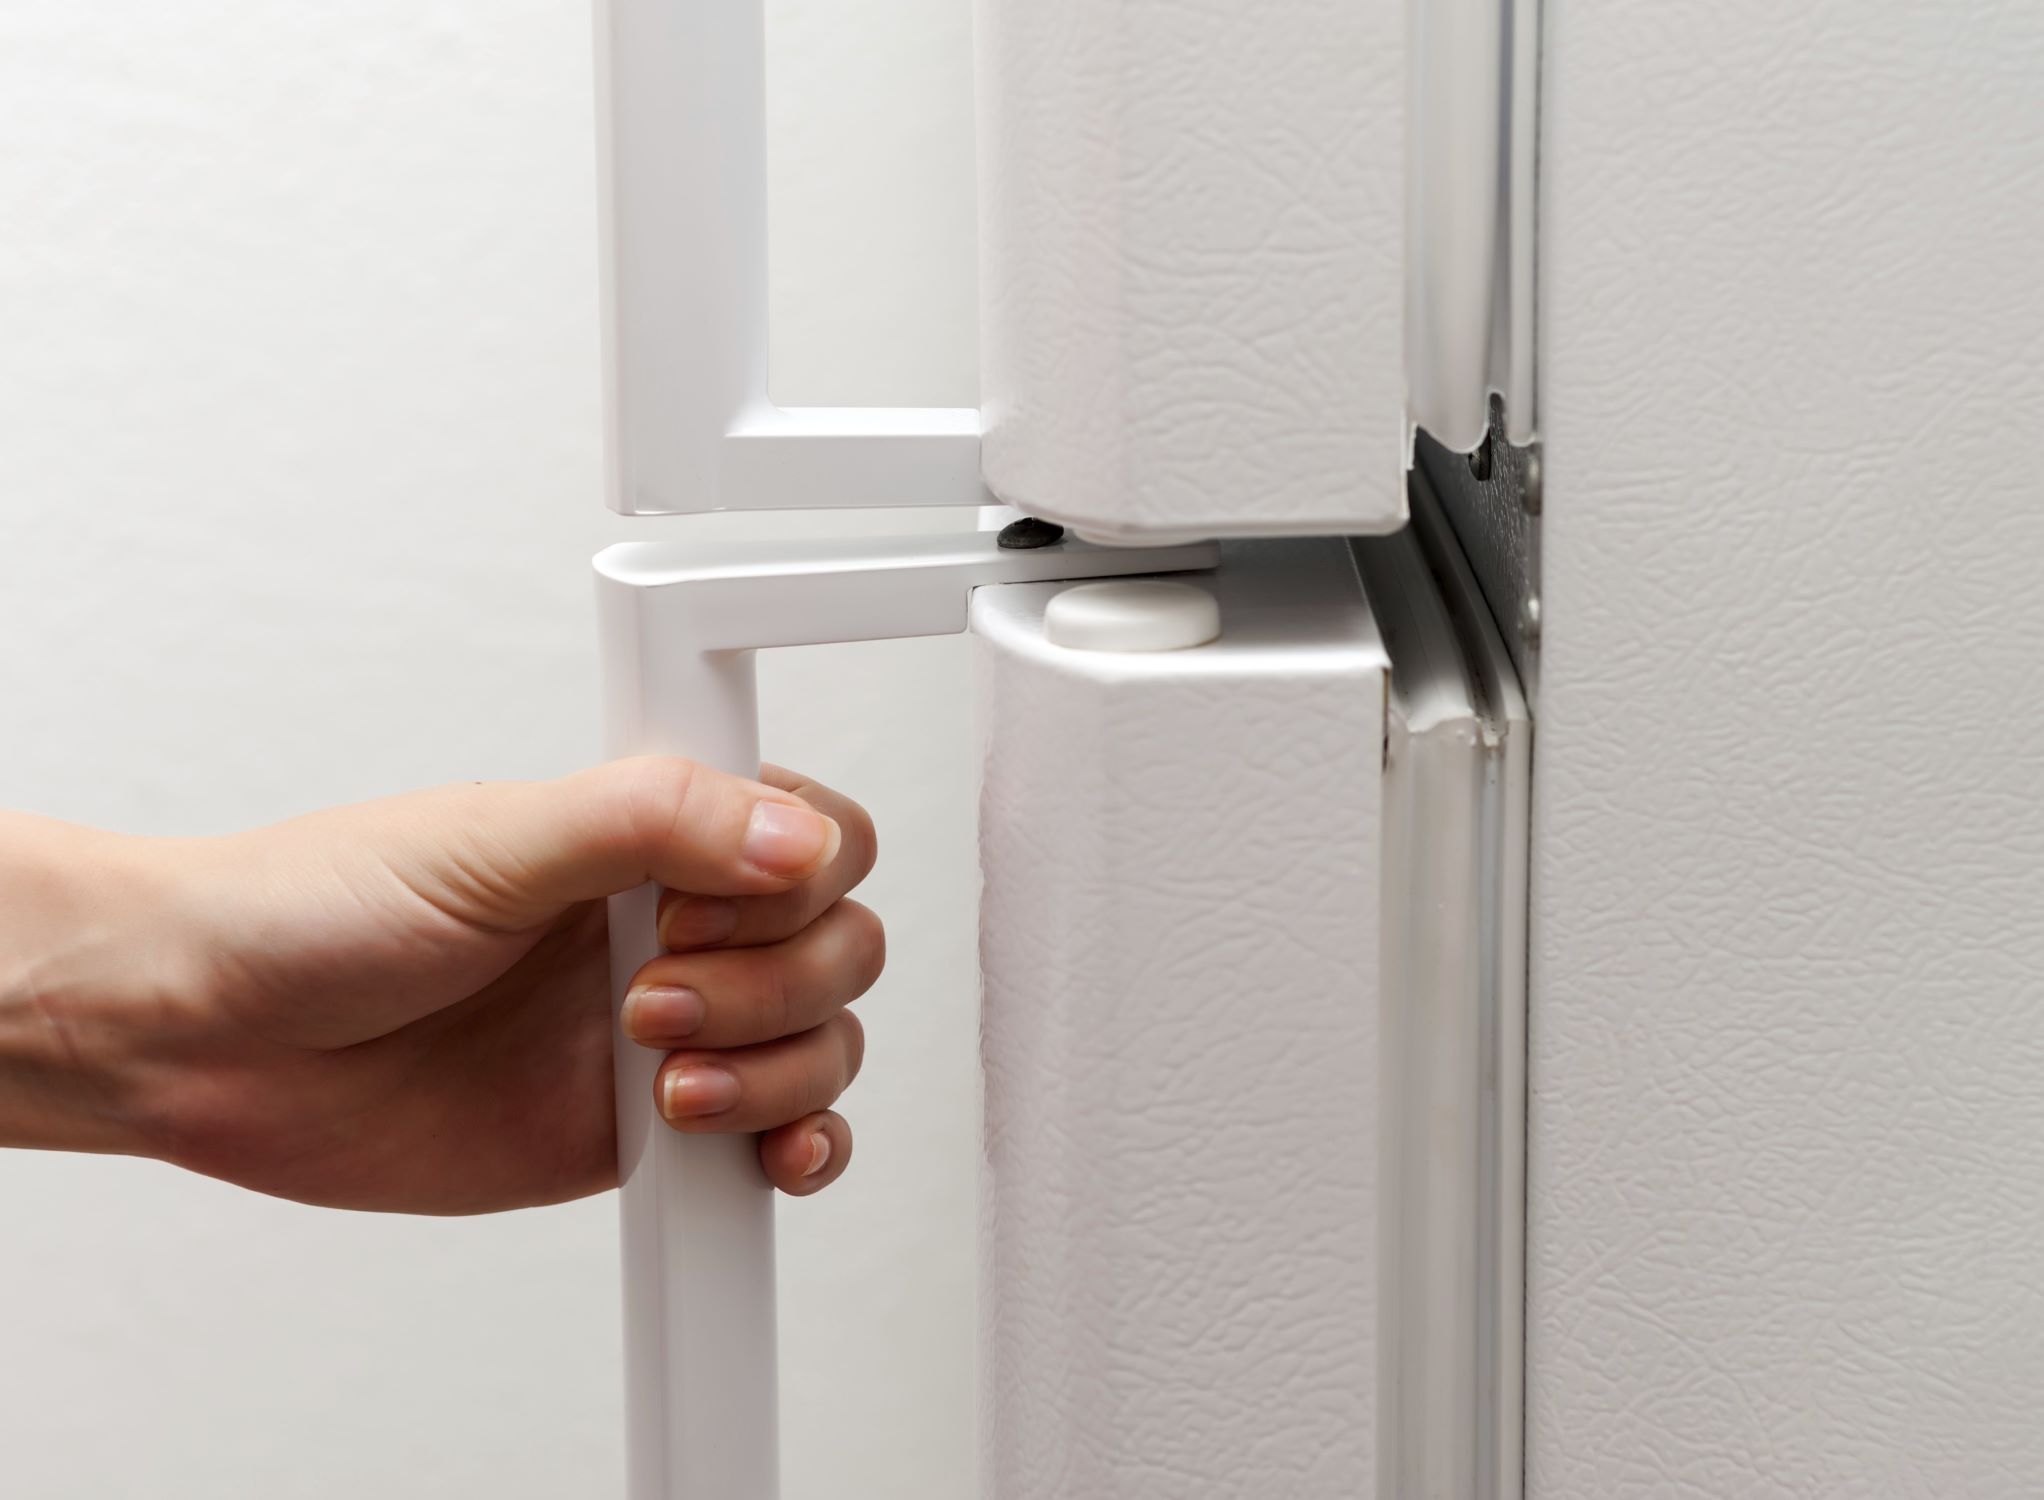
Finding a broken or missing door shelf retainer bar in your refrigerator can be frustrating. Instead of buying a replacement, why not build one yourself? Creating a DIY refrigerator door shelf retainer bar is simpler than you might think. With a few basic materials and tools, you can have your shelves functional again in no time. This project is perfect for those who enjoy hands-on tasks and want to save some money. Plus, you'll get the satisfaction of fixing something on your own. Let's dive into the steps needed to create this handy refrigerator accessory.
Getting Ready for Your DIY Project
Gather Materials: Collect all necessary items like a measuring tape, plastic or metal bar, screws, screwdriver, and a saw. Ensure everything is within reach.
Measure the Space: Use a measuring tape to determine the exact length and width of the shelf area where the retainer bar will go. Write down these measurements.
Cut the Bar: Using a saw, cut the plastic or metal bar to match the measurements. Wear safety goggles to protect your eyes from debris.
Prepare the Workspace: Clear a flat surface to work on. Lay down a drop cloth or old newspaper to catch any mess.
Drill Pilot Holes: Mark where the screws will go on the bar. Drill small pilot holes to make it easier to screw in the screws later.
Safety First: Wear gloves to protect your hands from sharp edges or splinters. Ensure the area is well-lit to avoid mistakes.
Attach the Bar: Hold the bar in place on the refrigerator door. Use a screwdriver to secure it with screws through the pilot holes.
Check Stability: Gently tug on the bar to ensure it’s securely attached. Make any adjustments if needed.
Clean Up: Dispose of any debris and put away tools. Wipe down the area to remove any dust or dirt.
Test the Shelf: Place items on the shelf to ensure the retainer bar holds them in place effectively.
Materials and Tools Checklist
- Measuring Tape: Used to measure the dimensions of the refrigerator door shelf accurately.
- Plastic or Metal Bar: Acts as the main retainer bar. Choose a material that matches the existing shelf.
- Hacksaw: Needed to cut the plastic or metal bar to the required length.
- Sandpaper: Smooths the edges of the cut bar to prevent any sharp edges.
- Drill: Creates holes in the bar for mounting.
- Screws: Secures the bar to the refrigerator door.
- Screwdriver: Tightens the screws into place.
- Marker: Marks the spots where holes need to be drilled.
- Safety Glasses: Protects your eyes while cutting and drilling.
- Clamps: Holds the bar steady while cutting or drilling.
Each tool and material plays a crucial role in ensuring the retainer bar fits securely and functions properly.
Required Skills and Time Commitment
Skill Level: Intermediate
Time Required: 1-2 hours
Detailed Step-by-Step Guide
Gather Materials:
- Measuring tape
- Plastic or metal bar (cut to fit shelf width)
- Screws or adhesive strips
- Drill (if using screws)
- Screwdriver
- Sandpaper (optional, for smoothing edges)
Measure Shelf Width:
- Use the measuring tape to determine the exact width of the refrigerator door shelf.
Cut Bar to Size:
- If the bar is not pre-cut, use a saw to cut it to the measured width.
- Smooth any rough edges with sandpaper.
Position Bar:
- Place the bar against the front edge of the shelf to ensure it fits snugly.
Attach Bar:
- If using screws:
- Drill small pilot holes into the refrigerator door shelf.
- Align the bar with the holes and secure it with screws using the screwdriver.
- If using adhesive strips:
- Apply the strips to the back of the bar.
- Press the bar firmly against the shelf edge, holding it in place for a few seconds.
- If using screws:
Test Stability:
- Gently push and pull on the bar to ensure it is securely attached.
- Adjust if necessary to make sure it holds items without wobbling.
Load Shelf:
- Place items back on the shelf, ensuring the new retainer bar keeps them from falling out.
Helpful Tips and Tricks
Measure carefully before cutting any materials. Use a tape measure to get the exact length and width needed for the retainer bar.
Choose sturdy materials like PVC pipe or wooden dowels. These are strong enough to hold items on the shelf.
Use a hacksaw or handsaw to cut the materials to size. Make sure the cuts are straight to ensure a good fit.
Sand the edges of the cut materials to remove any rough spots. This will prevent scratches on the refrigerator door.
Attach the retainer bar using screws or adhesive hooks. Screws provide a more secure hold, but adhesive hooks are easier to install.
Double-check the fit before finalizing the installation. Make sure the bar is level and securely attached.
Common mistakes to avoid include not measuring accurately, using weak materials, and not securing the bar properly. These can lead to a poor fit or the bar falling off.
Alternatives for materials include using metal rods or plastic strips. Metal rods are very strong but may require more tools to cut. Plastic strips are easy to cut but may not be as durable.
Alternative methods for attaching the bar include using Velcro strips or magnetic strips. Velcro is easy to adjust, while magnetic strips are quick to install but may not hold as much weight.
Estimating the Cost
Materials:
- Acrylic Sheet (1/8 inch thick, 12x24 inches): $15
- Plastic Edge Trim (for a smooth finish): $5
- Epoxy Glue: $6
- Sandpaper (variety pack): $4
Tools:
- Ruler: $2
- Utility Knife: $8
- Clamps: $10
- Drill (if you don't have one): $30
- Drill Bits: $5
Total Cost: $85
Budget-Friendly Alternatives:
- Use Plexiglass instead of acrylic: $10
- Replace epoxy glue with super glue: $3
- Borrow a drill from a friend or neighbor: $0
Adjusted Total Cost: $55
Creative Variations and Customizations
Materials: Instead of using plastic, try wood for a rustic look or metal for a modern touch. Acrylic can offer a clear, sleek appearance.
Colors: Paint the bar in bright colors like red or blue to add a pop of color. Use metallic paints for a shiny finish or chalkboard paint for a fun, writable surface.
Styles: For a minimalist style, keep the design simple with clean lines. Add decorative elements like stencils or decals for a personalized touch. Use vintage handles or knobs for a retro feel.
Mounting Options: Use screws for a sturdy hold or adhesive strips for a no-drill option. Magnetic strips can make the bar removable and adjustable.
Additional Features: Add a small lip at the bottom to prevent items from sliding off. Attach hooks or clips for hanging small items like bags or utensils. Install a small LED light strip for better visibility inside the fridge.
Eco-Friendly Tips for Your Project
Use reclaimed wood for the bar. Old furniture or pallets can be great sources. Sand it down to remove splinters and give it a smooth finish.
For the brackets, repurpose metal from old appliances or furniture. Cut and bend them to fit your needs. This reduces waste and gives new life to old materials.
Use natural adhesives like wood glue made from casein or other eco-friendly options. Avoid synthetic glues that can release harmful chemicals.
Seal the wood with natural oils like linseed or beeswax. These options are less harmful to the environment compared to synthetic varnishes.
For screws or nails, reuse hardware from other projects or old furniture. This reduces the need to buy new materials and cuts down on waste.
Consider using biodegradable paint if you want to color the wood. These paints are made from natural ingredients and are less harmful to the environment.
Finally, measure carefully to avoid mistakes and waste. Accurate measurements ensure you use only what you need, reducing excess material use.
Your DIY Project is Complete
You've done it! Your DIY refrigerator door shelf retainer bar is now in place, holding everything securely. With just a few tools and some materials, you’ve saved money and learned a handy skill. Remember, the key steps were measuring accurately, cutting the materials to size, and securing the bar firmly. If you ever need to replace or fix another part of your fridge, you now have the confidence to tackle it. Keep experimenting with other DIY projects around your home. Each one will make you more skilled and self-reliant. Plus, it’s always satisfying to see the results of your hard work. So, keep those tools handy and stay curious. Happy DIY-ing!
How do I know if my refrigerator door shelf retainer bar needs replacing?
If your items keep falling off the door shelf or the bar looks cracked or broken, it's time for a new one.
What materials do I need to build a DIY refrigerator door shelf retainer bar?
You'll need a piece of sturdy plastic or metal, a measuring tape, a saw or cutter, sandpaper, and screws or adhesive.
How do I measure for the new retainer bar?
Measure the length and width of the existing bar or the space where the bar will go. Make sure to add a little extra length for a snug fit.
Can I use any type of plastic or metal?
Use a durable, food-safe plastic or rust-resistant metal. Avoid materials that might bend or break easily.
How do I attach the new retainer bar to the refrigerator door?
You can use screws if there are pre-drilled holes or a strong adhesive if you prefer not to drill.
What should I do if the new bar doesn't fit perfectly?
Sand down the edges or trim it slightly until it fits snugly. Make sure it’s secure before loading it with items.
How long will a DIY retainer bar last?
With proper materials and installation, it should last as long as the original bar, if not longer.