
Home>Create & Decorate>DIY & Crafts>How To Make A Bar Out Of Pallets
DIY & Crafts
How To Make A Bar Out Of Pallets
Published: April 24, 2024

Content Creator specializing in woodworking and interior transformations. Caegan's guides motivate readers to undertake their own projects, while his custom furniture adds a personal touch.
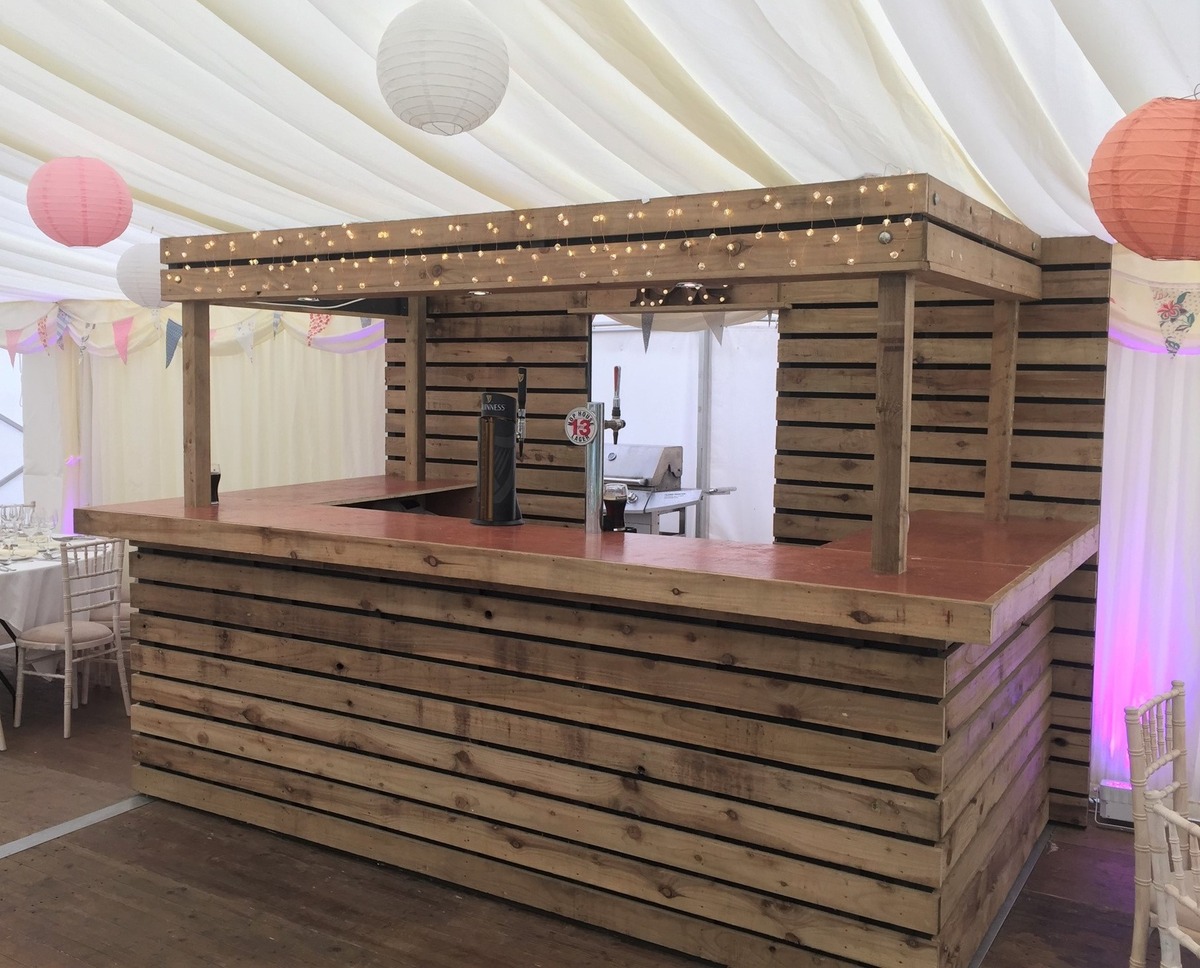
Learn how to create a stylish and functional bar using pallets with our DIY & Crafts guide. Transform your space today!
(Many of the links in this article redirect to a specific reviewed product. Your purchase of these products through affiliate links helps to generate commission for Twigandthistle.com, at no extra cost. Learn more)
Introduction
So, you've got a few spare pallets lying around and you're wondering what to do with them. How about turning them into a cool and trendy bar for your home? Making a bar out of pallets is a fun and creative project that can add a unique touch to your space. Whether you're a seasoned DIY enthusiast or just starting out, making a bar out of pallets is a great way to showcase your creativity and handiwork. In this article, we'll guide you through the process of finding and preparing pallets, designing your bar, assembling it, and adding those finishing touches to make it truly stand out. Let's get started!
Finding and Preparing Pallets
-
Finding Pallets:
- Start by scouting for pallets. You can often find them for free at local businesses, warehouses, or online marketplaces. Look for pallets that are in good condition, without any rot or damage. It's also important to ensure that the pallets you choose are heat-treated (HT) and not chemically treated, as the latter can be harmful when repurposed.
-
Inspecting Pallets:
- Once you've found your pallets, give them a thorough inspection. Check for any signs of contamination, such as stains or unusual odors. It's also crucial to look for any visible damage, such as splintered wood or protruding nails. If you notice any of these issues, it's best to find a different pallet to work with.
-
Preparing Pallets:
- Before diving into the construction process, it's essential to prepare your pallets. Start by giving them a good clean to remove any dirt or debris. You can use a stiff brush or pressure washer for this task. After cleaning, allow the pallets to dry completely before moving on to the next step. If you want to add a personal touch, consider sanding down the wood to create a smooth and polished look.
-
Dismantling Pallets:
- Depending on the design of your bar, you may need to dismantle the pallets to extract the individual planks. This can be done using a pry bar and a hammer. Carefully remove the nails to separate the planks, taking care to avoid splintering the wood. Once you have the planks, you can start envisioning the design of your pallet bar.
By following these steps, you'll be well on your way to finding and preparing the perfect pallets for your DIY bar project.
Designing Your Bar
Once you have your pallets ready, it's time to let your creativity flow and design your bar. Here are some steps to help you in the process:
-
Measure and Plan: Before you start assembling, measure the space where you plan to place your bar. This will help you determine the dimensions of your bar and ensure that it fits perfectly in your desired location. Sketch out a rough plan, considering the height, width, and depth of the bar.
-
Customization: Pallets offer a versatile canvas for customization. Consider how you want to arrange the planks to achieve your desired look. You can opt for a simple, rustic design by leaving the wood as it is, or you can paint or stain the planks to match your existing decor. Additionally, you can add shelves, hooks, or even a chalkboard for a personalized touch.
-
Functional Features: Think about the functionality of your bar. Do you want a built-in wine rack, a storage shelf for glasses, or a countertop for serving drinks? Incorporating these features into your design will not only enhance the usability of your bar but also add to its aesthetic appeal.
-
Bar Top: The bar top is a focal point of your design. You can use additional pallet wood to create a sturdy and visually appealing bar top. Consider using a solid piece of wood for a seamless look or arrange the planks in a pattern for a more dynamic appearance.
-
Seating: If space allows, you might want to incorporate seating into your design. You can repurpose additional pallets to create bar stools or incorporate a raised section for standing. This will make your pallet bar a social hub in your home.
By carefully considering these design elements, you can create a pallet bar that not only looks great but also suits your specific needs and preferences. Let your imagination run wild and make your pallet bar a true reflection of your personal style.
Assembling Your Pallet Bar
Now that you have your pallets prepared and a clear design in mind, it's time to roll up your sleeves and start assembling your pallet bar. Here's a step-by-step guide to help you bring your vision to life:
-
Lay Out the Framework: Begin by laying out the pallets according to your design plan. Use a level to ensure that the pallets are aligned and even. This will serve as the framework for your bar.
-
Secure the Pallets: Once you're satisfied with the layout, it's time to secure the pallets together. You can use wood screws or nails to fasten the pallets in place. Make sure to reinforce the corners and joints to provide stability and durability.
-
Attach the Bar Top: If you've designed a separate bar top, it's time to attach it to the base. Secure it firmly using screws or brackets, ensuring that it is level and well-supported.
-
Add Shelving and Accessories: If your design includes shelves or other accessories, now is the time to install them. Use brackets or additional pallet wood to create the shelving units, ensuring that they are securely attached to the bar.
-
Stabilize the Bar: To prevent wobbling or instability, consider adding additional support to the underside of the bar. This can be achieved by attaching wooden braces or L-shaped brackets to reinforce the structure.
-
Finishing Touches: Once the main structure is assembled, take a moment to inspect the bar for any rough edges or protruding nails. Sand down any rough areas and ensure that the surface is smooth and safe to use.
By following these steps, you can assemble your pallet bar with confidence, knowing that it is sturdy, well-constructed, and ready for the next phase of the project.
Finishing Touches
After the main structure of your pallet bar is assembled, it's time to add those final touches that will elevate its appearance and functionality. Here are some essential finishing touches to consider:
-
Staining or Painting: If you want to enhance the aesthetic appeal of your pallet bar, consider staining or painting the wood. This can add a pop of color or a touch of elegance to the bar, complementing your existing decor. Choose a stain or paint that is suitable for the type of wood used in your pallets and apply it evenly for a professional finish.
-
Sealing the Wood: To protect the wood from moisture and wear, it's important to seal it with a clear varnish or sealant. This will not only prolong the lifespan of your pallet bar but also make it easier to clean and maintain.
-
Adding a Bar Top Finish: If you've opted for a wooden bar top, consider applying a protective finish to enhance its durability and visual appeal. A coat of polyurethane or epoxy resin can provide a glossy and resilient surface that is perfect for serving drinks and entertaining guests.
-
Installing Lighting: To create a cozy and inviting ambiance, consider adding lighting to your pallet bar. You can incorporate LED strip lights, pendant lamps, or even repurposed mason jar lights to illuminate the bar area and create a welcoming atmosphere.
-
Accessorizing: Personalize your pallet bar by adding accessories such as hooks for hanging bar tools, a mounted bottle opener, or a chalkboard for writing drink specials or messages. These small details can make your bar not only functional but also visually appealing.
-
Bar Stools or Seating: If you've included seating in your design, consider adding comfortable cushions or upholstery to the bar stools. This will make your pallet bar a comfortable and inviting space for socializing and relaxation.
-
Signage or Decor: Add a personal touch to your pallet bar by incorporating signage, decorative elements, or even a custom nameplate. This will give your bar a unique identity and make it a focal point in your home.
By paying attention to these finishing touches, you can transform your pallet bar from a simple DIY project into a stylish and functional addition to your home. Let your creativity shine as you add those final details that will make your pallet bar truly stand out.
Conclusion
In conclusion, creating a bar out of pallets is a rewarding DIY project that allows you to repurpose materials and showcase your creativity. By following the steps outlined in this guide, from finding and preparing pallets to designing, assembling, and adding finishing touches, you can transform simple pallets into a unique and functional piece of furniture. Whether you're aiming for a rustic, industrial, or modern look, a pallet bar can become a standout feature in your home, perfect for entertaining guests or simply enjoying a relaxing drink. Embrace the opportunity to personalize your design, experiment with different finishes, and make your pallet bar a reflection of your personal style. With a bit of effort and imagination, you can proudly enjoy the fruits of your labor and admire your one-of-a-kind pallet bar for years to come.