
Home>Home & Furniture>Doors & Windows>How to Build a DIY Dog Door
Doors & Windows
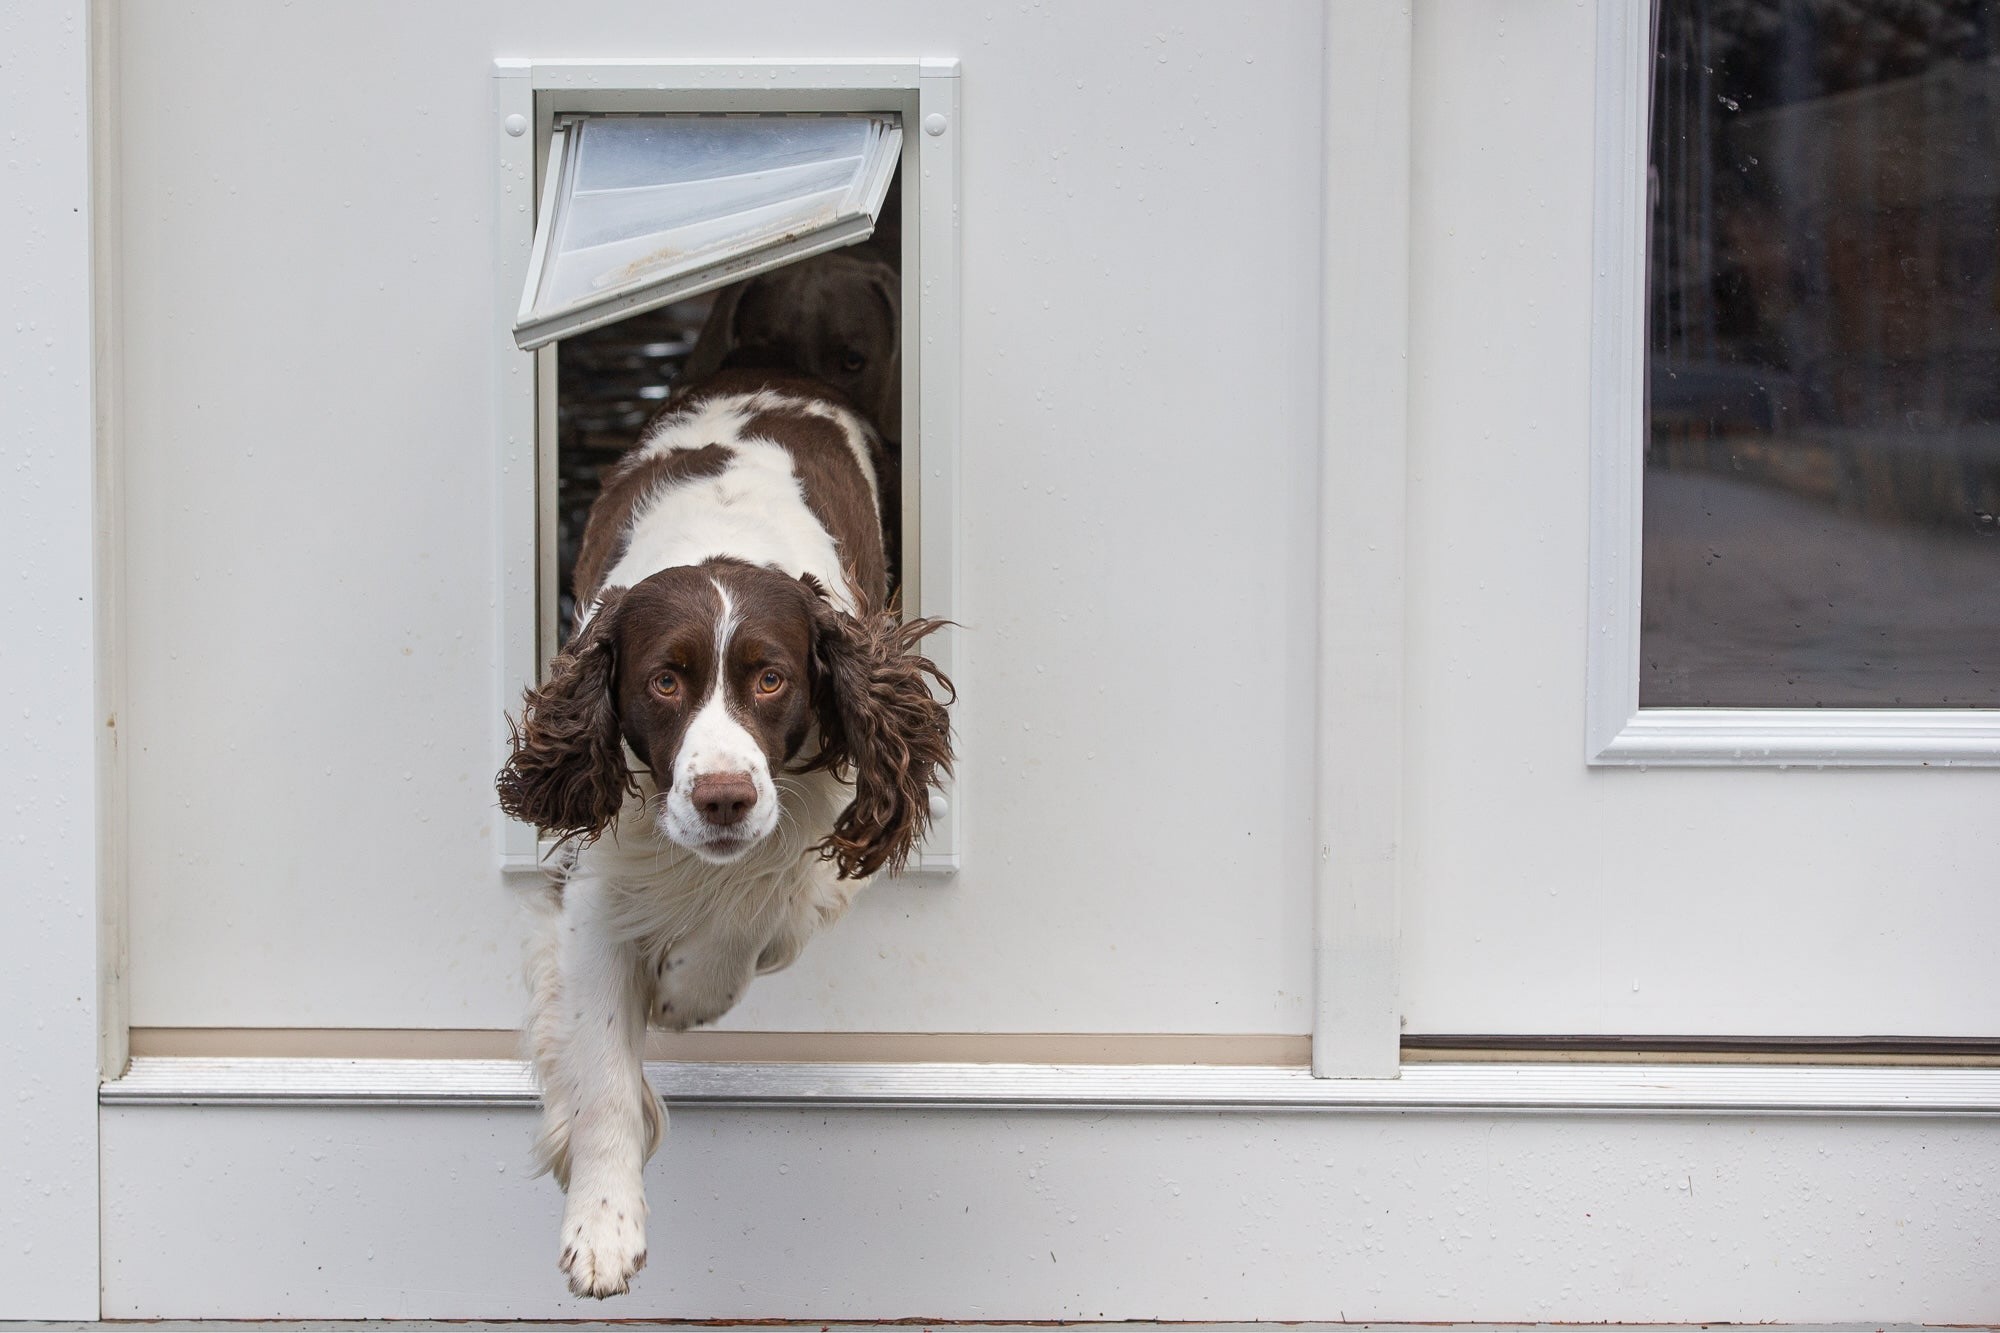
How to Build a DIY Dog Door
Published: September 9, 2024
Learn how to build a DIY dog door with our step-by-step guide. Ensure your furry friend has easy access while keeping your home secure and energy-efficient.
(Many of the links in this article redirect to a specific reviewed product. Your purchase of these products through affiliate links helps to generate commission for Twigandthistle.com, at no extra cost. Learn more)
Creating a DIY dog door can be a fun and practical project for your home. It allows your pet to come and go without constantly needing you to open the door. Plus, it can save you money compared to buying a pre-made one. This guide will help you understand how to measure, cut, and install a dog door in no time. With a few tools and some patience, you can provide your pet with easy access to the outdoors while keeping your home secure. Ready to get started? Let’s make this project a success!
Getting Ready for the Project
Measure Your Dog: Ensure the door will be the right size. Measure your dog's height and width.
Choose the Location: Pick a spot on an exterior door or wall. Make sure it’s free of electrical wires or plumbing.
Gather Tools and Materials: You’ll need a jigsaw, drill, screws, measuring tape, pencil, level, and the dog door kit.
Safety Gear: Wear safety goggles and gloves to protect your eyes and hands.
Clear the Workspace: Remove any obstacles around the area. Ensure you have enough room to move freely.
Mark the Outline: Use a pencil and level to draw the outline of the dog door on the chosen spot.
Check for Obstructions: Before cutting, make sure there are no studs, wires, or pipes in the way.
Pre-Drill Holes: Drill holes at each corner of the outline. This makes it easier to start cutting with the jigsaw.
Secure the Area: If working on a door, take it off its hinges and lay it flat. This provides a stable surface for cutting.
Keep Pets Away: Ensure your dog and other pets are in a safe area away from the workspace.
Gather Your Supplies
- Dog Door Kit: Includes the flap, frame, and screws. This is the main component.
- Measuring Tape: Measures the height and width of the door and your dog's size.
- Pencil: Marks where to cut the hole.
- Level: Ensures the hole is straight.
- Jigsaw: Cuts the hole in the door.
- Drill: Makes starter holes for the jigsaw and secures the frame.
- Screwdriver: Tightens screws to secure the frame.
- Sandpaper: Smooths the edges of the cut hole.
- Caulk: Seals gaps around the frame to prevent drafts.
- Safety Goggles: Protects your eyes while cutting and drilling.
- Work Gloves: Protects your hands during the project.
How Much Time and Skill You Need
Skill Level: Intermediate
Time Required: 3-4 hours
- Measure and Mark: 30 minutes
- Cut the Opening: 1 hour
- Install the Frame: 1 hour
- Attach the Flap: 30 minutes
- Finishing Touches: 30 minutes
Follow These Steps
Gather Materials:
- Dog door kit
- Jigsaw
- Drill
- Measuring tape
- Pencil
- Screwdriver
- Sandpaper
Choose Location:
- Find a spot on your door or wall.
- Ensure it’s low enough for your dog to step through comfortably.
Measure and Mark:
- Measure your dog’s height and width.
- Use the template from the dog door kit.
- Mark the outline on the door or wall with a pencil.
Drill Pilot Holes:
- Drill holes at each corner of the marked outline.
- These will guide the jigsaw blade.
Cut the Opening:
- Use the jigsaw to cut along the marked lines.
- Follow the outline carefully.
Smooth Edges:
- Sand the edges of the cut opening.
- Ensure there are no rough spots that could hurt your dog.
Install Dog Door Frame:
- Place the frame into the opening.
- Secure it with screws using a screwdriver.
Attach Flap:
- Attach the flap or door according to the kit instructions.
- Ensure it swings freely.
Test the Door:
- Encourage your dog to use the door.
- Make any necessary adjustments.
Seal Edges:
- Use weather stripping or caulk to seal any gaps.
- This helps keep out drafts and pests.
Helpful Tips and Tricks
Measure your pet before starting. Ensure the door size fits comfortably for your dog. Use a template to trace the opening on your door. Many kits come with one, or you can make your own from cardboard.
Cut carefully. Use a jigsaw for clean edges. Drill holes in the corners first to make cutting easier. Sand the edges to avoid splinters.
Weatherproofing is key. Use weatherstripping around the edges to keep drafts out. Seal the edges with silicone caulk to prevent water damage.
Reinforce the flap. If using a flexible flap, add magnets at the bottom to keep it closed. Check for security. Ensure the door locks or has a cover to keep unwanted animals out.
Common mistakes include cutting the hole too large or too small. Measure twice, cut once. Avoid using weak materials. Opt for durable plastic or metal instead of thin wood.
Alternative materials can include plexiglass for a sturdy flap or heavy-duty rubber for flexibility. Consider different methods like installing a pre-made kit for ease or building from scratch for customization.
What Will It Cost?
Materials:
- Dog Door Kit: $50-$100
- Plywood: $10-$20
- Weather Stripping: $5-$10
- Screws and Nails: $5
- Paint or Stain: $10-$15
Tools:
- Jigsaw: $30-$60
- Drill: $20-$50
- Measuring Tape: $5-$10
- Screwdriver: $5-$10
- Sandpaper: $5
Total Cost: $140-$280
Budget-Friendly Alternatives:
- Repurpose Old Plywood: Free
- Borrow Tools from Friends or Neighbors: Free
- Use Hand Saw Instead of Jigsaw: $10
- Skip Paint or Stain: Save $10-$15
Different Ways to Customize
Materials: Instead of using wood, consider PVC or metal for a more durable frame. Acrylic or polycarbonate can replace traditional plastic for the flap, offering better insulation.
Colors: Paint the frame to match your door or house exterior. Use bright colors for a fun look or neutral tones for a more subtle appearance.
Styles: Opt for a barn door style with sliding mechanisms for a rustic look. For a modern touch, choose a sleek, frameless design.
Security: Add a locking mechanism to keep unwanted animals out. Consider a magnetic flap that only opens with a collar sensor worn by your dog.
Size: Customize the door size to fit your pet perfectly. Make it larger for bigger breeds or smaller for tiny dogs.
Weatherproofing: Use weatherstripping around the edges to prevent drafts. Install a double-flap system for extra insulation.
Installation Location: Place the door in a wall instead of a door for more flexibility in location. Install it in a window if ground-level access isn't possible.
Decorative Elements: Add stencils or decals to the frame for a personalized touch. Use engraved nameplates for a classy finish.
Accessibility: Install a ramp or steps leading up to the door for older or smaller dogs. Add a sensor light that activates when your dog approaches.
Eco-Friendly Ideas
Reclaimed Wood: Use old wood from pallets or furniture. Sand it down to remove splinters and give it a fresh look.
Recycled Plastic: Look for recycled plastic sheets. They are durable and weather-resistant.
Natural Insulation: Use wool or cotton for insulation. These materials are biodegradable and provide good thermal protection.
Non-Toxic Paints: Choose eco-friendly paints. They have fewer chemicals and are safer for pets.
Old Hinges and Handles: Reuse hinges and handles from old doors. This reduces waste and saves money.
Weather Stripping: Use natural rubber or recycled materials for weather stripping. This helps keep drafts out and maintains indoor temperature.
Solar-Powered Lights: Install solar-powered lights around the dog door. They are energy-efficient and reduce electricity use.
Recycled Screws and Nails: Use screws and nails from previous projects. This minimizes waste and promotes recycling.
Eco-Friendly Sealants: Opt for sealants made from natural ingredients. They are less harmful to the environment and your pet.
Upcycled Fabric Flap: Use old fabric or denim for the door flap. It’s sturdy and can be easily replaced when worn out.
Your Dog Will Thank You
Building a DIY dog door isn't just about convenience; it's about giving your furry buddy the freedom they deserve. With some basic tools and a bit of patience, you can create a safe, functional entryway for your pet. Remember to measure your dog's size accurately, choose the right spot, and follow the steps carefully. Don't rush the process. Take your time cutting the hole and installing the flap to ensure everything fits snugly. Once installed, your dog will quickly learn to use their new door, making both your lives easier. Plus, you'll have the satisfaction of knowing you built it yourself. So grab those tools, follow the guide, and get started. Your dog will be happily running in and out in no time.
How do I choose the right size for my dog door?
Measure your dog's height and width. Add a couple of inches to both measurements to ensure your dog can comfortably pass through.
What materials do I need for this project?
You'll need wood, screws, a hinge, a saw, sandpaper, and a drill. You might also want some weatherstripping to keep out drafts.
Can I install a dog door in any type of door?
Most dog doors can be installed in wooden or metal doors. For glass doors, you might need a professional or a special kit.
How do I train my dog to use the new door?
Use treats and positive reinforcement. Hold the door open and encourage your dog to go through. Gradually, let the door close and reward your dog for using it.
Is it safe to have a dog door?
Yes, as long as you choose a secure model and install it properly. Some dog doors come with locking mechanisms to keep out unwanted guests.
How long does it take to install a dog door?
It usually takes about 2-3 hours if you have all the materials and tools ready. Experience with DIY projects can speed things up.
Can I remove the dog door if I move?
Yes, you can remove it and fill in the hole with a patch or replacement panel. Just make sure to seal and paint the area to match the rest of the door.