Home>Create & Decorate>DIY & Crafts>How To Build A Knee Wall


DIY & Crafts
How To Build A Knee Wall
Published: April 30, 2024

Content Creator specializing in woodworking and interior transformations. Caegan's guides motivate readers to undertake their own projects, while his custom furniture adds a personal touch.
Learn how to build a knee wall with our step-by-step DIY guide. Perfect for DIY & Crafts enthusiasts looking to enhance their home.
(Many of the links in this article redirect to a specific reviewed product. Your purchase of these products through affiliate links helps to generate commission for Twigandthistle.com, at no extra cost. Learn more)
Introduction
So, you're thinking about adding a knee wall to your home, but you're not quite sure where to start. Well, you've come to the right place! In this guide, we'll walk you through the step-by-step process of building a knee wall. Whether you're looking to create a half-wall to divide a room or add some extra storage space in your attic, we've got you covered. Let's dive in and get started on this exciting DIY project!
Read more: How To Build A Wall
Planning and Preparation
Before you start swinging that hammer, it's crucial to take the time to plan and prepare for your knee wall project. Here's what you need to do:
-
Measure Twice, Cut Once: Begin by measuring the area where you plan to build the knee wall. Take precise measurements to ensure that your wall will fit perfectly in the space.
-
Check Building Codes: It's essential to check your local building codes and regulations before starting any construction project. This will ensure that your knee wall meets all safety and structural requirements.
-
Gather Your Tools: Make sure you have all the necessary tools and equipment for the job, such as a saw, hammer, nails, level, tape measure, and safety gear.
-
Create a Detailed Plan: Sketch out a detailed plan for your knee wall, including the dimensions, placement, and any additional features you want to incorporate.
-
Prepare the Work Area: Clear the area where you'll be building the knee wall, removing any obstacles and ensuring a clean, safe workspace.
By taking the time to plan and prepare, you'll set yourself up for a successful knee wall construction project.
Choosing the Right Materials
When it comes to building a knee wall, selecting the right materials is crucial for ensuring the structural integrity and longevity of your project. Here's a breakdown of the essential materials you'll need:
-
Lumber: Opt for high-quality, straight lumber for framing your knee wall. 2×4 or 2×6 studs are commonly used for this type of project.
-
Fasteners: Choose the appropriate nails or screws for securing the framing and sheathing. Galvanized or coated fasteners are ideal for durability.
-
Insulation: Depending on the location of your knee wall, you'll need insulation to regulate temperature and energy efficiency. Fiberglass or foam board insulation are popular choices.
-
Sheathing: Select sheathing material such as plywood or oriented strand board (OSB) to provide stability and a base for finishing materials.
-
Moisture Barrier: If your knee wall is located in a potentially damp area, consider adding a moisture barrier to protect against water damage.
-
Finishing Materials: If you plan to finish the knee wall with drywall, paneling, or other materials, be sure to have those on hand as well.
By choosing high-quality materials that are suitable for your specific project, you'll ensure that your knee wall is not only structurally sound but also aesthetically pleasing.
Framing the Knee Wall
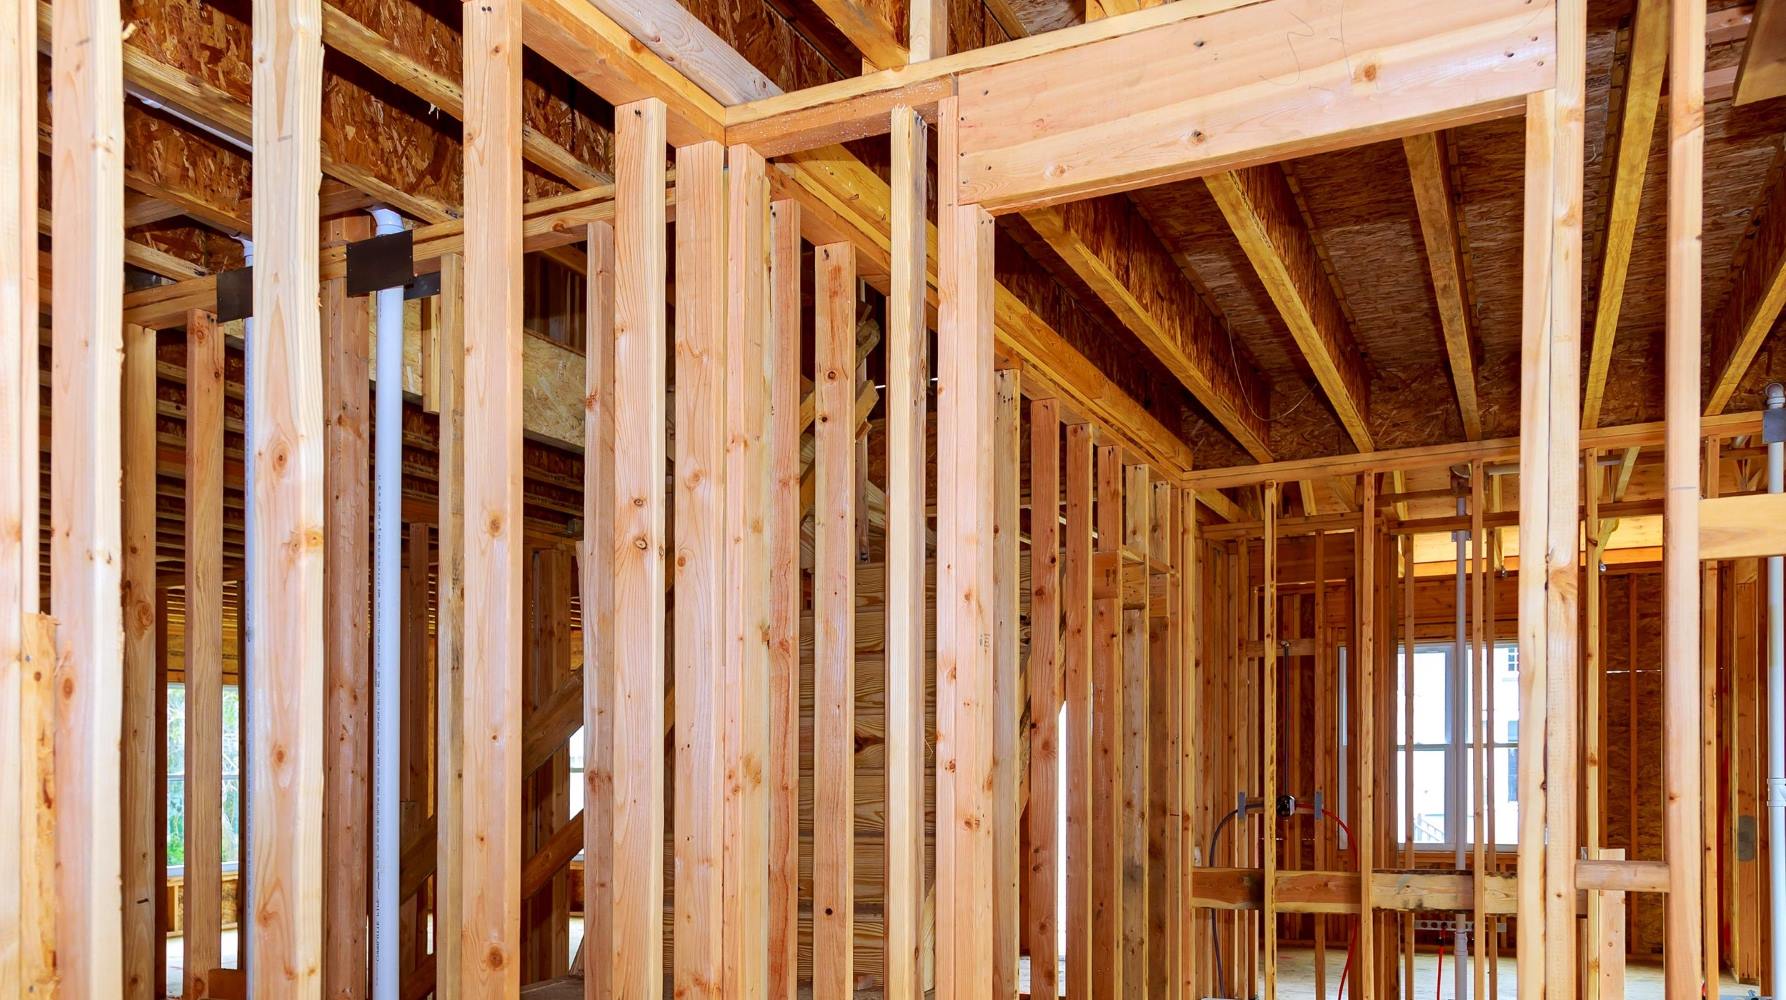
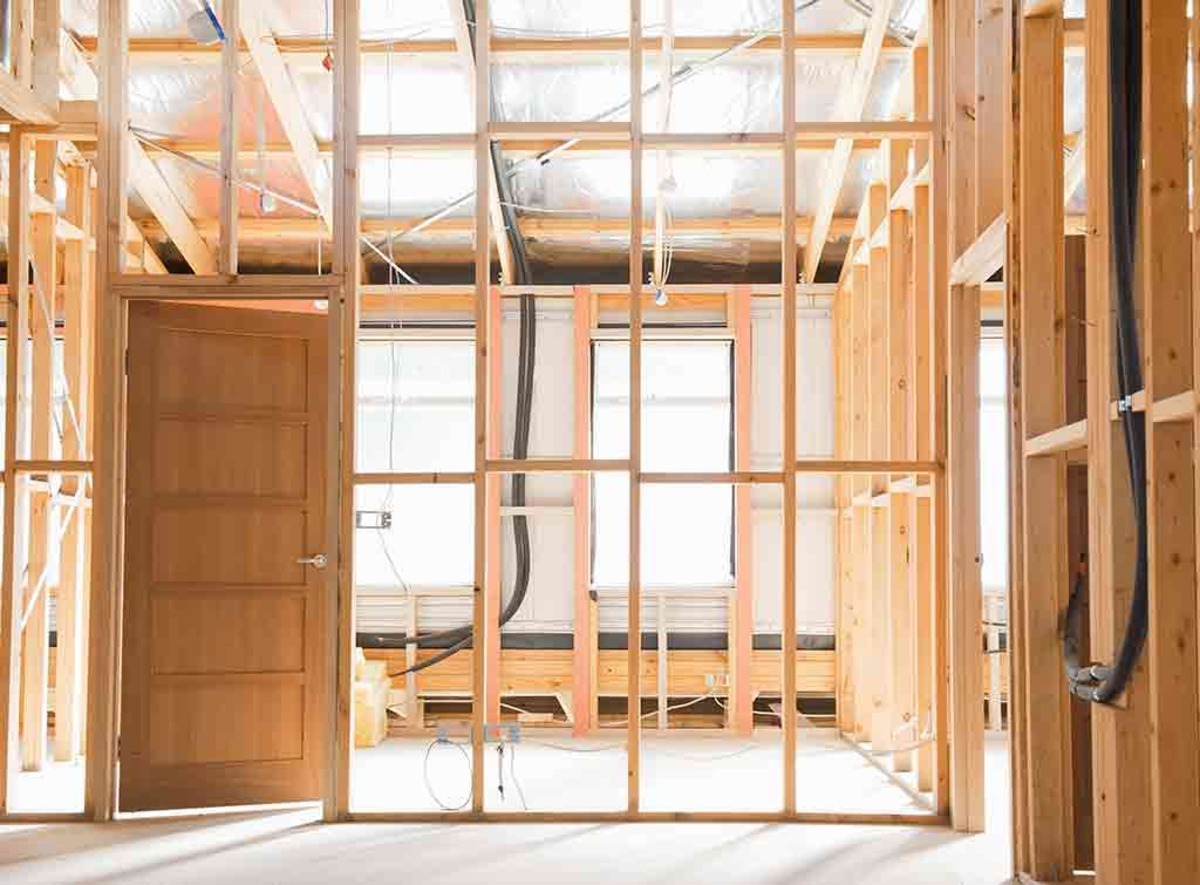
Framing the knee wall is a critical step in the construction process, as it provides the structure and support for the wall. Here's a detailed breakdown of how to frame your knee wall:
-
Mark the Layout: Begin by marking the layout of the knee wall on the floor and ceiling, using a chalk line or straight edge to ensure straight, precise lines.
-
Cut the Studs: Measure and cut the studs to the appropriate length, taking into account any openings for doors or windows. Use a saw to make clean, accurate cuts.
-
Install the Bottom Plate: Secure a pressure-treated 2×4 or 2×6 bottom plate to the floor, following the layout markings. Use a level to ensure it is perfectly straight.
-
Position the Studs: Place the studs vertically between the floor and ceiling plates, spacing them according to your building code or project specifications. Secure them in place with nails or screws.
-
Add Headers and Blocking: If your knee wall includes openings for doors or windows, install headers and blocking to provide additional support and framing around these openings.
-
Secure the Top Plate: Once the studs are in place, attach a top plate to the ceiling, ensuring it is level and securely fastened.
-
Check for Square: Use a framing square to check that the corners are perfectly square, making any necessary adjustments before proceeding.
By following these steps, you'll successfully frame your knee wall, creating a sturdy and reliable structure for the next phases of the construction process.
Insulating and Sheathing
Insulating and sheathing are crucial steps in the construction of a knee wall, as they contribute to the wall's energy efficiency, stability, and overall performance. Here's a detailed guide on how to insulate and sheathe your knee wall:
-
Insulation Installation:
- Measure the spaces between the studs and cut the insulation material to fit snugly within the cavities.
- Ensure that the insulation is installed tightly against the interior side of the wall to prevent air gaps and maximize its effectiveness.
-
Vapor Barrier:
- In areas with cold climates, consider adding a vapor barrier on the warm side of the insulation to prevent moisture buildup within the wall cavity.
- Proper installation of a vapor barrier can help control humidity and prevent condensation issues.
-
Sheathing Installation:
- Cut the sheathing material, such as plywood or oriented strand board (OSB), to fit the dimensions of the knee wall.
- Secure the sheathing to the exterior side of the wall framing using nails or screws, ensuring that it is properly aligned and flush with the edges of the framing members.
-
Sealing Joints and Gaps:
- Seal any gaps or joints in the sheathing with a high-quality, weather-resistant sealant to prevent air and moisture infiltration.
- Pay special attention to areas around windows, doors, and corners to ensure a tight seal.
-
Protective Covering:
- Consider adding a protective covering, such as house wrap, over the sheathing to provide an additional layer of defense against moisture and air infiltration.
- Properly installed house wrap can enhance the durability and weather resistance of the knee wall.
By following these steps, you'll effectively insulate and sheathe your knee wall, contributing to its energy efficiency, structural integrity, and long-term performance.
Read more: How to Build DIY Wall Panels
Finishing Touches
Once the framing, insulation, and sheathing are in place, it's time to add the finishing touches to your knee wall. These final steps will not only enhance the visual appeal of the wall but also contribute to its overall functionality and durability.
-
Drywall Installation: If you plan to finish the knee wall with drywall, begin by measuring and cutting the drywall panels to fit the wall's dimensions. Secure the drywall to the sheathing with drywall screws, ensuring a tight fit and smooth surface. Tape and mud the seams to create a seamless appearance.
-
Trim and Molding: Add trim and molding to the top and bottom of the knee wall to provide a polished, professional look. Choose trim that complements the style of the room and install it securely with finishing nails. Consider adding decorative molding for an extra touch of elegance.
-
Paint or Finish: Once the drywall and trim are in place, it's time to paint or finish the knee wall. Select a high-quality paint or finish that coordinates with the room's color scheme and design aesthetic. Apply multiple coats as needed for a smooth, even finish.
-
Electrical Outlets and Fixtures: If your knee wall includes electrical outlets or fixtures, ensure that they are properly installed and functional. Consider adding outlet covers and switch plates that match the wall's finish for a cohesive look.
-
Caulking and Sealing: Seal any gaps or joints with caulk to prevent air and moisture infiltration. Pay special attention to areas where the knee wall meets existing walls, floors, or ceilings to create a seamless, weather-tight seal.
-
Final Inspection: Once the finishing touches are complete, conduct a thorough inspection of the knee wall to ensure that everything is in place and meets your expectations. Check for any imperfections or areas that may require additional attention.
By completing these finishing touches, you'll transform your knee wall into a seamless and attractive addition to your home, ready to serve its intended purpose for years to come.
Conclusion
In conclusion, building a knee wall is a rewarding DIY project that can add both functionality and aesthetic appeal to your home. By following the step-by-step process outlined in this guide, you can successfully construct a knee wall that meets your specific needs and enhances the design of your living space. From careful planning and material selection to precise framing, insulation, and finishing touches, each phase of the construction process plays a crucial role in the overall success of the project. With the right tools, materials, and attention to detail, you can create a durable, well-insulated knee wall that seamlessly integrates into your home's architecture. Whether you're dividing a room, creating storage space, or adding architectural interest, a well-built knee wall is sure to make a lasting impact on your home.

