
Home>Create & Decorate>DIY & Crafts>DIY Faux Beams: Create Stunning Ceiling Accents
DIY & Crafts
DIY Faux Beams: Create Stunning Ceiling Accents
Published: April 30, 2024

Content Creator specializing in woodworking and interior transformations. Caegan's guides motivate readers to undertake their own projects, while his custom furniture adds a personal touch.
Transform your space with DIY faux beams! Elevate your ceiling with stunning accents using our step-by-step crafts guide. Discover how to create a beautiful and budget-friendly upgrade today.
(Many of the links in this article redirect to a specific reviewed product. Your purchase of these products through affiliate links helps to generate commission for Twigandthistle.com, at no extra cost. Learn more)
Introduction
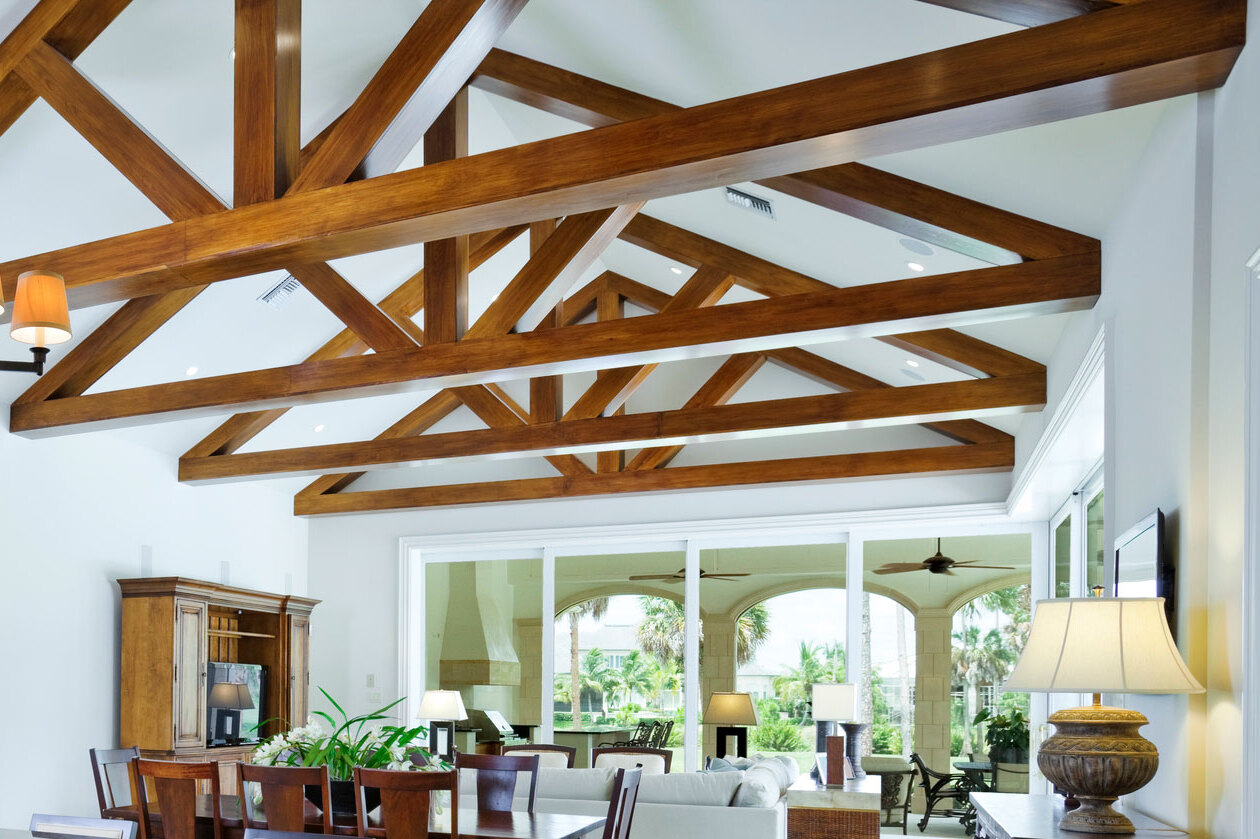
Are you looking to add a touch of rustic charm to your home? Faux beams are a fantastic way to create stunning ceiling accents that can transform the look and feel of any room. Whether you want to give your living room a cozy, cabin-like atmosphere or add a touch of warmth to your kitchen, DIY faux beams are a cost-effective and stylish solution. In this guide, we'll walk you through the process of creating and installing faux beams, allowing you to achieve the look you desire without breaking the bank. Let's dive in and explore how you can bring the beauty of exposed wooden beams into your home with this simple and rewarding DIY project.
Choosing the Right Materials
When it comes to creating DIY faux beams, selecting the right materials is crucial for achieving an authentic and visually appealing result. Here's what you'll need:
1. Faux Wood Beams
Opt for lightweight, hollow faux wood beams that are easy to work with and install. These beams are typically made from high-density polyurethane or high-density polyethylene, offering the look of real wood without the weight and maintenance requirements.
2. Tools and Equipment
Gather essential tools such as a measuring tape, a saw (preferably a miter saw for precise cuts), wood glue, screws, a level, and a caulking gun. These tools will help you accurately measure, cut, and secure the faux beams in place.
3. Finishing Materials
Consider the type of finish you want for your faux beams. Whether you prefer a natural wood look, a distressed finish, or a stained appearance, you'll need paint, stain, or wood finish, along with brushes or rags for application.
4. Safety Gear
Prioritize safety by wearing protective gear such as goggles, gloves, and a dust mask when cutting and handling materials. This precaution is essential for safeguarding yourself during the construction process.
By carefully selecting the right materials and tools, you can set the stage for a successful DIY faux beam project that will elevate the aesthetic appeal of your home.
Measuring and Cutting the Beams
Accurate measurements and precise cuts are essential for ensuring that your DIY faux beams fit seamlessly into your space. Here's a step-by-step guide to measuring and cutting the beams for a professional-looking result:
-
Measure the Space: Begin by measuring the length of the area where you plan to install the faux beams. Use a measuring tape to determine the exact dimensions, taking into account any corners or angles where the beams will meet.
-
Mark the Cutting Points: Once you have the measurements, mark the cutting points on the faux wood beams using a pencil. Double-check the measurements to avoid errors before making any cuts.
-
Use a Miter Saw: A miter saw is the ideal tool for cutting the faux beams at precise angles. Set the saw to the correct angle based on your measurements and carefully cut the beams to the required lengths. Remember to follow all safety precautions when operating power tools.
-
Dry Fit the Beams: After cutting the beams, perform a dry fit to ensure that they align correctly and fit snugly into place. This step allows you to make any necessary adjustments before proceeding to the installation phase.
-
Cutting for Corners and Joints: If your space includes corners or joints where the beams will intersect, use the miter saw to create precise cuts that enable the beams to fit together seamlessly. Pay close attention to the angles and ensure that the cuts are accurate for a professional finish.
-
Sand the Edges: Once the beams are cut to size, use sandpaper to smooth out any rough edges or imperfections. This step is crucial for achieving a polished look and ensuring that the beams fit together seamlessly during installation.
By carefully measuring and cutting the faux beams, you can set the stage for a successful installation process and achieve a professional-looking result that enhances the visual appeal of your home.
Creating a Distressed or Aged Look
Adding a distressed or aged look to your DIY faux beams can infuse character and charm into your living space. Here's how you can achieve this weathered aesthetic:
-
Sand the Surface: Begin by sanding the surface of the faux wood beams to create a slightly rough texture. Focus on areas that would naturally experience wear and tear, such as the edges and corners. This step helps prepare the surface for the distressing process.
-
Create Indentations and Imperfections: Use a hammer, chains, or other tools to gently create indentations and imperfections on the surface of the beams. Lightly tap the surface to mimic the natural aging process, adding subtle dents and dings for an authentic weathered appearance.
-
Apply Stain or Paint: Once the desired texture is achieved, apply a wood stain or paint to the beams. Opt for a darker shade to create the illusion of aged wood. After applying the stain or paint, use a rag to gently wipe away excess product, allowing the distressed texture to show through.
-
Dry Brushing Technique: To enhance the distressed look, consider using a dry brushing technique. Dip a dry brush into a contrasting paint color and lightly brush it over the surface of the beams. This method highlights the imperfections and adds depth to the distressed finish.
-
Sand for a Worn Effect: After the stain or paint has dried, lightly sand the surface of the beams once again. Focus on the areas where natural wear would occur, such as the edges and high-traffic areas. This step creates a worn effect, further enhancing the aged appearance of the faux beams.
-
Seal the Finish: Once you are satisfied with the distressed look, seal the finish with a clear coat or polyurethane to protect the beams and preserve the weathered appearance. This step also adds a subtle sheen to the surface, enhancing the visual appeal of the distressed finish.
By following these steps, you can achieve a beautifully distressed or aged look for your DIY faux beams, adding a touch of rustic elegance to your home while creating a warm and inviting atmosphere.
Installing the Faux Beams
Installing the faux beams is the exciting phase where you bring your vision to life. Follow these steps for a seamless installation process:
-
Gather Your Tools: Before you begin, ensure that you have all the necessary tools and materials at hand. This includes a caulking gun, wood glue, screws, a level, and a ladder.
-
Locate Ceiling Joists: Use a stud finder to locate the ceiling joists where the beams will be installed. Mark these locations with a pencil to serve as a guide during the installation process.
-
Apply Wood Glue: Apply wood glue to the areas of the beams that will come into contact with the ceiling. This adhesive will help secure the beams in place and create a strong bond with the ceiling surface.
-
Secure the Beams: With the help of a friend or family member, carefully lift the beams into position and align them with the marked ceiling joists. Use screws to secure the beams to the ceiling, ensuring that they are level and evenly spaced.
-
Conceal the Joints: If your space requires multiple beams to cover a longer span, use wood filler or caulk to conceal the joints and create a seamless appearance. This step adds a professional touch to the installation and enhances the overall aesthetic.
-
Touch Up the Finish: Once the beams are securely in place, touch up any areas that may have been affected during the installation process. This includes applying paint or stain to cover screw heads and any visible imperfections.
-
Step Back and Admire: After completing the installation, take a step back and admire the transformation. The addition of faux beams can instantly elevate the visual appeal of your space, creating a stunning focal point that exudes warmth and character.
By following these steps, you can confidently install faux beams in your home, adding a touch of architectural elegance and rustic charm to any room.
Finishing Touches and Maintenance Tips
Once the DIY faux beams are installed, adding the finishing touches and understanding maintenance tips are essential for preserving their beauty and ensuring longevity. Here's how to complete the project and keep your faux beams looking stunning for years to come:
1. Apply a Protective Finish
After the beams are installed, consider applying a protective finish to safeguard the surface and enhance the overall appearance. A clear coat or polyurethane sealant can provide a protective barrier against dust, moisture, and everyday wear and tear. This step not only preserves the finish but also adds a subtle sheen, elevating the visual appeal of the faux beams.
2. Clean with Care
Regular cleaning is key to maintaining the beauty of your faux beams. Use a soft, dry cloth or a duster to gently remove dust and debris from the surface. Avoid using harsh chemicals or abrasive cleaners, as these can damage the finish. By incorporating gentle cleaning into your regular home maintenance routine, you can keep the faux beams looking pristine.
3. Inspect for Damage
Periodically inspect the faux beams for any signs of damage or wear. Look for cracks, chips, or discoloration, and address any issues promptly to prevent further deterioration. By staying vigilant and addressing minor maintenance needs as they arise, you can prolong the lifespan of the faux beams and keep them looking as good as new.
4. Touch Up as Needed
Over time, the faux beams may experience minor wear in high-traffic areas or areas exposed to sunlight. Keep a small amount of matching paint or stain on hand to touch up any areas that require attention. This proactive approach to maintenance ensures that the faux beams maintain their flawless appearance and continue to enhance the aesthetic of your home.
5. Embrace Versatility
Faux beams are incredibly versatile and can be used in various settings, from traditional to modern spaces. Consider experimenting with different finishes, such as whitewashing or adding decorative hardware, to customize the look of the beams to suit your evolving interior design preferences. Embracing versatility allows you to refresh the aesthetic of your home while retaining the timeless appeal of the faux beams.
By incorporating these finishing touches and maintenance tips into your DIY faux beam project, you can enjoy the enduring beauty and charm of these architectural accents, creating a captivating focal point in your home for years to come.