
Home>Create & Decorate>DIY & Crafts>DIY Water Fountain: Create A Relaxing Oasis In Your Backyard
DIY & Crafts
DIY Water Fountain: Create A Relaxing Oasis In Your Backyard
Published: April 23, 2024

Senior Editor in Create & Decorate, Kathryn combines traditional craftsmanship with contemporary trends. Her background in textile design and commitment to sustainable crafts inspire both content and community.
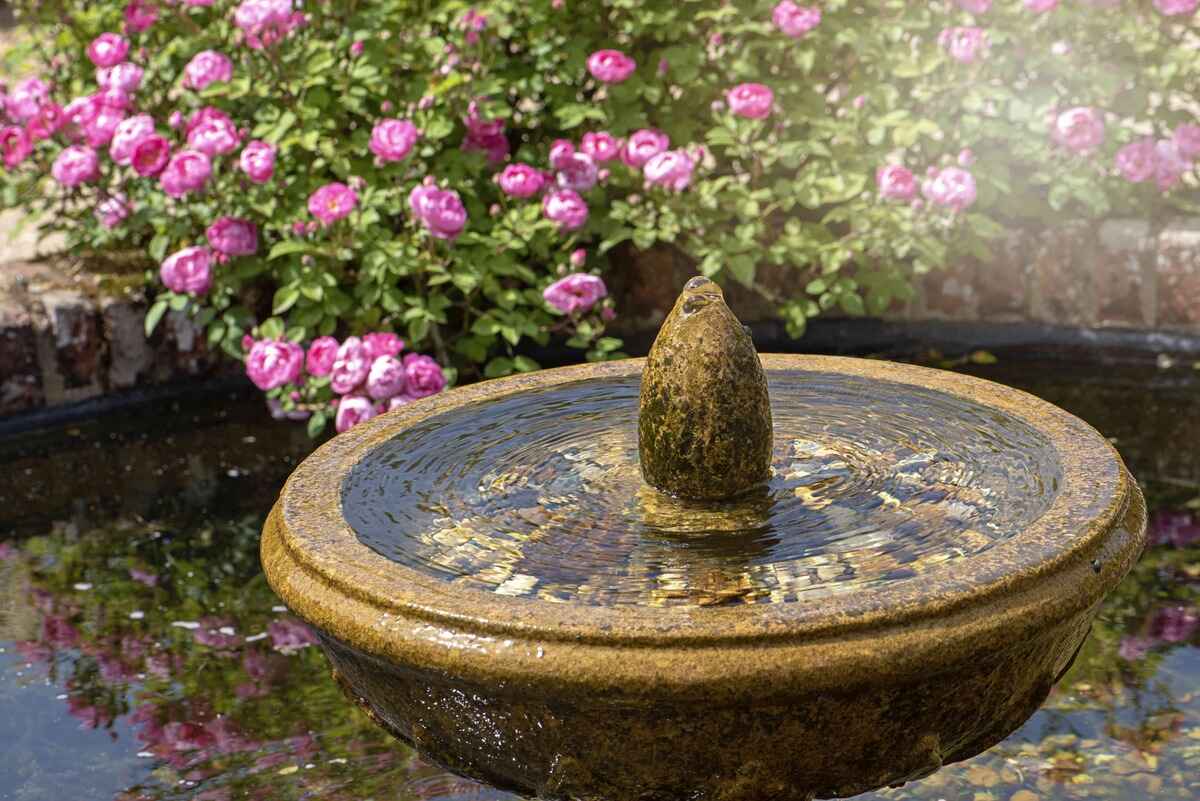
Transform your backyard with a DIY water fountain and craft a serene oasis with our easy-to-follow DIY & Crafts guide.
(Many of the links in this article redirect to a specific reviewed product. Your purchase of these products through affiliate links helps to generate commission for Twigandthistle.com, at no extra cost. Learn more)
Introduction
Are you looking to transform your backyard into a tranquil retreat? A DIY water fountain might be just the project you need. Not only does a water fountain add a touch of elegance to your outdoor space, but the sound of flowing water can also create a soothing ambiance. In this guide, we'll walk you through the steps to create your very own water fountain, allowing you to bring a relaxing oasis right to your backyard. Whether you're a seasoned DIY enthusiast or a beginner looking for a new project, building a water fountain can be a rewarding and enjoyable endeavor. So, roll up your sleeves and get ready to bring the calming presence of water into your outdoor sanctuary.
Choosing the Right Location
When it comes to creating a DIY water fountain, selecting the right location is crucial for its overall impact and functionality. Here are some key factors to consider when choosing the perfect spot for your water feature:
-
Sunlight Exposure: Look for an area in your backyard that receives a good balance of sunlight and shade. Too much direct sunlight can cause excessive evaporation, while too much shade may hinder the growth of aquatic plants if you plan to incorporate them into your fountain.
-
Power Source: Since most water fountains require a pump to circulate the water, it's important to choose a location that is within reach of a power source. Consider the proximity to outdoor outlets or the feasibility of using extension cords if needed.
-
Visibility and Audibility: Think about where the fountain will be most visible and audible from your outdoor living spaces. You'll want to position it in a way that allows you to enjoy the sight and sound of the flowing water from your patio, deck, or any other areas where you frequently relax.
-
Ground Stability: Ensure that the ground where you plan to install the fountain is stable and level. Uneven terrain can make the installation process more challenging and may affect the stability of the fountain over time.
-
Aesthetic Appeal: Consider the overall aesthetic of your backyard and how the water fountain will complement the existing landscape. Whether you opt for a standalone feature or plan to incorporate it into a garden bed or pond, the location should enhance the visual appeal of your outdoor space.
By carefully considering these factors, you can choose a location that maximizes the beauty and functionality of your DIY water fountain. Once you've identified the perfect spot, you'll be ready to move on to the next steps of gathering materials and tools for the project.
Gathering Materials and Tools
Before diving into the construction of your DIY water fountain, it's essential to gather all the necessary materials and tools. Having everything on hand will streamline the building process and ensure that you can tackle the project without unnecessary interruptions. Here's a comprehensive list of what you'll need to bring your water fountain to life:
Materials:
- Container or Basin: Select a watertight container or basin that will serve as the reservoir for your fountain. This can be a decorative pot, a plastic tub, or a custom-built reservoir, depending on the size and style of the fountain you envision.
- Pump: Choose a water pump that is suitable for the size of your fountain. Consider the pump's flow rate and head height to ensure it can circulate water effectively through your chosen fountain design.
- Tubing: Acquire flexible tubing that fits the outlet of your water pump. This tubing will transport water from the pump to the top of the fountain, allowing it to cascade down and create the desired water feature effect.
- Decorative Stones or Pebbles: Depending on your fountain design, you may want to incorporate decorative stones or pebbles to enhance the visual appeal of the water feature and provide a stable base for the flowing water.
- Waterproof Sealant: To secure the tubing and seal any gaps in the container, have waterproof sealant on hand. This will help prevent leaks and ensure that the water remains contained within the fountain structure.
- Decorative Elements: If desired, gather additional decorative elements such as ceramic figurines, aquatic plants, or LED lighting to personalize and embellish your water fountain.
Tools:
- Drill with Hole Saw Attachment: A drill equipped with a hole saw attachment will be necessary for creating openings in the container or basin to accommodate the tubing and pump.
- Utility Knife: Have a utility knife available for cutting and trimming the tubing to the required lengths.
- Measuring Tape: Accurate measurements are crucial for positioning the pump, tubing, and other components within the fountain. A measuring tape will aid in achieving precision during the installation process.
- Level: Ensure that the fountain components are aligned correctly by using a level to check for balance and evenness.
- Gloves and Safety Gear: When working with sealants and sharp tools, it's important to prioritize safety. Wear gloves and any other necessary safety gear to protect your hands and skin during the construction phase.
By gathering these materials and tools, you'll be well-prepared to embark on the construction of your DIY water fountain. With everything at your fingertips, you can proceed to the next steps of building the base and assembling the water feature with confidence and efficiency.
Building the Base
The base of your DIY water fountain serves as the foundation for the entire structure, providing stability and support for the water feature components. Here's a step-by-step guide to building the base for your fountain:
-
Prepare the Container: If you're using a decorative pot or basin as the reservoir for your fountain, ensure that it is clean and free of any debris. Position the container in the chosen location, taking care to place it on level ground.
-
Create Openings: Using a drill equipped with a hole saw attachment, carefully create openings in the container to accommodate the tubing and pump. The size of the openings should match the diameter of the tubing and the pump's outlet, allowing for a snug fit.
-
Position the Pump: Place the water pump inside the container, ensuring that it is positioned securely and sits level at the bottom. The pump should be centrally located to facilitate even water distribution throughout the fountain.
-
Secure the Tubing: Insert one end of the tubing onto the pump's outlet, ensuring a tight connection. Extend the tubing vertically to the desired height of the water feature, allowing for a gentle cascade of water. If necessary, use a utility knife to trim the tubing to the appropriate length.
-
Stabilize the Tubing: To prevent the tubing from shifting or kinking, use waterproof sealant to secure it in place within the container. Seal any gaps around the openings to maintain the watertight integrity of the reservoir.
-
Add Decorative Elements: If you plan to incorporate decorative stones, pebbles, or other embellishments, carefully arrange them around the base of the tubing. These elements not only enhance the visual appeal of the fountain but also provide a stable foundation for the flowing water.
-
Test the Water Flow: Once the base is assembled, fill the container with water and power on the pump to test the water flow. Adjust the positioning of the tubing and the pump's flow rate as needed to achieve the desired water feature effect.
By following these steps, you can construct a sturdy and functional base for your DIY water fountain. With the foundation in place, you're ready to move on to the next phase of assembling the water feature, bringing you one step closer to creating a tranquil oasis in your backyard.
Assembling the Water Feature
With the base of your DIY water fountain in place, it's time to focus on assembling the water feature itself. This phase involves arranging the components that will create the visual and auditory appeal of your fountain. Here's a detailed guide to assembling the water feature for your backyard oasis:
-
Position the Water Outlet: If you're incorporating a decorative spout or fountain head, position it at the top of the tubing to serve as the water outlet. Secure it in place to ensure a steady and controlled flow of water. The design of the water outlet can vary, ranging from a simple spout to an ornate sculpture that adds character to the fountain.
-
Introduce Aquatic Plants (Optional): If you desire a natural and organic touch, consider adding aquatic plants to your water feature. Water lilies, lotus, or other aquatic flora can thrive in the reservoir of the fountain, enhancing its aesthetic appeal and contributing to a harmonious ecosystem. Be mindful of the specific care requirements of the plants and ensure they are suitable for the depth and conditions of the fountain.
-
Incorporate Decorative Elements: To personalize your water fountain, consider incorporating decorative elements such as ceramic figurines, LED lighting, or ornamental rocks. These additions can infuse personality and charm into the fountain, transforming it into a captivating focal point in your outdoor space.
-
Fine-Tune the Water Flow: Once the components are in place, it's essential to fine-tune the water flow to achieve the desired effect. Adjust the pump's flow rate and the positioning of the water outlet to create a gentle and soothing cascade of water. Experiment with different configurations to find the arrangement that best complements your backyard ambiance.
-
Test for Visual and Auditory Appeal: Before finalizing the assembly, take the time to assess the visual and auditory appeal of the water feature. Step back and observe the fountain from various angles to ensure that it complements the surrounding landscape. Listen to the sound of the flowing water to gauge its soothing effect and make adjustments as needed.
-
Secure Loose Components: Once you are satisfied with the arrangement of the water feature, secure any loose components and ensure that all connections are stable. This step is crucial for maintaining the longevity and functionality of the fountain, especially in outdoor environments exposed to varying weather conditions.
By following these steps, you can assemble a captivating water feature that adds a touch of serenity and elegance to your backyard. The assembly phase brings your DIY water fountain one step closer to becoming a focal point of relaxation and rejuvenation in your outdoor sanctuary.
Adding the Finishing Touches
As you near the completion of your DIY water fountain project, adding the finishing touches will elevate the visual appeal and cohesiveness of the entire structure. These final details can make a significant difference in the overall aesthetic and functionality of your water feature. Here's a comprehensive guide to adding the finishing touches to your backyard oasis:
-
Enhance with Lighting: Incorporating LED lighting can transform your water fountain into a captivating nighttime spectacle. Submersible LED lights can illuminate the flowing water, creating a mesmerizing display after sunset. Strategically placing lights around the base or within the reservoir can also accentuate the architectural elements of the fountain, adding a magical ambiance to your outdoor space.
-
Opt for Ornamental Accents: Consider adding ornamental accents such as decorative sculptures, statuary, or ornate vases near the fountain to complement its design. These accents can tie the fountain into the overall theme of your backyard and create a cohesive visual narrative. Choose elements that resonate with your personal style and contribute to the tranquil atmosphere you aim to achieve.
-
Create a Surrounding Landscape: Enhance the visual impact of your water fountain by creating a lush and inviting landscape around it. Incorporate vibrant plants, shrubs, or flowers to frame the fountain and integrate it seamlessly into the natural environment. The surrounding greenery can provide a sense of tranquility and privacy, further enhancing the oasis-like feel of your backyard retreat.
-
Customize with Decorative Stones: Utilize decorative stones or pebbles to customize the base of the fountain and create a polished look. Arrange the stones in a visually appealing pattern or use them to conceal the edges of the reservoir, giving the fountain a seamless and refined appearance. The choice of stones can also complement the overall color scheme of your outdoor space.
-
Maintain Water Quality: Prioritize the maintenance of water quality by incorporating a small fountain pump filter or using water treatments to prevent algae growth and maintain clarity. Clean the fountain regularly to ensure that the water remains pristine and inviting. A well-maintained water feature not only enhances the visual appeal but also contributes to a healthier and more enjoyable outdoor environment.
-
Personalize with Soundscaping: Experiment with the soundscaping of your water fountain by adjusting the flow rate and positioning of the water outlet. The sound of flowing water can be fine-tuned to create a gentle and soothing ambiance, adding an auditory dimension to the overall sensory experience. Strive to achieve a harmonious blend of visual and auditory elements that resonate with your desired atmosphere.
By attending to these finishing touches, you can elevate your DIY water fountain into a captivating focal point that embodies tranquility and elegance. These details will not only enhance the aesthetic appeal of your outdoor space but also contribute to a serene and rejuvenating atmosphere, allowing you to fully immerse yourself in the soothing presence of your backyard oasis.
Maintenance and Care
Once your DIY water fountain is in place, it's essential to prioritize regular maintenance and care to ensure its longevity and optimal performance. Proper maintenance not only preserves the aesthetic appeal of the fountain but also contributes to a healthy and inviting outdoor environment. Here's a comprehensive guide to maintaining and caring for your water fountain:
-
Cleaning and Debris Removal: Regularly inspect the fountain for any debris, such as fallen leaves, twigs, or dirt, and remove them to prevent clogging and maintain water clarity. Use a fine mesh net or a gentle stream of water to clear the reservoir and the water feature components.
-
Algae Prevention: Combat algae growth by incorporating an algaecide treatment or utilizing a small fountain pump filter to keep the water clean and free from algae buildup. Regularly scrub the surfaces of the fountain to prevent the accumulation of algae and mineral deposits.
-
Water Quality Management: Monitor the water quality of the fountain and perform routine water changes to prevent stagnation and maintain freshness. Use water treatments or additives to balance the pH levels and prevent the formation of unpleasant odors.
-
Pump Maintenance: Inspect the water pump regularly to ensure it is functioning optimally. Clean the pump's intake and impeller to remove any debris that may hinder its performance. Lubricate the pump's moving parts as recommended by the manufacturer.
-
Winter Preparation: If you live in a region with cold winters, take proactive measures to winterize the water fountain. Drain the reservoir, remove the pump, and store it indoors to protect it from freezing temperatures. Proper winterization prevents damage to the fountain components.
-
Inspecting Electrical Components: If your fountain is powered by electricity, periodically inspect the electrical connections and ensure that the power source is secure and weatherproof. Address any signs of wear or damage to the wiring promptly.
-
Landscape Maintenance: Maintain the surrounding landscape to prevent overgrowth that may obstruct the fountain or impede its functionality. Trim nearby plants and shrubs to maintain a clear and unobstructed view of the water feature.
-
Seasonal Adjustments: Consider making seasonal adjustments to the fountain, such as altering the water flow rate or adjusting the positioning of decorative elements to accommodate changes in weather and outdoor conditions.
By incorporating these maintenance practices into your routine, you can ensure that your DIY water fountain remains a captivating and rejuvenating feature in your backyard. Regular care and attention will preserve the beauty and functionality of the fountain, allowing you to continue enjoying the tranquil oasis you've created.
Conclusion
In conclusion, creating a DIY water fountain can be a fulfilling and rewarding endeavor that brings a touch of tranquility and elegance to your outdoor space. By carefully selecting the location, gathering the necessary materials and tools, building a sturdy base, assembling the water feature, and adding the finishing touches, you can craft a captivating focal point that enhances the ambiance of your backyard. Additionally, prioritizing maintenance and care will ensure that your water fountain remains a source of relaxation and rejuvenation for years to come. Whether you're seeking a peaceful retreat or a stunning visual accent, a DIY water fountain offers a versatile and customizable solution for transforming your outdoor sanctuary into a serene oasis. Embrace the creative process, enjoy the soothing presence of flowing water, and savor the tranquil atmosphere that your DIY water fountain brings to your home.