
Home>Outdoors & Camping>Hardscaping>DIY Walkway: Create A Stunning Pathway With These Easy Steps
Hardscaping
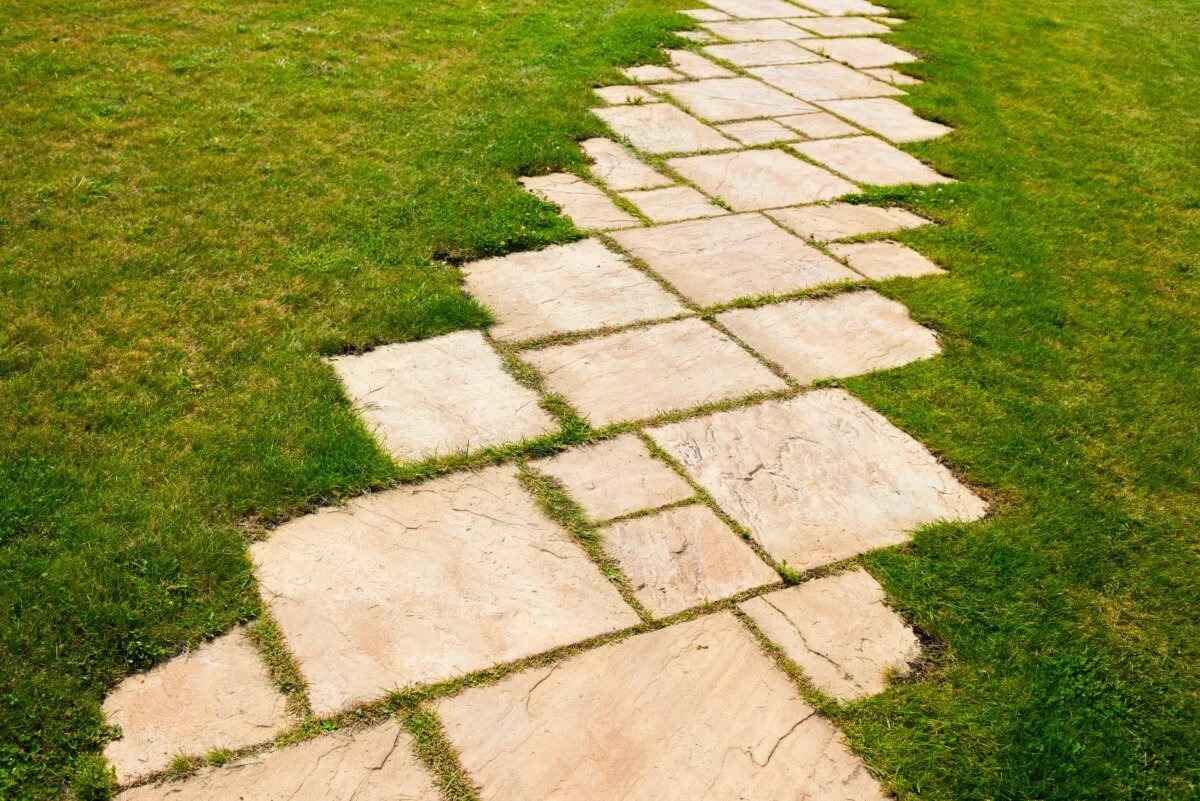
DIY Walkway: Create A Stunning Pathway With These Easy Steps
Published: March 6, 2024

Content Creator for Outdoors & Camping, Sophie turns any yard into a sustainable paradise. Her dedication to DIY outdoor projects and volunteer work in community gardens shares joy and knowledge.
Enhance your outdoor space with our DIY walkway guide. Learn how to create a beautiful pathway using hardscaping techniques in simple steps. Achieve a stunning and durable result effortlessly.
(Many of the links in this article redirect to a specific reviewed product. Your purchase of these products through affiliate links helps to generate commission for Twigandthistle.com, at no extra cost. Learn more)
Introduction
Are you looking to enhance the curb appeal of your home and create a beautiful pathway that adds charm and functionality to your outdoor space? Building a DIY walkway can be a rewarding project that adds character to your property while providing a practical route for foot traffic. In this guide, we'll walk you through the steps to create a stunning walkway that complements your home's aesthetic and withstands the test of time. Whether you're a seasoned DIY enthusiast or a beginner looking to take on a new project, these easy steps will help you achieve a professional-looking walkway that you can be proud of. So, roll up your sleeves and let's get started on transforming your outdoor space!
Step 1: Planning Your Walkway Design
Before diving into the physical work, it's crucial to plan the design of your walkway. Here are the key steps to consider:
-
Choose the Path: Decide where you want your walkway to lead and the most practical route for foot traffic. Consider factors such as the natural flow of movement, landscaping features, and any obstacles that may need to be worked around.
-
Select the Material: Determine the type of material you want to use for your walkway. Whether it's pavers, flagstones, bricks, or gravel, each material offers a unique aesthetic and level of durability. Consider the style of your home and the overall look you want to achieve.
-
Measure the Area: Take accurate measurements of the pathway area to determine the amount of materials needed. This will help you estimate the cost and ensure you have the right quantity of materials for the project.
-
Create a Design Layout: Use stakes, a garden hose, or spray paint to outline the shape and layout of your walkway. This will give you a visual representation of how the walkway will fit into your outdoor space and allow you to make any necessary adjustments before moving forward.
By carefully planning your walkway design, you'll set the foundation for a successful and visually appealing DIY project.
Step 2: Gathering Materials and Tools
When it comes to creating a stunning DIY walkway, having the right materials and tools is essential for a successful project. Here's a comprehensive list of what you'll need:
Materials:
- Pavers, Stones, or Bricks: Depending on your chosen design, select the appropriate amount of pavers, stones, or bricks to cover the pathway area.
- Gravel or Sand: This will be used as a base and leveling material for the walkway.
- Edging Material: Choose edging material such as plastic, metal, or wood to create a boundary for the walkway and prevent shifting of the pavers.
- Landscape Fabric: This will help prevent weed growth and maintain the integrity of the walkway.
- Crushed Stone or Paver Base: Use this as a foundation for the walkway to ensure stability and proper drainage.
Tools:
- Shovel: For digging and moving soil and gravel.
- Rake: To level the ground and spread materials evenly.
- Tape Measure: For accurate measurements of the pathway area.
- Wheelbarrow: To transport materials such as gravel, sand, and pavers.
- Tamper: Used to compact the base and ensure a solid foundation.
- Level: To check the evenness of the surface during the installation of pavers or stones.
- Rubber Mallet: For tapping the pavers into place and ensuring they are level.
- Safety Gear: Including gloves, safety glasses, and knee pads for protection during the project.
By gathering these materials and tools, you'll be well-prepared to tackle the next steps in creating your stunning DIY walkway.
Step 3: Preparing the Pathway Area
Preparing the pathway area is a crucial step that sets the foundation for a durable and visually appealing walkway. Here's a detailed breakdown of the tasks involved in this phase:
-
Clear the Path: Begin by clearing the pathway area of any existing vegetation, debris, or obstacles. Use a shovel and rake to remove grass, weeds, and rocks, ensuring the path is clear and level.
-
Excavate the Soil: Use a shovel to excavate the soil to the desired depth, taking into account the thickness of the pavers or stones, as well as the base and sand layers. Typically, a depth of 4-6 inches is suitable for the base and sand layers, but this may vary based on the specific materials being used.
-
Create a Slope: To ensure proper drainage, create a slight slope along the pathway. This will prevent water from pooling and causing damage to the walkway over time. Aim for a slope of approximately 1/4 inch per foot.
-
Compact the Soil: Use a tamper to compact the soil thoroughly. This will provide a stable base for the subsequent layers and help prevent settling or shifting of the walkway over time.
-
Lay Landscape Fabric: Once the soil is compacted, lay down a layer of landscape fabric over the excavated area. This will act as a barrier to prevent weed growth and maintain the integrity of the walkway.
-
Add the Base Material: Pour a layer of crushed stone or paver base over the landscape fabric. Use a rake to spread the material evenly, and then use a tamper to compact it firmly. This layer serves as the foundation for the walkway, providing stability and aiding in drainage.
By thoroughly preparing the pathway area, you'll ensure a solid and stable base for the subsequent steps in creating your stunning DIY walkway.
Step 4: Laying the Foundation
With the pathway area prepared, it's time to lay the foundation for your walkway. This phase is critical in ensuring the stability and longevity of the finished project. Here's a detailed guide on how to lay the foundation for your DIY walkway:
-
Adding Sand Layer: Once the base material is in place, spread a layer of sand over the compacted base. The sand layer should be approximately 1 inch thick and will provide a level surface for the placement of the pavers or stones.
-
Screeding the Sand: Use a long, straight board (screed) to level the sand layer. Drag the screed across the surface, filling in any low spots and removing excess sand to create a smooth and even bed for the pavers.
-
Checking for Evenness: Use a level to ensure that the sand layer is uniformly flat and at the correct depth. Making adjustments at this stage will help prevent unevenness in the finished walkway.
-
Creating a Solid Base: Once the sand layer is leveled, use a tamper to compact it gently. This will further stabilize the surface and provide a solid base for the pavers or stones.
-
Laying the Pavers or Stones: Begin placing the pavers or stones according to your predetermined design layout. Take care to maintain consistent spacing and alignment as you work your way along the pathway.
-
Tapping into Place: Use a rubber mallet to tap each paver or stone into place, ensuring that they are level with the surrounding pieces. Periodically check for levelness and make adjustments as needed.
-
Cutting and Trimming: If necessary, use a saw or chisel to cut pavers to fit the edges of the walkway or around obstacles. This will help create a clean and professional-looking finish.
By following these steps to lay the foundation for your walkway, you'll establish a sturdy and visually appealing base for the final stages of your DIY project.
Step 5: Placing the Pavers or Stones
Placing the pavers or stones is a crucial step in bringing your DIY walkway to life. Here's a detailed guide on how to effectively place the pavers or stones to create a stunning and durable pathway:
-
Begin Placement: Start placing the pavers or stones according to the design layout you established during the planning phase. Carefully position each piece, ensuring that they fit snugly together and align with the predetermined pathway shape.
-
Maintain Consistent Spacing: As you lay the pavers or stones, pay attention to maintaining consistent spacing between each piece. This will help create a visually appealing and structurally sound walkway. Using spacers can assist in achieving uniform spacing.
-
Check for Alignment: Periodically check the alignment of the pavers or stones to ensure they are straight and follow the intended pathway. Making adjustments as you progress will help avoid misalignment issues in the finished walkway.
-
Use a Level: Utilize a level to confirm that the pavers or stones are even and at the desired height. This step is essential for preventing tripping hazards and creating a smooth walking surface.
-
Tap into Place: Once a section of pavers or stones is laid, use a rubber mallet to tap each piece into place. This will help ensure that they are firmly set in the sand and at an even level with the surrounding pieces.
-
Address Unevenness: If you encounter any unevenness or wobbling during the placement process, add or remove sand as needed to achieve a level and stable surface.
-
Consider Patterns: If you are using different shapes or colors of pavers or stones, consider incorporating visually appealing patterns or designs to enhance the aesthetic appeal of the walkway.
By following these steps, you'll effectively place the pavers or stones to create a visually stunning and structurally sound walkway that enhances the overall appeal of your outdoor space.
Step 6: Adding Finishing Touches
As you near the completion of your DIY walkway project, adding the finishing touches will elevate the overall look and functionality of the pathway. Here's a detailed guide on how to add those final details:
-
Edging the Walkway: Install the chosen edging material along the borders of the walkway to create a clean and defined edge. This not only enhances the visual appeal but also helps prevent the shifting of pavers or stones over time.
-
Filling the Gaps: Once the pavers or stones are in place, fill the gaps between them with fine sand or gravel. This will help lock the pieces in position and prevent weed growth while maintaining a cohesive appearance.
-
Compact and Level: Use a plate compactor or hand tamper to compact the entire walkway surface. This will ensure that the pavers or stones are firmly set in place and the surface is level and stable.
-
Apply Sealant (Optional): Depending on the type of pavers or stones used, applying a sealant can enhance the color and durability of the walkway. Follow the manufacturer's instructions for the appropriate application of sealant.
-
Add Lighting (Optional): Consider incorporating low-voltage landscape lighting along the walkway to enhance safety and create an inviting ambiance during the evening hours.
-
Landscaping Touches: To further enhance the visual appeal, consider adding landscaping elements such as flower beds, shrubs, or decorative stones along the edges of the walkway.
-
Regular Maintenance: Once your walkway is complete, establish a regular maintenance routine. This may include sweeping, weed control, and occasional re-leveling of the pavers or stones to keep the walkway looking its best.
By adding these finishing touches, you'll bring your DIY walkway project to its full potential, creating a stunning and functional pathway that enhances the beauty of your outdoor space.
Conclusion
In conclusion, creating a stunning DIY walkway is a rewarding endeavor that can significantly enhance the aesthetic appeal and functionality of your outdoor space. By following the outlined steps, from meticulous planning and preparation to the final finishing touches, you can achieve a professional-looking walkway that complements your home's style and withstands the test of time. With careful attention to detail and the right materials and tools, you can transform a simple pathway into a visually striking and durable feature that adds value to your property. Whether you're a seasoned DIY enthusiast or a beginner looking to take on a new project, the satisfaction of completing a beautiful walkway that you can be proud of is well within reach. So, roll up your sleeves, unleash your creativity, and embark on the journey of creating a stunning pathway that will leave a lasting impression.