
Home>Home & Furniture>Roof>DIY RV Roof Coating Guide
Roof
DIY RV Roof Coating Guide
Published: August 15, 2024
Discover how to protect and extend the life of your RV roof with our comprehensive DIY RV roof coating guide. Step-by-step instructions and expert tips included!
(Many of the links in this article redirect to a specific reviewed product. Your purchase of these products through affiliate links helps to generate commission for Twigandthistle.com, at no extra cost. Learn more)
Keeping your RV roof in good condition is crucial for protecting the interior from leaks and damage. Applying a roof coating yourself can save money and extend the life of your vehicle. This guide introduces the essential steps and materials needed for a successful DIY RV roof coating project. Whether you're a seasoned DIYer or new to tackling home improvement projects, this straightforward approach will help you get the job done efficiently. By following these tips, you can ensure your RV stays safe, dry, and ready for all your adventures on the road.
Getting Ready for the Project
Gather Materials: Get roof coating, cleaning supplies, protective gear, brushes, and rollers.
Check Weather: Ensure a dry, sunny day for the project. Rain can ruin the coating.
Clean the Roof: Remove dirt, debris, and old coating. Use a mild detergent and water. Let it dry completely.
Inspect for Damage: Look for cracks, holes, or leaks. Repair these before coating.
Set Up Workspace: Clear the area around the RV. Lay down drop cloths to catch spills.
Wear Safety Gear: Use gloves, goggles, and non-slip shoes. Roof work can be dangerous.
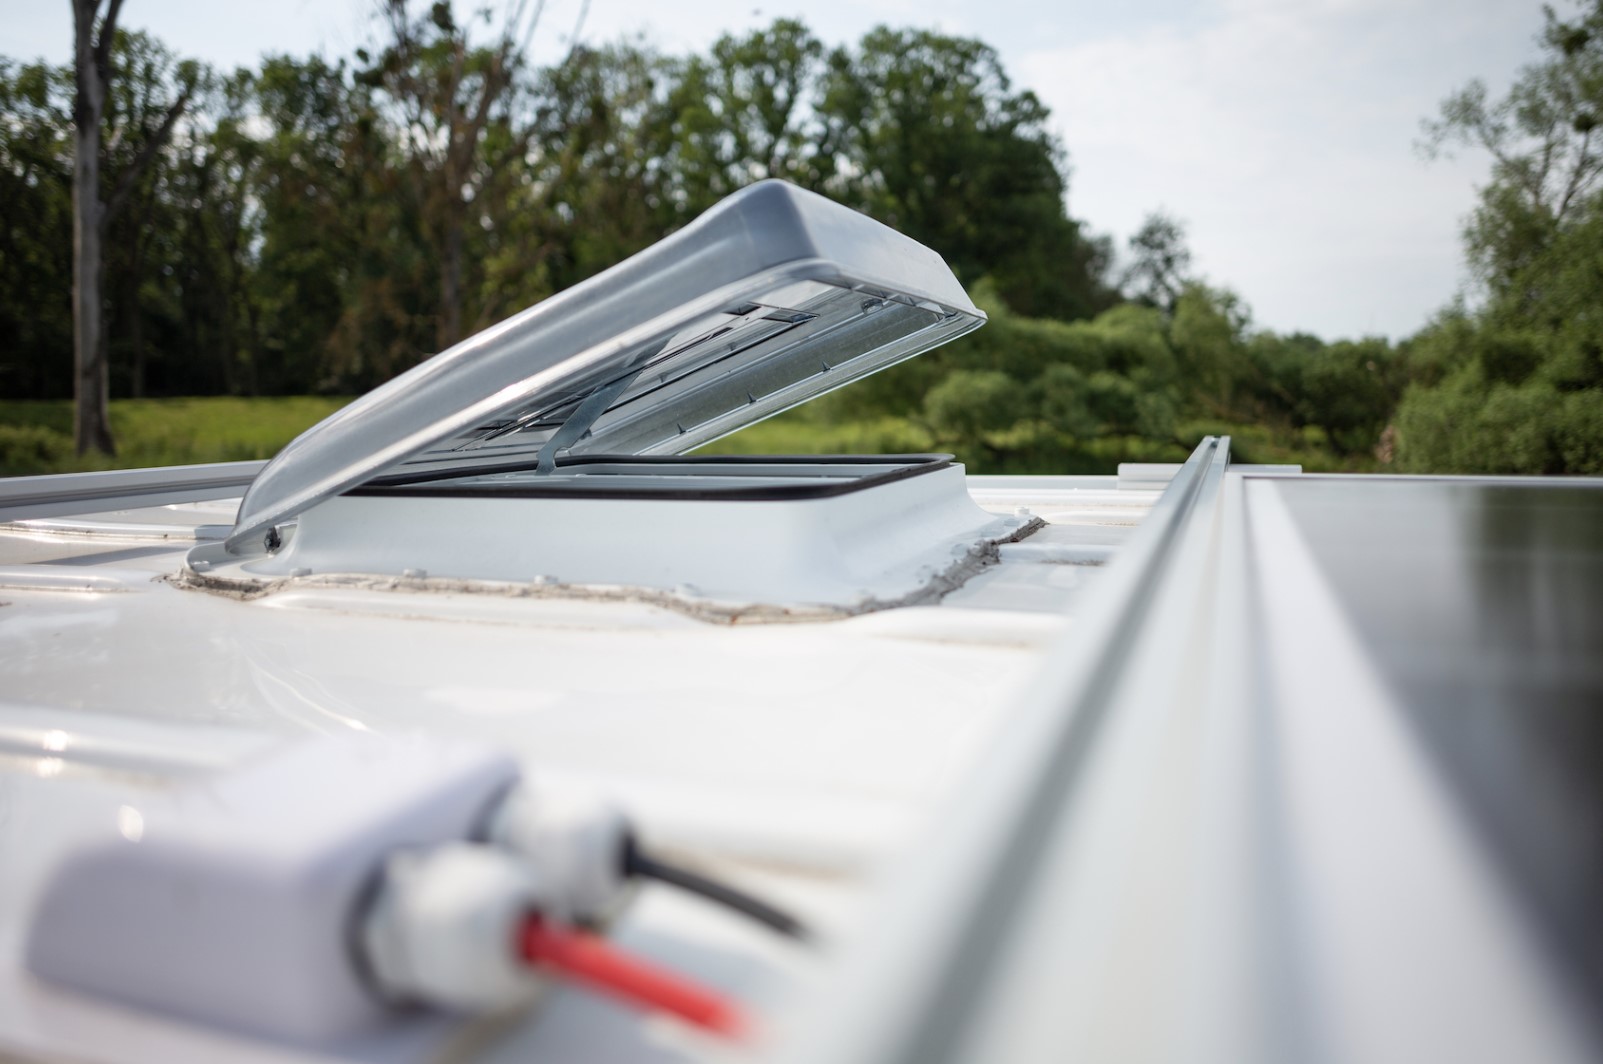
Tape Off Areas: Protect vents, skylights, and edges with painter's tape.
Mix Coating: Stir the roof coating thoroughly. Follow the manufacturer's instructions.
Apply Primer: If needed, apply a primer first. Let it dry as directed.
Start Coating: Use a roller for large areas and a brush for edges. Apply evenly.
Let It Dry: Allow the coating to dry completely. Check the label for drying times.
Inspect Work: Once dry, check for missed spots. Apply a second coat if necessary.
What You Need to Get Started
RV Roof Coating: Specially designed to protect and seal the roof, preventing leaks and damage from UV rays.
Roof Cleaner: Essential for removing dirt, grime, and old coatings to ensure the new coating adheres properly.
Scrub Brush: Helps in scrubbing off tough stains and debris from the roof surface.
Pressure Washer: Useful for a thorough cleaning of the roof, ensuring all dirt and old coatings are removed.
Painter’s Tape: Used to mask off areas that should not be coated, like vents and skylights.
Paint Roller and Extension Pole: Allows for even application of the roof coating, especially on larger surfaces.
Paint Brushes: Handy for coating edges and hard-to-reach areas.
Caulk Gun and RV Roof Sealant: Needed to seal any cracks or seams before applying the roof coating.
Protective Gear: Includes gloves, safety glasses, and a mask to protect yourself from chemicals and debris.
Ladder: Necessary for accessing the roof safely.
Drop Cloths or Plastic Sheeting: Protects the sides of the RV from drips and spills during the coating process.
Mixing Stick: Ensures the coating is well-mixed before application.
Bucket: Useful for mixing and carrying cleaning solutions or coating materials.
Weatherproof Clothing: Keeps you dry and comfortable while working on the roof, especially if the weather is unpredictable.
How Much Skill and Time You Need
Skill Level: Intermediate
Time Required:
Preparation: 2-3 hours
- Cleaning the roof
- Gathering materials
Application: 4-6 hours
- Applying the first coat
- Allowing drying time
- Applying the second coat
Drying Time: 24-48 hours
- Ensuring the coating fully cures
Follow These Steps
Gather Materials:
- Roof coating
- Paint roller with extension handle
- Paintbrush
- Ladder
- Cleaning supplies (soap, water, scrub brush)
- Painter's tape
- Drop cloths or plastic sheeting
Clean the Roof:
- Use a ladder to access the roof.
- Sweep off loose debris.
- Scrub the roof with soap and water.
- Rinse thoroughly and let it dry completely.
Inspect the Roof:
- Check for cracks, holes, or damage.
- Repair any issues with appropriate sealant or patching material.
- Allow repairs to dry before proceeding.
Prepare the Area:
- Use painter's tape to mask off areas you don't want coated.
- Lay drop cloths or plastic sheeting around the RV to catch drips.
Apply the Coating:
- Stir the roof coating thoroughly.
- Pour some coating into a paint tray.
- Use a paint roller to apply an even coat, starting at one end and working your way across.
- Use a paintbrush for edges and tight spots.
Let it Dry:
- Allow the first coat to dry as per the manufacturer's instructions.
- Apply a second coat if needed, following the same steps.
Clean Up:
- Remove painter's tape carefully.
- Clean your tools with water or the recommended cleaner.
- Dispose of any waste materials properly.
Inspect Your Work:
- Check for even coverage and touch up any missed spots.
- Ensure the roof is fully dry before exposing it to rain or heavy use.
Helpful Tips and Tricks
Clean the roof thoroughly before starting. Dirt and debris can prevent the coating from sticking properly. Use a mild detergent and a soft brush.
Choose the right coating for your roof type. Rubber, fiberglass, and metal roofs each need different products. Read labels carefully.
Apply on a dry day. Moisture can interfere with the coating process. Check the weather forecast to ensure a rain-free day.
Use a roller for even application. Rollers help spread the coating smoothly, avoiding streaks and bubbles.
Apply multiple thin layers instead of one thick layer. Thin layers dry faster and adhere better.
Inspect for damage before coating. Fix any cracks or holes to prevent leaks.
Wear protective gear. Gloves and goggles protect your skin and eyes from chemicals.
Common mistakes to avoid:
- Skipping the cleaning step.
- Using the wrong type of coating.
- Applying too thick a layer.
- Ignoring weather conditions.
- Not repairing damage beforehand.
Alternatives for materials or methods:
- For cleaning, a mixture of water and vinegar can be a natural alternative to detergent.
- Instead of a roller, a paintbrush can be used for small areas or edges.
- If you prefer eco-friendly options, look for coatings labeled as environmentally safe.
How Much Will It Cost?
Materials:
- RV Roof Coating: $100-$200 per gallon (depends on brand and quality)
- Primer: $30-$50 per gallon (if needed)
- Sealant Tape: $20-$40 per roll
- Cleaner/Degreaser: $10-$20 per bottle
Tools:
- Paint Roller: $10-$20
- Paint Brushes: $5-$15
- Caulking Gun: $10-$20
- Ladder: $50-$100 (if not already owned)
- Protective Gear (gloves, mask): $10-$20
Total Estimated Cost: $245-$485
Budget-Friendly Alternatives:
- Generic Roof Coating: $80 per gallon
- DIY Cleaner (vinegar and water mix): $5
- Borrow Ladder: Free (if possible)
- Reusable Protective Gear: $10
Total with Alternatives: $185-$325
Ways to Customize Your Project
Alternative Materials: Instead of traditional acrylic coatings, consider using silicone or polyurethane coatings. Silicone offers excellent UV resistance and flexibility, while polyurethane provides durability and resistance to ponding water.
Colors: Most RV roof coatings come in white to reflect sunlight and keep the interior cool. However, you can choose light gray or beige for a different look. Some brands offer tintable options to match your RV's color scheme.
Styles: For a textured finish, mix in fine sand or rubber granules with the coating. This adds grip and reduces slip hazards. For a sleek look, apply a glossy topcoat over the base layer.
Application Methods: Use a paint roller for even coverage, or a paint sprayer for a smoother finish. For hard-to-reach areas, a brush works well.
Additional Features: Add a UV protectant to extend the life of the coating. For extra insulation, consider a thermal barrier coating. If noise reduction is a priority, look for coatings with sound-dampening properties.
Eco-Friendly Tips
Eco-friendly materials can make a big difference. Silicone-based coatings are durable and reflect sunlight, reducing heat inside. Acrylic coatings are water-based and have low VOCs (volatile organic compounds), making them safer for the environment.
Reusing materials is another great way to stay green. If you have leftover paint or sealant from other projects, use those instead of buying new products. Recycled rubber can also be used for patching small areas.
Methods matter too. Clean the roof with a mixture of vinegar and water instead of harsh chemicals. Use a paint roller or brush instead of a sprayer to reduce waste. Apply the coating during cooler parts of the day to ensure even drying and less evaporation.
Solar reflective coatings can help keep your RV cooler, reducing the need for air conditioning. This saves energy and reduces your carbon footprint.
Proper maintenance extends the life of your roof, reducing the need for frequent recoating. Regularly check for leaks and fix them promptly to avoid larger issues.
Your RV Roof's New Best Friend
Applying DIY RV roof coating can save you a ton of money and extend your RV's life. First, clean the roof thoroughly. Dirt and debris can mess up the coating's effectiveness. Next, inspect for any damage. Fix cracks or holes before applying the coating. When you're ready, use a roller or brush to apply the coating evenly. Don't rush; take your time to ensure full coverage. Let it dry completely before hitting the road again. Regular maintenance checks will keep your roof in top shape. If you notice any wear or damage, touch it up quickly. This simple project can protect your RV from leaks, UV rays, and other weather-related issues. Plus, doing it yourself gives you a sense of accomplishment. So grab your tools, and give your RV roof the care it deserves.
How often should I apply RV roof coating?
Generally, you should apply RV roof coating every 2-4 years. However, check your roof's condition regularly for any signs of wear or damage.
What type of roof coating is best for my RV?
Silicone and acrylic coatings are popular choices. Silicone is great for waterproofing, while acrylic is more affordable and easy to apply.
Can I apply the roof coating myself?
Absolutely! Applying RV roof coating is a straightforward DIY project. Just follow the instructions on the product and ensure the roof is clean before starting.
How do I prepare my RV roof for coating?
Clean the roof thoroughly with a mild detergent and water. Remove any debris, dirt, or old coating. Let it dry completely before applying the new coating.
How long does it take for the roof coating to dry?
Drying time varies by product, but most roof coatings take 24-48 hours to fully cure. Check the product label for specific drying times.
Will roof coating fix leaks in my RV?
Yes, roof coating can seal small leaks and prevent new ones. For larger leaks, you might need to repair the area first before applying the coating.
Can I use any roof coating on my RV?
No, make sure to use a coating specifically designed for RV roofs. Using the wrong type can cause damage or not provide adequate protection.