
Home>Home & Furniture>Doors & Windows>How to Apply DIY Privacy Window Film
Doors & Windows
How to Apply DIY Privacy Window Film
Published: August 16, 2024
Learn how to apply DIY privacy window film with our step-by-step guide. Enhance privacy, reduce glare, and add style to your windows easily and affordably.
(Many of the links in this article redirect to a specific reviewed product. Your purchase of these products through affiliate links helps to generate commission for Twigandthistle.com, at no extra cost. Learn more)
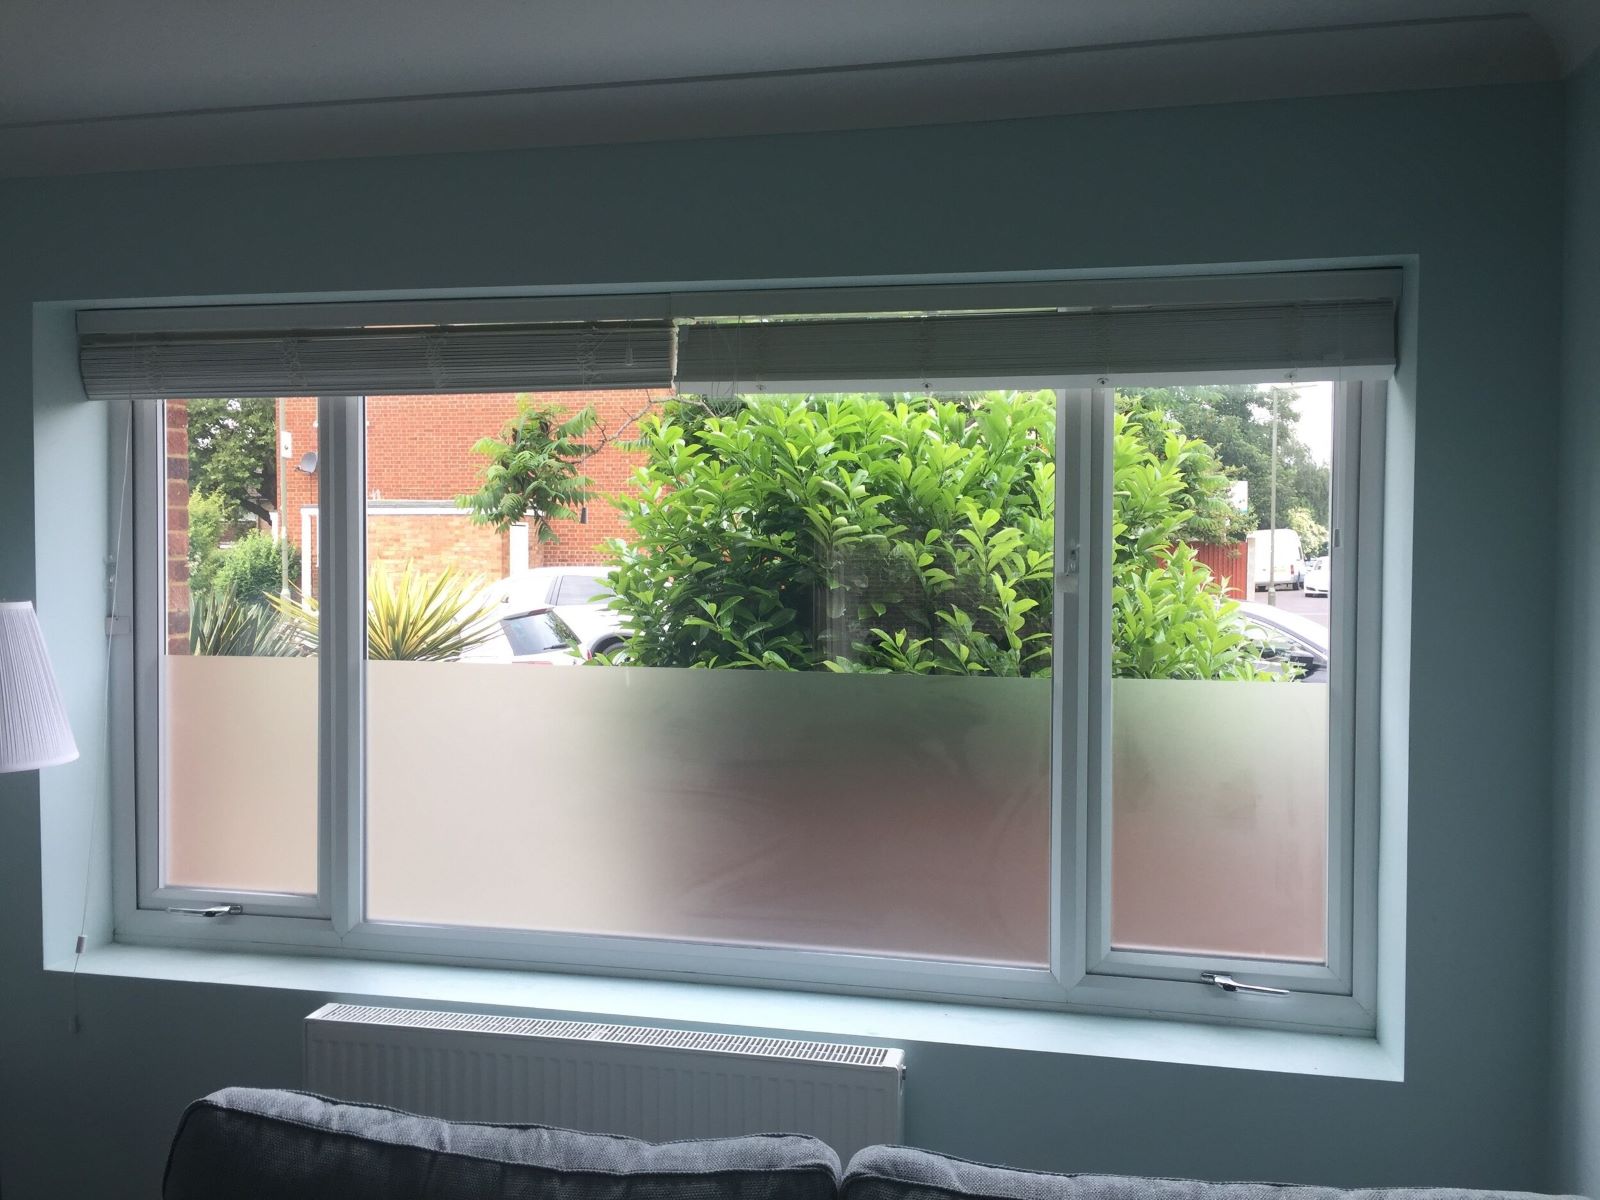
Want more privacy without heavy curtains or blinds? Applying DIY privacy window film could be your solution. These films are easy to install, cost-effective, and allow natural light to filter in while keeping prying eyes out. Whether you're looking to add a decorative touch to your windows or need more seclusion, this project can be tackled in an afternoon. You'll need a few simple tools and some patience, but the results are worth it. Ready to get started? Follow our guide for a step-by-step approach to transforming your windows into private, yet light-filled, spaces.
Getting Ready for Your Project
Measure the Window: Use a tape measure to get the exact dimensions of the window. Write down the measurements to avoid mistakes.
Clean the Window: Use a glass cleaner and a lint-free cloth to remove dirt, dust, and grime. A clean surface ensures the film sticks properly.
Gather Supplies: Collect all necessary tools: privacy window film, a spray bottle filled with soapy water, a squeegee, a utility knife, and a ruler.
Cut the Film: Cut the window film slightly larger than the window measurements. This allows for adjustments during application.
Prepare the Workspace: Set up a clean, flat surface to work on. Lay out all tools and materials within easy reach.
Safety Tips: Wear gloves to protect your hands from the utility knife. Ensure the workspace is well-lit to avoid cutting errors.
Apply Soapy Water: Spray the window generously with soapy water. This helps the film slide into place and prevents air bubbles.
Peel the Film: Carefully peel off the backing from the film. Avoid touching the adhesive side to keep it clean.
Position the Film: Place the film on the wet window, starting from the top. Adjust as needed to align it properly.
Smooth Out Bubbles: Use the squeegee to press the film onto the window, starting from the center and moving outward. This removes air bubbles and excess water.
Trim Excess Film: Use the utility knife and ruler to trim any excess film from the edges. Be precise to ensure a clean finish.
Final Check: Inspect the window for any remaining bubbles or imperfections. Smooth out any issues with the squeegee.
Gather Your Supplies
Privacy Window Film: This is the main material. It comes in rolls and has a sticky side that adheres to glass.
Spray Bottle: Fill with water and a few drops of dish soap. This helps the film slide into place on the window.
Squeegee: Used to smooth out air bubbles and excess water from under the film.
Utility Knife: A sharp blade is necessary for trimming the film to fit the window perfectly.
Measuring Tape: Ensures accurate measurements of the window and film.
Ruler or Straight Edge: Helps in cutting straight lines on the film.
Microfiber Cloth: Used to clean the window before applying the film. It prevents dust and dirt from getting trapped.
Credit Card or Plastic Card: Can be used as an alternative to a squeegee for smoothing out the film.
Paper Towels: Handy for wiping away excess water and cleaning up.
Pencil: For marking measurements on the film before cutting.
Scissors: Useful for cutting the film to a rough size before trimming with the utility knife.
Skill Level and Time Commitment
Skill Level: Beginner
Time Required: 1-2 hours
- Clean the Window: 10-15 minutes
- Measure and Cut Film: 20-30 minutes
- Apply Soapy Water: 5 minutes
- Position the Film: 10-15 minutes
- Smooth Out Bubbles: 15-20 minutes
- Trim Excess Film: 10 minutes
Follow These Steps
Gather Supplies:
- Privacy window film
- Spray bottle with water and a few drops of dish soap
- Squeegee or credit card
- Utility knife
- Measuring tape
- Scissors
- Clean cloth or paper towels
Clean the Window:
- Use a clean cloth and soapy water to remove dirt and grime.
- Dry thoroughly with a paper towel.
Measure the Window:
- Measure the height and width of the window.
- Add an extra inch to each measurement for trimming.
Cut the Film:
- Roll out the film on a flat surface.
- Use scissors to cut the film to the measured size.
Spray the Window:
- Fill a spray bottle with water and a few drops of dish soap.
- Spray the window generously to make it slippery.
Peel the Film Backing:
- Carefully peel off the backing from the film.
- Keep the adhesive side clean and free of dust.
Apply the Film:
- Align the top edge of the film with the top of the window.
- Slowly press the film onto the glass, smoothing it out as you go.
Smooth Out Bubbles:
- Use a squeegee or credit card to press out air bubbles.
- Start from the center and work towards the edges.
Trim Excess Film:
- Use a utility knife to trim any excess film around the edges.
- Be careful not to scratch the glass.
Final Touches:
- Wipe the film with a clean, damp cloth to remove any remaining bubbles.
- Let the film dry for a few hours before touching it.
Helpful Hints
Clean the Window Thoroughly: Use a mixture of water and a few drops of dish soap. Any dirt or dust will cause bubbles.
Measure Twice, Cut Once: Measure the window carefully. Cut the film slightly larger than needed. Trim the excess after application.
Use a Spray Bottle: Fill it with water and a few drops of dish soap. Spray the window generously before applying the film. This helps position the film easily.
Apply Slowly: Start from the top and work your way down. Peel the backing off gradually while smoothing the film onto the window.
Smooth Out Bubbles: Use a squeegee or a credit card wrapped in a soft cloth. Start from the center and push bubbles toward the edges.
Trim Excess Film: Use a sharp utility knife. Cut along the edges for a clean finish.
Common Mistakes to Avoid:
- Skipping Cleaning: Dirt causes bubbles.
- Cutting Film Too Small: Always cut larger than needed.
- Not Using Enough Water: Makes repositioning difficult.
- Rushing: Take your time to avoid bubbles and wrinkles.
Alternative Methods:
- Static Cling Film: Easier to reposition, no adhesive needed.
- Frosted Glass Spray: Quick application, but permanent.
- Curtains or Blinds: Non-permanent, easy to change.
Budgeting for Your DIY
Privacy window film costs about $10 to $30 per roll, depending on size and quality. For a standard-sized window, one roll should be enough.
Utility knives are around $5 to $10.
Squeegees cost about $5 to $15.
Spray bottles can be found for $1 to $5.
Dish soap and water are usually already at home, but if not, a small bottle of dish soap costs about $2.
Total cost: $23 to $62.
For budget-friendly alternatives, use an old credit card instead of a squeegee and scissors instead of a utility knife.
Personalize Your Window Film
Alternative materials can change the look and feel of your window film. Instead of standard vinyl, try static cling film for easy removal or frosted glass spray for a more permanent solution.
Colors can make a big difference. Choose tinted films in shades like blue, green, or bronze for a unique look. For a more artistic touch, consider stained glass films with vibrant colors and patterns.
Styles offer another way to customize. Go for geometric patterns for a modern vibe or floral designs for a softer, more classic look. Textured films can add depth and interest, mimicking materials like rice paper or etched glass.
Mix and match these options to create a window film that fits your personal style and home decor.
Eco-Friendly Options
Eco-friendly materials can make a big difference. Choose window film made from recycled or biodegradable materials. Look for brands that use non-toxic adhesives.
Reusing materials is another great option. Repurpose old plastic sheets or even shower curtains. Cut them to fit your window size.
Use natural cleaners like vinegar and water to clean the window before applying the film. Avoid chemical cleaners that can harm the environment.
Apply the film using a reusable squeegee instead of disposable ones. Store the squeegee for future projects.
Recycle any leftover film or packaging. Check local recycling guidelines to ensure proper disposal.
Consider using curtains or blinds made from sustainable fabrics as an alternative. These can be reused and washed, reducing waste.
Your Windows, Your Privacy
Applying DIY privacy window film isn't just about adding a layer of privacy; it's also a fun, rewarding project. With a bit of patience and the right tools, you can transform your space without breaking the bank. Remember to clean the window thoroughly, measure accurately, and take your time smoothing out any bubbles. The satisfaction of seeing your work come together is worth the effort. Plus, you get the added benefit of a more private, stylish home. So grab that squeegee, roll up your sleeves, and get to work. Your windows will thank you, and you'll enjoy the newfound privacy and aesthetic appeal. Happy DIY-ing!
What tools do I need to apply privacy window film?
You'll need a spray bottle, squeegee, utility knife, measuring tape, ruler, and a clean cloth.
How do I clean the window before applying the film?
Use a mild soap and water solution. Wipe the window with a clean cloth to remove any dust or dirt.
Can I apply the film by myself?
Absolutely! It's a simple DIY project. Just follow the instructions and take your time.
How do I measure the window for the film?
Measure the height and width of the window. Add an extra inch to each side to ensure full coverage.
What if I make a mistake while applying the film?
No worries! You can peel it off and reapply. Just make sure the window is still wet.
How long does it take for the film to dry?
It usually takes about 24 to 48 hours for the film to fully adhere and dry.
Can I remove the film later?
Yes, you can. Just peel it off slowly. If any residue remains, use a mild cleaner to remove it.