
Home>Home & Furniture>Doors & Windows>DIY Front Door Walkway Guide
Doors & Windows
DIY Front Door Walkway Guide
Published: September 23, 2024
Transform your home's entrance with our DIY front door walkway guide. Step-by-step instructions, materials list, and design tips for a stunning and welcoming pathway.
(Many of the links in this article redirect to a specific reviewed product. Your purchase of these products through affiliate links helps to generate commission for Twigandthistle.com, at no extra cost. Learn more)
Creating a front door walkway yourself can be a fun and rewarding project. It adds charm to your home and makes the entrance more welcoming. Whether you're working with stone, brick, or concrete, this guide will help you design and build a beautiful path. No need for fancy tools or prior experience; just follow the steps and enjoy the process. With a bit of planning, some basic materials, and a few hours of work, you can transform your front yard into something special. Ready to get started? Let's make an awesome walkway together!
Getting Ready for Your Project
Plan Your Design: Sketch out your walkway on paper. Measure the area to determine the length and width.
Gather Materials: Collect pavers, gravel, sand, and edging. Make sure you have enough for the entire walkway.
Check for Utilities: Contact local utility companies to ensure there are no underground lines where you plan to dig.
Clear the Area: Remove any grass, plants, or debris from the walkway path. Use a shovel to dig down about 6 inches.
Level the Ground: Use a level and tamping tool to make the ground even. This helps prevent future shifting.
Add Gravel Base: Spread a 2-3 inch layer of gravel. Compact it with the tamper for a solid foundation.
Lay Sand: Add a 1-inch layer of sand over the gravel. Smooth it out with a rake and level.
Place Pavers: Start laying pavers from one end, fitting them tightly together. Use a rubber mallet to tap them into place.
Install Edging: Secure the edges with plastic or metal edging to keep pavers from shifting.
Fill Gaps: Sweep sand into the gaps between pavers. This locks them in place.
Water the Walkway: Lightly spray water over the walkway to settle the sand.
Safety Tips:
- Wear gloves to protect hands.
- Use safety goggles when cutting pavers.
- Keep a first aid kit nearby for minor injuries.
- Take breaks to avoid fatigue.
What You Need to Get Started
- Pavers or Stones: These are the main materials for the walkway. Choose ones that match your home's style.
- Gravel: Provides a stable base for the pavers. Helps with drainage.
- Sand: Used to level the pavers. Fills gaps between them.
- Landscape Fabric: Prevents weeds from growing through the walkway.
- Edging: Keeps the pavers in place. Gives the walkway a clean look.
- Shovel: For digging out the walkway area. Also used for spreading gravel and sand.
- Rake: Helps to level the gravel and sand. Ensures a smooth surface.
- Tamper: Compacts the gravel and sand. Creates a solid base.
- Level: Ensures the pavers are even. Prevents tripping hazards.
- Rubber Mallet: Used to tap pavers into place. Prevents damage to the pavers.
- Measuring Tape: Measures the walkway area. Ensures accurate placement of pavers.
- Wheelbarrow: Transports gravel, sand, and pavers. Makes the job easier.
- Gloves: Protects your hands from blisters and cuts.
- Safety Glasses: Shields your eyes from debris. Keeps you safe while working.
How Much Time and Skill You Need
Skill Level: Intermediate
Time Required: 1-2 weekends
- Planning and Measuring: 2-3 hours
- Excavation and Base Preparation: 4-6 hours
- Laying Pavers or Stones: 6-8 hours
- Finishing Touches: 2-3 hours
Important Keywords: Intermediate, 1-2 weekends, Planning, Measuring, Excavation, Base Preparation, Laying Pavers, Finishing Touches
Follow These Steps
Plan Your Walkway
- Measure the area.
- Sketch the design on paper.
- Choose materials (pavers, gravel, bricks).
Gather Materials and Tools
- Pavers or bricks
- Gravel or sand
- Shovel
- Level
- Tamper
- Edging material
- Landscape fabric
Prepare the Ground
- Mark the walkway area with stakes and string.
- Dig out the soil to a depth of 6-8 inches.
- Remove any roots or rocks.
Install Edging
- Place edging material along the sides of the walkway.
- Secure it with stakes.
Lay Landscape Fabric
- Spread fabric over the dug-out area.
- Cut to fit, ensuring it covers the entire space.
Add Base Layer
- Pour 3-4 inches of gravel or sand.
- Spread evenly with a rake.
- Compact using a tamper.
Lay Pavers or Bricks
- Start at one end, placing pavers or bricks in the desired pattern.
- Use a level to ensure each piece is even.
- Tap gently with a rubber mallet if needed.
Fill Gaps
- Pour sand over the pavers or bricks.
- Sweep sand into the gaps using a broom.
- Repeat until gaps are filled.
Compact Walkway
- Use a tamper to compact the entire walkway.
- Add more sand if necessary.
Clean Up
- Remove any excess sand.
- Hose down the walkway to settle the sand.
Final Touches
- Add plants or mulch along the edges.
- Enjoy your new walkway!
Helpful Tips and Tricks
Plan the Path: Use a garden hose to outline the walkway shape. This helps visualize the path before digging.
Choose Materials Wisely: Concrete pavers, bricks, or natural stone are great options. Gravel is a budget-friendly alternative.
Prepare the Base: Dig 6-8 inches deep. Add a layer of crushed stone, then compact it. This prevents sinking and shifting.
Use Sand for Leveling: Spread a 1-inch layer of sand over the base. Use a board to level it out.
Lay Pavers Carefully: Start from one end, placing pavers snugly together. Use a rubber mallet to tap them into place.
Fill Gaps: Sweep sand into the gaps between pavers. This locks them in place.
Edge the Walkway: Use plastic or metal edging to keep pavers from spreading.
Compact Again: After filling gaps, use a plate compactor to ensure everything is set.
Seal the Surface: Apply a sealant to protect against weather and stains.
Common Mistakes to Avoid:
- Skipping the base preparation. This leads to uneven surfaces.
- Not compacting the base properly. Causes sinking over time.
- Using too much sand. Pavers may shift.
- Ignoring edging. Pavers can spread out.
Alternatives:
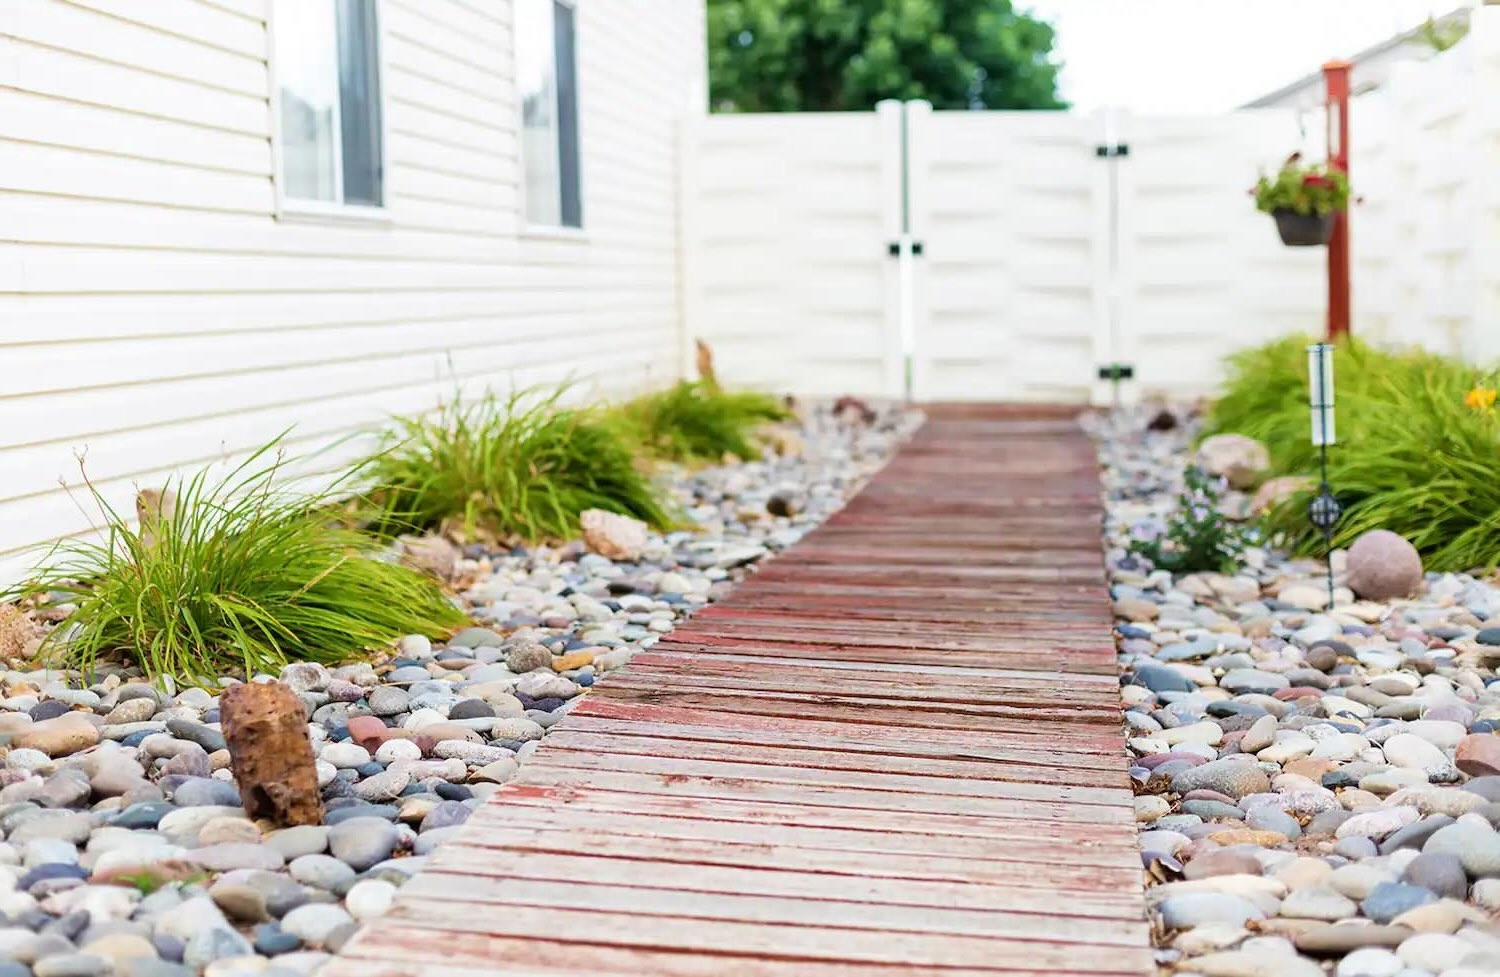
- Wooden Walkway: Use treated lumber for a rustic look.
- Stepping Stones: Space them out with grass or gravel in between.
- Concrete Slabs: Pour concrete for a solid, durable path.
How Much Will It Cost?
Pavers: $2-$5 per square foot. For a 50-square-foot walkway, expect $100-$250.
Gravel: $30-$50 per cubic yard. One cubic yard should cover a 50-square-foot area.
Sand: $20-$40 per cubic yard. One cubic yard should be enough.
Edging: $1-$3 per linear foot. For a 50-square-foot walkway, around 50 linear feet of edging is needed, costing $50-$150.
Weed Barrier Fabric: $10-$20 for a 50-foot roll.
Tools:
- Shovel: $10-$30
- Rake: $10-$20
- Tamper: $30-$50
- Level: $10-$20
- Rubber Mallet: $5-$15
Total Cost: Roughly $275-$625
Budget-Friendly Alternatives:
- Concrete Pavers: $1-$2 per square foot.
- Recycled Gravel: $10-$20 per cubic yard.
- Plastic Edging: $0.50-$1 per linear foot.
- Borrow Tools: Ask friends or neighbors to save on tool costs.
Different Ways to Customize
Materials: Instead of standard concrete, use pavers, bricks, or gravel. Pavers come in various shapes and sizes, offering a more decorative look. Bricks provide a classic feel, while gravel gives a rustic touch.
Colors: Choose earthy tones like browns, grays, or reds for a natural look. For a more modern style, opt for blacks, whites, or blues. You can even mix colors to create a pattern or design.
Styles: Create a straight path for a clean look or a curved walkway for a more organic feel. Add stepping stones for a whimsical touch or border the walkway with plants or lights for added charm.
Alternative Materials: Use wooden planks for a boardwalk style or recycled materials like glass or rubber for an eco-friendly option. Stamped concrete can mimic the look of stone or brick without the higher cost.
Finishing Touches: Add solar lights along the edges for a welcoming glow at night. Incorporate garden beds or planters to bring in color and texture. Use mulch or pebbles around the walkway for a finished look.
Eco-Friendly Ideas
Reclaimed Wood: Use old wood from barns, pallets, or other sources. Sand and seal it for a rustic, durable walkway.
Recycled Bricks: Gather old bricks from demolition sites. Clean them up and lay them in a pattern for a classic look.
Gravel: Opt for locally sourced gravel. It’s easy to install and allows rainwater to seep through, reducing runoff.
Mulch: Use organic mulch like wood chips or bark. It’s biodegradable and adds a natural touch.
Stepping Stones: Create stepping stones from broken concrete pieces. Arrange them creatively for a unique path.
Eco-Friendly Pavers: Choose pavers made from recycled materials. They’re durable and come in various styles.
Native Plants: Line your walkway with native plants. They require less water and maintenance.
Solar Lights: Install solar-powered lights along the path. They save energy and add charm.
Permeable Pavers: These allow water to pass through, reducing puddles and erosion.
Recycled Rubber: Use rubber mulch or pavers made from recycled tires. They’re durable and eco-friendly.
Your Walkway Awaits
You've got all the tools and know-how to create a stunning front door walkway. With a bit of effort and creativity, your home’s entrance will look fantastic. Remember, planning is key. Measure your space, choose the right materials, and follow the steps carefully. Don't rush the process; take your time to ensure everything is level and secure. If you hit a snag, don't hesitate to ask for help or look up additional resources. Your hard work will pay off when you see the final result. So, grab your shovel, lay those pavers, and enjoy the transformation. Your new walkway will not only boost your home’s curb appeal but also give you a sense of accomplishment. Happy building!
How do I choose the right materials for my walkway?
Consider durability, weather resistance, and aesthetics. Common choices include concrete, pavers, gravel, and stone. Think about your climate and budget too.
What tools will I need for this project?
Basic tools include a shovel, wheelbarrow, level, measuring tape, rubber mallet, and landscape fabric. For cutting pavers or stones, you might need a saw or chisel.
How do I prepare the ground for the walkway?
Start by marking the path with stakes and string. Then, dig out the area to a depth of about 6-8 inches. Remove any roots or rocks and level the ground.
Do I need to lay a base for the walkway?
Yes, a base layer is crucial for stability. Spread about 3-4 inches of gravel or crushed stone and compact it well. This helps with drainage and prevents shifting.
How do I ensure my walkway is level?
Use a level and a straight board to check the surface. Adjust by adding or removing base material. For pavers, use a rubber mallet to tap them into place.
Can I add curves to my walkway?
Absolutely! Curves add a natural look. Use flexible edging to outline the curves and cut the pavers or stones to fit. Just make sure the base follows the same curved path.
How do I maintain my new walkway?
Regularly sweep off debris and hose down the surface. For pavers, reapply sand to the joints if needed. Check for any shifting or cracks and fix them promptly.