
Home>Home & Furniture>Bedroom>How to Build a DIY Loft Bed
Bedroom
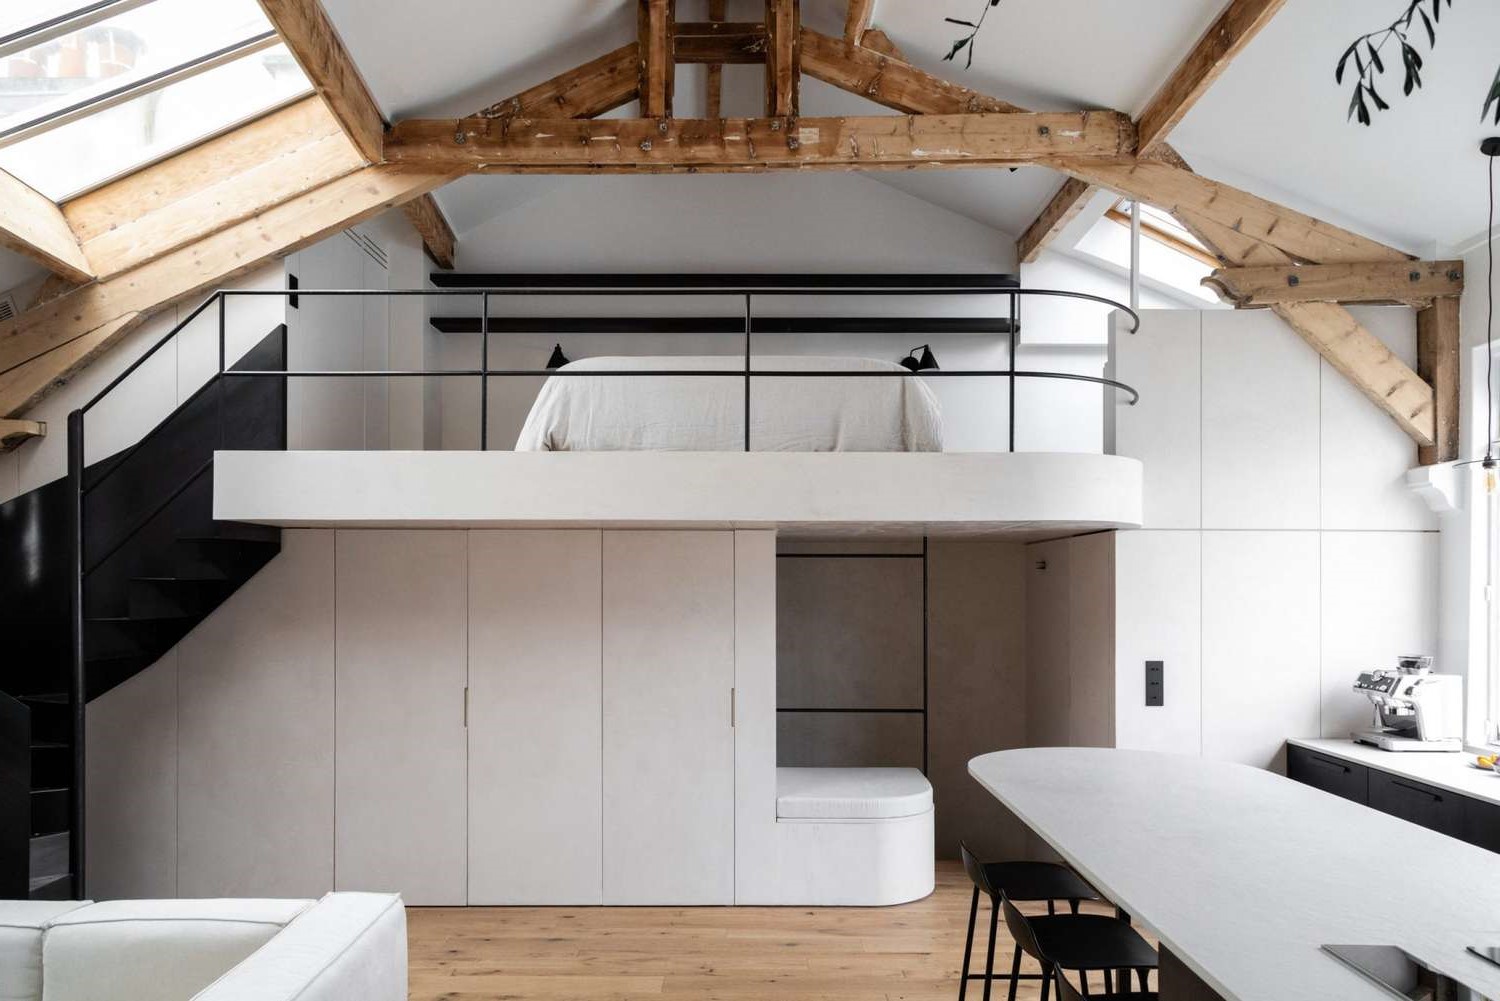
How to Build a DIY Loft Bed
Published: July 21, 2024
Learn how to build a DIY loft bed with our step-by-step guide. Maximize your space, add style, and create a functional sleeping area with this easy project.
(Many of the links in this article redirect to a specific reviewed product. Your purchase of these products through affiliate links helps to generate commission for Twigandthistle.com, at no extra cost. Learn more)
Building a DIY loft bed can be a fun and practical project. Loft beds create extra space in your room, making it feel less cluttered. Whether you're looking to add a study nook, storage area, or just want more space, a loft bed can help. The project doesn't require advanced carpentry skills, just some basic tools and materials. With a little effort, you can have a sturdy and stylish loft bed that fits your needs. Plus, doing it yourself can save money and provide a sense of accomplishment. Let's get started on this exciting project!
Getting Ready for Your Project
Measure Your Space: Ensure you have enough room for the loft bed. Measure the height, width, and length of the area where the bed will go.
Gather Materials: Collect all necessary materials like wood, screws, nails, and paint. Make sure you have enough to complete the project.
Safety Gear: Wear safety goggles, gloves, and a dust mask to protect yourself from wood dust and debris.
Clear the Workspace: Remove any obstacles from your workspace. Ensure you have enough room to move around and work comfortably.
Tools Check: Gather all required tools such as a saw, drill, measuring tape, level, and screwdriver. Make sure they are in good working condition.
Cut the Wood: Measure and cut the wood pieces according to your design plan. Double-check measurements to avoid mistakes.
Pre-Drill Holes: Pre-drill holes in the wood pieces to make assembly easier and prevent the wood from splitting.
Sand the Wood: Sand all wood pieces to smooth out rough edges and surfaces. This will make the bed safer and more comfortable.
Lay Out Pieces: Arrange all cut and sanded pieces in the order they will be assembled. This helps ensure you have everything you need.
Read Instructions: If you’re following a specific plan, read through all instructions before starting. This helps avoid surprises during the build.
Check for Studs: If attaching the bed to a wall, use a stud finder to locate wall studs. This ensures the bed is securely anchored.
Plan for Safety: Think about adding safety features like guardrails and a sturdy ladder. These will make the loft bed safer to use.
Gathering Materials and Tools
Materials:
- Wooden Boards: Used for the frame, slats, and ladder. Choose sturdy wood like pine or oak.
- Plywood: For the bed platform. Provides a solid base for the mattress.
- Screws: Essential for securing the frame and other parts. Use wood screws for better grip.
- Wood Glue: Adds extra strength to joints. Helps keep everything in place.
- Sandpaper: Smooths rough edges. Prepares wood for painting or staining.
- Paint or Stain: Finishes the wood. Protects it and makes it look nice.
- Mattress: The final touch. Make sure it fits the loft bed size.
Tools:
- Measuring Tape: Ensures accurate cuts. Helps keep everything aligned.
- Saw: Cuts the wooden boards and plywood. A circular saw or handsaw works well.
- Drill: Makes holes for screws. Also used to drive screws into the wood.
- Screwdriver: Tightens screws. A power screwdriver can save time.
- Clamps: Holds pieces together while the glue dries. Keeps everything steady.
- Level: Ensures the bed is even. Prevents wobbling.
- Paintbrush or Roller: Applies paint or stain. Gives the wood a finished look.
These materials and tools will help you build a sturdy, attractive loft bed.
Skill Level and Time Commitment
Skill Level: Intermediate
Time Required: 10-12 hours
- Materials Gathering: 1-2 hours
- Cutting Wood: 2-3 hours
- Assembling Frame: 3-4 hours
- Sanding and Finishing: 2-3 hours
Building Instructions
Gather Materials and Tools
- Wood: 4x4 posts, 2x6 boards, 2x4 boards, plywood
- Screws: 3-inch wood screws
- Drill: Cordless drill with bits
- Saw: Circular saw or handsaw
- Measuring Tape: For accurate measurements
- Sandpaper: For smoothing edges
- Paint or Stain: Optional for finishing
Measure and Cut Wood
- Posts: Cut four 4x4 posts to the desired height of the bed.
- Frame: Cut two 2x6 boards to the length of the bed and two to the width.
- Support Slats: Cut multiple 2x4 boards to fit inside the frame for mattress support.
- Plywood: Cut a piece to fit the top of the frame for the mattress base.
Assemble the Bed Frame
- Attach Frame Boards: Use screws to attach the 2x6 boards to form a rectangle.
- Add Support Slats: Space the 2x4 boards evenly inside the frame and secure with screws.
- Secure Plywood: Place the plywood on top of the slats and screw it down.
Attach the Legs
- Position Posts: Stand the 4x4 posts at each corner of the frame.
- Secure Posts: Drill screws through the frame into each post to secure them.
Add Safety Rails
- Measure Rails: Cut 2x4 boards to fit along the sides and ends of the bed.
- Attach Rails: Screw the rails to the posts at a height that prevents falling.
Sand and Finish
- Smooth Edges: Use sandpaper to smooth any rough edges or surfaces.
- Paint or Stain: Apply paint or stain if desired for a finished look.
Install Ladder
- Cut Ladder Rungs: Cut 2x4 boards for the ladder steps.
- Attach Rungs: Screw the rungs to two vertical 2x4 boards spaced evenly.
- Secure Ladder: Attach the ladder to the bed frame at a comfortable angle.
Place Mattress
- Position Mattress: Place the mattress on the plywood base.
- Check Stability: Ensure the bed is stable and secure before use.
Helpful Tips and Tricks
Measure twice, cut once. Accurate measurements prevent mistakes. Use a level to ensure everything is straight. Pre-drill holes to avoid splitting wood. Sand edges for a smooth finish. Use wood glue along with screws for extra strength.
Common mistakes include not checking ceiling height, leading to a bed too tall. Forgetting to account for mattress thickness can make the bed uncomfortable. Using weak wood can result in a wobbly structure.
For materials, consider plywood instead of solid wood for a lighter, cheaper option. Instead of traditional screws, use pocket hole screws for a cleaner look. If you lack power tools, hand tools like a handsaw and screwdriver can work, though it takes longer.
Estimating the Cost
Lumber: Expect to spend around $100-$150 for quality wood. Pine is cheaper, while oak or maple costs more.
Screws and Nails: Budget about $20 for these.
Sandpaper: A pack costs around $10.
Paint or Stain: This can range from $20-$40 depending on the brand and color.
Paint Brushes or Rollers: These will cost about $10.
Wood Glue: A bottle costs around $5.
Tools: If you don't have tools, a basic set including a saw, drill, and measuring tape will cost around $100-$150.
Safety Gear: Safety glasses and gloves will cost about $20.
Total Cost: Expect to spend between $285-$405.
Budget-Friendly Alternatives:
- Use reclaimed wood or pallets to save on lumber costs.
- Borrow tools from friends or family instead of buying.
- Look for sales or discounts on paint and hardware.
Personalizing Your Loft Bed
Materials: Instead of traditional wood, consider using metal pipes for an industrial look. For a more rustic feel, try reclaimed wood. If you want something lightweight, plywood works well.
Colors: Paint the bed frame in bold colors like red or blue for a vibrant look. For a more calming effect, use pastel shades. If you prefer a natural look, simply stain the wood to highlight its grain.
Styles: Add curtains around the bottom to create a cozy nook or private space. Install shelves or cubbies underneath for extra storage. Attach a slide for a fun twist, especially for kids.
Ladders: Use a rope ladder for a nautical theme or a staircase with built-in drawers for added functionality. A foldable ladder can save space when not in use.
Headboards and Footboards: Customize with upholstered panels for comfort or chalkboard paint for a creative touch. Add LED strip lights for a modern, illuminated look.
Safety Rails: Opt for decorative railings like wrought iron or acrylic panels for a sleek, contemporary style. For a more traditional look, use wooden slats.
Desk Area: Build a fold-down desk that can be tucked away when not in use. Add a pegboard for organizing supplies or a whiteboard for notes and drawings.
Decor: Hang fairy lights for a whimsical touch or posters and artwork to personalize the space. Use throw pillows and blankets to add comfort and style.
Eco-Friendly Building Tips
Reclaimed wood is a fantastic option. Old pallets, barn wood, or even wood from old furniture can be repurposed. This reduces waste and gives the bed a rustic look.
Bamboo is another eco-friendly choice. It grows quickly and is very strong, making it perfect for furniture.
Use low-VOC (Volatile Organic Compounds) paints and finishes. These are better for the environment and your health.
Natural fiber ropes can be used for added support or decoration. Hemp or jute are good options.
Recycled metal brackets and screws can be sourced from old furniture or hardware stores. This reduces the need for new metal production.
Consider using organic cotton or wool for any padding or cushions. These materials are sustainable and biodegradable.
Solar-powered tools can help reduce your carbon footprint during construction. Many power tools now have solar-powered options.
Plan for disassembly. Design the bed so it can be easily taken apart and reused or recycled in the future. This extends the life of the materials.
Local sourcing is key. Try to get materials from local suppliers to reduce transportation emissions.
Energy-efficient lighting can be integrated into the loft bed. LED lights use less energy and last longer than traditional bulbs.
Your Loft Bed Awaits
Building a DIY loft bed isn't just about saving money; it's about creating something unique and personal. You've learned how to measure, cut, and assemble the materials. You've seen how to add those finishing touches that make the bed truly yours. Now, it's time to enjoy the fruits of your labor. Climb up, get cozy, and take pride in what you've accomplished. This project has not only given you a new piece of furniture but also a sense of achievement. So, grab your favorite book or just relax in your new space. You've earned it.
What materials do I need to build a loft bed?
You'll need wooden planks, screws, brackets, a saw, a drill, sandpaper, and paint or stain. A tape measure and level will also come in handy.
How much space do I need for a loft bed?
Measure your room's height, width, and length. Ensure there's enough headroom above the bed and space for a desk or seating area underneath.
Is it safe to build a loft bed myself?
Yes, if you follow proper instructions and use sturdy materials. Make sure to secure all joints and test stability before use.
How long will it take to build a loft bed?
It usually takes a weekend. Plan for 8-12 hours of work, depending on your experience and the complexity of the design.
Can I customize my loft bed?
Absolutely! You can add shelves, a desk, or even curtains. Paint or stain it to match your room decor.
What tools do I need?
Basic tools include a saw, drill, screwdriver, tape measure, level, and sandpaper. A power sander and paintbrush are also useful.
How do I ensure the loft bed is stable?
Use strong wood and reinforce joints with brackets and screws. Check for wobbling and make adjustments as needed.