Home>Create & Decorate>DIY & Crafts>How To Make A Tent

DIY & Crafts
How To Make A Tent
Published: June 9, 2024

Content Creator specializing in woodworking and interior transformations. Caegan's guides motivate readers to undertake their own projects, while his custom furniture adds a personal touch.
Learn how to make a tent with our easy DIY & Crafts guide. Create your own outdoor shelter and enjoy camping adventures. Step-by-step instructions for a fun project!
(Many of the links in this article redirect to a specific reviewed product. Your purchase of these products through affiliate links helps to generate commission for Twigandthistle.com, at no extra cost. Learn more)
Introduction
So, you're thinking about making your own tent? That's awesome! Whether you're planning a backyard camping adventure or gearing up for a music festival, making a tent can be a fun and rewarding DIY project. Not only will you have the satisfaction of creating something with your own hands, but you'll also have a unique shelter that reflects your personal style. In this guide, we'll walk you through the process of making a tent from scratch, from choosing the right materials to adding the final touches. Let's get started!
Read more: How to Build a DIY Rooftop Tent
Choosing the Right Materials
When it comes to making a tent, choosing the right materials is crucial for the success of your project. Here's what you'll need:
1. Fabric
The fabric you choose will determine the durability and weather-resistance of your tent. Look for a durable, waterproof fabric such as nylon or polyester. These materials are lightweight, easy to work with, and provide excellent protection from the elements.
2. Poles
For the tent frame, you'll need sturdy poles to provide structure and support. Aluminum or fiberglass poles are popular choices due to their strength and lightweight nature. You can purchase pre-made tent poles or get creative and use materials like PVC pipes for a DIY approach.
3. Zippers and Fasteners
Don't forget about the small details! Quality zippers and fasteners are essential for easy access and secure closure of your tent. Opt for heavy-duty zippers and reliable fasteners to ensure your tent stays functional and secure.
Read more: DIY Roof Top Tent Dog Ramp
4. Waterproofing
To ensure your tent can withstand the elements, consider applying a waterproofing treatment to the fabric. There are various waterproofing products available that can be applied to the fabric to enhance its water resistance and protect against moisture.
5. Optional Additions
Depending on your preferences, you may want to consider additional features such as mesh panels for ventilation, reflective guy lines for visibility at night, or a rainfly for extra protection. These optional additions can enhance the functionality and comfort of your homemade tent.
By carefully selecting the right materials, you can ensure that your DIY tent is not only functional but also durable and weather-resistant. Now that you've gathered your materials, it's time to move on to the next step: setting up the tent.
Setting Up the Tent
Setting up your homemade tent is an exciting step that brings your DIY project to life. Follow these steps to ensure a successful tent setup:
-
Lay Out the Fabric: Find a flat and clear area to lay out your tent fabric. Ensure that the fabric is spread out evenly and free from any wrinkles or folds.
-
Assemble the Frame: If your tent design includes a frame, begin assembling the poles according to the tent's specifications. Connect the poles and secure them in place to form the structure of the tent.
-
Attach the Fabric to the Frame: Carefully drape the fabric over the assembled frame, ensuring that it fits snugly and evenly. Secure the fabric to the frame using clips, hooks, or any designated fastening system.
-
Secure the Corners: Once the fabric is attached to the frame, secure the corners of the tent to the ground using stakes or anchors. This will help keep the tent in place and prevent it from shifting in windy conditions.
-
Test the Stability: Give your tent a gentle shake to test its stability and make any necessary adjustments. Ensure that the frame is sturdy and the fabric is taut to provide a secure shelter.
-
Check for Proper Ventilation: If your tent includes ventilation features such as mesh panels, ensure that they are unobstructed and allow for adequate airflow. Proper ventilation is essential for a comfortable camping experience.
-
Final Adjustments: Take a step back and inspect your tent for any final adjustments. Ensure that all components are properly aligned, and the tent is securely set up to provide a safe and functional shelter.
By following these steps, you can successfully set up your homemade tent and prepare it for a memorable outdoor adventure. Now that your tent is in place, the next crucial step is to secure it properly to ensure it withstands various weather conditions.
Securing the Tent
Securing your tent is essential to ensure its stability and resistance to external elements. Follow these steps to properly secure your homemade tent:
-
Anchor Points: Identify the anchor points on your tent where you will secure it to the ground. These are typically located at the corners and along the base of the tent. Clear any debris or obstacles from these areas to ensure a smooth setup.
-
Stakes or Anchors: Depending on the terrain, choose between stakes or anchors to secure your tent. For soft ground, use tent stakes to firmly anchor the tent. If you're setting up on hard surfaces, such as rocky terrain, use specialized tent anchors designed for stability.
-
Driving Stakes: For tent stakes, use a mallet or hammer to drive them into the ground at a 45-degree angle away from the tent. Ensure the stakes are driven in fully and are firmly anchored to prevent them from loosening.
-
Tensioning Straps: Many tents feature tensioning straps or guy lines that help distribute the tension evenly and stabilize the tent. Adjust these straps to provide the right amount of tension, keeping the tent taut and secure.
-
Additional Support: In windy conditions, consider adding extra support by attaching guylines to the tent's anchor points and securing them to nearby objects, such as trees or heavy rocks. This provides added stability and prevents the tent from shifting.
-
Weather Considerations: Be mindful of the weather conditions when securing your tent. In windy or stormy weather, it's crucial to reinforce the tent's stability by adding extra stakes, anchors, or guylines to prevent it from being compromised.
-
Regular Checks: Periodically check the tension and security of the tent throughout your camping trip. Environmental factors and ground conditions can change, so it's important to ensure that the tent remains properly secured.
By following these steps, you can effectively secure your homemade tent, providing a safe and stable shelter for your outdoor adventures. With the tent secured, you can now focus on adding the final touches to enhance its functionality and comfort.
Read more: How to Build a DIY Roof Top Tent Trailer
Adding Final Touches
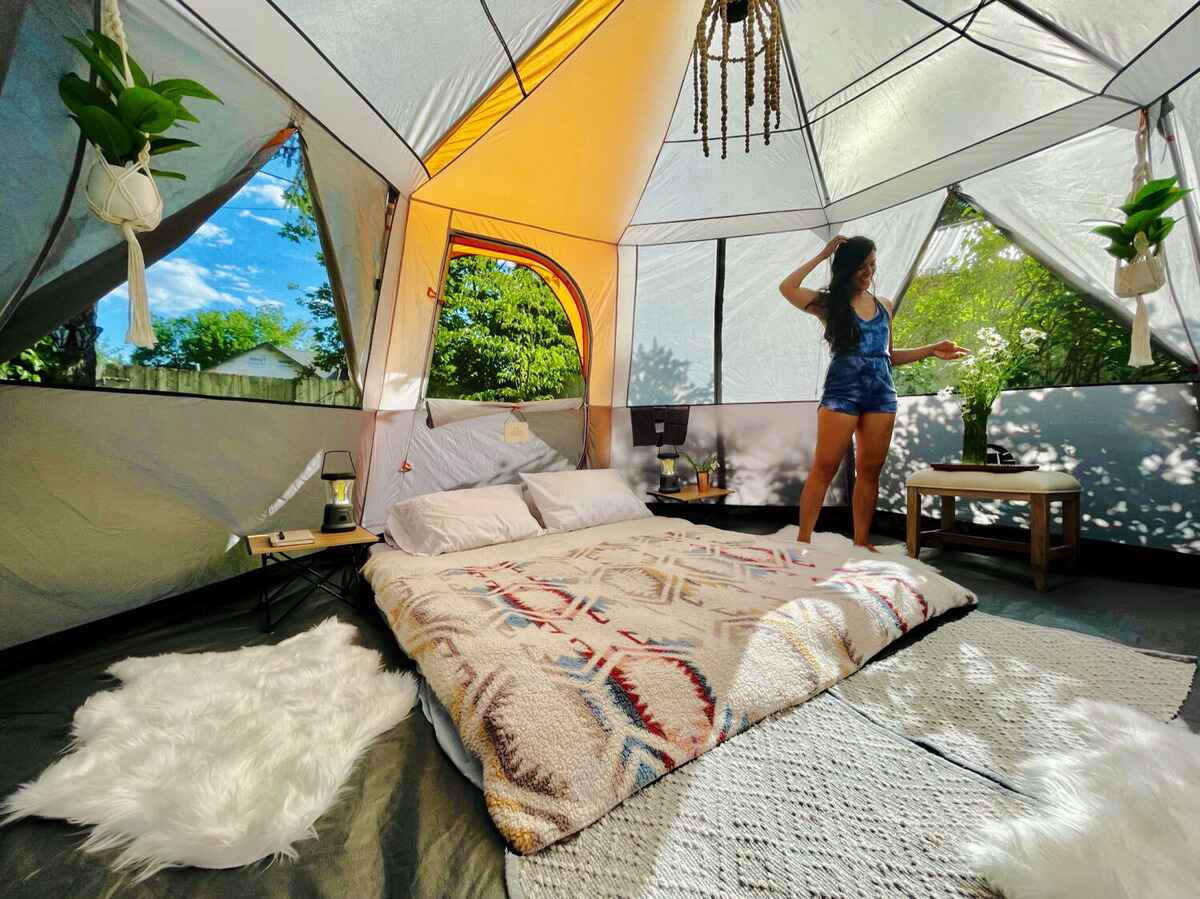
Once your tent is set up and secured, adding final touches can elevate its functionality and comfort. Consider the following enhancements to make your homemade tent even more enjoyable:
-
Interior Organization: Create a cozy and organized interior by adding storage pockets or gear lofts inside the tent. These features provide convenient storage for small items, keeping the interior tidy and maximizing space.
-
Ground Cover: Place a protective ground cover or tarp underneath the tent to provide an additional layer of insulation and protection from moisture. This helps prevent ground moisture from seeping into the tent and adds an extra barrier against the elements.
-
Comfortable Flooring: Enhance the comfort of your tent by adding a soft and cushioned flooring material, such as foam tiles or interlocking floor mats. This provides insulation from the ground and creates a more comfortable living space inside the tent.
-
Lighting Solutions: Illuminate your tent with battery-powered LED lights or lanterns to create a warm and inviting atmosphere. Consider installing hooks or loops inside the tent to hang the lights, providing ambient lighting for nighttime activities.
-
Personalized Decor: Add a touch of personalization to your tent by incorporating decorative elements such as colorful bunting, fabric drapes, or removable decals. This allows you to customize the tent's appearance and create a welcoming environment that reflects your style.
-
Seating Area: Create a designated seating area outside the tent by placing foldable chairs or a portable picnic blanket. This outdoor space provides a comfortable area for relaxation and socializing, extending the living space beyond the tent's interior.
-
Weather Protection: Install a rainfly or tarp over the tent for additional weather protection. This extra layer shields the tent from rain and UV exposure, extending its lifespan and providing added security during inclement weather.
By incorporating these final touches, you can transform your homemade tent into a personalized and comfortable retreat for your outdoor adventures. These enhancements not only improve the practicality of the tent but also contribute to a memorable and enjoyable camping experience.
Conclusion
In conclusion, creating your own tent is a fulfilling and practical DIY project that allows you to tailor a shelter to your specific needs and preferences. By carefully selecting the right materials, setting up the tent with precision, securing it against external elements, and adding final touches for comfort and functionality, you can craft a personalized and reliable outdoor retreat. Whether you're embarking on a camping trip, attending a festival, or simply enjoying a backyard adventure, your homemade tent will serve as a testament to your creativity and resourcefulness. Embrace the satisfaction of knowing that you've built a shelter that not only meets your requirements but also reflects your unique style. With your newfound knowledge and skills, you're well-equipped to embark on the exciting journey of making your own tent and creating lasting memories in the great outdoors.

