
Home>Create & Decorate>DIY & Crafts>DIY Toy Box: Creative And Fun Storage Solutions For Kids
DIY & Crafts
DIY Toy Box: Creative And Fun Storage Solutions For Kids
Published: June 9, 2024

Senior Editor in Create & Decorate, Kathryn combines traditional craftsmanship with contemporary trends. Her background in textile design and commitment to sustainable crafts inspire both content and community.
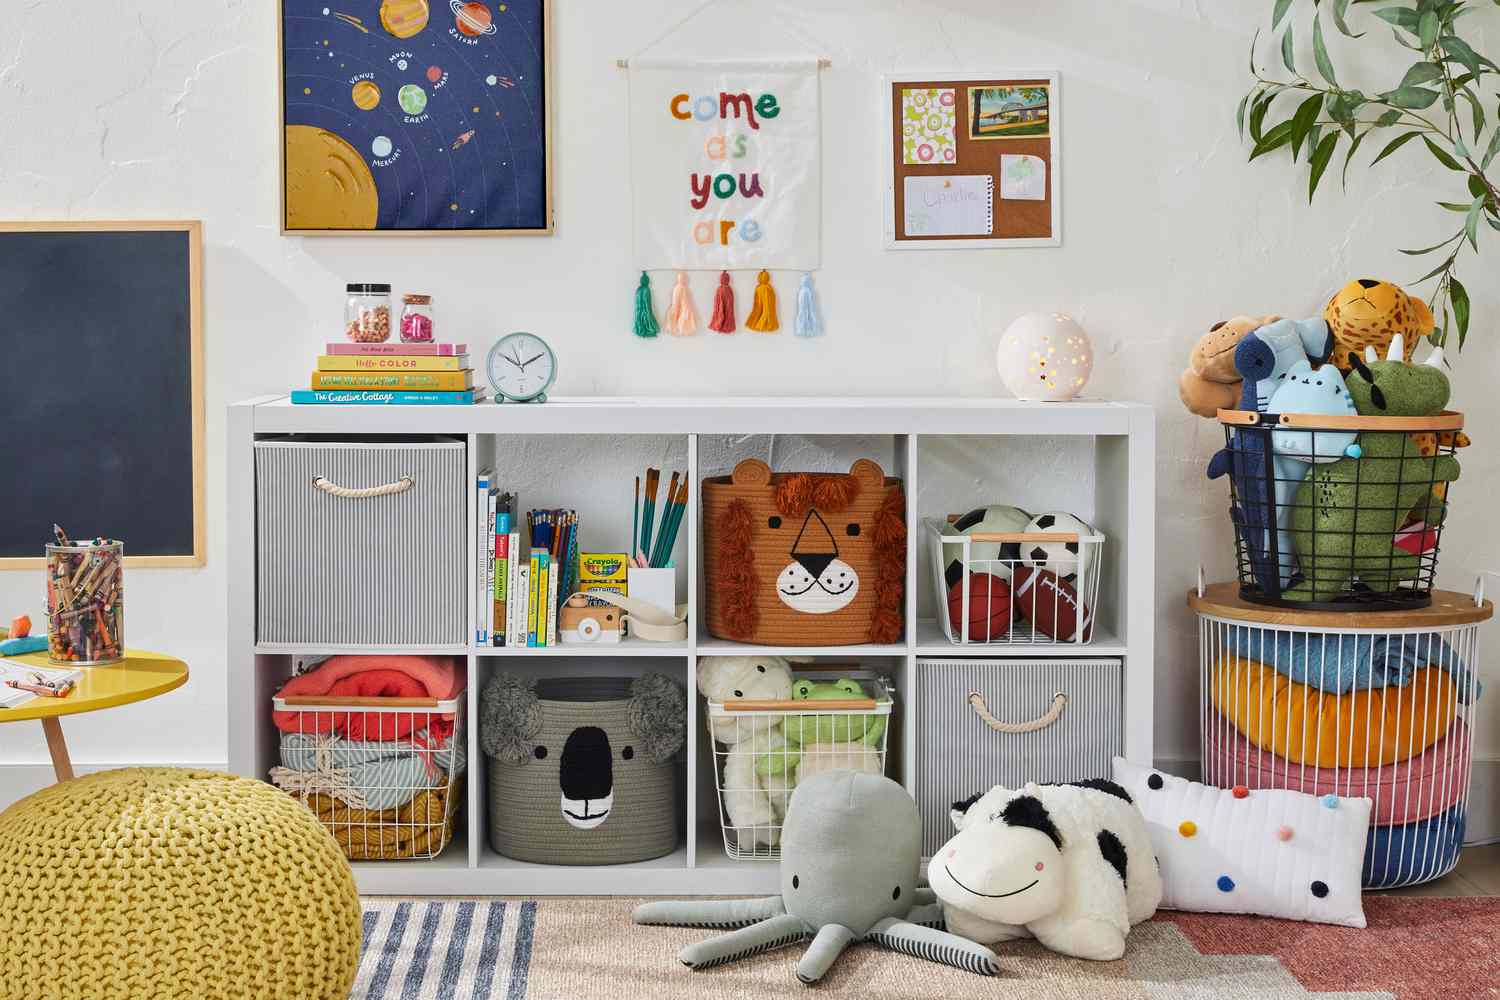
Discover creative and fun DIY toy box ideas for kids' storage solutions. Get inspired with our DIY & Crafts projects for organizing toys and creating a playful space.
(Many of the links in this article redirect to a specific reviewed product. Your purchase of these products through affiliate links helps to generate commission for Twigandthistle.com, at no extra cost. Learn more)
Introduction
Are you tired of stepping on toys scattered all over the house? A DIY toy box might just be the solution you need. Not only does it provide a designated space for your kids' toys, but it also adds a touch of creativity and fun to your home. In this article, we'll explore the benefits of creating your own toy box, how to choose the right materials, design ideas, step-by-step instructions for building a toy box, personalization tips, and safety measures to keep in mind. Let's dive into the world of DIY toy boxes and discover the joy of crafting a storage solution that's both practical and playful.
Benefits of DIY Toy Boxes
-
Customization: When you build your own toy box, you have the freedom to customize it according to your preferences. You can choose the size, color, and design that best suits your home decor and your child's personality.
-
Cost-Effective: DIY toy boxes can be more cost-effective than purchasing pre-made ones. By using materials that are readily available and possibly repurposing items you already have, you can save money while creating a personalized storage solution.
-
Quality Control: Building your own toy box allows you to ensure its sturdiness and durability. You can select high-quality materials and construct it to withstand the wear and tear of children's play.
-
Bonding Experience: Involving your kids in the creation of their toy box can be a fun bonding experience. It provides an opportunity to teach them about craftsmanship and the value of taking care of their belongings.
-
Educational Value: DIY projects offer a chance to teach children about woodworking, painting, and other practical skills. It's a hands-on way to introduce them to the world of crafting and DIY home improvement.
-
Personal Touch: A DIY toy box carries a personal touch that store-bought ones lack. It becomes a unique piece that reflects your family's creativity and love for handmade items.
-
Sustainability: By repurposing materials or using eco-friendly options, you can contribute to a more sustainable lifestyle. DIY toy boxes can be both functional and environmentally conscious.
-
Practical Storage: Ultimately, a DIY toy box provides a practical storage solution for keeping your home organized and free from clutter. It encourages kids to tidy up after themselves and instills a sense of responsibility for their belongings.
Choosing the Right Materials
When embarking on a DIY toy box project, selecting the right materials is crucial for ensuring the durability and safety of the final product. Here are some considerations to keep in mind when choosing the materials for your DIY toy box:
1. Wood Selection
Opt for sturdy and durable wood such as pine, oak, or plywood. These materials are known for their strength and can withstand the rigors of children's play. Ensure that the wood is smooth and free from splinters to prevent any potential injuries.
2. Hardware
Choose high-quality hinges, handles, and safety lid supports. These components are essential for the functionality and safety of the toy box. Look for hardware that is designed to withstand frequent use and can support the weight of the lid without posing any hazards.
3. Non-Toxic Finishes
If you plan to paint or stain the toy box, opt for non-toxic finishes that are safe for children. Water-based paints and stains are excellent choices as they emit fewer fumes and are easier to clean up. Be sure to let the finishes cure properly before allowing children to use the toy box.
4. Safety Considerations
Consider adding soft-close mechanisms to prevent the lid from slamming shut, reducing the risk of accidental injuries. Additionally, avoid materials with sharp edges or corners that could potentially harm children during play.
5. Eco-Friendly Options
For those environmentally conscious, consider using reclaimed or recycled wood for your DIY toy box. Not only does this contribute to sustainability, but it also adds a unique and rustic charm to the finished piece.
By carefully selecting the right materials, you can ensure that your DIY toy box is not only aesthetically pleasing but also safe, durable, and environmentally friendly. Taking the time to choose the best materials will result in a toy box that both you and your children can enjoy for years to come.
Design Ideas for DIY Toy Boxes
When it comes to designing your DIY toy box, the possibilities are endless. Here are some creative design ideas to inspire your project:
-
Theme-Based Toy Box: Consider incorporating a theme that resonates with your child's interests. Whether it's a pirate treasure chest, a princess carriage, or a superhero hideout, a themed toy box adds an element of whimsy to the room.
-
Personalized Nameplate: Add a personalized touch by including your child's name on the toy box. You can use wooden letters, stencils, or even have their name engraved for a special and unique feature.
-
Chalkboard Finish: Paint a section of the toy box with chalkboard paint, creating a space for your kids to unleash their creativity. They can doodle, write messages, or label the contents of the box, adding an interactive element to the storage solution.
-
Toy Box Bench: If space allows, consider building a toy box that doubles as a bench. This multifunctional design provides seating while also offering storage for toys, books, or other items.
-
Colorful Accents: Incorporate vibrant and playful colors to make the toy box visually appealing. You can use bright paints, colorful knobs, or patterned fabric inserts to add a pop of color to the design.
-
Decoupage Art: Use the technique of decoupage to decorate the toy box with images, patterns, or characters that your child loves. This method allows for endless creativity and personalization.
-
Wheels for Mobility: For added convenience, consider adding wheels to the bottom of the toy box. This makes it easy to move the box around, especially if it's filled with heavier items.
-
Interactive Features: Integrate interactive elements such as a built-in abacus, maze, or puzzle on the exterior of the toy box. These features not only add a playful twist but also provide educational value.
By infusing creativity into the design of your DIY toy box, you can transform it into a functional and visually appealing piece that complements your child's play area. Whether it's through personalized touches, thematic elements, or interactive features, the design of the toy box can truly reflect your child's personality and interests.
Step-by-Step Instructions for Building a Toy Box
Building a toy box can be a rewarding and enjoyable DIY project. Here are step-by-step instructions to guide you through the process:
1. Gather Your Materials and Tools
- Materials: Select the wood of your choice, hinges, screws, safety lid supports, and non-toxic paint or stain.
- Tools: You will need a saw, drill, screwdriver, measuring tape, sandpaper, and paintbrushes.
2. Measure and Cut the Wood
- Measure and mark the dimensions for the sides, base, and lid of the toy box on the wood.
- Use a saw to carefully cut the pieces according to your measurements.
3. Assemble the Box
- Begin by assembling the sides of the toy box using screws and wood glue.
- Attach the base to the assembled sides, ensuring it is secure and level.
4. Install the Lid
- Attach the hinges to the back of the lid and the back of the toy box.
- Carefully align the lid with the box and secure the hinges in place.
5. Sand and Smooth
- Use sandpaper to smooth out any rough edges and surfaces of the toy box.
- Pay special attention to corners and edges to prevent any splinters.
6. Apply Finishes
- If desired, apply non-toxic paint or stain to the toy box.
- Allow the finishes to dry completely before proceeding.
7. Add Safety Features
- Install safety lid supports to prevent the lid from closing too quickly or slamming shut.
8. Personalize the Box
- Add any personalized touches such as a nameplate, decorative knobs, or themed accents.
9. Test for Safety
- Before allowing children to use the toy box, ensure that all components are securely in place and that there are no sharp edges or potential hazards.
By following these step-by-step instructions, you can create a sturdy and personalized toy box that provides a safe and organized storage solution for your child's toys.
Personalizing Your DIY Toy Box
Personalizing your DIY toy box adds a unique and special touch to the storage solution. Here are some creative ways to personalize your toy box:
-
Nameplate: Adding your child's name to the toy box can make it feel extra special. You can use wooden letters, stencils, or have their name engraved for a personalized feature.
-
Decorative Knobs: Choose decorative knobs or handles that complement the theme or color scheme of the room. These small details can enhance the overall look of the toy box.
-
Themed Accents: If the toy box follows a specific theme, such as a pirate's treasure chest or a fairy tale castle, incorporate themed accents like faux jewels, rope handles, or crown-shaped details to bring the theme to life.
-
Hand-Painted Designs: Consider hand-painting designs or patterns on the exterior of the toy box. Whether it's whimsical characters, geometric shapes, or nature-inspired motifs, hand-painted designs can add a personalized and artistic flair.
-
Decals and Stickers: Utilize decals or stickers to decorate the toy box with your child's favorite characters, animals, or symbols. This is a simple and cost-effective way to personalize the box with elements that resonate with your child.
-
Fabric Inserts: For a softer touch, consider adding fabric inserts to the toy box. Choose fabrics with patterns or colors that complement the room's decor, and use them to line the interior or create cushioned seating on the lid.
-
Collage of Memories: Create a collage of photos, drawings, or mementos that hold sentimental value to your child. Mod Podge can be used to adhere these items to the toy box, creating a personalized and nostalgic piece.
-
Interactive Features: Incorporate interactive elements such as a built-in abacus, chalkboard section, or small storage compartments for trinkets. These features not only personalize the toy box but also provide additional functionality and entertainment for your child.
By personalizing your DIY toy box, you can transform it into a cherished and meaningful item that reflects your child's personality and interests. Whether through decorative details, thematic elements, or interactive features, the personalized toy box becomes a delightful addition to your home.
Safety Tips for Kids' Toy Storage
Ensuring the safety of kids' toy storage is paramount in creating a secure and organized environment for children. Here are essential safety tips to consider when it comes to kids' toy storage:
-
Avoid Heavy Lids: When designing or purchasing a toy box, opt for models with lightweight or soft-closing lids. Heavy lids can pose a risk of injury if they accidentally fall on a child's fingers or body. Soft-closing mechanisms or lightweight materials reduce the likelihood of accidents.
-
Round Edges and Corners: Choose toy storage units with rounded edges and corners. Sharp edges can result in cuts or bruises if children accidentally bump into or collide with the storage unit during playtime. Rounded edges minimize the risk of injuries.
-
Secure Wall-Mounted Units: If using wall-mounted shelves or storage units, ensure they are securely anchored to the wall. This prevents the risk of tipping or toppling over, especially if children attempt to climb or pull on the storage unit.
-
Child-Accessible Height: Place frequently used toys and items within easy reach of children. This prevents them from climbing or reaching for items stored in high or inaccessible areas, reducing the risk of falls or accidents.
-
Avoid Small Parts: Be mindful of small parts or components in toy storage units, especially for younger children. Small items can pose a choking hazard if they are accessible to infants or toddlers. Keep small toys or parts out of reach or opt for storage solutions with compartments that secure small items.
-
Labeling and Organization: Clearly label storage bins or containers to indicate the contents. This not only promotes organization but also helps children identify and access their toys without creating a mess. It also reduces the likelihood of children rummaging through multiple containers to find a specific toy.
-
Regular Inspection: Periodically inspect toy storage units for any signs of wear, damage, or loose components. Ensure that hinges, handles, and closures are in good condition to prevent accidents caused by malfunctioning parts.
-
Child Involvement: Educate children about the importance of tidying up and organizing their toys. Encourage them to participate in keeping their play area and storage units organized, teaching them the value of maintaining a safe and clutter-free environment.
By implementing these safety tips, parents and caregivers can create a secure and child-friendly storage space for toys, promoting a safe and enjoyable play environment for children.
Conclusion
In conclusion, DIY toy boxes offer a multitude of benefits, including customization, cost-effectiveness, and the opportunity for quality control. By carefully selecting the right materials and infusing creativity into the design, you can create a personalized and visually appealing storage solution for your child's toys. Following step-by-step instructions and incorporating safety features ensures that the DIY toy box is not only functional but also safe for children to use. Personalizing the toy box adds a unique touch, making it a cherished item in your home. By prioritizing safety and organization, parents can create a secure and enjoyable play environment for their children. Embracing the world of DIY toy boxes allows for a blend of practicality, creativity, and fun, making it a rewarding endeavor for both adults and children alike.