
Home>Home & Furniture>Bathroom>How to Build a Concrete Vanity Top
Bathroom
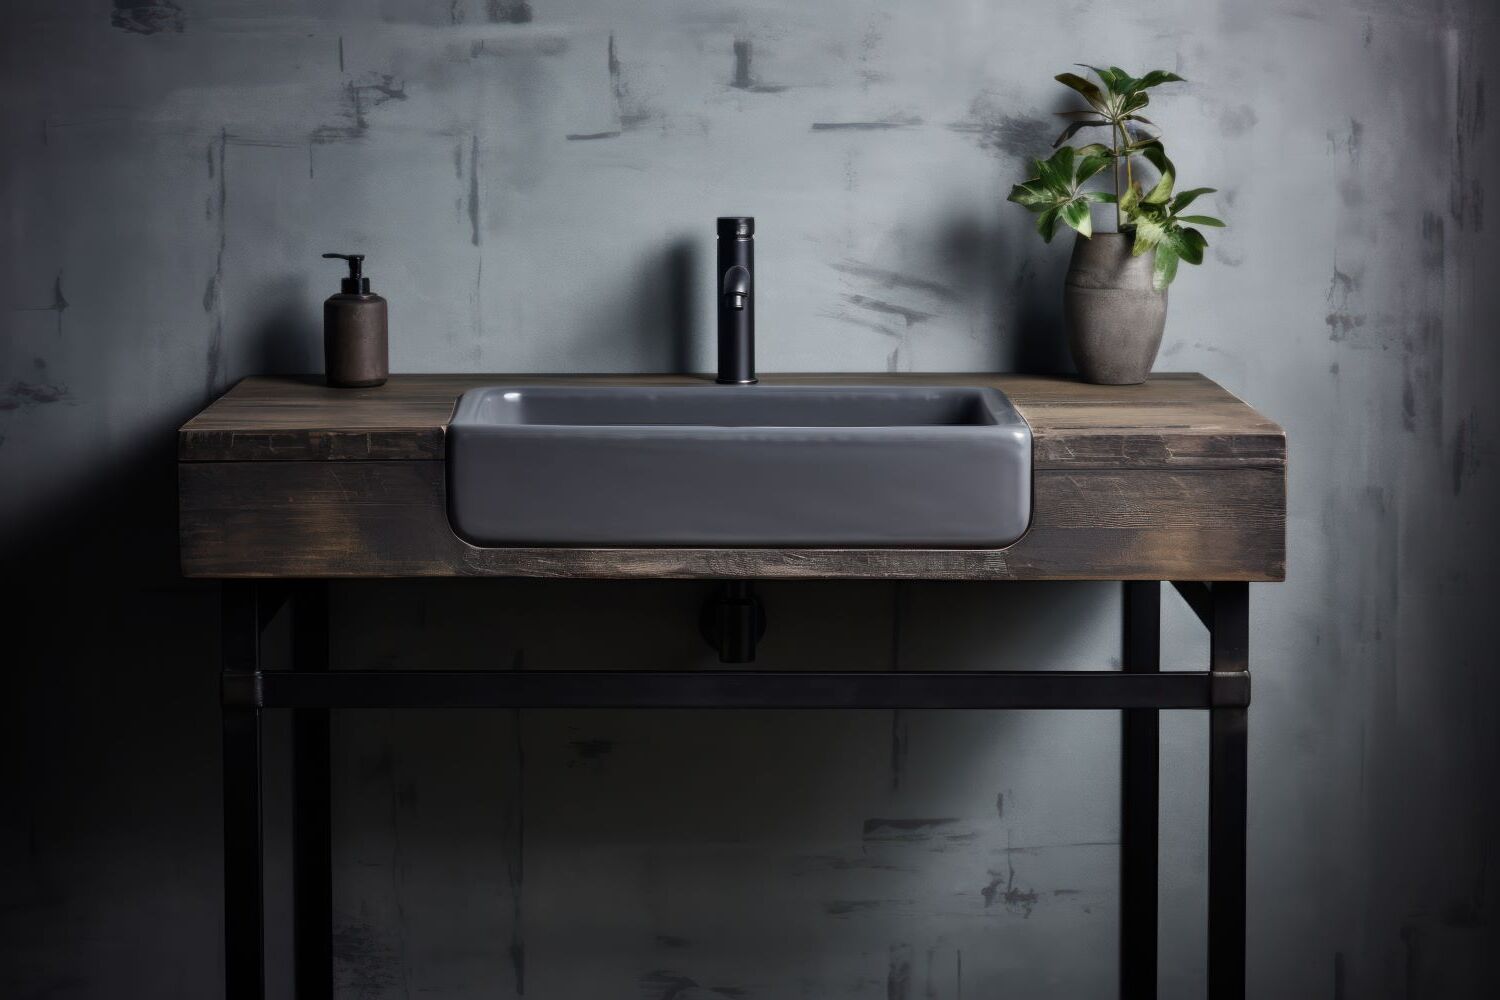
How to Build a Concrete Vanity Top
Published: July 13, 2024
Learn how to build a durable and stylish concrete vanity top for your bathroom with our step-by-step guide. Perfect for DIY enthusiasts looking to upgrade their space!
(Many of the links in this article redirect to a specific reviewed product. Your purchase of these products through affiliate links helps to generate commission for Twigandthistle.com, at no extra cost. Learn more)
Making your own concrete vanity top might sound tricky, but it's a fun project if you love DIY. Concrete offers a durable, modern look that can be customized to fit your space. You'll save money and have a unique piece that stands out. Whether you're refreshing an old bathroom or designing a new one, this guide will help you through each step. Roll up your sleeves and get ready to create something special. With a few tools and some patience, you'll have a beautiful vanity top that's both functional and stylish. Ready to get started? Let's dive in!
Getting Ready for Your Concrete Vanity Top Project
- Gather Materials: Cement, sand, gravel, water, rebar, plywood, screws, silicone caulk, and concrete sealer.
- Safety Gear: Wear gloves, safety glasses, and a dust mask to protect yourself.
- Workspace Setup: Choose a well-ventilated area with a flat surface. Lay down plastic sheets or tarps to catch spills.
- Measure and Cut: Measure the vanity dimensions. Cut plywood to create a mold for the concrete.
- Build the Mold: Assemble the plywood pieces using screws. Seal the inside edges with silicone caulk to prevent leaks.
- Reinforcement: Cut rebar to fit inside the mold. This will strengthen the concrete.
- Mix Concrete: Follow the instructions on the cement bag. Mix cement, sand, gravel, and water until smooth.
- Pour Concrete: Pour the mixed concrete into the mold. Use a trowel to spread it evenly.
- Vibrate the Mold: Tap the sides of the mold to remove air bubbles.
- Curing: Let the concrete cure for at least 48 hours. Keep it moist by covering it with plastic.
- Remove Mold: Carefully unscrew and remove the plywood mold.
- Finishing Touches: Sand the surface for smoothness. Apply concrete sealer to protect the vanity top.
Essential Materials and Tools
Materials Needed:
- Concrete Mix: This is the main material for your vanity top. Choose a high-strength mix for durability.
- Water: Essential for mixing with the concrete powder.
- Reinforcement Mesh: Provides strength and prevents cracking.
- Mold Release Agent: Helps in removing the mold without damaging the concrete.
- Sealant: Protects the concrete from water and stains.
- Sandpaper: Used for smoothing the surface of the concrete.
- Plastic Sheeting: Keeps the concrete moist during curing.
Tools Needed:
- Concrete Mixer: Mixes the concrete thoroughly.
- Trowel: Spreads and smooths the concrete in the mold.
- Screed: Levels the concrete surface.
- Rubber Mallet: Helps in removing air bubbles by tapping the mold.
- Measuring Tape: Ensures accurate dimensions for the mold.
- Level: Ensures the vanity top is even.
- Bucket: Holds water for mixing.
- Drill with Mixing Paddle: Alternative to a concrete mixer for small batches.
- Safety Gear: Gloves, goggles, and a mask for protection.
- Saw: Cuts the reinforcement mesh to size.
Concrete mix forms the base, while water activates it. Reinforcement mesh strengthens the structure. Mold release agent ensures easy removal. Sealant protects the finished product. Sandpaper smooths rough edges. Plastic sheeting keeps moisture in during curing.
Concrete mixer or drill with a mixing paddle blends the mix. Trowel and screed shape and level it. Rubber mallet removes air bubbles. Measuring tape and level ensure precision. Bucket holds water. Safety gear protects you. Saw cuts mesh to fit.
Required Skills and Time Commitment
Skill Level: Intermediate
Time Required: Approximately 2-3 days
- Preparation and Planning: 2-4 hours
- Building the Mold: 3-5 hours
- Mixing and Pouring Concrete: 2-3 hours
- Curing Time: 24-48 hours
- Finishing and Sealing: 3-4 hours
Detailed Steps to Build Your Vanity Top
Gather Materials and Tools
- Concrete mix
- Water
- Mold (plywood or plastic)
- Rebar or wire mesh
- Concrete sealer
- Trowel
- Sandpaper
- Measuring tape
- Mixing bucket
- Safety gear (gloves, goggles)
Prepare the Mold
- Measure the vanity top dimensions.
- Cut plywood or use a plastic mold to the desired size.
- Assemble the mold using screws or clamps.
- Apply a release agent to the mold to prevent sticking.
Reinforce the Mold
- Cut rebar or wire mesh to fit inside the mold.
- Place reinforcement in the mold, ensuring it stays centered.
Mix the Concrete
- Follow the instructions on the concrete mix package.
- Combine concrete mix and water in a bucket.
- Stir until the mixture is smooth and lump-free.
Pour the Concrete
- Pour the concrete into the mold, filling it halfway.
- Tap the sides of the mold to remove air bubbles.
- Add the reinforcement if not already placed.
- Pour the remaining concrete to fill the mold completely.
Smooth the Surface
- Use a trowel to level the top of the concrete.
- Smooth out any rough spots or imperfections.
- Let the concrete set for 24-48 hours.
Remove the Mold
- Carefully disassemble the mold once the concrete is dry.
- Sand the edges and surface to achieve a smooth finish.
Seal the Concrete
- Apply a concrete sealer to protect the surface.
- Follow the sealer's instructions for application and drying time.
Install the Vanity Top
- Place the concrete top on the vanity base.
- Secure it with adhesive or screws as needed.
- Ensure it is level and stable.
Helpful Tips and Tricks
Use a good mold: Ensure the mold is sturdy and smooth. Any imperfections will show on the final product.
Seal the mold: Use silicone caulk to seal edges. This prevents leaks and ensures a clean edge.
Reinforce with rebar: Adding rebar or wire mesh strengthens the concrete, reducing the risk of cracks.
Mix properly: Follow the instructions on the concrete mix. Too much water weakens the concrete.
Vibrate the mold: Use a sander or rubber mallet to vibrate the mold. This removes air bubbles, giving a smoother finish.
Cure slowly: Cover the concrete with plastic and keep it moist. Slow curing prevents cracks.
Sand and seal: Once cured, sand the surface smooth. Apply a concrete sealer to protect against stains.
Common mistakes to avoid:
Skipping reinforcement: This can lead to cracks and breaks.
Rushing the cure: Removing the mold too soon weakens the concrete.
Ignoring air bubbles: Not vibrating the mold leaves air pockets, creating weak spots.
Alternatives:
Pre-cast concrete slabs: These save time and effort, though they may cost more.
Concrete overlay: Apply a thin layer of concrete over an existing countertop. This gives the look without the full build.
Epoxy resin: For a similar look, use epoxy resin. It's easier to work with and less prone to cracking.
Estimating the Cost
Concrete mix: $20-$30 per bag (you'll need about 2-3 bags, so $60-$90 total)
Mold materials: $50-$100 (plywood, melamine board, screws, silicone caulk)
Reinforcement: $10-$20 (rebar or wire mesh)
Sealer: $30-$50
Polishing pads: $20-$40
Sandpaper: $10-$15
Bucket: $5-$10
Trowel: $10-$15
Sander: $50-$100 (can be rented for about $20/day)
Total cost: $245-$440
Budget-friendly alternatives:
- Use recycled wood for the mold: $0 if you have scrap wood.
- Borrow or rent tools like the sander: Save $30-$80.
- Use a basic concrete mix without additives: Save $10-$20.
Unique Variations and Customizations
Alternative materials can change the look and feel of your vanity top. Instead of concrete, consider using marble, granite, or quartz. These materials offer different textures and colors, giving your bathroom a unique touch.
Colors can also make a big difference. Concrete can be tinted with dyes or stains to match your bathroom's color scheme. You can go for earthy tones like browns and greens or bold colors like blues and reds.
Styles can vary too. For a modern look, keep the lines clean and the edges sharp. For a rustic style, add some texture to the concrete by using a rough mold or pressing objects into the wet concrete. You can also embed decorative items like pebbles, glass pieces, or tiles into the surface for a personalized touch.
Finishes can change the appearance and feel of the vanity top. A polished finish will give it a smooth, shiny look, while a matte finish will make it look more natural. You can also use a textured finish for added grip and a unique appearance.
Edge designs can add character. Instead of a straight edge, try a beveled, rounded, or ogee edge. These small changes can make a big impact on the overall look.
Incorporate built-in features like soap dishes, toothbrush holders, or even a small planter for a touch of greenery. These can be molded directly into the concrete for a seamless look.
Sealants and coatings can protect the concrete and add different effects. A glossy sealant will make the surface shiny, while a matte sealant will keep it looking natural. You can also use a colored sealant to add a subtle tint.
Mixing materials can create a unique look. Combine concrete with wood, metal, or glass for a mixed-media effect. For example, use a wooden frame around the concrete top or add metal inlays for a modern touch.
Eco-Friendly Tips for Your Project
Eco-friendly materials can make a big difference. Recycled concrete is a great option. It uses old concrete pieces, reducing waste. Fly ash can replace some cement. This byproduct from burning coal makes concrete stronger and greener.
Reclaimed wood can be used for the mold. Old pallets or barn wood work well. They add character and save trees. Natural sealers like beeswax or linseed oil protect the surface without harmful chemicals.
Water-saving techniques help too. Use just enough water to mix the concrete. Excess water weakens it and wastes resources. Reusable tools like metal trowels and buckets cut down on waste.
Local sourcing of materials reduces carbon footprint. Less transportation means less pollution. Check nearby suppliers for concrete mix and other items.
Energy-efficient curing is another tip. Cover the concrete with damp cloths instead of using heaters. This method saves energy and still cures the concrete properly.
Recycling leftover materials is important. Extra concrete can be used for small projects or garden paths. Wood scraps can become kindling or craft projects.
Your New Concrete Vanity Top Awaits
You've got all the steps to build a concrete vanity top. From gathering materials to pouring and curing the concrete, each step is crucial. Remember to take your time with the mold and ensure it's sturdy. When mixing the concrete, aim for a smooth, lump-free consistency. Pouring and smoothing the concrete requires patience, so don't rush. Once cured, sanding and sealing will give your vanity top a polished look. This project not only saves money but also adds a personal touch to your bathroom. Plus, the satisfaction of saying, "I made that," is unbeatable. So, roll up your sleeves, gather your tools, and get started. Your new vanity top is just a few steps away. Enjoy the process and the end result!
What materials do I need to build a concrete vanity top?
You'll need concrete mix, water, a mold (usually made from melamine), rebar or wire mesh for reinforcement, sealer, and polishing tools. Don't forget safety gear like gloves and goggles.
How do I make the mold for the vanity top?
Use melamine boards to create a box the size of your vanity top. Make sure the sides are smooth and well-sealed to prevent leaks. Secure the corners with screws and caulk the seams.
How thick should the concrete vanity top be?
A good thickness is around 1.5 to 2 inches. This provides enough strength without being too heavy. Reinforce with rebar or wire mesh to prevent cracking.
How long does the concrete need to cure?
Concrete typically needs to cure for at least 28 days to reach full strength. However, you can remove the mold after 48 hours and let it continue curing uncovered.
Can I add color to my concrete vanity top?
Yes, you can add concrete dye or stain to the mix. Follow the manufacturer's instructions for the best results. You can also polish and seal the surface to enhance the color.
How do I polish the concrete surface?
Start with a coarse grit sandpaper or diamond pad and gradually move to finer grits. Use a wet polisher to keep the surface cool and reduce dust. Finish with a sealer to protect the surface.
What kind of sealer should I use?
Use a penetrating sealer for a natural look or a topical sealer for a glossy finish. Make sure it's water-resistant and food-safe if the vanity top will be in a bathroom or kitchen.