
Home>Create & Decorate>DIY & Crafts>Popsicle Stick House: A Fun DIY Craft Project
DIY & Crafts
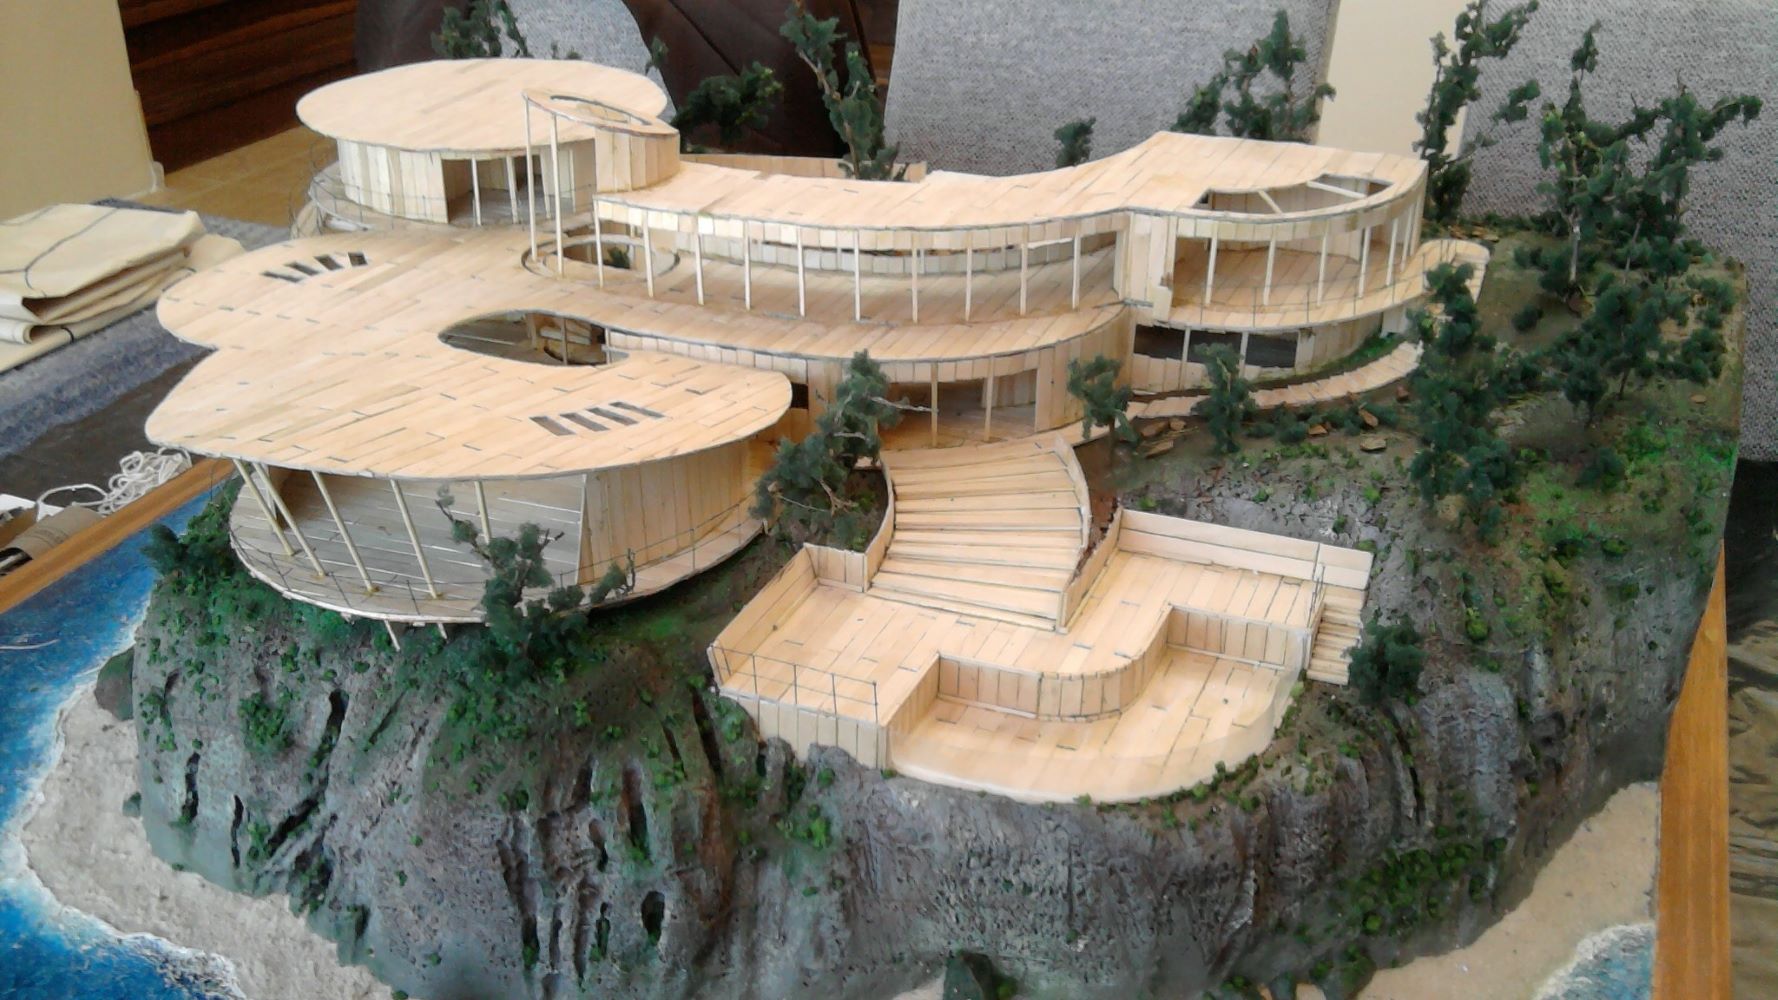
Popsicle Stick House: A Fun DIY Craft Project
Published: May 27, 2024

Senior Editor in Create & Decorate, Kathryn combines traditional craftsmanship with contemporary trends. Her background in textile design and commitment to sustainable crafts inspire both content and community.
Looking for a fun DIY craft project? Learn how to make a charming popsicle stick house with this easy tutorial. Perfect for DIY & Crafts enthusiasts!
(Many of the links in this article redirect to a specific reviewed product. Your purchase of these products through affiliate links helps to generate commission for Twigandthistle.com, at no extra cost. Learn more)
Introduction
Are you looking for a fun and creative DIY craft project to do at home? Building a popsicle stick house is a fantastic way to unleash your creativity and create something unique. Whether you're a beginner or an experienced crafter, this project is perfect for anyone who enjoys working with their hands and creating something special. In this article, we'll guide you through the step-by-step process of building your very own popsicle stick house, from the base to the roof and all the decorative details in between. So, grab your popsicle sticks and get ready to embark on a fun and rewarding crafting adventure!
Materials Needed
To get started on your popsicle stick house project, you'll need a few basic materials that are easy to find at any craft store or even around your home. Here's what you'll need:
-
Popsicle sticks: You'll need a large quantity of popsicle sticks to build the structure of your house. Make sure to have enough on hand for the walls, roof, and any additional decorative elements.
-
Craft glue: A strong, quick-drying craft glue will be essential for holding the popsicle sticks together securely. Look for a glue that dries clear for a professional finish.
-
Scissors: You'll need scissors to trim the popsicle sticks to the desired length and to cut any additional materials for decorating your house.
-
Cardboard: Using cardboard as a base for your popsicle stick house will provide stability and a solid foundation for building the structure.
-
Decorative materials: Get creative with decorative materials such as paint, markers, small beads, or faux flowers to add personality and charm to your popsicle stick house.
Gather these materials, and you'll be well-equipped to begin your popsicle stick house project with enthusiasm and creativity.
Step 1: Building the Base
-
Prepare the Cardboard: Start by cutting a piece of cardboard to serve as the base of your popsicle stick house. The size of the cardboard will depend on how large you want your house to be. Ensure that the cardboard is sturdy enough to support the weight of the popsicle sticks and the structure of the house.
-
Arrange the Popsicle Sticks: Take your popsicle sticks and lay them out on the cardboard to create the outline of the base of your house. You can create a simple square or rectangular shape, or get creative with different angles and designs. This step will help you visualize the layout of your house before you start gluing the sticks in place.
-
Glue the Popsicle Sticks: Once you're satisfied with the layout, begin gluing the popsicle sticks onto the cardboard base. Apply a generous amount of craft glue to the bottom of each stick and press it firmly onto the cardboard. Ensure that the sticks are aligned neatly and securely to form the base of your house.
-
Reinforce the Corners: To add extra stability to the base, reinforce the corners of the popsicle stick layout by adding additional sticks perpendicular to the ones already in place. This will create a stronger foundation for the walls and roof of your house.
-
Allow the Base to Dry: After completing the base structure, allow the glue to dry completely before moving on to the next step. This will ensure that the base is solid and ready to support the construction of the walls and roof.
By following these steps, you'll have a sturdy and well-constructed base for your popsicle stick house, setting the stage for the next phase of the project.
Step 2: Creating the Walls
-
Prepare the Popsicle Sticks: Before you begin constructing the walls of your popsicle stick house, ensure that you have a sufficient quantity of popsicle sticks at your disposal. You may need to trim some sticks to fit the desired height of the walls, so keep a pair of scissors handy.
-
Lay Out the First Layer: Start by laying out a row of popsicle sticks on the base of the house, using a ruler to maintain even spacing between each stick. Apply a thin line of craft glue along the edge of each stick and press it firmly onto the base. Continue this process until you have completed the first layer of the walls.
-
Build Up the Layers: Once the first layer is in place, begin adding additional layers of popsicle sticks to increase the height of the walls. Apply glue to the edges of the sticks and stack them on top of each other, ensuring that they are aligned evenly. You can create windows or doors by leaving gaps in the stick layout as desired.
-
Create Openings: If you want to incorporate windows or doors into your popsicle stick house, carefully measure and mark the locations where you want these openings to be. Use a pair of scissors to carefully cut out the marked areas, ensuring that the openings are neat and symmetrical.
-
Add Support Beams: To reinforce the walls and add structural integrity to your house, consider adding horizontal support beams made from popsicle sticks. These beams can be placed at regular intervals along the walls, providing additional stability to the structure.
-
Allow the Walls to Set: Once the walls are constructed to the desired height and the openings are in place, allow the glue to dry thoroughly. This will ensure that the walls are secure and ready to support the roof of the house.
By following these steps, you'll be well on your way to creating sturdy and visually appealing walls for your popsicle stick house.
Step 3: Adding the Roof
-
Gather Roofing Materials: Before you begin constructing the roof of your popsicle stick house, gather the necessary materials. You will need a large quantity of popsicle sticks to form the roof structure. Additionally, ensure that you have a pair of scissors and craft glue on hand.
-
Create the Roof Panels: Start by laying out the popsicle sticks in a triangular shape to form the roof panels. Apply a thin line of craft glue along the edges of the sticks and press them firmly together to create a sturdy panel. Repeat this process to create multiple panels, depending on the size and design of your house.
-
Attach the Roof Panels: Once the roof panels are ready, carefully position them on top of the walls of your popsicle stick house. Apply a generous amount of craft glue to the top edges of the walls and carefully place the roof panels in position. Ensure that the panels are aligned evenly and securely attached to the walls.
-
Add Decorative Touches: To enhance the visual appeal of your popsicle stick house, consider adding decorative touches to the roof. You can use additional popsicle sticks to create shingles or tiles, or paint the roof in vibrant colors to add personality to your creation.
-
Allow the Roof to Set: After attaching the roof panels and adding any decorative elements, allow the craft glue to dry completely. This will ensure that the roof is firmly secured to the walls and ready to withstand the finishing touches of your project.
By following these steps, you'll successfully add a charming and sturdy roof to your popsicle stick house, bringing your creation one step closer to completion.
Step 4: Decorating the House
-
Painting and Staining: Unleash your creativity by painting the exterior of your popsicle stick house with vibrant colors. You can also use wood stain to give it a natural, rustic look. Let your imagination run wild as you add color and personality to your creation.
-
Landscaping: Create a charming outdoor setting for your popsicle stick house by adding landscaping details. Use small pebbles to create a pathway, or glue artificial grass to the base to mimic a lush lawn. You can also add miniature trees and shrubs using small twigs and faux foliage.
-
Furniture and Accessories: Get crafty by making miniature furniture and accessories to decorate the interior of your popsicle stick house. Create tiny chairs, tables, and even a bed using popsicle sticks and small fabric scraps. You can also add curtains, rugs, and other decorative elements to bring the interior to life.
-
Personal Touches: Add personal touches to your popsicle stick house by incorporating elements that reflect your interests and hobbies. Whether it's a tiny surfboard leaning against the wall or a miniature bookshelf filled with tiny books, infusing your personality into the decor will make your creation even more special.
-
Exterior Details: Pay attention to the exterior details of your popsicle stick house by adding window boxes filled with colorful flowers, a welcoming front porch with a miniature swing, or even a tiny mailbox. These small touches will add charm and character to your creation.
-
Lighting: For an extra touch of realism, consider adding miniature LED lights to illuminate the interior of your popsicle stick house. You can create a warm and inviting ambiance by strategically placing tiny lights to mimic the glow of real house lights.
-
Final Touches: Once you've added all the decorative elements, take a step back and admire your handiwork. Consider adding any final touches or details to complete the look of your popsicle stick house. Whether it's a tiny welcome mat at the front door or a miniature birdhouse in the garden, these final touches will bring your creation to life.
By following these decorating steps, you'll transform your popsicle stick house into a charming and personalized work of art that reflects your creativity and attention to detail.
Conclusion
In conclusion, building a popsicle stick house is a delightful and rewarding DIY craft project that allows you to unleash your creativity and attention to detail. From constructing the sturdy base to adding the charming decorative touches, each step of the process offers an opportunity to express your unique style and personality. Whether you choose to paint the exterior in vibrant colors, create a miniature garden, or add tiny furniture and accessories, your popsicle stick house will be a reflection of your imagination and craftsmanship. This project is not only a fun and engaging activity but also a wonderful way to create a unique piece of decor for your home or a thoughtful handmade gift for a friend or family member. So, gather your materials, let your creativity flow, and embark on the delightful journey of building your very own popsicle stick house.