
Home>Organize & Storage>Closet Organization>DIY Closet Dividers: Organize Your Wardrobe
Closet Organization
DIY Closet Dividers: Organize Your Wardrobe
Published: September 1, 2024
Discover how to create DIY closet dividers to organize your wardrobe efficiently. Follow our step-by-step guide for a clutter-free, stylish, and functional closet space.
(Many of the links in this article redirect to a specific reviewed product. Your purchase of these products through affiliate links helps to generate commission for Twigandthistle.com, at no extra cost. Learn more)
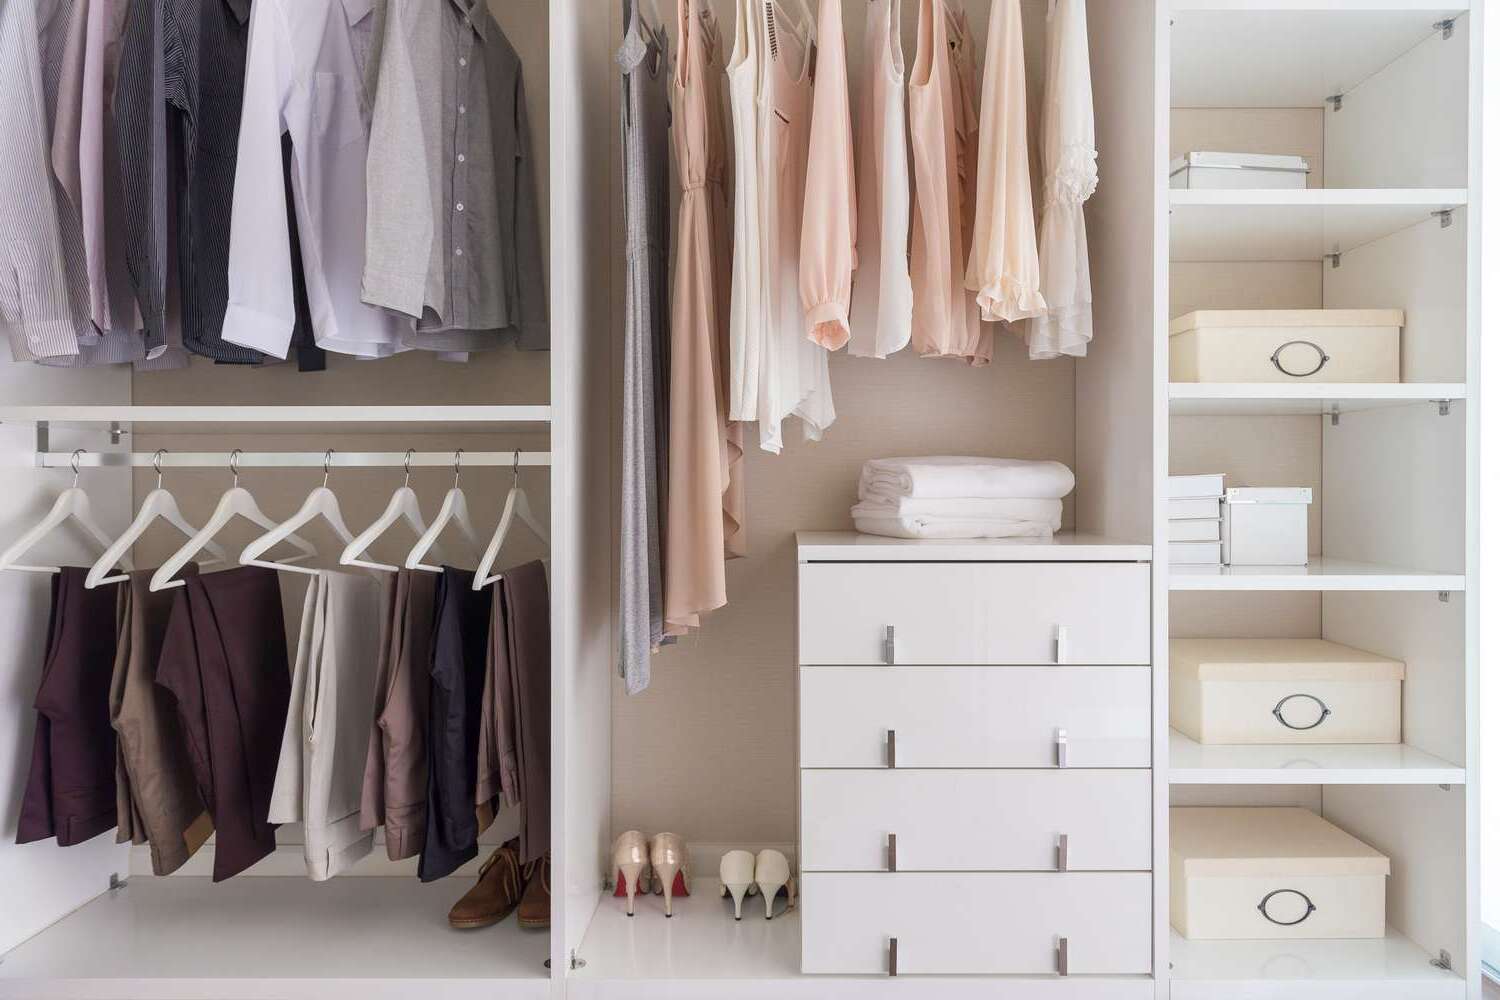
Ever look at your closet and think it's a mess? Clothes piled up, shoes everywhere, and no way to find what you need. DIY closet dividers can help get things in order. These simple, homemade tools can make a big difference. With just a few materials and some creativity, you can turn chaos into a neat and tidy space. Sorting clothes by type, season, or even color becomes a breeze. Your mornings will get easier, and you’ll wonder why you didn’t do this sooner. Ready to tackle the mess? Let’s start organizing!
Getting Ready for Your Project
- Gather Materials: Collect cardboard, scissors, a ruler, a pencil, and decorative paper or paint.
- Measure Your Closet Rod: Measure the diameter of your closet rod to ensure the dividers fit properly.
- Create Templates: Draw a template for your dividers on cardboard. Make sure to include a hole in the center for the rod.
- Cut Out Dividers: Use scissors to cut out the dividers following your template.
- Decorate: Cover the dividers with decorative paper or paint them to match your closet’s theme.
- Label: Write labels on each divider to categorize your clothes (e.g., shirts, pants, dresses).
- Safety Tips: Always cut away from your body, wear gloves if needed, and ensure your workspace is well-lit.
- Workspace Setup: Clear a table or flat surface to work on. Keep all tools within reach to avoid unnecessary movement.
- Preliminary Tasks: Clean your closet rod and remove any existing hangers or items that might get in the way.
What You Need: Materials and Tools
- Cardboard: Sturdy material for the base of the dividers.
- Scissors: Used to cut the cardboard into desired shapes.
- Ruler: Ensures straight lines and accurate measurements.
- Pencil: Marks where to cut and draw designs.
- Glue: Secures decorative paper or fabric to the cardboard.
- Decorative Paper or Fabric: Adds a personal touch to the dividers.
- Hole Punch: Creates holes for hanging or attaching labels.
- Labels: Helps identify sections within the closet.
- String or Ribbon: Used to attach labels to the dividers.
- Tape: Provides extra security for glued areas.
- Markers or Pens: Write on labels or add designs to the dividers.
Cardboard forms the base, cut with scissors and measured with a ruler. A pencil marks where to cut. Glue attaches decorative paper or fabric. A hole punch creates holes for labels, which can be written on with markers or pens. String or ribbon attaches labels, and tape secures everything.
Skill Level and Time Commitment
Skill Level: Beginner
Estimated Time Required: 1-2 hours
- Gather Materials: 10 minutes
- Measure and Cut Dividers: 30 minutes
- Decorate Dividers: 20 minutes
- Install Dividers: 30 minutes
Total Time: 1-2 hours
How to Make Closet Dividers: Step-by-Step
Gather Materials
- Cardboard or foam board
- Scissors or a craft knife
- Ruler
- Pencil
- Decorative paper or fabric
- Glue or double-sided tape
- Labels or markers
Measure and Cut
- Measure the width and height of your closet rod.
- Cut the cardboard or foam board into rectangles. Each should be about 6 inches wide and 10 inches tall.
Create the Slot
- Draw a vertical line down the center of each rectangle.
- Cut a slit along this line, stopping about 2 inches from the top.
Decorate
- Cover each rectangle with decorative paper or fabric using glue or double-sided tape.
- Smooth out any wrinkles or bubbles.
Label
- Write or print labels for each divider (e.g., "Shirts," "Pants," "Dresses").
- Attach labels to the top of each divider.
Install
- Slide each divider onto the closet rod through the slit.
- Arrange them according to your clothing categories.
Adjust as Needed
- Move dividers around to fit your wardrobe.
- Add or remove dividers based on your needs.
Helpful Tips and Tricks
Measure your closet space before starting. This ensures dividers fit perfectly. Use cardboard or foam board for a sturdy yet lightweight option. Label each divider for easy identification. Velcro strips can help secure dividers in place without damaging shelves. Repurpose old cereal boxes by cutting them into divider shapes and covering them with decorative paper.
Common mistakes include not measuring accurately, leading to ill-fitting dividers. Avoid using flimsy materials like thin paper, which won't hold up. Overloading dividers with too many items can cause them to collapse.
Instead of cardboard, consider using acrylic sheets for a more durable and professional look. Tension rods can also serve as adjustable dividers. For a quick fix, shower curtain rings can help separate hangers and create sections.
Estimating the Cost
Materials:
- Cardboard: $5 for a pack of 10 sheets
- Decorative paper: $10 for a pack of 20 sheets
- Glue: $3 for a bottle
- Scissors: $5
- Markers: $2 for a pack
- Hole punch: $4
Tools:
- Ruler: $2
- Cutting mat: $10 (optional but helpful)
Total Cost: $41
Budget-Friendly Alternatives:
- Cardboard: Reuse old boxes for free
- Decorative paper: Use wrapping paper or magazine pages
- Glue: Use a glue stick from home
- Scissors: Borrow from a friend or use ones you already have
- Markers: Use any pens or pencils available
- Hole punch: Use a sharp pencil to make holes
Alternative Total Cost: $12
Different Ways to Customize
Materials: Use wood for a sturdy, rustic look. Acrylic offers a modern, sleek style. Cardboard is budget-friendly and easy to cut. Fabric-covered foam adds a soft touch.
Colors: Paint dividers in bright colors for a playful vibe. Use neutral tones like beige or gray for a minimalist look. Metallic paints like gold or silver add a touch of luxury.
Styles: Create dividers with chalkboard paint to label sections easily. Use stencils to add patterns or designs. Decoupage with magazine cutouts or wrapping paper for a unique, personalized look.
Shapes: Traditional rectangular shapes work well, but consider circular or oval dividers for a different aesthetic. Animal shapes can make organizing fun for kids.
Labels: Attach clip-on labels for easy changes. Use vinyl stickers for a clean, professional look. Handwritten tags add a personal touch.
Additional Features: Add hooks for hanging accessories. Use magnetic strips to attach small metal items. Incorporate pockets for storing small items like jewelry or scarves.
Eco-Friendly Ideas
Cardboard from old boxes can be cut into shapes and decorated with recycled paper or fabric scraps. Use wooden hangers as a base, attaching reclaimed wood pieces to create dividers. Old CDs or DVDs can be repurposed by covering them with eco-friendly paint or stickers. Corkboard from wine corks can be glued together to form sturdy dividers. Plastic containers from food packaging can be cut and reshaped into dividers, then decorated with non-toxic paint. Bamboo is a sustainable option; use thin bamboo sticks to create a natural look. Old belts can be cut and used as flexible dividers. Fabric from old clothes can be sewn into pockets that hang from the closet rod. Mason jars can be used to store small items, keeping the closet organized.
Keep Your Closet Tidy
DIY closet dividers are a game-changer for organizing your wardrobe. They help you keep everything in its place, making it easier to find what you need. With just a few materials and a bit of creativity, you can create dividers that suit your style and needs. Whether you use cardboard, wood, or plastic, the key is to make them sturdy and easy to label. Once you’ve got your dividers in place, you’ll wonder how you ever managed without them. Plus, they’re a fun project that can be done in an afternoon. So grab your supplies, roll up your sleeves, and get started. Your closet will thank you, and you’ll save time every morning. Happy organizing!
How do I make DIY closet dividers?
Grab some sturdy cardboard, scissors, and decorative paper. Cut the cardboard into rectangles, then cut a small slit at the top. Wrap the cardboard in decorative paper, and you’re good to go!
What materials do I need?
You’ll need cardboard, scissors, decorative paper or fabric, glue, and a marker. Optional: stickers or labels for extra flair.
Can I use recycled materials?
Absolutely! Old cereal boxes or shipping boxes work great. Just make sure they’re clean and sturdy.
How do I label the dividers?
Use a marker to write directly on the decorative paper or attach labels. You can also print labels if you want a more polished look.
Are there any safety tips?
Be careful with scissors and glue. If you’re using a hot glue gun, make sure to avoid burns. Keep small pieces away from young kids.
How can I make them look professional?
Use matching or coordinating decorative paper, and take your time cutting and gluing. Adding printed labels or stickers can also give a polished finish.
Can I customize the size?
Yes, you can make them any size you need. Just measure your closet rods and shelves to ensure a perfect fit.