
Home>Home & Furniture>Kitchen>How to Paint Kitchen Cabinets White
Kitchen
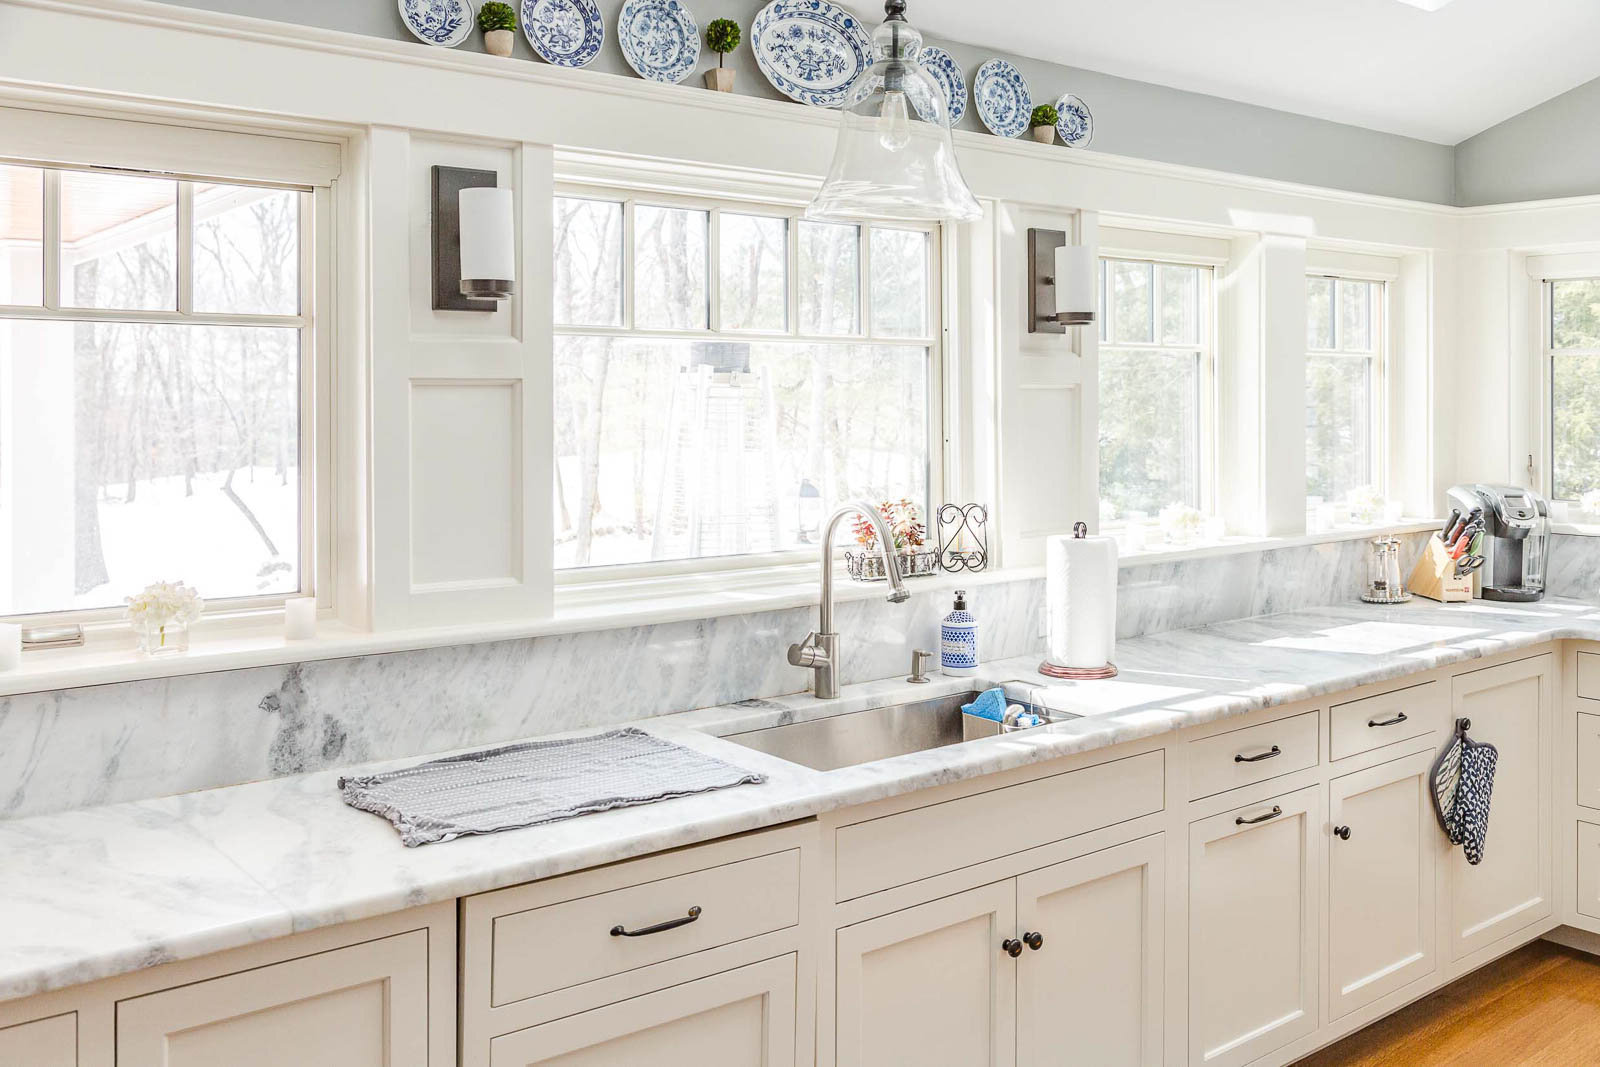
How to Paint Kitchen Cabinets White
Published: August 5, 2024
Learn how to paint kitchen cabinets white with our step-by-step guide. Transform your kitchen with expert tips, tools, and techniques for a flawless finish.
(Many of the links in this article redirect to a specific reviewed product. Your purchase of these products through affiliate links helps to generate commission for Twigandthistle.com, at no extra cost. Learn more)
Painting kitchen cabinets white can breathe new life into your kitchen, making it brighter and more modern. This project might seem challenging, but with a bit of patience and effort, you can achieve professional-looking results. Whether you're dealing with old, worn-out cabinets or just craving a fresh look, this guide will help you transform your space. We'll walk through the materials needed, preparation steps, painting techniques, and finishing touches. By the end, you'll feel confident in giving your kitchen that crisp, clean look. Ready to roll up your sleeves and get started? Let's dive into the process!
Getting Ready for Your Cabinet Makeover
Clear the Area: Remove all items from cabinets and countertops. Cover floors and nearby appliances with drop cloths or plastic sheets.
Safety Gear: Wear safety goggles, gloves, and a mask to protect from dust and fumes.
Remove Hardware: Take off cabinet doors, drawers, and all hardware like handles and hinges. Label each piece to make reassembly easier.
Clean Surfaces: Use a degreaser or a mixture of warm water and dish soap to clean all surfaces. This removes grease and grime that can prevent paint from sticking.
Sand Cabinets: Lightly sand all surfaces with medium-grit sandpaper to create a smooth base for the primer. Wipe away dust with a damp cloth.
Fill Holes and Cracks: Use wood filler to fill any holes or cracks. Once dry, sand the filled areas until smooth.
Prime the Cabinets: Apply a coat of primer to all surfaces. This helps the paint adhere better and provides a uniform base color.
Set Up Workspace: Choose a well-ventilated area for painting. Use sawhorses or a sturdy table to lay out cabinet doors and drawers.
Test Paint: Before painting everything, test the paint on a small, inconspicuous area to ensure you like the color and finish.
Organize Tools: Gather all necessary tools like paintbrushes, rollers, and paint trays. Keep them within easy reach to streamline the process.
Essential Materials and Tools
- Sandpaper: Used to smooth the cabinet surfaces. Get both coarse and fine grit.
- Screwdriver: Needed to remove cabinet doors and hardware.
- Painter's Tape: Helps protect areas you don't want to paint.
- Drop Cloths: Protects floors and countertops from paint spills.
- Primer: Ensures paint adheres well and lasts longer.
- Paint: Choose a high-quality white paint designed for cabinets.
- Paintbrushes: Use different sizes for detailed and broad strokes.
- Paint Rollers: Ideal for covering large, flat surfaces quickly.
- Paint Tray: Holds paint for easy access while painting.
- Degreaser: Cleans cabinets to remove grease and grime.
- Putty Knife: Fills in any holes or imperfections with wood filler.
- Wood Filler: Repairs any dents or holes in the cabinets.
- Tack Cloth: Removes dust after sanding.
- Protective Gear: Gloves and masks keep you safe from fumes and chemicals.
- Stir Sticks: Mixes paint and primer thoroughly before use.
Skill Level and Time Commitment
Skill Level: Intermediate
Time Required: 3-5 days
Preparation: 1 day
- Remove cabinet doors and hardware.
- Clean surfaces with a degreaser.
- Sand cabinets to remove old finish.
Priming: 1 day
- Apply a coat of primer.
- Let it dry completely.
Painting: 1-2 days
- Apply the first coat of paint.
- Allow it to dry.
- Apply a second coat if necessary.
Reassembly: 1 day
- Reattach cabinet doors and hardware.
- Touch up any areas as needed.
Detailed Painting Instructions
Remove Cabinet Doors and Hardware
- Use a screwdriver to take off doors, drawers, and hardware.
- Label each piece to remember where it goes.
Clean Surfaces
- Mix a solution of warm water and mild detergent.
- Wipe down all surfaces to remove grease and dirt.
- Let everything dry completely.
Sand the Cabinets
- Use 120-grit sandpaper to sand all surfaces lightly.
- Wipe away dust with a damp cloth.
Fill Holes and Cracks
- Apply wood filler to any holes or cracks.
- Let it dry, then sand smooth with 220-grit sandpaper.
Prime the Cabinets
- Apply a coat of primer using a brush or roller.
- Let the primer dry according to the manufacturer's instructions.
- Lightly sand the primed surfaces with 220-grit sandpaper.
Paint the Cabinets
- Apply the first coat of white paint using a brush or roller.
- Let the paint dry completely.
- Lightly sand between coats with 220-grit sandpaper.
- Apply a second coat of paint and let it dry.
Reattach Doors and Hardware
- Once the paint is fully dry, reattach doors, drawers, and hardware.
- Use the labels to ensure everything goes back in the right place.
Touch Up
- Inspect for any missed spots or drips.
- Touch up as needed with a small brush.
Helpful Tips and Tricks
Clean the cabinets thoroughly. Grease and grime can ruin the paint job. Use a degreaser or a mix of vinegar and water.
Remove all hardware like knobs and hinges. Label them to make reassembly easier.
Sand the surfaces lightly. This helps the paint stick better. Use 120-grit sandpaper for best results.
Prime the cabinets with a good-quality primer. This prevents stains from bleeding through and helps the paint adhere.
Use a foam roller for large surfaces and a brush for corners and edges. This gives a smooth finish without brush marks.
Apply multiple thin coats of paint instead of one thick coat. This prevents drips and ensures even coverage.
Let each coat dry completely before applying the next. Patience is key for a professional look.
Reassemble the hardware only after the paint has fully cured. This can take a few days.
Common mistakes to avoid:
Skipping the cleaning step. Paint won’t stick to greasy surfaces.
Not sanding enough. Smooth surfaces make it hard for paint to adhere.
Using cheap paint or primer. Quality products give better results.
Rushing the drying process. This can lead to smudges and uneven finishes.
Alternatives for materials or methods:
Instead of traditional paint, consider chalk paint. It requires less prep work and gives a matte finish.
For a more durable finish, use cabinet-specific paint. It’s designed to withstand kitchen wear and tear.
If sanding sounds too messy, try a liquid deglosser. It preps the surface without the dust.
For a modern look, replace old hardware with new knobs and handles. This can make a big difference in the overall appearance.
Estimating the Cost
Paint: A gallon of high-quality white paint costs around $30-$50. You might need 2 gallons, so budget $60-$100.
Primer: Essential for a smooth finish. A gallon costs about $20-$30. One gallon should be enough.
Sandpaper: Various grits needed. A pack costs around $10.
Painter's Tape: To protect areas you don't want painted. A roll costs about $5.
Drop Cloths: Protect floors and countertops. A pack of plastic drop cloths costs around $10.
Paint Brushes and Rollers: Quality brushes and rollers ensure a good finish. A set costs about $20-$30.
Degreaser/Cleaner: Clean cabinets before painting. A bottle costs around $10.
Screwdriver: To remove cabinet doors and hardware. If you don't have one, a basic set costs around $10.
Budget-Friendly Alternatives:
- Paint: Opt for a mid-range brand at $20 per gallon.
- Primer: Use a combined paint and primer to save money.
- Brushes/Rollers: Buy a budget set for around $15.
- Drop Cloths: Use old sheets or newspapers instead.
Total Estimated Cost: Around $145-$195 with high-quality materials. Using budget-friendly options, you can reduce this to about $100.
Creative Variations and Customizations
Alternative Colors: Instead of white, consider soft pastels like mint green or light blue for a fresh look. Bold colors like navy blue or deep red can make a statement. Neutral tones such as beige or gray offer a timeless appeal.
Materials: Use chalk paint for a matte, vintage finish. Milk paint provides a rustic, antique look. High-gloss enamel gives a sleek, modern appearance. For a more eco-friendly option, try low-VOC paints.
Styles: Add distressing techniques for a shabby chic style. Use stencils or decals to create patterns or designs. Incorporate two-tone cabinets by painting the upper cabinets one color and the lower cabinets another. Glazing can add depth and an aged look.
Hardware: Swap out standard handles for antique knobs or modern pulls. Brushed nickel or oil-rubbed bronze hardware can change the overall feel. Glass knobs add a touch of elegance.
Finishing Touches: Install under-cabinet lighting to highlight your work. Add crown molding for a polished look. Use decorative trim to enhance cabinet doors. Consider open shelving for a more airy, spacious feel.
Eco-Friendly Painting Tips
Remove the cabinet doors and hardware. Clean them with a mixture of vinegar and water to avoid harsh chemicals. Sand the surfaces lightly using recycled sandpaper or a sanding sponge. Fill any holes or dents with eco-friendly wood filler.
Prime the cabinets with a low-VOC primer to reduce harmful emissions. Use a low-VOC paint in white for the final coat. Apply the paint with reusable brushes or rollers to minimize waste. Consider using a paint sprayer to achieve a smooth finish while using less paint.
Reuse the original hardware if possible. If new hardware is needed, choose ones made from recycled materials. Recycle any leftover paint or materials properly. Donate any usable items to local charities or recycling centers.
Your Freshly Painted Kitchen Awaits
Painting kitchen cabinets white can transform your space without breaking the bank. With some patience, the right tools, and a bit of elbow grease, you can achieve a professional-looking finish. Remember to clean and sand the surfaces thoroughly, use a good primer, and apply multiple thin coats of paint for the best results. Don't rush the drying times between coats; it’s crucial for a smooth finish. Once everything’s dry, reattach the hardware and admire your handiwork. This DIY project not only saves money but also gives you the satisfaction of knowing you did it yourself. So, grab your brush, roll up your sleeves, and get started on creating a brighter, more inviting kitchen. Happy painting!
How do I prep my kitchen cabinets for painting?
First, remove all cabinet doors, drawers, and hardware. Clean everything with a degreaser to get rid of grease and grime. Sand the surfaces lightly to help the paint stick better. Wipe off the dust with a damp cloth.
Do I need to use a primer before painting?
Yes, using a primer is crucial. It helps the paint adhere better and provides a smooth finish. Choose a high-quality primer suitable for your cabinet material.
What type of paint should I use?
Use a high-quality, semi-gloss or satin paint. These finishes are durable and easy to clean, making them perfect for kitchen cabinets. Acrylic latex paint is a good choice.
How many coats of paint are necessary?
Typically, two coats of paint are enough. Apply the first coat, let it dry completely, then lightly sand before applying the second coat. This ensures a smooth, even finish.
How long should I wait between coats?
Wait at least 4-6 hours between coats, but check the paint can for specific drying times. Make sure the first coat is completely dry before adding the next one.
Can I use a paint sprayer instead of a brush?
Yes, a paint sprayer can give a more professional finish. However, it requires more prep work to protect surrounding areas from overspray. If you use a brush, choose a high-quality one to avoid brush marks.
How do I reassemble the cabinets after painting?
Once the paint is fully dry, reattach the hardware, doors, and drawers. Be careful not to scratch the fresh paint. Consider adding felt pads to the doors to prevent chipping.