
Home>Create & Decorate>DIY & Crafts>How To Make A Faraday Cage
DIY & Crafts
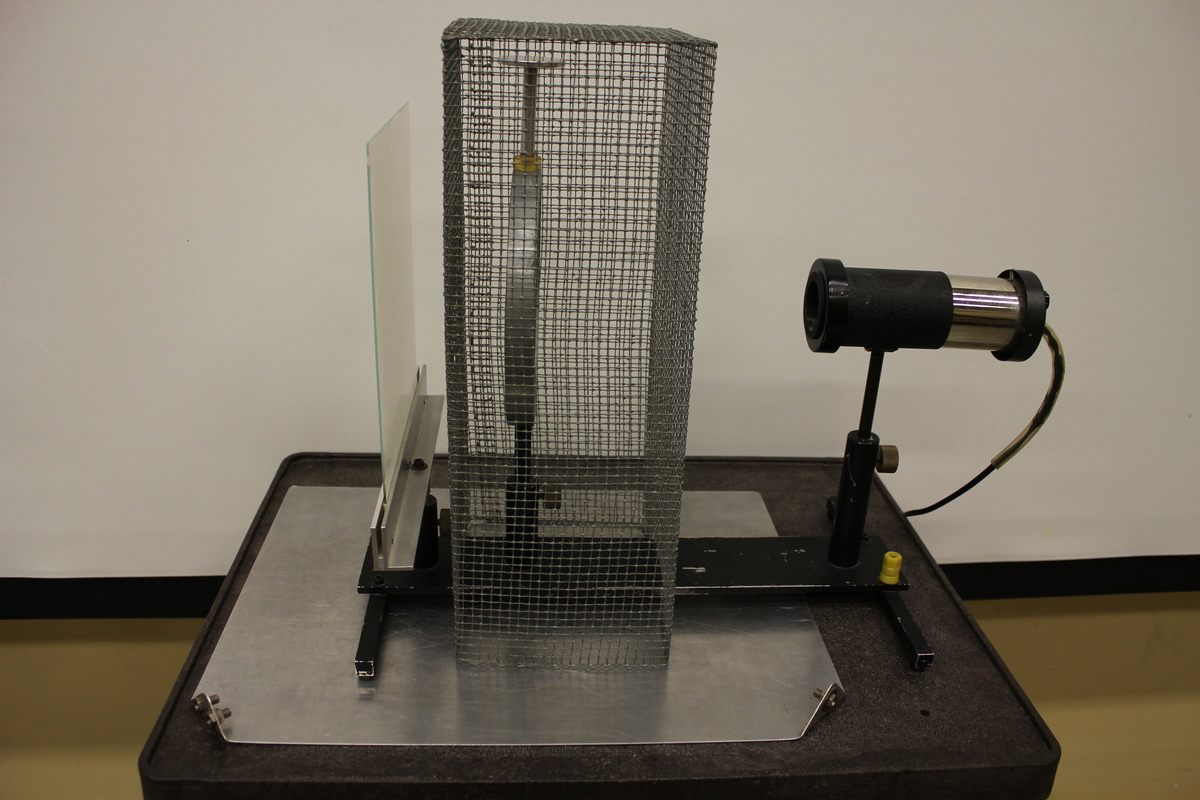
How To Make A Faraday Cage
Published: April 13, 2024

Senior Editor in Create & Decorate, Kathryn combines traditional craftsmanship with contemporary trends. Her background in textile design and commitment to sustainable crafts inspire both content and community.
Learn how to make a Faraday cage with this DIY & Crafts guide. Protect your electronics from electromagnetic interference with this simple project.
(Many of the links in this article redirect to a specific reviewed product. Your purchase of these products through affiliate links helps to generate commission for Twigandthistle.com, at no extra cost. Learn more)
Introduction
So, you've heard about Faraday cages and you're wondering how to make one, huh? Well, you've come to the right place! In this article, we're going to dive into the world of Faraday cages and show you how to make your very own. Whether you're looking to protect your electronics from electromagnetic interference or you're just curious about the science behind it, we've got you covered. So, grab your tools and let's get started on this electrifying DIY project!
Understanding Faraday Cages
A Faraday cage is a structure designed to block electromagnetic fields. It works by distributing the charge or radiation around the exterior of the cage, canceling out electric fields within the enclosure. This phenomenon is known as the Faraday effect, named after the English scientist Michael Faraday, who discovered it in the 19th century. Faraday cages are commonly used to protect electronic equipment from lightning strikes, electromagnetic pulses (EMPs), or even to secure sensitive information from being intercepted by electromagnetic radiation.
The effectiveness of a Faraday cage is determined by the material used and the construction of the enclosure. The cage can be made of any conductive material, such as copper, aluminum, or even conductive mesh. When an external electric field is applied to the cage, the electrons in the conductive material rearrange themselves to neutralize the field's effects inside the cage, thereby protecting the contents from electromagnetic interference.
In essence, a Faraday cage acts as a shield against external electromagnetic radiation, making it an essential tool for various applications, including protecting sensitive electronic equipment, securing communication systems, and even shielding individuals from harmful electromagnetic radiation. Now that we've grasped the concept of Faraday cages, let's move on to the practical aspect of creating one.
Materials Needed
To build your own Faraday cage, you'll need the following materials:
-
Metal Enclosure: This can be a metal trash can, ammo can, or even a metal filing cabinet. Ensure that the chosen container has a tight-fitting lid to fully enclose the contents.
-
Conductive Material: Aluminum foil, copper mesh, or metal window screen can be used to line the inside of the enclosure. The conductive material will create the shielding effect necessary for the Faraday cage to function.
-
Insulating Material: While the exterior of the cage needs to be conductive, the interior should be lined with insulating material such as cardboard, foam, or rubber. This prevents the electronic devices inside from coming into direct contact with the conductive layer.
-
Sealant: A conductive sealant or conductive tape is essential to seal any gaps or seams in the enclosure. This ensures that the cage is fully enclosed and provides maximum protection against electromagnetic interference.
-
Electronics to Protect: Depending on the size of the Faraday cage, you may need to decide what electronic devices you want to protect. This could include small items like smartphones and tablets, or larger equipment such as laptops, radios, or even a generator.
Now that you have the necessary materials, it's time to roll up your sleeves and start building your very own Faraday cage!
Building the Faraday Cage
Now that you have gathered all the materials, it's time to put them to use and construct your Faraday cage. Follow these steps to build your very own electromagnetic shield:
-
Prepare the Enclosure: If you're using a metal container such as a trash can or ammo can, ensure that it is clean and free of any debris. If there are any sharp edges or rough spots, consider sanding them down to prevent damage to the lining material and the electronics you'll be protecting.
-
Line the Interior with Conductive Material: Carefully line the inside of the enclosure with the chosen conductive material, whether it's aluminum foil, copper mesh, or metal window screen. Ensure that the material covers the entire interior surface, leaving no gaps or exposed areas. The goal is to create a continuous conductive layer to shield the contents from electromagnetic interference.
-
Insulate the Interior: Once the conductive material is in place, line the interior with insulating material. This step is crucial to prevent direct contact between the electronic devices and the conductive layer. Use cardboard, foam, or rubber to create a protective barrier within the cage.
-
Seal Any Gaps: Use a conductive sealant or conductive tape to seal any gaps, seams, or joints in the enclosure. It's essential to ensure that the cage is fully enclosed to maximize its effectiveness as a Faraday cage.
-
Test the Effectiveness: Before placing your electronic devices inside the Faraday cage, it's a good idea to test its effectiveness. You can do this by placing a radio or cell phone inside the cage and attempting to make a call. If the device loses signal once inside the cage, it indicates that the cage is effectively blocking electromagnetic signals.
-
Place Electronics Inside: Once you've confirmed the cage's effectiveness, carefully place the electronic devices you want to protect inside the Faraday cage. Whether it's a smartphone, laptop, radio, or other sensitive equipment, ensure that they are positioned securely within the insulated interior.
-
Secure the Lid: If your enclosure has a lid, securely close and seal it to ensure that the contents are fully enclosed within the Faraday cage.
By following these steps, you can successfully build a Faraday cage to protect your electronic devices from electromagnetic interference. Now that you've completed the construction, it's time to test the cage and ensure that it provides the necessary protection for your valuable electronics.
Testing the Faraday Cage
Once you have constructed your Faraday cage, it's crucial to test its effectiveness in blocking electromagnetic signals. Here's how you can conduct a simple yet effective test to ensure that your cage provides the necessary protection for your electronic devices:
-
Signal Test: Place a cell phone or a radio inside the Faraday cage and attempt to make a call or tune in to a radio station. If the device loses signal or the call cannot be connected, it indicates that the cage is effectively blocking electromagnetic signals. This test demonstrates that the cage is functioning as intended, preventing external electromagnetic interference from reaching the enclosed devices.
-
Wi-Fi Test: If you have a Wi-Fi-enabled device such as a smartphone or a tablet, place it inside the Faraday cage and attempt to connect to a Wi-Fi network. If the device is unable to detect or connect to any Wi-Fi networks, it further confirms the cage's ability to block wireless signals. This test is particularly relevant for protecting sensitive data and electronic equipment from unauthorized access via wireless networks.
-
Radio Frequency (RF) Meter Test: For a more comprehensive assessment, you can use an RF meter to measure the electromagnetic radiation levels inside and outside the Faraday cage. By comparing the readings, you can verify the reduction in electromagnetic radiation within the cage, demonstrating its shielding effectiveness. This test provides quantitative data on the cage's ability to block electromagnetic fields, offering a scientific validation of its protective capabilities.
-
EMP Simulation Test: If you have the means to generate an electromagnetic pulse (EMP) simulation, such as a portable EMP generator, you can use it to test the Faraday cage's resilience against high-energy electromagnetic bursts. By subjecting the cage to an EMP simulation and verifying that the enclosed devices remain unharmed, you can ensure that the cage is capable of safeguarding electronics from extreme electromagnetic events.
By conducting these tests, you can verify the functionality of your Faraday cage and gain confidence in its ability to protect your electronic devices from electromagnetic interference. It's essential to periodically retest the cage to ensure its continued effectiveness, especially if it houses critical equipment or sensitive information. With a successfully tested Faraday cage, you can have peace of mind knowing that your electronics are shielded from external electromagnetic threats.
Additional Considerations
When creating and utilizing a Faraday cage, there are several additional considerations to keep in mind to ensure its optimal functionality and effectiveness:
-
Grounding: While Faraday cages can provide effective shielding against external electromagnetic fields, grounding the cage can further enhance its performance. By connecting the conductive material of the cage to a grounding rod or a reliable earth ground, any excess electrical charge or induced currents can be safely dissipated, preventing potential damage to the enclosed electronics. Proper grounding is particularly important in scenarios where the Faraday cage is intended to protect against lightning strikes or high-voltage surges.
-
Size and Shape: The size and shape of the Faraday cage can influence its shielding capabilities. Larger cages with ample internal space can accommodate a greater number of electronic devices while maintaining adequate insulation and shielding. Additionally, the shape of the cage should be considered, as sharp corners or edges can impact the uniform distribution of electromagnetic fields. When possible, opt for a spacious, rounded enclosure to optimize the shielding effect and accommodate various electronic equipment.
-
Accessibility: While the primary purpose of a Faraday cage is to shield electronic devices from external electromagnetic interference, it's essential to ensure that the enclosed equipment remains accessible when needed. Consider the frequency of access to the devices and design the cage in a way that allows for convenient retrieval and placement of electronics without compromising the integrity of the shielding. This balance between accessibility and protection is crucial, especially in operational or emergency scenarios.
-
Maintenance and Inspection: Regular maintenance and inspection of the Faraday cage are vital to ensure its ongoing effectiveness. Periodically check the integrity of the conductive lining, insulating material, and sealants to identify any signs of wear, corrosion, or damage that may compromise the cage's shielding capabilities. Additionally, verify the grounding connections and address any potential issues to maintain the cage's optimal performance over time.
-
Environmental Considerations: Environmental factors such as temperature, humidity, and exposure to corrosive substances can impact the longevity and functionality of the Faraday cage. Choose a location for the cage that minimizes exposure to extreme environmental conditions and implement measures to protect the enclosure from moisture, dust, and other potential contaminants. By safeguarding the cage against environmental influences, you can prolong its lifespan and ensure reliable protection for the enclosed electronics.
-
Legal and Safety Compliance: Depending on the intended use of the Faraday cage, it's important to consider any legal regulations and safety standards that may apply. In certain applications, such as the protection of sensitive data or critical infrastructure, compliance with industry-specific standards and regulations is essential. Additionally, ensure that the construction and deployment of the Faraday cage adhere to relevant safety guidelines to mitigate any potential hazards associated with its operation.
By taking these additional considerations into account, you can enhance the functionality, reliability, and safety of your Faraday cage, ensuring that it effectively safeguards your electronic devices from electromagnetic interference while addressing practical and regulatory requirements.
Conclusion
In conclusion, constructing a Faraday cage provides a practical and effective means of protecting electronic devices from electromagnetic interference. By understanding the principles behind Faraday cages and following the steps to build and test one, individuals can safeguard their valuable electronics from external electromagnetic threats. The versatility of Faraday cages extends to various applications, including shielding sensitive equipment from EMPs, securing communication systems, and protecting electronic data from unauthorized access. With the right materials, construction techniques, and testing methods, individuals can create a reliable Faraday cage tailored to their specific needs. Additionally, considering factors such as grounding, size, accessibility, maintenance, environmental considerations, and compliance ensures the optimal functionality and safety of the Faraday cage. By incorporating these considerations into the construction and utilization of Faraday cages, individuals can maintain the integrity and effectiveness of the shielding enclosure, providing long-term protection for their electronic devices. Whether for personal use, professional applications, or emergency preparedness, a well-constructed and tested Faraday cage offers peace of mind in the face of potential electromagnetic threats, making it a valuable asset in the realm of electronics protection.