
Home>Home & Furniture>Kitchen>DIY Kitchen Cart: Step-by-step Guide
Kitchen
DIY Kitchen Cart: Step-by-step Guide
Published: July 29, 2024
Learn how to build your own DIY kitchen cart with our step-by-step guide. Perfect for adding extra storage and style to your kitchen. Easy, affordable, and customizable!
(Many of the links in this article redirect to a specific reviewed product. Your purchase of these products through affiliate links helps to generate commission for Twigandthistle.com, at no extra cost. Learn more)
Tired of cluttered countertops and limited storage space in the kitchen? A DIY kitchen cart can solve those problems while adding a touch of personal flair to your space. Building one yourself not only saves money but also allows customization to fit your needs and style. You'll also gain satisfaction from completing a hands-on project. This guide will walk you through the process, breaking it down into simple steps. Roll up your sleeves, gather your tools, and get ready to transform your kitchen with a functional, stylish cart. Let's get started on this rewarding DIY adventure!
Getting Ready for Your Project
Gather Materials: Collect all necessary tools and materials like wood, screws, wheels, and paint. Make sure everything is within reach.
Safety Gear: Wear safety goggles, gloves, and a dust mask to protect yourself from sawdust and sharp tools.
Workspace Setup: Clear a large, flat area to work on. Ensure good lighting and ventilation. Keep a trash bin nearby for scraps.
Measure and Cut: Measure your wood pieces carefully. Use a saw to cut them to the required sizes. Double-check measurements to avoid mistakes.
Sand Wood: Sand all wood pieces to smooth out rough edges. This helps paint or stain adhere better and prevents splinters.
Pre-drill Holes: Pre-drill holes where screws will go. This prevents wood from splitting and makes assembly easier.
Organize Hardware: Lay out screws, nails, and other hardware in small containers. This keeps them organized and easy to find.
Read Instructions: Go through the assembly instructions thoroughly. Make sure you understand each step before starting.
Test Fit: Assemble the pieces without screws to ensure everything fits correctly. Make adjustments if needed.
Clean Up: Keep your workspace tidy. Remove sawdust and debris regularly to avoid accidents.
Gather Your Materials and Tools
Materials:
- Wood Boards: Used for the frame and shelves. Choose sturdy wood like pine or oak.
- Plywood: For the bottom shelf and backing.
- Wood Screws: To secure the pieces together.
- Wood Glue: Adds extra strength to joints.
- Caster Wheels: Allow the cart to move easily.
- Sandpaper: Smooths out rough edges.
- Paint or Stain: Finishes the wood for a polished look.
- Handles: For easy maneuvering.
Tools:
- Tape Measure: Ensures accurate measurements.
- Saw: Cuts wood to the required sizes.
- Drill: Makes holes for screws and handles.
- Screwdriver: Tightens screws.
- Clamps: Holds pieces together while glue dries.
- Paintbrush: Applies paint or stain.
- Sanding Block: Helps with smoothing surfaces.
- Level: Ensures everything is even and straight.
Each material and tool plays a crucial role in building a sturdy, functional kitchen cart.
Required Skills and Time
Skill Level: Intermediate
Time Required: Approximately 6-8 hours
Key Steps:
- Gather Materials: 1 hour
- Cut Wood Pieces: 1-2 hours
- Assemble Frame: 2 hours
- Attach Shelves and Top: 1 hour
- Sand and Finish: 1-2 hours
Detailed Instructions for Building
Gather Materials:
- Plywood sheets
- Four caster wheels
- Screws and nails
- Wood glue
- Sandpaper
- Paint or wood stain
- Handles or knobs
- Measuring tape
- Saw
- Drill
- Screwdriver
Cut the Wood:
- Measure and cut two pieces of plywood for the top and bottom shelves.
- Cut four pieces for the legs.
- Cut additional pieces for any side panels or extra shelves.
Assemble the Frame:
- Attach the legs to the bottom shelf using screws and wood glue.
- Ensure legs are evenly spaced and perpendicular to the shelf.
Add the Top Shelf:
- Place the top shelf on the legs.
- Secure with screws and wood glue.
Install Side Panels (if any):
- Attach side panels to the frame using screws.
- Ensure panels are flush with the edges of the shelves.
Sand the Cart:
- Smooth all surfaces and edges with sandpaper.
- Remove any rough spots or splinters.
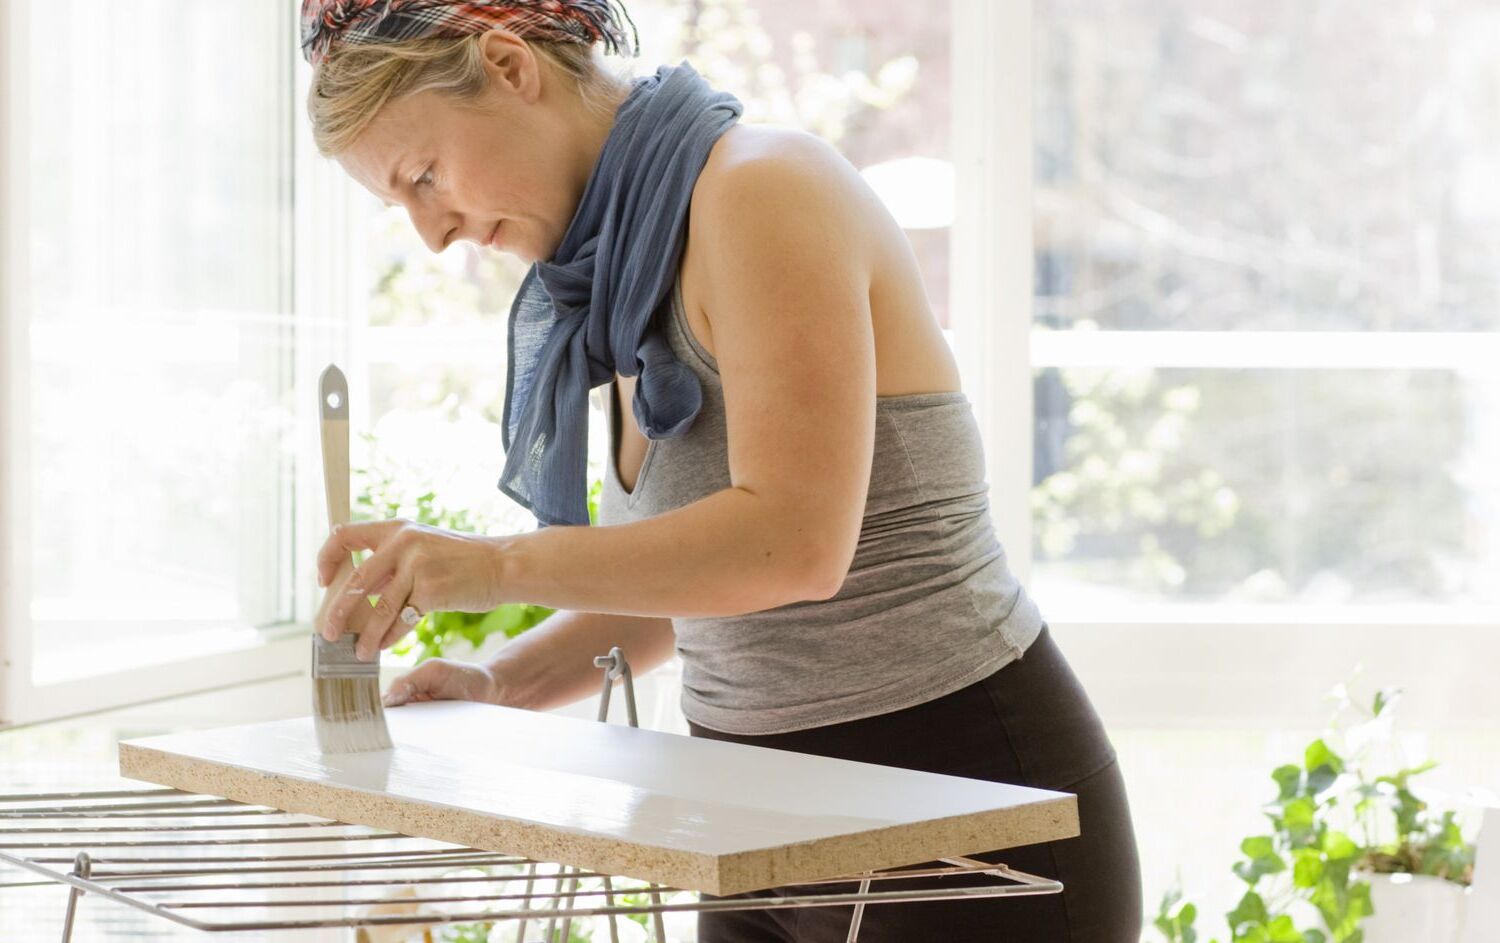
Paint or Stain:
- Apply paint or wood stain to the cart.
- Allow it to dry completely.
Attach Handles or Knobs:
- Install handles or knobs on the sides for easy maneuvering.
Install Caster Wheels:
- Attach one caster wheel to each leg.
- Ensure wheels are securely fastened and can swivel freely.
Final Touches:
- Check for stability.
- Tighten any loose screws.
- Clean off any dust or debris.
Helpful Tips and Tricks
Measure Twice, Cut Once: Always double-check measurements before cutting wood. This saves time and materials.
Use Quality Casters: Invest in sturdy, lockable casters. Cheap ones can make the cart wobbly.
Pre-Drill Holes: Prevent wood from splitting by pre-drilling holes for screws.
Sand Edges: Smooth edges with sandpaper to avoid splinters and give a polished look.
Level Surfaces: Ensure shelves and surfaces are level. Use a spirit level for accuracy.
Paint or Stain Before Assembly: Painting or staining pieces before assembly makes the process easier and cleaner.
Secure Joints: Use wood glue along with screws for stronger joints.
Add a Towel Rack: Attach a towel rack to one side for added functionality.
Use Scrap Wood: Repurpose scrap wood for small parts like handles or supports.
Common Mistakes to Avoid:
Skipping the Plan: Not having a clear plan can lead to mistakes. Sketch out your design first.
Wrong Screws: Using the wrong type or size of screws can weaken the structure.
Ignoring Weight Limits: Overloading the cart can cause it to collapse. Check weight limits of materials.
Not Sanding: Skipping sanding can result in rough surfaces and poor paint adhesion.
Alternatives for Materials or Methods:
Plywood Instead of Solid Wood: Plywood is often cheaper and easier to work with.
Metal Brackets: Use metal brackets for extra support instead of just wood joints.
Prefabricated Shelves: Buy prefabricated shelves to save time on cutting and measuring.
PVC Pipe: Use PVC pipe for handles or towel racks as a lightweight alternative to metal.
Laminate Sheets: Cover surfaces with laminate sheets for easy cleaning and a modern look.
Estimating the Cost
Materials:
- Plywood (for shelves and sides): $50
- 2x4 Lumber (for frame): $20
- Casters (wheels): $15
- Screws and Nails: $10
- Wood Glue: $5
- Sandpaper: $5
- Paint or Stain: $15
- Handles and Knobs: $10
Tools:
- Circular Saw: $60 (or borrow)
- Drill: $40 (or borrow)
- Tape Measure: $5
- Screwdriver: $10
- Paintbrushes: $5
Total Estimated Cost: $250
Budget-Friendly Alternatives:
- Plywood: Use reclaimed wood or pallets (free or $10)
- Casters: Find second-hand ones ($5)
- Paint or Stain: Use leftover paint from another project (free)
- Tools: Borrow from friends or rent from a local hardware store (free or minimal cost)
Total with Alternatives: $150
Different Ways to Customize
Materials: Instead of using wood, try metal for a more industrial look. Bamboo offers a sustainable option. Reclaimed wood adds a rustic charm.
Colors: Paint the cart in bold colors like red or blue for a pop of color. Use pastels for a softer, vintage feel. Stain the wood to highlight its natural grain.
Styles: Add wheels for mobility. Install hooks on the sides for hanging utensils. Attach a wine rack underneath for added functionality.
Countertops: Use marble or granite for a luxurious touch. Butcher block provides a classic, durable surface. Tile the top for a unique, easy-to-clean option.
Storage: Incorporate drawers for hidden storage. Add open shelves for easy access to frequently used items. Use baskets for a farmhouse look.
Handles: Choose brass or copper handles for a vintage feel. Stainless steel handles offer a modern touch. Leather pulls add a unique, rustic element.
Finishes: Apply a glossy finish for a sleek, modern look. Use a matte finish for a more understated appearance. Distress the wood for a shabby chic style.
Extras: Attach a folding leaf to extend the workspace. Install a towel bar on the side. Add a chalkboard panel for notes and recipes.
Eco-Friendly Tips
Materials Needed:
- Reclaimed Wood: Look for old pallets or leftover wood from other projects.
- Recycled Metal: Use old pipes or metal scraps for handles and support.
- Eco-friendly Paint: Choose non-toxic, water-based paint.
- Wheels: Repurpose wheels from an old piece of furniture.
Step-by-Step Guide:
Gather Materials: Collect all reclaimed wood, recycled metal, eco-friendly paint, and repurposed wheels.
Cut Wood: Measure and cut wood to desired dimensions for the cart's frame and shelves. Sand edges for a smooth finish.
Assemble Frame: Use screws or nails to put together the frame. Ensure it’s sturdy and level.
Attach Shelves: Secure shelves inside the frame. Make sure they are evenly spaced.
Add Handles: Attach recycled metal pipes as handles on both sides of the cart.
Paint: Apply eco-friendly paint to the entire cart. Let it dry completely.
Install Wheels: Attach repurposed wheels to the bottom of the cart for mobility.
Final Touches: Check for any loose screws or nails. Make sure everything is secure and stable.
Using reclaimed wood and recycled metal reduces waste. Eco-friendly paint keeps harmful chemicals out of your home. Repurposing wheels gives old items new life. This method not only creates a functional kitchen cart but also helps the environment.
Your DIY Kitchen Cart Awaits
Building your own kitchen cart isn't just about saving money; it's about creating something unique. You've learned how to measure, cut, assemble, and finish your cart. Now, you have a functional piece that fits your space perfectly. Remember, the key steps involved measuring, cutting, assembling, and finishing. Each step required patience and attention to detail, but the end result is worth it.
Don't forget to personalize your cart with paint or stain to match your kitchen's style. Adding hooks or extra shelves can also increase its functionality. You've got the skills now, so why not tackle another project? Your kitchen cart is just the beginning. Keep those tools handy and your creativity flowing. Happy building!
What materials do I need to build a kitchen cart?
You'll need wood (like plywood or hardwood), screws, casters (wheels), wood glue, sandpaper, and paint or stain. Optional items include drawer pulls and shelf liners.
How long will it take to build a kitchen cart?
Depending on your skill level, it might take a weekend. Plan for about 10-12 hours spread over a couple of days.
Do I need any special tools?
Basic tools like a saw, drill, screwdriver, measuring tape, and clamps should do the trick. A sander can make things smoother, but sandpaper works too.
Can I customize the size of the cart?
Absolutely! Measure your kitchen space and adjust the dimensions accordingly. Just make sure to keep the cart stable and balanced.
How do I make sure the cart is sturdy?
Use quality wood and secure joints with screws and wood glue. Adding cross braces can also help with stability.
What kind of finish should I use?
You can use paint for a pop of color or stain to show off the wood grain. Make sure to apply a sealant to protect against spills and stains.
Can I add extra features like drawers or shelves?
Yes, you can! Adding drawers or shelves can increase storage space. Just plan ahead and make sure you have the right materials and measurements.