
Home>Home & Furniture>Kitchen>DIY Drop Leaf Kitchen Island Guide
Kitchen
DIY Drop Leaf Kitchen Island Guide
Published: July 27, 2024
Learn how to build a DIY drop leaf kitchen island with our step-by-step guide. Maximize your kitchen space and add functionality with this versatile and stylish project.
(Many of the links in this article redirect to a specific reviewed product. Your purchase of these products through affiliate links helps to generate commission for Twigandthistle.com, at no extra cost. Learn more)
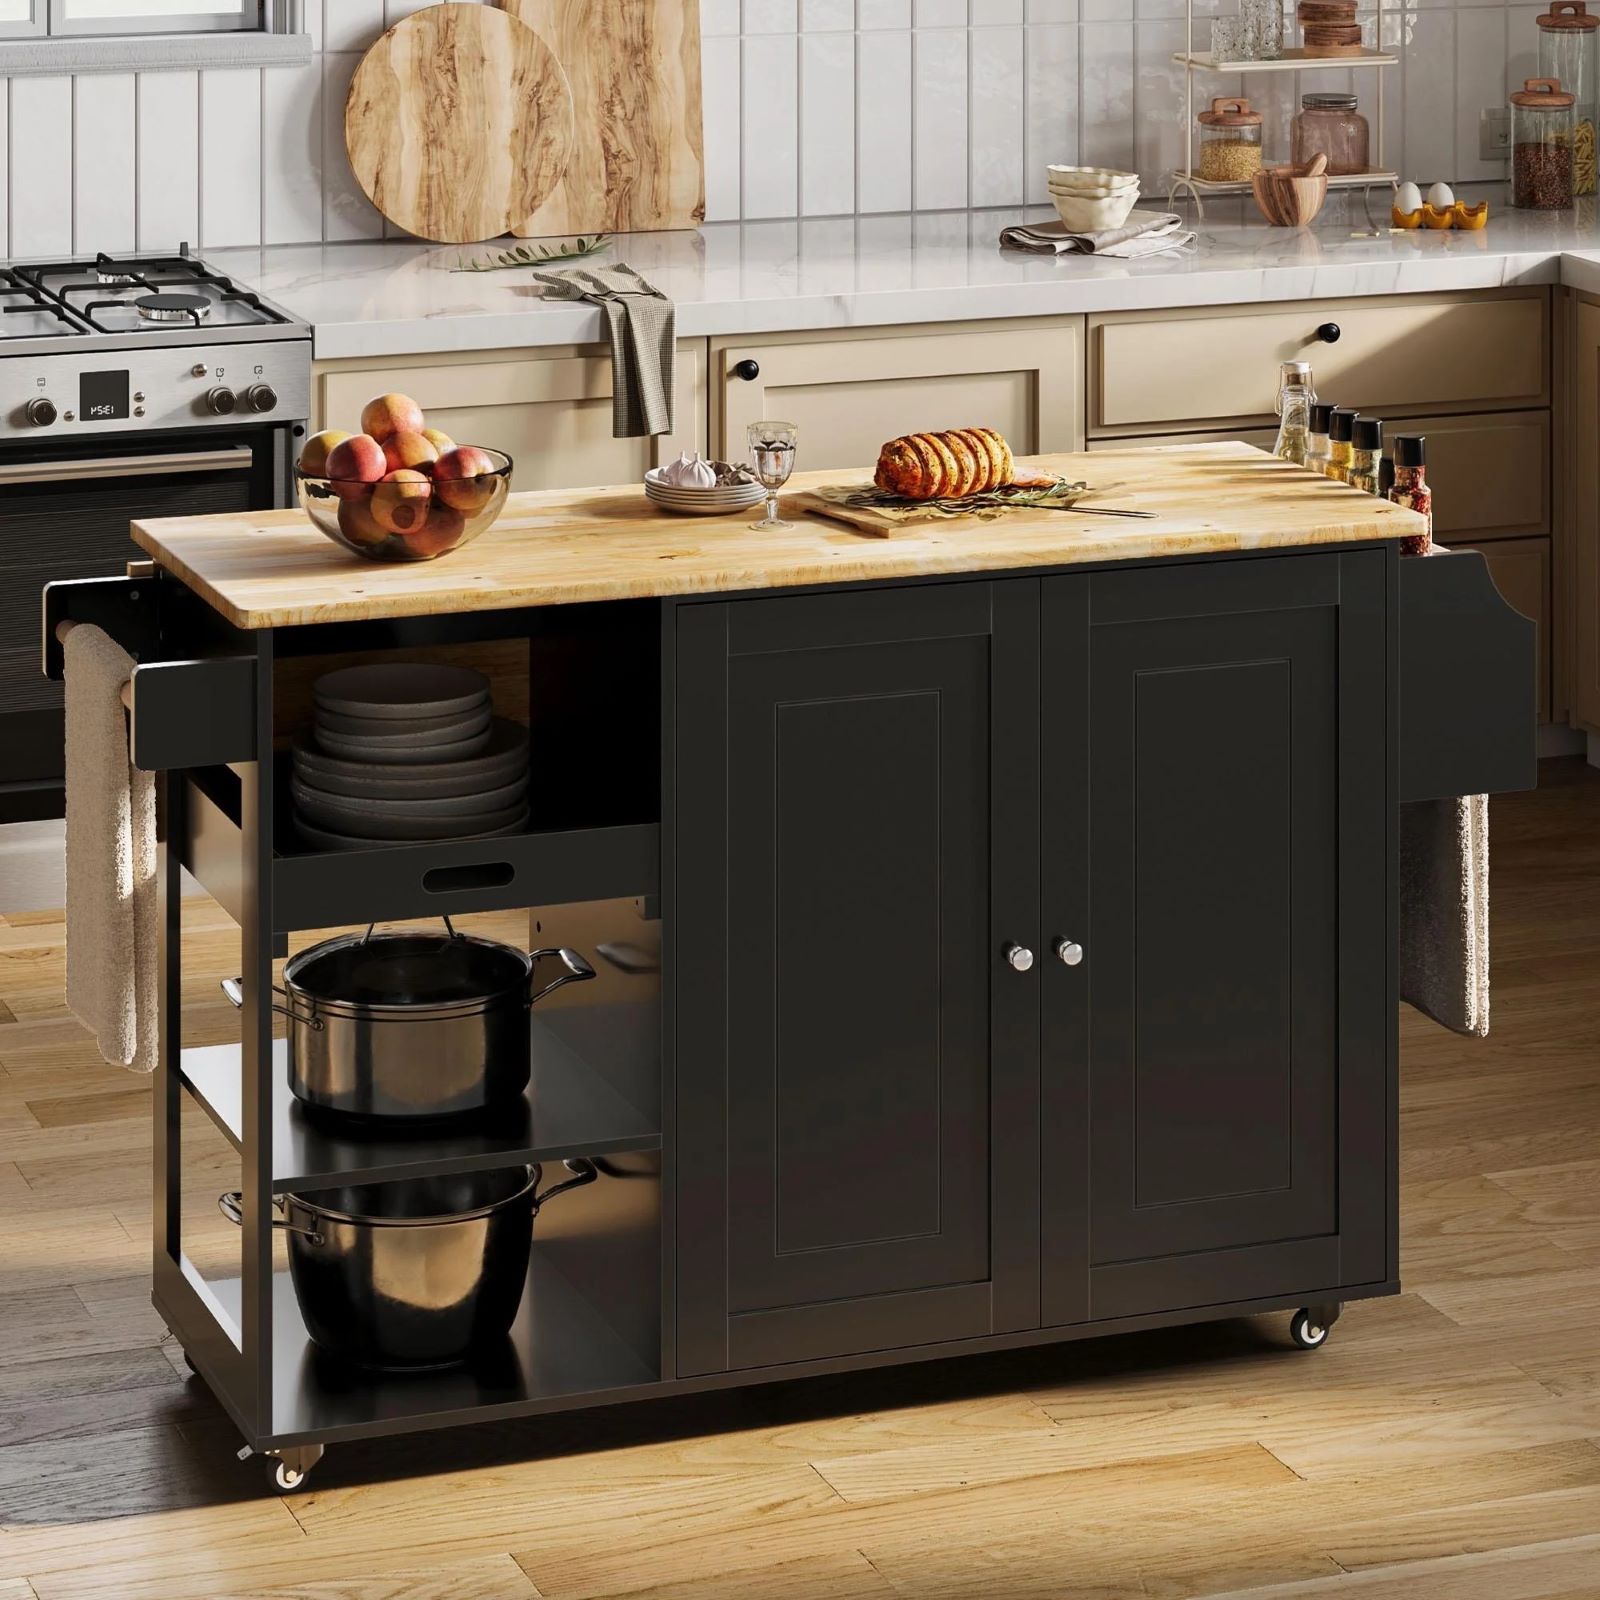
Building a DIY drop leaf kitchen island can transform your cooking space. Great for adding extra counter space, it also folds down when not needed, saving room. Suitable for small kitchens or anyone wanting a versatile work area, this project suits beginner to intermediate DIY enthusiasts. With basic tools and materials, create a functional, stylish piece tailored to your kitchen's needs. Perfect for family meals, casual dining, or extra prep space, this island offers a practical solution. Dive into this guide to craft your own drop leaf kitchen island, blending utility with charm.
Getting Ready for Your Project
Gather Materials: Collect all necessary tools and materials. This includes wood, screws, hinges, a saw, a drill, sandpaper, and paint or stain.
Measure and Cut: Measure your space to determine the size of the island. Cut the wood pieces according to these measurements.
Safety Gear: Wear safety goggles, gloves, and a dust mask to protect yourself from wood dust and debris.
Workspace Setup: Clear a large, flat area to work on. Ensure good lighting and ventilation.
Pre-drill Holes: Pre-drill holes for screws to prevent wood from splitting.
Sand Wood: Sand all wood pieces to smooth out rough edges and surfaces.
Assemble Base: Assemble the base of the island first. Use clamps to hold pieces in place while you screw them together.
Attach Hinges: Attach hinges to the drop leaf section. Ensure they are aligned properly for smooth operation.
Paint or Stain: Apply paint or stain to the wood. Let it dry completely before moving on.
Final Assembly: Attach the drop leaf to the main island. Check for stability and make any necessary adjustments.
Clean Up: Clean your workspace and store tools safely. Dispose of any waste materials properly.
What You Need: Materials and Tools
Materials:
- Wood Boards: Used for the main structure and drop leaf.
- Hinges: Attach the drop leaf to the main island.
- Screws: Secure various parts together.
- Wood Glue: Provides extra strength to joints.
- Sandpaper: Smooths out rough edges.
- Paint or Stain: Finishes the wood for a polished look.
- Caster Wheels: Allows the island to move easily.
- Drawer Slides: If adding drawers, these help them glide smoothly.
- Handles or Knobs: For any drawers or cabinets.
Tools:
- Tape Measure: Ensures accurate measurements.
- Saw: Cuts wood to the required sizes.
- Drill: Makes holes for screws and hinges.
- Screwdriver: Tightens screws.
- Clamps: Holds pieces together while glue dries.
- Paintbrush or Roller: Applies paint or stain.
- Level: Ensures everything is even.
- Sander: Speeds up the sanding process.
- Pencil: Marks measurements and cutting lines.
Skill Level and Time Commitment
Skill Level: Intermediate
Time Required: 8-10 hours
- Gather Materials: 1 hour
- Cut Wood Pieces: 2 hours
- Assemble Base: 2 hours
- Attach Drop Leaf Mechanism: 1 hour
- Sand and Finish: 2 hours
- Final Touches: 1 hour
How to Build It: Step-by-Step
Gather Materials:
- Plywood or hardwood for the top and sides
- Hinges for the drop leaf
- Screws, nails, and wood glue
- Sandpaper and wood finish
- Saw, drill, and measuring tape
Cut the Wood:
- Measure and cut the main top piece to your desired size.
- Cut the drop leaf piece to match the width of the main top.
- Cut four legs to the desired height of the island.
- Cut side panels to connect the legs.
Assemble the Frame:
- Attach the legs to the side panels using screws and wood glue.
- Ensure the frame is square and sturdy.
Attach the Top:
- Secure the main top piece to the frame using screws.
- Make sure it is centered and level.
Install the Hinges:
- Attach hinges to the edge of the main top piece.
- Connect the drop leaf to the hinges, ensuring it can fold up and down smoothly.
Add Support for the Drop Leaf:
- Install a support mechanism under the drop leaf, such as a pull-out bracket or a foldable leg.
- Ensure it can hold the weight of the drop leaf when extended.
Sand and Finish:
- Sand all surfaces to remove rough edges.
- Apply wood finish or paint to protect the wood and enhance its appearance.
Final Touches:
- Check all connections and make sure everything is secure.
- Test the drop leaf to ensure it functions properly.
Helpful Tips and Tricks
Measure twice, cut once. Always double-check measurements before cutting any wood. This saves time and materials.
Use clamps to hold pieces together while drilling or screwing. This ensures stability and precision.
Sand edges of the wood before assembly. Smooth edges prevent splinters and give a professional look.
Pre-drill holes for screws. This prevents wood from splitting and makes assembly easier.
Choose sturdy hinges for the drop leaf. Heavy-duty hinges support the weight and frequent use.
Apply wood glue along with screws for extra strength. This creates a more durable bond.
Seal and finish the wood. Use a protective finish to keep the island looking good and make it easier to clean.
Common mistakes to avoid:
Skipping the sanding step. Rough edges can cause injuries and look unprofessional.
Using the wrong screws. Make sure screws are the right length and type for the wood.
Ignoring weight limits of hinges. Weak hinges can break under the weight of the drop leaf.
Not leveling the island. An uneven island can wobble and be unsafe.
Alternatives for materials or methods:
Plywood instead of hardwood. Plywood is cheaper and easier to work with but still strong.
Pocket hole screws instead of regular screws. These create a cleaner look and stronger joints.
Butcher block top instead of regular wood. Butcher block is durable and adds a high-end look.
Folding brackets instead of traditional hinges. These can provide more support and easier folding.
Estimating the Cost
Materials:
- Wood (Pine or Oak): $100-$150
- Hinges (for drop leaf): $20-$30
- Screws and Nails: $10
- Wood Glue: $5
- Sandpaper: $5
- Paint or Stain: $20-$40
- Casters (optional for mobility): $30-$50
Tools:
- Saw (Circular or Jigsaw): $50-$100
- Drill: $40-$60
- Screwdriver Set: $10-$20
- Measuring Tape: $5-$10
- Clamps: $15-$30
- Paintbrushes: $5-$10
Total Cost: $310-$515
Budget-Friendly Alternatives:
- Wood: Use Plywood instead of Pine or Oak: $50-$80
- Hinges: Basic Hinges: $10-$15
- Paint or Stain: Leftover Paint from previous projects or discounted paint: $10-$20
- Tools: Borrow from friends or family, or rent from a local hardware store: $20-$50
Total Cost with Alternatives: $160-$275
Different Ways to Customize
Materials: Instead of traditional wood, try using bamboo for a more eco-friendly option. Reclaimed wood adds a rustic touch, while stainless steel gives a modern, industrial look.
Colors: Paint the island in bold colors like navy blue or forest green for a statement piece. For a more subtle look, use pastel shades like mint green or soft pink. A two-tone approach, with one color for the base and another for the drop leaf, can add visual interest.
Styles: For a farmhouse style, use distressed wood and add decorative corbels under the drop leaf. A modern style can be achieved with clean lines, a high-gloss finish, and minimal hardware. For a vintage look, incorporate antique handles and a butcher block top.
Hardware: Swap out standard hinges for soft-close hinges to prevent slamming. Use decorative brackets for added support and style. Caster wheels can be added for mobility, making the island easy to move around the kitchen.
Storage: Add shelves or cabinets under the island for extra storage. Install hooks on the sides for hanging utensils or towels. A built-in wine rack can add both function and flair.
Countertop: Instead of a wooden top, consider granite or quartz for a more durable surface. Tile can also be used for a unique, customizable look.
Lighting: Install under-cabinet lighting to illuminate the workspace. Pendant lights above the island can add both style and functionality.
Seating: Add bar stools for a breakfast bar setup. Choose stools that match the island's style, whether they are industrial metal, wooden farmhouse, or modern acrylic.
Eco-Friendly Tips for Your Build
Reclaimed Wood: Use old wood from barns, pallets, or other sources. It adds character and reduces waste.
Bamboo: A fast-growing, renewable resource. Bamboo is strong and looks great.
Eco-friendly Paints: Choose paints with low or no VOCs (volatile organic compounds). They are better for your health and the environment.
Recycled Metal: For hinges and hardware, look for recycled metal options. They are durable and sustainable.
Natural Finishes: Use natural oils or beeswax to finish the wood. These options are non-toxic and eco-friendly.
Salvaged Countertops: Repurpose old countertops from other projects or find them at salvage yards. This reduces landfill waste.
Energy-efficient Tools: Use hand tools or energy-efficient power tools to reduce energy consumption.
Local Materials: Source materials locally to cut down on transportation emissions. This supports local businesses too.
Recycled Glass: Incorporate recycled glass for a unique and sustainable touch. It can be used for countertops or decorative elements.
Upcycled Furniture: Transform old furniture into a drop leaf kitchen island. This gives new life to items that might otherwise be discarded.
Your Kitchen Island Awaits
Building a DIY drop leaf kitchen island isn't just about saving money. It's about creating a custom piece that fits your space perfectly. You've learned how to measure, cut, assemble, and finish your project. Now, it's time to enjoy the fruits of your labor. Imagine all the extra counter space and storage you'll have. Plus, the satisfaction of knowing you built it yourself. Don't forget to share your creation with friends and family. They might even ask for your help on their next project. So, grab your tools, gather your materials, and get started. Your dream kitchen island is just a few steps away. Happy building!
What materials do I need to build a drop leaf kitchen island?
You'll need wood (like pine or oak), hinges, screws, wood glue, sandpaper, paint or stain, and casters if you want it to be mobile.
How much time will it take to complete?
Depending on your skill level, it might take a weekend or a few days. Plan for 10-15 hours of work.
Do I need any special tools?
Basic tools like a saw, drill, screwdriver, measuring tape, and clamps should do the trick. A sander can make things smoother.
Can I customize the size?
Absolutely! Measure your kitchen space and adjust the dimensions to fit. Just make sure the drop leaf can fold down without hitting anything.
How do I attach the drop leaf?
Use hinges to connect the drop leaf to the main table. Make sure they're sturdy and can support the weight when the leaf is up.
What type of finish should I use?
You can use paint for a colorful look or stain to show off the wood grain. Don't forget a sealant to protect against spills and scratches.
Is it possible to add storage?
Yes, you can add shelves or drawers underneath the main surface. This adds functionality and keeps your kitchen organized.