
Home>Create & Decorate>DIY & Crafts>How To Build A Kitchen Island
DIY & Crafts
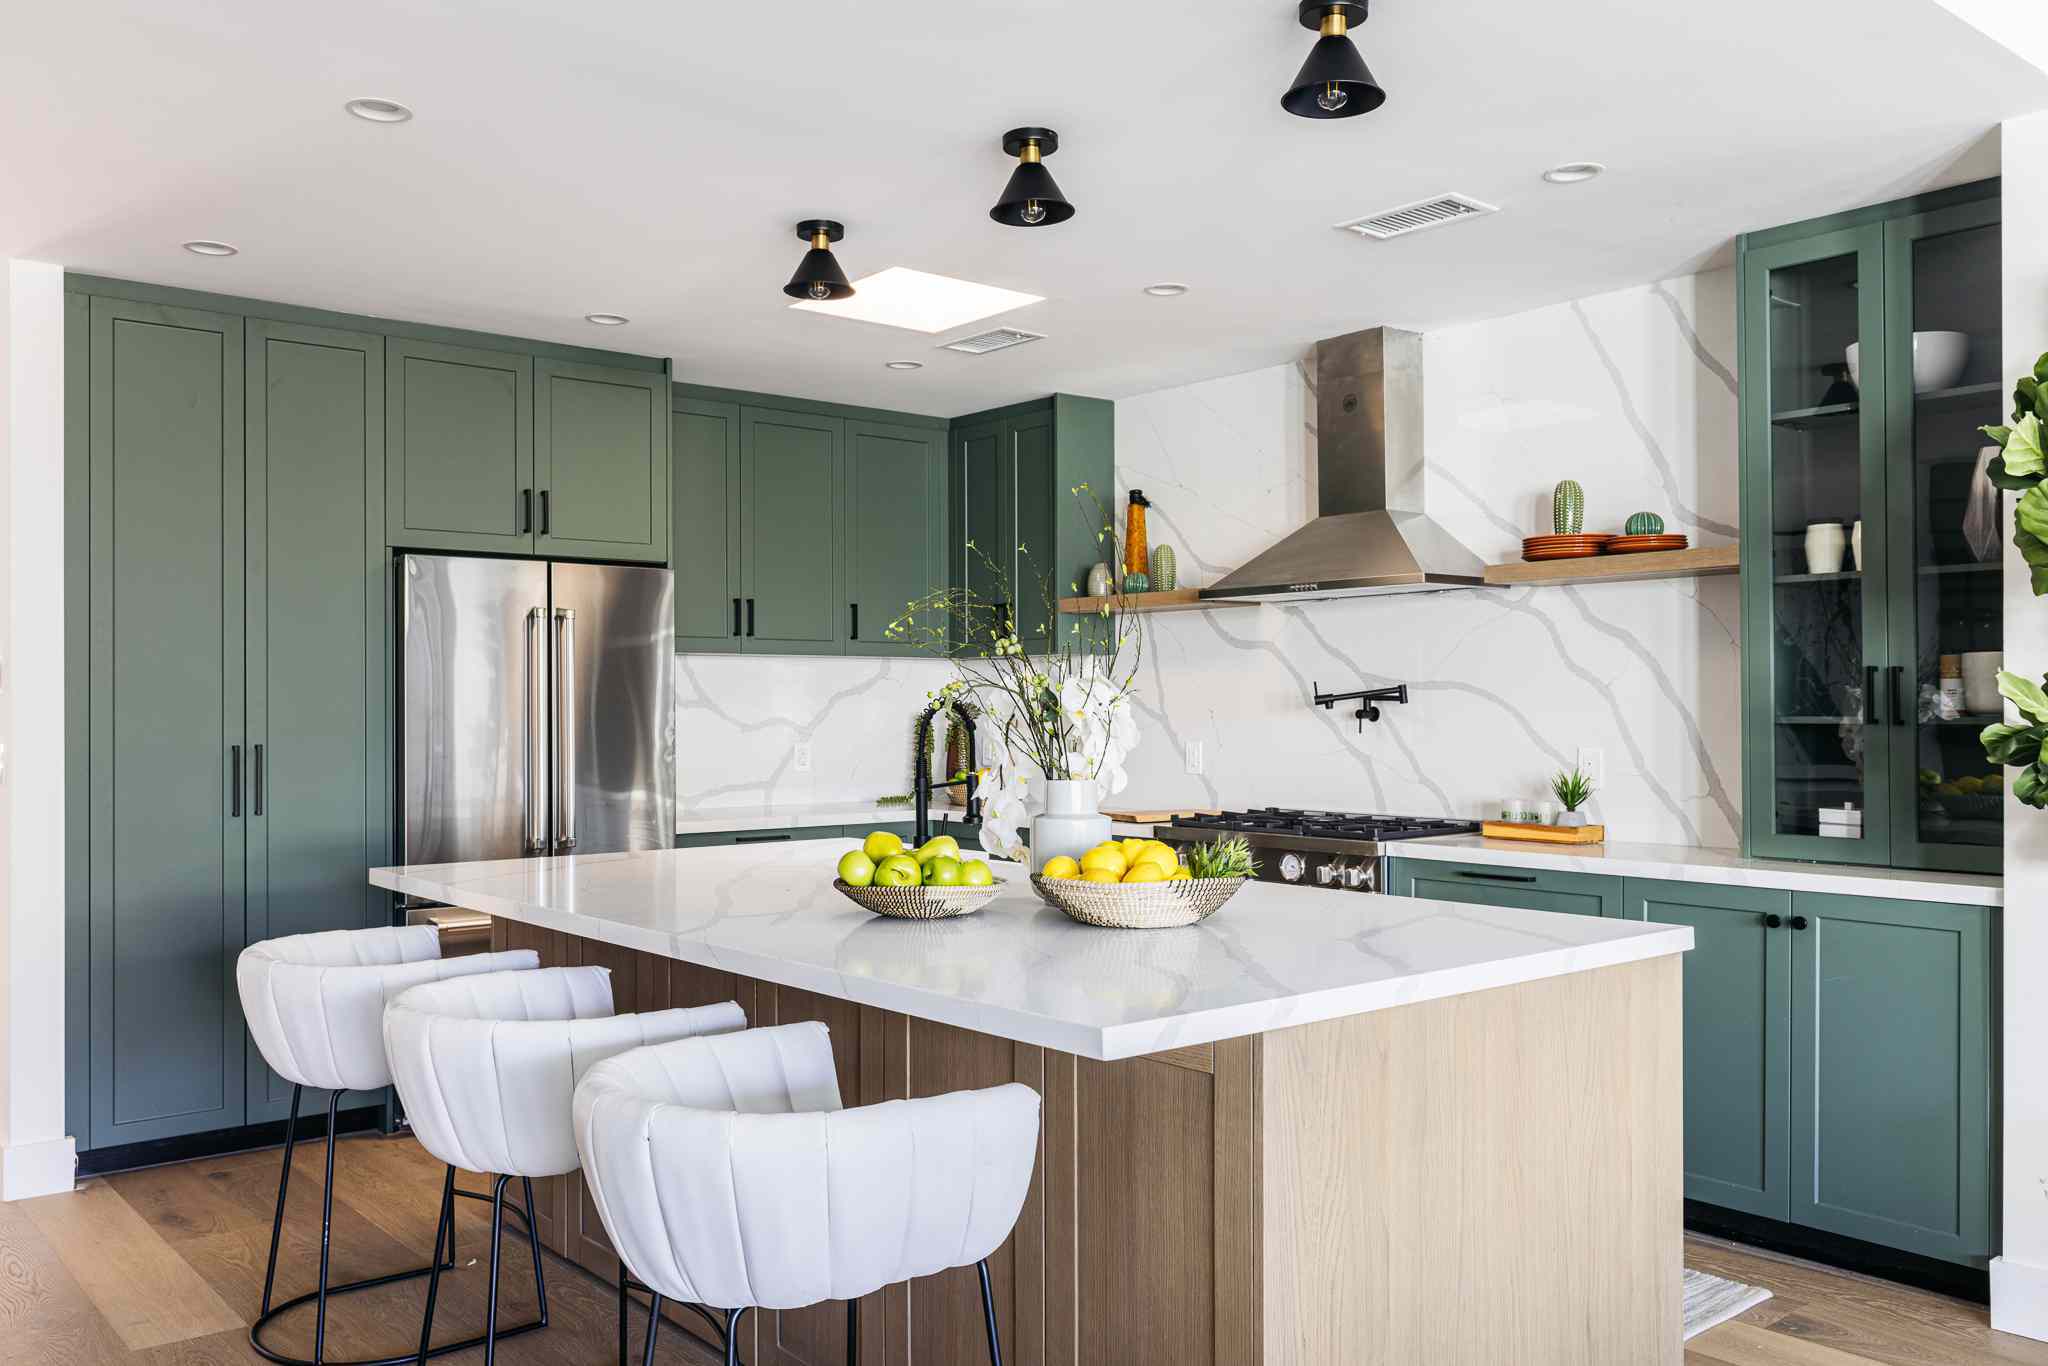
How To Build A Kitchen Island
Published: February 28, 2024

Content Creator specializing in woodworking and interior transformations. Caegan's guides motivate readers to undertake their own projects, while his custom furniture adds a personal touch.
Learn how to build a kitchen island with our DIY & Crafts guide. Get step-by-step instructions and create a custom island for your kitchen.
(Many of the links in this article redirect to a specific reviewed product. Your purchase of these products through affiliate links helps to generate commission for Twigandthistle.com, at no extra cost. Learn more)
Introduction
Building a kitchen island is a rewarding and practical DIY project that can elevate the functionality and aesthetic appeal of your kitchen space. Whether you're looking to create additional storage, expand your countertop space, or simply enhance the overall layout, a custom-built kitchen island can be a game-changer. Not only does it offer a dedicated area for meal preparation and casual dining, but it also serves as a focal point that can tie the entire kitchen together.
Embarking on the journey of constructing your own kitchen island allows for a personalized touch, enabling you to tailor the design to your specific needs and preferences. From choosing the ideal dimensions and materials to incorporating unique features such as built-in appliances or seating, the possibilities are endless. By taking on this project, you have the opportunity to showcase your craftsmanship and bring your vision to life in a space that is central to daily activities and gatherings.
In this comprehensive guide, we will walk you through the step-by-step process of building a kitchen island, covering everything from initial planning and material selection to the final touches that will transform your creation into a stunning and functional centerpiece. Whether you're a seasoned DIY enthusiast or a newcomer to the world of woodworking and home improvement, this guide is designed to provide you with the knowledge and confidence to tackle this project with success.
So, roll up your sleeves, gather your tools, and let's dive into the exciting journey of creating a custom kitchen island that will not only enhance the heart of your home but also become a source of pride and satisfaction for years to come.
Step 1: Planning and Designing Your Kitchen Island
The initial phase of building a kitchen island is perhaps the most crucial, as it sets the foundation for the entire project. During this stage, careful consideration and thoughtful planning are essential to ensure that the end result aligns with your vision and meets your specific needs. Here's a detailed breakdown of the key steps involved in planning and designing your kitchen island:
-
Assess Your Space: Begin by evaluating the available space in your kitchen. Take precise measurements to determine the ideal dimensions for your island, considering factors such as clearance around the island, traffic flow, and the proximity to other kitchen elements.
-
Define the Purpose: Clearly outline the primary purpose of your kitchen island. Are you looking to incorporate additional storage, create a dedicated prep area, or introduce seating for casual dining? Understanding the intended function will guide the design and layout decisions.
-
Style and Aesthetics: Consider the overall style and aesthetic of your kitchen. Whether your kitchen boasts a modern, rustic, or traditional design, your island should complement the existing decor. Explore various design inspirations and identify the features that resonate with your personal taste.
-
Functional Elements: Think about the specific features and elements you want to incorporate into your island. This could include built-in appliances, such as a wine cooler or microwave, as well as specialized storage solutions, such as deep drawers or open shelving.
-
Material Selection: Choose the materials for the base and countertop of your island. Whether you opt for wood, metal, or a combination of materials, ensure that they align with your desired aesthetic, durability, and maintenance requirements.
-
Traffic Flow and Accessibility: Evaluate how the island will impact the overall traffic flow in your kitchen. It's important to ensure that the island's placement allows for seamless movement and accessibility while optimizing the functionality of the space.
By meticulously addressing these aspects in the planning and design phase, you can lay a solid foundation for the successful execution of your kitchen island project. This thoughtful approach will not only result in a well-crafted and functional addition to your kitchen but also streamline the subsequent stages of construction and installation.
Step 2: Gathering Materials and Tools
Once you have meticulously planned and designed your kitchen island, the next crucial step is to gather the necessary materials and tools for the construction phase. This stage is pivotal in ensuring that you have everything required to bring your vision to life and execute the building process smoothly. Here's a detailed breakdown of the essential materials and tools needed for constructing a custom kitchen island:
Materials:
-
Lumber: Select high-quality lumber for constructing the base of the island. The type of wood chosen should align with your design preferences and durability requirements. Common options include oak, maple, cherry, or reclaimed wood for a rustic touch.
-
Countertop Material: Choose a suitable material for the countertop, such as granite, quartz, butcher block, or concrete. Consider factors such as durability, maintenance, and aesthetic appeal when making this selection.
-
Fasteners and Hardware: Acquire a variety of screws, nails, and other fasteners, along with hinges, drawer slides, and knobs or handles for cabinet doors and drawers.
-
Finishing Supplies: Gather sandpaper, wood stain or paint, polyurethane or sealant, and other finishing supplies to add the final touches to your kitchen island.
-
Additional Features: If your design includes specific features such as built-in shelves, wine racks, or electrical outlets, ensure that you have the necessary materials to incorporate these elements seamlessly.
Tools:
-
Measuring Tools: A tape measure, combination square, and level are essential for accurate measurements and ensuring that the island is level and square during assembly.
-
Cutting Tools: A circular saw, jigsaw, or miter saw will be required for cutting lumber and countertop material to the desired dimensions.
-
Joinery Tools: Depending on your chosen construction method, you may need tools such as a drill/driver, pocket hole jig, or biscuit joiner for creating strong and secure joints.
-
Finishing Tools: Sanding blocks or orbital sander for smoothing surfaces, as well as brushes or sprayers for applying stain, paint, or sealant.
-
Safety Gear: Prioritize safety by having protective gear such as safety glasses, hearing protection, and a dust mask to ensure a safe working environment.
By ensuring that you have all the necessary materials and tools at your disposal, you can streamline the construction process and minimize interruptions. This proactive approach sets the stage for a successful and efficient execution of the subsequent building phases, bringing you one step closer to the realization of your custom kitchen island.
Step 3: Building the Base of the Island
The construction of the base forms the structural core of your kitchen island, providing stability and support for the countertop and any additional features. This phase involves precise measurements, cutting, assembly, and reinforcement to ensure a sturdy and well-crafted foundation. Here's a detailed breakdown of the essential steps involved in building the base of the island:
-
Cutting the Lumber: Begin by cutting the lumber to the specified dimensions based on your design plan. Use a saw that suits the type of cuts required, whether it's straight cuts for the frame or more intricate cuts for specialized features.
-
Assembling the Frame: Construct the frame of the base using the cut lumber, ensuring that the corners are square and the joints are secure. Depending on your design, you may incorporate additional supports or dividers within the frame to accommodate shelves or drawers.
-
Adding Legs or Supports: If your island design includes overhangs for seating or extended countertop space, it's essential to incorporate sturdy legs or supports to bear the weight and provide stability. Carefully attach these elements to the frame, ensuring proper alignment and reinforcement.
-
Incorporating Storage Features: If your design incorporates storage elements such as cabinets or open shelves, this is the stage to integrate them into the base structure. Install drawer slides, hinges, and other hardware as needed, ensuring smooth functionality and a seamless fit.
-
Reinforcement and Stability: Prioritize the reinforcement of the base to ensure its stability and longevity. This may involve adding additional bracing, corner brackets, or cross supports to enhance the structural integrity of the island.
-
Finishing Touches: Sand the surfaces to achieve a smooth finish, and apply the chosen stain or paint to match the desired aesthetic. Additionally, seal the wood with a protective coating to safeguard it from moisture and daily wear.
By meticulously executing these steps, you can create a robust and well-crafted base for your kitchen island, setting the stage for the subsequent phases of installation and customization. The attention to detail and precision in this stage will contribute to the overall durability and functionality of your custom-built island, bringing you one step closer to the realization of your vision.
Step 4: Installing the Countertop
The installation of the countertop marks a pivotal phase in the construction of your custom kitchen island, as it not only enhances the visual appeal but also provides a functional surface for meal preparation and other activities. This step requires precision, careful planning, and attention to detail to ensure a seamless and secure integration of the countertop with the base structure. Here's a comprehensive guide to the essential steps involved in installing the countertop for your kitchen island:
-
Precise Measurements: Begin by taking accurate measurements of the base to determine the dimensions of the countertop. Whether you've opted for a pre-made countertop or plan to construct a custom one, precise measurements are crucial to achieving a perfect fit.
-
Preparing the Base: Ensure that the base of the island is clean, level, and structurally sound before proceeding with the installation. Any protruding nails or rough edges should be addressed to create a smooth and even surface for the countertop.
-
Lifting and Placing: Depending on the material and weight of the countertop, enlist the help of others to carefully lift and position it onto the base. Exercise caution to avoid damage to the countertop or the base during this process.
-
Securing the Countertop: Once the countertop is in place, secure it to the base using appropriate fasteners. Depending on the material and design, this may involve using brackets, screws, or adhesive to ensure a stable and secure attachment.
-
Seam Integration (if applicable): If your countertop consists of multiple sections or features seams, take the necessary steps to seamlessly integrate and secure these joints. This may involve using specialized adhesives or fillers to create a smooth and cohesive surface.
-
Sealing and Finishing: Apply a suitable sealant to the countertop to protect it from moisture, stains, and daily wear. Depending on the material, this may involve using a specific sealant recommended for the countertop material, such as granite sealer or food-safe wood finish for butcher block.
-
Final Touches: Once the countertop is securely installed and sealed, perform a thorough inspection to ensure that it aligns with your design specifications and is free from any imperfections. Make any necessary adjustments or refinements to achieve the desired outcome.
By meticulously following these steps, you can successfully install the countertop, bringing your custom kitchen island one step closer to completion. The seamless integration of the countertop not only enhances the functionality of the island but also adds a touch of elegance and sophistication to your kitchen space.
Step 5: Adding Finishing Touches
With the base and countertop in place, the final phase of building your kitchen island involves adding the finishing touches that will elevate its visual appeal and functionality. This stage allows you to infuse your personal style and attention to detail, transforming the island into a captivating centerpiece within your kitchen. Here's a detailed breakdown of the essential steps involved in adding the finishing touches to your custom-built kitchen island:
-
Hardware Installation: Install the chosen hardware, such as drawer pulls, knobs, or handles, to the cabinet doors and drawers. Opt for hardware that complements the overall aesthetic of your kitchen while ensuring ease of use and durability.
-
Trim and Molding: Incorporate decorative trim and molding to enhance the visual impact of the island. This could include crown molding along the top edges, base molding at the bottom, or decorative trim along the sides, adding a touch of sophistication to the design.
-
Paint or Stain Touch-Ups: Perform any necessary touch-ups to the paint or stain to ensure a consistent and flawless finish. Address any imperfections or areas that may have been overlooked during the initial finishing, ensuring a polished and cohesive look.
-
Lighting Integration: If your design includes integrated lighting, such as under-cabinet lights or pendant fixtures above the island, proceed with the installation and wiring. Proper lighting not only enhances the ambiance but also contributes to the island's functionality.
-
Custom Features: If there are custom features you've planned, such as built-in wine racks, spice racks, or specialized storage compartments, ensure that they are seamlessly integrated and functional, adding a personalized touch to the island.
-
Final Inspection: Conduct a thorough inspection of the entire island, paying attention to details such as alignment, finish quality, and overall cohesiveness. Make any final adjustments or refinements to ensure that the island meets your expectations.
-
Personalization: Consider adding personal touches such as a decorative backsplash, a custom monogram, or other embellishments that reflect your individual style and make the island uniquely yours.
By meticulously attending to these finishing touches, you can elevate your custom-built kitchen island from a functional piece of furniture to a stunning focal point within your kitchen. The attention to detail and personalized elements will not only enhance the visual appeal but also showcase the craftsmanship and care invested in creating a truly exceptional addition to your home.
Conclusion
In conclusion, the journey of building a custom kitchen island is a gratifying endeavor that combines practicality, creativity, and craftsmanship. From the initial stages of planning and design to the final touches that infuse personality and style, each step contributes to the transformation of a vision into a tangible and functional centerpiece within your kitchen.
Throughout this comprehensive guide, we've delved into the intricacies of creating a custom kitchen island, emphasizing the importance of meticulous planning, precise execution, and attention to detail. By assessing the available space, defining the island's purpose, and considering style, functionality, and material selection, you lay the groundwork for a well-informed and tailored design.
The process of gathering materials and tools is a pivotal phase that sets the stage for seamless construction, ensuring that you have everything needed to bring your vision to life. From high-quality lumber and countertop materials to essential tools for cutting, joining, and finishing, this preparatory phase streamlines the subsequent building process.
Building the base of the island involves careful measurements, precise cuts, and strategic assembly to create a sturdy and functional foundation. The incorporation of storage features, reinforcement for stability, and meticulous finishing contribute to the overall durability and aesthetic appeal of the island.
Installing the countertop marks a significant milestone, where precision and attention to detail are paramount. The seamless integration of the countertop with the base, along with the application of a suitable sealant, elevates the functionality and visual impact of the island.
Adding the finishing touches allows for personalization and customization, infusing the island with unique elements that reflect your individual style and preferences. From hardware installation and trim details to lighting integration and custom features, this phase brings the island to life as a captivating and functional addition to your kitchen.
In essence, the process of building a custom kitchen island is a testament to creativity, craftsmanship, and the satisfaction of bringing a personalized vision to fruition. As you stand back and admire the completed island, you'll not only revel in its practicality and functionality but also take pride in the dedication and skill invested in creating a truly exceptional piece that enhances the heart of your home.