
Home>Home & Furniture>Doors & Windows>How to DIY Window Glazing
Doors & Windows
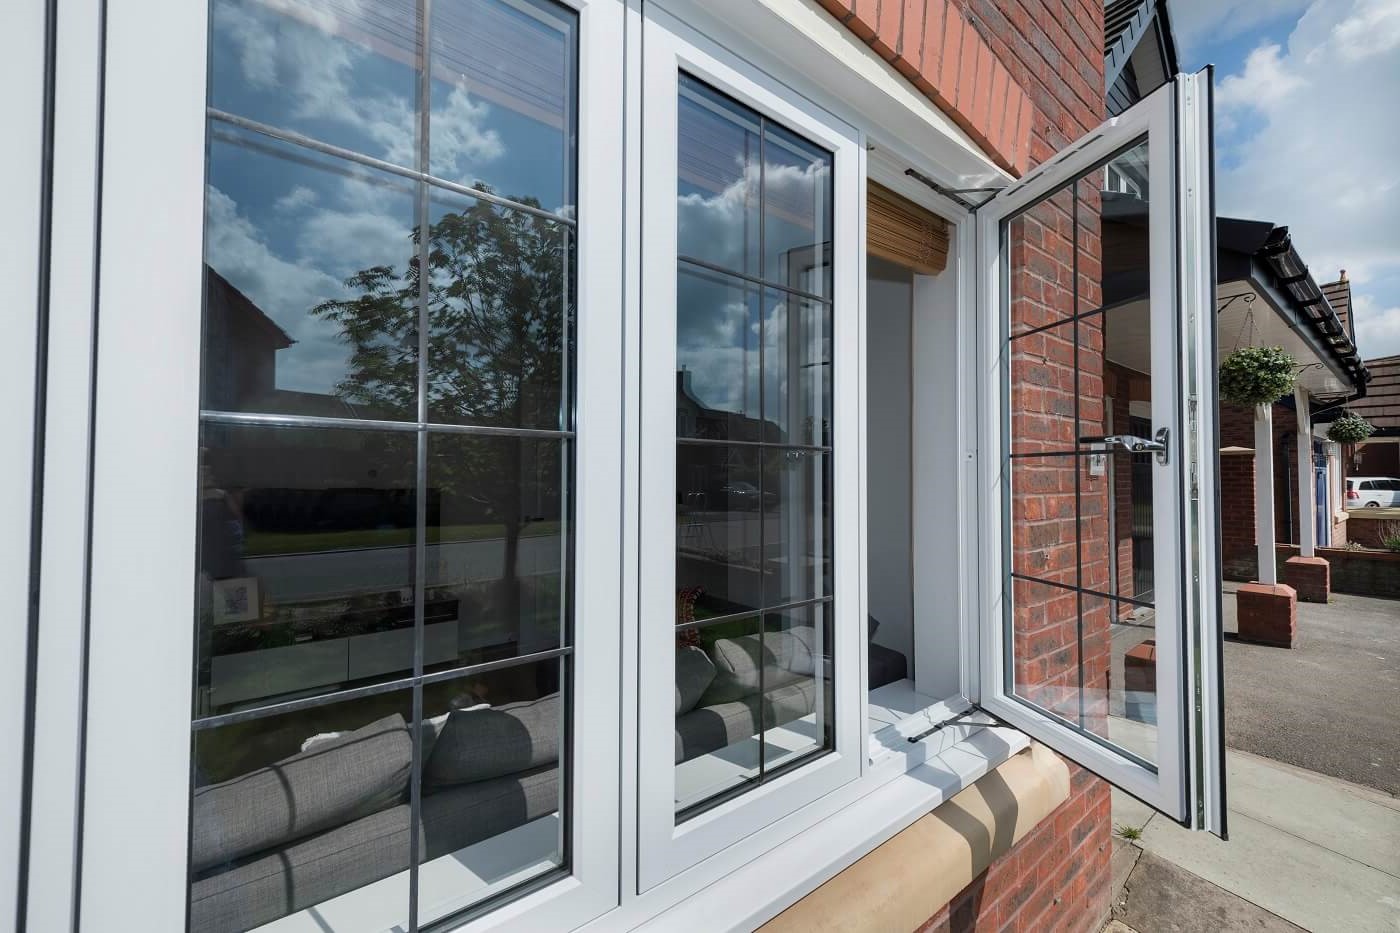
How to DIY Window Glazing
Published: August 14, 2024
Learn how to DIY window glazing with our step-by-step guide. Enhance your home's energy efficiency and aesthetics with these easy-to-follow tips and expert advice.
(Many of the links in this article redirect to a specific reviewed product. Your purchase of these products through affiliate links helps to generate commission for Twigandthistle.com, at no extra cost. Learn more)
Fixing up your windows with new glazing can seem like a big job, but it's doable. Glazing helps seal your windows, keeping drafts and moisture out while making your home more energy-efficient. If you’ve never done it before, don't worry. With the right tools, some patience, and a bit of elbow grease, you can get your windows looking and working like new. We'll walk you through everything you need to know, from gathering materials to the final touches. Get ready to save money and learn a handy skill that will keep your home cozy year-round.
Getting Ready for Window Glazing
Gather Materials: Get glazing putty, a putty knife, glazing points, a heat gun, sandpaper, and paint. Make sure you have safety goggles and gloves.
Safety First: Wear safety goggles to protect your eyes from debris. Use gloves to keep your hands safe from sharp edges and chemicals.
Set Up Workspace: Choose a well-ventilated area. Lay down a drop cloth to catch any debris or paint drips. Ensure you have good lighting.
Remove Old Glazing: Use a heat gun to soften the old putty. Carefully scrape it off with a putty knife. Be gentle to avoid breaking the glass.
Clean the Frame: Sand the window frame to remove any remaining putty and smooth out rough spots. Wipe it down with a damp cloth to remove dust.
Apply Glazing Points: Insert glazing points every 4-6 inches to hold the glass in place. Press them in gently with a putty knife.
Knead the Putty: Roll the glazing putty into thin ropes. Press it into the frame, covering the glazing points.
Smooth the Putty: Use a putty knife to smooth the putty at a 45-degree angle. Make sure it’s even and seals the glass well.
Let it Dry: Allow the putty to dry for at least a week before painting. This ensures it hardens properly.
Paint the Frame: Paint over the putty and frame to protect it from the elements. Use weather-resistant paint for durability.
Essential Materials and Tools
Glazing Putty: This is a special type of putty used to seal the glass pane to the window frame. It helps keep out drafts and moisture.
Glazing Points: Small metal clips that hold the glass pane in place while the putty dries. They ensure the glass stays secure.
Putty Knife: A flat tool used to apply and smooth the glazing putty. It helps create a neat, even seal around the glass.
Glass Pane: The actual piece of glass that fits into the window frame. Make sure it’s the right size for your window.
Paint Scraper: Used to remove old putty and paint from the window frame. It prepares the surface for new glazing.
Sandpaper: Helps smooth out the window frame after scraping off old putty. It ensures a clean surface for the new putty to adhere to.
Utility Knife: Useful for cutting away any excess putty or trimming the edges of the glass pane.
Measuring Tape: Ensures accurate measurements of the window frame and glass pane. Precision is key for a good fit.
Paintbrush: Used to apply a coat of primer or paint to the window frame after glazing. This helps protect the wood and putty.
Gloves: Protect your hands from sharp edges of the glass and any chemicals in the putty or paint.
Safety Glasses: Protect your eyes from glass shards or debris while working on the window.
Rags: Useful for cleaning up excess putty, paint, or any spills during the glazing process.
Required Skills and Time Commitment
Skill Level: Intermediate
Time Required: 2-4 hours
- Preparation: 30 minutes
- Removing old glazing: 1 hour
- Applying new glazing: 1-2 hours
- Drying time: 1-2 days (not included in active work time)
Detailed Step-by-Step Guide
Gather Materials:
- Glazing putty
- Glazing points
- Putty knife
- Paint scraper
- Sandpaper
- Paintbrush
- Primer and paint
- Safety gloves and goggles
Remove Old Glazing:
- Wear safety gloves and goggles.
- Use a paint scraper to remove old putty.
- Carefully remove old glazing points with pliers.
Clean the Frame:
- Sand the window frame to remove any residue.
- Wipe the frame clean with a damp cloth.
Apply Primer:
- Use a paintbrush to apply primer to the window frame.
- Let the primer dry completely.
Insert Glazing Points:
- Place the glass pane into the frame.
- Push glazing points into the frame every 6 inches to secure the glass.
Apply Glazing Putty:
- Roll glazing putty into thin ropes.
- Press the putty into the frame around the glass.
- Smooth the putty with a putty knife at a 45-degree angle.
Smooth and Shape:
- Use the putty knife to smooth and shape the putty.
- Ensure the putty is even and neat.
Let Putty Cure:
- Allow the putty to cure for at least 7-14 days.
Paint the Putty:
- Apply a coat of paint over the putty to seal it.
- Let the paint dry completely.
Clean Up:
- Clean tools with mineral spirits.
- Dispose of old putty and debris properly.
Helpful Tips and Tricks
Clean the window frame thoroughly before starting. Dirt or old putty can prevent new glazing from sticking properly. Use a putty knife to remove old putty and a wire brush to clean the frame.
Warm up the putty before applying. Cold putty can be hard to work with. Knead it in your hands or leave it in a warm room for a bit.
Use a putty knife to apply the glazing compound. Press it firmly into the frame, then smooth it out with the knife at a 45-degree angle. This helps create a seal that keeps out moisture.
Don't rush the drying process. Let the putty dry for at least a week before painting. Rushing can cause cracks or gaps.
Paint the putty after it dries. This adds an extra layer of protection against the elements. Use exterior paint for the best results.
Common mistakes to avoid:
Skipping the cleaning step. Dirt and old putty can make new glazing fail.
Applying too much putty. Excess putty can look messy and take longer to dry.
Not smoothing the putty. Uneven putty can lead to gaps where moisture can get in.
Alternatives for materials or methods:
Silicone caulk can be used instead of traditional glazing putty. It’s easier to apply and dries faster but may not last as long.
Pre-glazed window panes are another option. These come with the glazing already applied, saving you time and effort.
Estimating the Costs
Glazing compound: $10-$15 per tub.
Putty knife: $5-$10.
Glazier points: $3-$5 per pack.
Glass pane: $20-$50 depending on size.
Paint: $10-$20 per quart.
Sandpaper: $5-$10 for a pack.
Utility knife: $5-$10.
Safety gloves: $5-$10.
Safety glasses: $5-$10.
Total cost: $68-$140.
Budget-friendly alternatives:
Use an old putty knife if available.
Buy glazier points and sandpaper in bulk for future projects.
Check for glass pane remnants at local hardware stores.
Use leftover paint from previous projects.
Creative Variations and Customizations
Materials: Instead of traditional putty, try using silicone caulk for a more flexible seal. For a more eco-friendly option, consider linseed oil putty.
Colors: Paint the glazing putty to match your window frame. Use white for a classic look, black for a modern touch, or bright colors to make your windows pop.
Styles: For a vintage feel, use wooden glazing beads instead of putty. For a sleek, contemporary look, opt for metal glazing strips.
Glass Types: Use frosted glass for privacy, stained glass for artistic flair, or double-pane glass for better insulation.
Tools: Instead of a traditional putty knife, try a glazing tool with a built-in smoothing edge. For a more precise application, use a caulking gun.
Finishes: Seal the putty with a clear varnish for added durability. For a more rustic look, leave the putty unpainted and let it age naturally.
Patterns: Create decorative patterns by using tape to outline shapes before applying the putty. Remove the tape for clean, crisp lines.
Frames: Upgrade wooden frames with aluminum cladding for a modern touch. For a more traditional look, use decorative molding around the edges.
Eco-Friendly Glazing Tips
Eco-friendly materials for window glazing include reclaimed wood for frames and natural linseed oil putty instead of synthetic options. Reclaimed wood can often be found at salvage yards or through online marketplaces. Using recycled glass for panes reduces waste and energy consumption.
When removing old glazing, carefully salvage any reusable materials. This might include the glass itself or parts of the frame. Clean these items thoroughly before reusing them.
For insulation, consider using sheep's wool or cotton-based materials instead of synthetic foam. These natural insulators are biodegradable and have a lower environmental impact.
Solar-powered tools can help reduce energy consumption during your project. Look for solar-powered drills or screwdrivers.
When painting or sealing, choose low-VOC (volatile organic compounds) paints and sealants. These products release fewer harmful chemicals into the air, making them better for both your health and the environment.
Finally, always dispose of waste responsibly. Recycle any materials that can be recycled and take hazardous waste, like old paint or sealant, to a proper disposal facility.
Your DIY Window Glazing Adventure
You've learned the basics of window glazing. With the right tools and materials, you can tackle this project confidently. Remember to remove old glazing, clean the window frame, and apply new putty smoothly. Let it dry properly before painting. This will ensure a tight seal and improve your home's energy efficiency.
Don't rush the process. Patience is key. If you make a mistake, it's okay. Just scrape off the putty and try again. Practice makes perfect. Soon, you'll be a pro at glazing windows.
This skill not only saves money but also gives a sense of accomplishment. Plus, it adds to your DIY repertoire. So, grab your tools and get glazing. Your windows will thank you. Happy glazing!
What is window glazing?
Window glazing is the process of installing glass panes into a window frame using putty or other materials to seal and secure the glass.
Why should I reglaze my windows?
Reglazing helps improve insulation, reduce drafts, and extend the life of your windows. It also enhances the overall appearance of your home.
What materials do I need for window glazing?
You'll need glazing putty, a putty knife, glazing points, a heat gun or hairdryer, and glass cleaner. Don't forget safety gear like gloves and goggles.
How do I remove old glazing putty?
Use a heat gun or hairdryer to soften the old putty. Then, carefully scrape it away with a putty knife. Be gentle to avoid damaging the glass.
How long does glazing putty take to dry?
Glazing putty usually takes about 7-14 days to dry completely. However, it can vary based on the brand and weather conditions.
Can I paint over glazing putty?
Yes, you can paint over glazing putty once it's fully cured. This helps protect the putty and gives your window a finished look.
Is window glazing a DIY-friendly project?
Absolutely! With the right tools and a bit of patience, window glazing is a project most DIY enthusiasts can handle.