
Home>Organize & Storage>Garage Organization>DIY Garage Shelves: Organize Your Space With These Simple Steps
Garage Organization
DIY Garage Shelves: Organize Your Space With These Simple Steps
Modified: November 28, 2024

Senior Editor for Organize & Storage, Jeff transforms spaces with his DIY decor and organizational prowess. His design sensibility and engagement in the art community bring functional beauty to our pages.
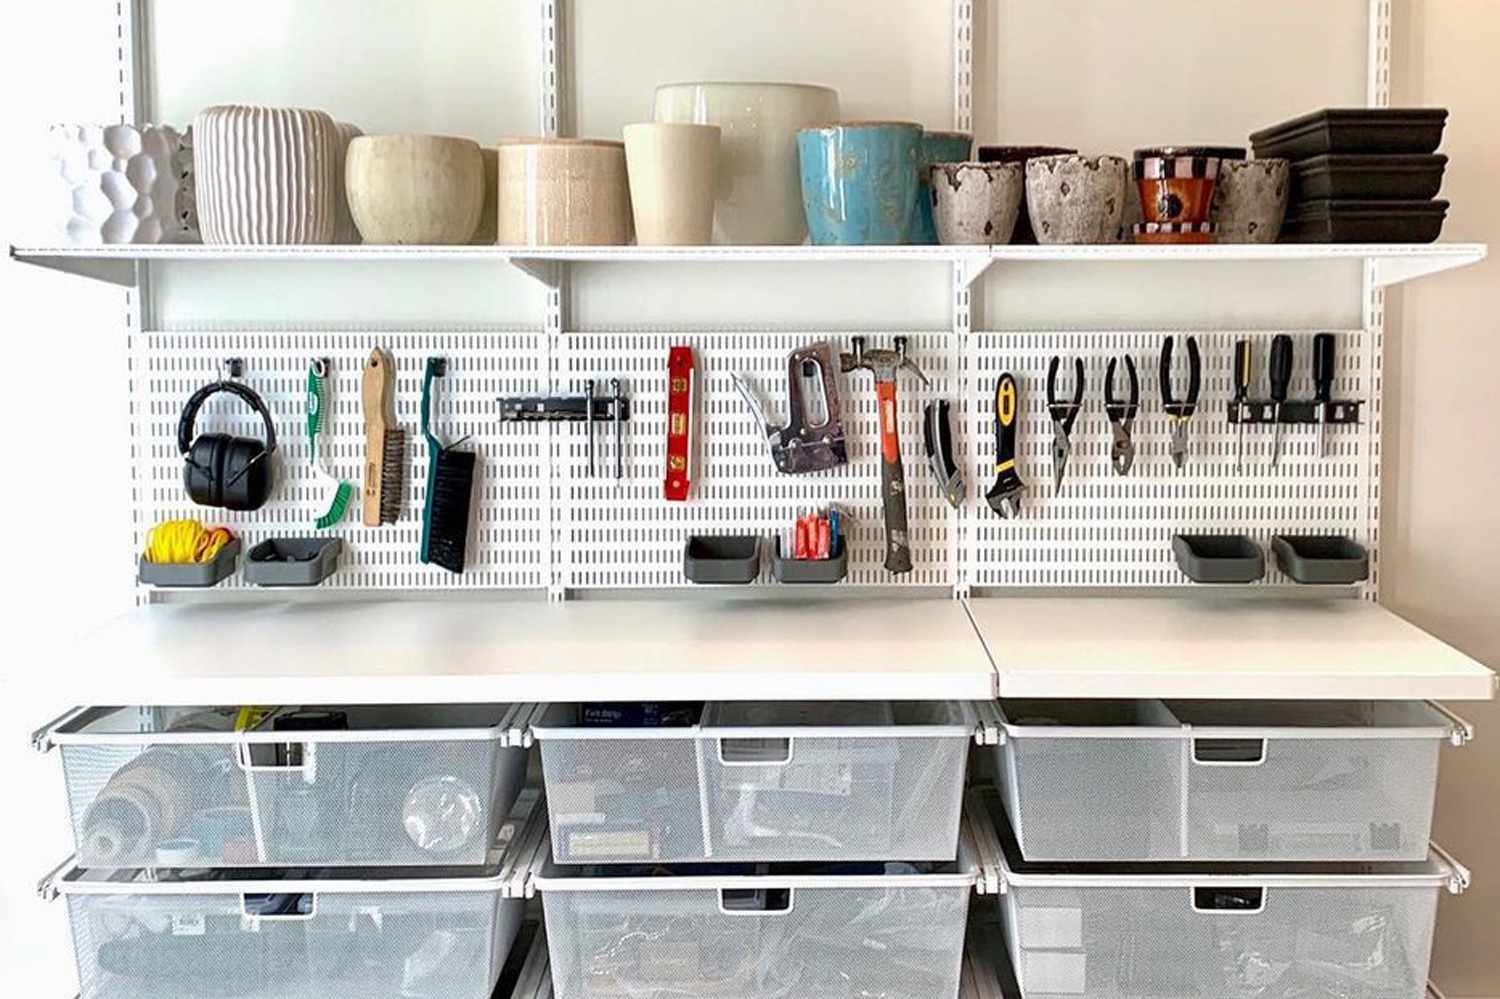
Transform your garage with DIY garage shelves! Get organized with our simple steps for garage organization. Maximize space and declutter with ease.
(Many of the links in this article redirect to a specific reviewed product. Your purchase of these products through affiliate links helps to generate commission for Twigandthistle.com, at no extra cost. Learn more)
Introduction
Welcome to the ultimate guide on creating DIY garage shelves to transform your cluttered garage into an organized and functional space. If you've ever struggled to find your tools or navigate through a maze of boxes and equipment, then you understand the frustration of a disorganized garage. However, with the right approach and a bit of creativity, you can turn your garage into a well-organized and efficient area that not only stores your belongings but also enhances the overall appeal of your home.
In this comprehensive guide, we will walk you through the step-by-step process of building and installing your own garage shelves. Whether you're a seasoned DIY enthusiast or a novice looking to take on a new project, this guide is designed to provide you with the knowledge and confidence to tackle this endeavor successfully.
By following these simple steps, you'll be able to create custom garage shelves that cater to your specific needs and space requirements. From gathering the necessary materials to organizing your tools and equipment, we'll cover every aspect of the process to ensure that you achieve a well-organized and visually appealing garage.
So, roll up your sleeves, gather your tools, and get ready to embark on a journey that will not only declutter your garage but also add value to your home. Let's dive into the first step: gathering your materials.
Step 1: Gather Your Materials
Before diving into the construction of your DIY garage shelves, it's essential to gather all the necessary materials and tools. By ensuring that you have everything at your disposal, you can streamline the construction process and avoid unnecessary delays. Here's a comprehensive list of materials and tools you'll need for this project:
Materials:
- Lumber: Select high-quality lumber that suits your specific shelving needs. Consider factors such as load-bearing capacity and the dimensions of your garage space. Common options include plywood, pine boards, or oriented strand board (OSB).
- Brackets and Supports: These are essential for providing stability and ensuring that your shelves can bear the weight of your items. Choose brackets and supports that are durable and suitable for the size and weight capacity of your shelves.
- Screws and Nails: Opt for sturdy screws and nails that are appropriate for the type of lumber you're using. It's advisable to have a variety of sizes on hand to accommodate different aspects of the construction process.
- Leveling Feet: If your garage floor is uneven, leveling feet can help stabilize your shelves and ensure they are balanced and secure.
- Paint or Stain: Depending on your aesthetic preferences, you may want to finish your shelves with paint or stain to protect the wood and enhance the overall appearance.
Tools:
- Measuring Tape: Accurate measurements are crucial for ensuring that your shelves fit perfectly within your garage space.
- Circular Saw or Table Saw: These tools are essential for cutting the lumber to the desired dimensions. Ensure that you have the appropriate safety equipment when operating power tools.
- Drill and Bits: A reliable drill and a selection of drill bits will be necessary for assembling the shelves and attaching brackets and supports.
- Screwdriver: Both manual and electric screwdrivers can be useful for securing screws and assembling the shelves.
- Paintbrushes or Stain Applicators: If you plan to finish your shelves with paint or stain, having the appropriate application tools is essential for achieving a professional result.
By gathering these materials and tools, you'll be well-prepared to embark on the construction of your DIY garage shelves. With everything in place, you can proceed to the next step: measuring and planning the layout of your shelves.
Step 2: Measure and Plan
Accurate measurements and thoughtful planning are the cornerstones of a successful DIY garage shelving project. Before cutting a single piece of lumber, it's crucial to assess your garage space and determine the optimal dimensions for your shelves. By taking the time to measure and plan meticulously, you can ensure that your shelves fit seamlessly into your garage, maximizing both storage capacity and accessibility.
Assess Your Space
Begin by surveying your garage and identifying the areas where you intend to install the shelves. Take note of any obstacles such as pipes, electrical outlets, or garage door mechanisms that may impact the placement of your shelves. Additionally, consider the height and width of the available wall space, as well as any potential obstructions such as vehicles or workbenches.
Determine Shelf Dimensions
Once you've identified the locations for your shelves, use a measuring tape to determine the precise dimensions for each shelf. Consider the types of items you plan to store on the shelves, as this will influence the spacing between each shelf and the overall height of the shelving unit. For example, if you intend to store large bins or bulky equipment, you may need to allow for taller shelf clearance.
Create a Detailed Plan
With your measurements in hand, sketch out a detailed plan for your garage shelves. Consider factors such as the number of shelves needed, the spacing between each shelf, and the overall layout of the shelving unit. Visualizing the final design on paper will help you identify any potential challenges and make adjustments before proceeding to the construction phase.
Consider Accessibility
In your planning phase, it's essential to prioritize accessibility and convenience. Think about how you will access items on the shelves and ensure that the shelves are positioned at a height that allows for easy retrieval of stored items. Additionally, consider leaving space beneath the bottom shelf to accommodate larger items or to facilitate cleaning and maintenance of the garage floor.
Finalize Your Plan
Once you've assessed your space, determined shelf dimensions, and created a detailed plan, take the time to review and refine your design. Consider seeking input from family members or individuals who will be using the garage to ensure that the shelving layout meets everyone's needs.
By meticulously measuring and planning the layout of your garage shelves, you'll set the stage for a successful construction phase. With a clear understanding of your space and a well-thought-out plan, you can proceed to the next step: cutting and assembling the shelves.
Step 3: Cut and Assemble the Shelves
With your detailed plan in hand and the measurements finalized, it's time to bring your DIY garage shelves to life through cutting and assembling the necessary components. This phase is where your vision takes shape, and the functionality of your shelves begins to materialize. Here's a comprehensive guide to cutting and assembling your shelves:
Cutting the Lumber
Using the measurements from your plan, carefully mark the dimensions on the lumber. Whether you're using a circular saw or a table saw, precision is key. Take your time to ensure accurate cuts, and always prioritize safety by using appropriate safety equipment. If you're creating multiple shelves, it's beneficial to label each piece to correspond with its placement in the shelving unit, making assembly more efficient.
Assembling the Shelves
Once the lumber is cut to size, it's time to assemble the shelves. Begin by attaching the brackets and supports to the lumber, following the layout outlined in your plan. Use a reliable drill and appropriate screws to secure the brackets firmly in place. Pay close attention to ensure that the shelves are level and stable, as this will contribute to their overall functionality and aesthetic appeal.
Adding Finishing Touches
If you've chosen to paint or stain your shelves, this is the stage where you can apply the finishing touches. Take your time to coat the shelves evenly, allowing for adequate drying time between coats if necessary. A well-executed finish not only enhances the visual appeal of the shelves but also provides protection against wear and tear.
Quality Check
Before proceeding to the installation phase, conduct a thorough quality check of the assembled shelves. Ensure that all components are securely fastened, and the shelves are structurally sound. This step is crucial for guaranteeing the safety and longevity of your DIY garage shelves.
By meticulously cutting and assembling the shelves according to your plan, you're one step closer to achieving a well-organized and efficient garage space. With the shelves ready for installation, it's time to move on to the next phase: installing the shelves in your garage.
Step 4: Install the Shelves in Your Garage
With your DIY garage shelves meticulously crafted and ready for installation, it's time to bring your vision to fruition by integrating them into your garage space. The installation phase is where your hard work culminates in a tangible transformation, turning a cluttered garage into an organized and functional area. Here's a detailed guide to installing your shelves in your garage:
Assess the Installation Area
Before commencing the installation, carefully assess the designated area in your garage where the shelves will be positioned. Ensure that the wall surface is suitable for mounting the shelves and that there are no obstructions that could hinder the installation process. Additionally, take note of any electrical wiring or plumbing behind the walls to avoid accidental damage during installation.
Marking and Positioning
Using a measuring tape and a level, mark the precise locations where the shelves will be installed. It's crucial to ensure that the shelves are aligned both horizontally and vertically, as this will contribute to the overall stability and aesthetic appeal of the shelving unit. Double-check the measurements and markings before proceeding to the next step.
Securing the Shelves
Depending on the design of your shelves, you may need assistance to securely mount them on the wall. Use a reliable drill and appropriate screws to affix the shelves to the wall, ensuring that they are firmly anchored and capable of supporting the intended weight. If your shelves feature adjustable brackets, take the time to position them at the desired heights to accommodate your storage needs.
Confirm Stability and Alignment
Once the shelves are installed, conduct a thorough assessment of their stability and alignment. Gently apply pressure to the shelves to ensure that they can bear the anticipated load without shifting or wobbling. Use the level to verify that the shelves are perfectly horizontal, making any necessary adjustments to guarantee a uniform and professional installation.
Test Load Capacity
Before loading the shelves with your belongings, it's advisable to conduct a test of their load-bearing capacity. Gradually place weighted items on the shelves, monitoring their response to the added load. This step allows you to confirm the structural integrity of the shelves and make any final adjustments if needed.
Admire Your Handiwork
Upon completing the installation and ensuring the functionality of your DIY garage shelves, take a moment to admire your handiwork. The transformation of your garage from a chaotic space to an organized and efficient area is a testament to your dedication and craftsmanship. Revel in the satisfaction of a job well done as you prepare to move on to the final phase: organizing your space.
By following these detailed steps, you can seamlessly integrate your DIY garage shelves into your garage, setting the stage for a well-organized and visually appealing storage solution.
Step 5: Organize Your Space
Now that your DIY garage shelves are securely installed, it's time to embark on the final phase of this transformative project: organizing your space. The process of organizing your garage goes beyond simply arranging items on the newly installed shelves. It involves thoughtful categorization, strategic placement, and a commitment to maintaining a clutter-free environment. Here's a comprehensive guide to help you organize your garage space effectively:
Categorize and Sort
Begin by categorizing the items in your garage. Group similar items together, such as tools, sports equipment, gardening supplies, and seasonal decorations. Sorting through your belongings allows you to assess the quantity of items in each category and determine the most suitable placement on your shelves.
Prioritize Accessibility
Consider the frequency of use for each category of items and prioritize accessibility accordingly. Items that are used frequently should be placed within easy reach, while those used less often can be positioned on higher or lower shelves. This approach ensures that commonly accessed items are readily available, contributing to the overall efficiency of your garage space.
Utilize Storage Containers
Invest in durable storage containers to further organize and protect your belongings. Clear plastic bins or labeled storage boxes are ideal for containing smaller items and preventing clutter. Utilizing containers also facilitates easy retrieval and maintains a tidy appearance within your garage.
Create a Maintenance Plan
Establish a maintenance plan to uphold the organization of your garage. Regularly assess the contents of your shelves, declutter as needed, and return items to their designated places. By incorporating maintenance into your routine, you can sustain the functionality and visual appeal of your organized space over time.
Maximize Vertical Space
Take advantage of the vertical space on your shelves by utilizing stackable storage solutions. Stackable bins, crates, or modular shelving units can optimize the available space and accommodate a larger quantity of items without compromising accessibility.
Label and Document
Labeling storage containers and shelves enhances the organization of your garage and simplifies the process of locating specific items. Consider using a labeling system that is clear and consistent, and maintain a document or inventory of the contents of each container for easy reference.
Embrace Efficiency
Embrace efficiency by optimizing the layout of your garage. Consider incorporating additional storage solutions such as hooks, pegboards, or overhead racks to further maximize space and accommodate items that may not fit on the shelves.
By following these organizational strategies, you can transform your garage into a well-structured and efficient space that not only stores your belongings but also enhances the overall functionality of your home. With a commitment to organization and maintenance, your DIY garage shelves will serve as the foundation for a clutter-free and visually appealing environment.
Now that your garage is organized, it's time to step back and admire the remarkable transformation you've achieved. Your dedication to this project has resulted in a functional and aesthetically pleasing garage that reflects your commitment to organization and craftsmanship. As you take in the sight of your neatly arranged belongings and efficiently utilized space, you can revel in the satisfaction of a job well done.
Conclusion
In conclusion, the journey of creating DIY garage shelves has been a rewarding endeavor, culminating in the transformation of a cluttered and disorganized space into a well-structured and efficient area. By following the comprehensive steps outlined in this guide, you have not only built and installed custom garage shelves but also infused your garage with a sense of order and functionality.
The process began with gathering the necessary materials and tools, setting the stage for a seamless construction phase. Meticulous measurement and planning ensured that the shelves were tailored to fit your specific garage space, maximizing storage capacity and accessibility. The cutting and assembly of the shelves brought your vision to life, showcasing your dedication to precision and craftsmanship.
The installation phase marked the tangible realization of your hard work, as the shelves seamlessly integrated into your garage, providing a sturdy and reliable storage solution. Finally, the organization phase elevated the functionality of your garage, allowing you to categorize, sort, and optimize the space to accommodate a variety of items while maintaining a clutter-free environment.
As you stand back and admire the remarkable transformation, it's important to acknowledge the impact of this project beyond the physical changes. The creation of DIY garage shelves represents a commitment to organization, efficiency, and the pursuit of a well-structured living space. It's a testament to your ability to take on a challenging project and see it through to completion, resulting in a space that not only meets your practical needs but also reflects your dedication to craftsmanship.
Moving forward, the organized and visually appealing garage will continue to serve as a source of pride and functionality, enhancing the overall appeal of your home. By embracing the principles of organization and maintenance, you can sustain the efficiency and aesthetic charm of your garage, ensuring that it remains a well-structured and clutter-free environment for years to come.
In the end, the creation of DIY garage shelves goes beyond the construction of a storage solution; it represents a commitment to transforming spaces and embracing the principles of organization and functionality. As you embark on future projects and endeavors, may the success of this undertaking serve as a reminder of your ability to bring order and efficiency to every aspect of your living environment.