
Home>Home & Furniture>Doors & Windows>How to Build a Cat Window Box
Doors & Windows
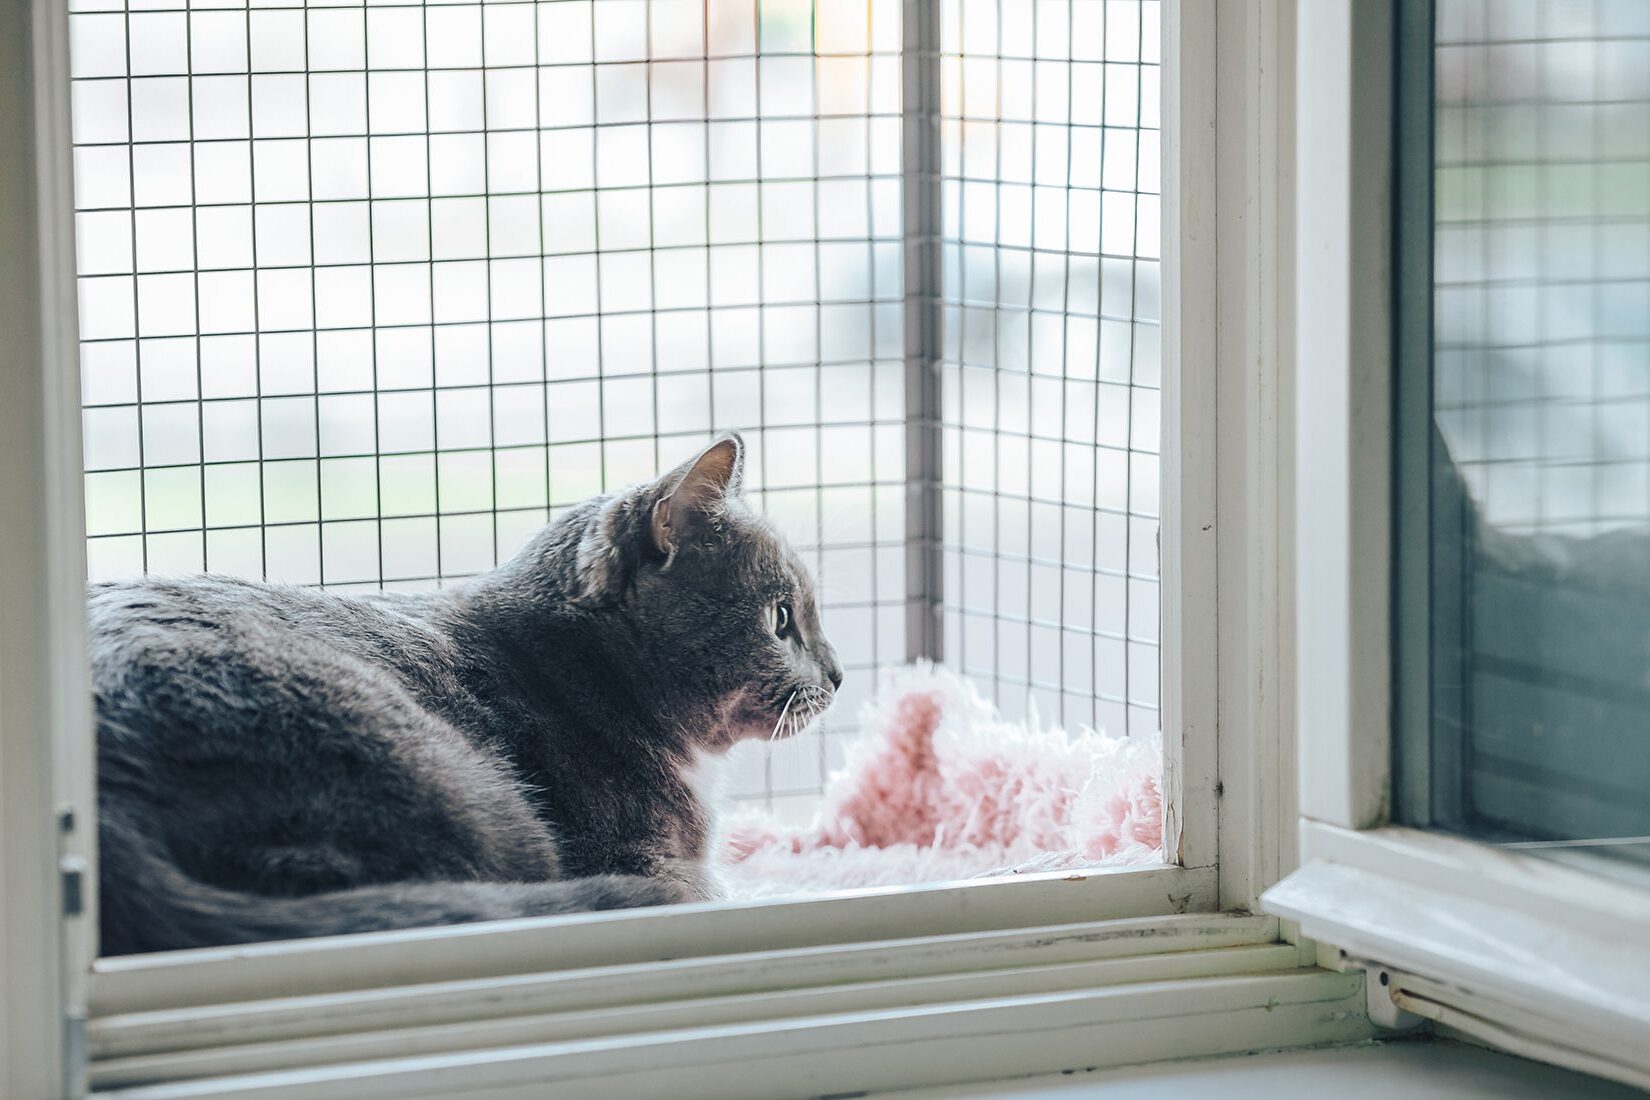
How to Build a Cat Window Box
Published: August 11, 2024
Learn how to build a cat window box with our step-by-step guide. Create a safe, enjoyable outdoor space for your feline friend. Perfect for DIY enthusiasts and cat lovers!
(Many of the links in this article redirect to a specific reviewed product. Your purchase of these products through affiliate links helps to generate commission for Twigandthistle.com, at no extra cost. Learn more)
Building a cat window box is a fun and rewarding project. It gives your cat a safe place to enjoy the outdoors without leaving home. Plus, watching your cat enjoy the fresh air and sunshine is great. You don’t need to be a master carpenter to make one. With a few simple tools and materials, anyone can build a cozy spot for their feline friend. This guide will walk you through the process step-by-step, making it easy and enjoyable. By the end, you'll have a wonderful addition to your home that both you and your cat will love.
Getting Ready for Your Project
Measure the Window: Use a tape measure to get the exact dimensions of your window. Write down the width and height.
Gather Materials: Collect wood planks, screws, brackets, a saw, a drill, sandpaper, paint, and a screen or mesh. Make sure everything is within reach.
Safety Gear: Wear safety goggles and gloves to protect your eyes and hands. Keep a first aid kit nearby just in case.
Clear the Area: Remove any clutter around the window. Ensure you have enough space to move around and work comfortably.
Cut the Wood: Use the saw to cut the wood planks according to your measurements. Sand the edges to avoid splinters.
Assemble the Frame: Use screws and brackets to put together the frame. Make sure it fits snugly in the window.
Attach the Screen: Staple or nail the screen or mesh to the frame. This will keep your cat safe inside the box.
Paint the Box: Apply a coat of paint to protect the wood from weather damage. Let it dry completely before moving on.
Install the Box: Secure the box to the window using additional brackets or screws. Ensure it is stable and won't fall.
Test for Safety: Give the box a gentle shake to make sure it’s firmly attached. Check for any sharp edges or loose parts.
Introduce Your Cat: Let your cat explore the new window box. Supervise the first few times to ensure they are safe and comfortable.
Gather Your Materials and Tools
Materials:
- Wooden Planks: Used for the frame and base of the box. Choose sturdy wood like cedar or pine.
- Plywood: Forms the bottom and sides of the box.
- Screws: Holds the wooden pieces together securely.
- L-Brackets: Provides additional support to the structure.
- Mesh or Screen: Keeps your cat safe while allowing fresh air.
- Hinges: Allows the box to open and close for easy cleaning.
- Weatherproof Sealant: Protects the wood from rain and moisture.
- Paint or Stain: Adds color and extra protection to the wood.
Tools:
- Measuring Tape: Ensures accurate measurements of wood and placement.
- Saw: Cuts the wooden planks and plywood to the required sizes.
- Drill: Makes holes for screws and attaches the L-brackets.
- Screwdriver: Tightens screws securely.
- Hammer: Useful for any minor adjustments.
- Paintbrush: Applies paint or stain evenly.
- Sandpaper: Smooths out rough edges on the wood.
- Clamps: Holds pieces together while you work on them.
Required Skills and Time Commitment
Skill Level: Intermediate
Time Required: 4-6 hours
Steps:
- Measure and Cut Wood: 1 hour
- Assemble Frame: 1.5 hours
- Attach Mesh or Screen: 1 hour
- Install Brackets: 1 hour
- Paint or Stain (Optional): 1-2 hours
Important Keywords: Measure, Cut, Assemble, Attach, Install, Paint
Follow These Steps
Gather Materials:
- Plywood
- Screws
- L-brackets
- Hinges
- Mesh or wire screen
- Paint or wood sealant
- Measuring tape
- Saw
- Drill
- Screwdriver
Measure Window:
- Measure the width and height of the window where the box will be installed.
- Add a few inches to each measurement to ensure a snug fit.
Cut Plywood:
- Cut two pieces for the sides, one for the bottom, one for the top, and one for the front.
- Ensure all pieces match the measurements taken.
Assemble Frame:
- Attach the side pieces to the bottom piece using screws.
- Use L-brackets for extra support at the corners.
Attach Front and Top:
- Screw the front piece to the sides and bottom.
- Attach the top piece using hinges so it can open for easy access.
Install Mesh:
- Cut the mesh or wire screen to fit the front opening.
- Secure it using screws or staples.
Seal and Paint:
- Apply wood sealant or paint to protect the wood from weather.
- Let it dry completely.
Install Box:
- Place the box in the window.
- Secure it with screws or L-brackets to ensure stability.
Add Comfort:
- Place a soft blanket or cushion inside for your cat's comfort.
Helpful Tips and Tricks
Measure your window first to ensure the box fits perfectly. Use pressure-treated wood for durability. Pre-drill holes to avoid splitting the wood. Sand all edges to prevent splinters. Use brackets for extra support if the box is heavy. Weatherproof the box with sealant to protect against rain.
Common mistakes include not measuring accurately, which can lead to a poor fit. Avoid using untreated wood; it won't last long outdoors. Don't forget to sand; rough edges can harm your cat. Skipping sealant can result in water damage.
For materials, PVC can be a good alternative to wood; it's weather-resistant and lightweight. Instead of screws, use nails with a nail gun for quicker assembly. If wood is unavailable, metal mesh can be used for the sides to allow airflow and visibility.
Estimating the Cost
Materials:
- Wood (Plywood or Cedar): $20-$50
- Screws: $5
- L-Brackets: $10
- Outdoor Carpet: $10
- Wire Mesh: $15
- Weatherproof Paint: $10
- Hinges: $5
Tools:
- Drill: $30 (or borrow)
- Saw: $25 (or borrow)
- Measuring Tape: $5
- Screwdriver: $5
Total Cost: $125-$155
Budget-Friendly Alternatives:
- Repurpose old wood: Free
- Borrow tools: Free
- Use leftover paint: Free
- Old carpet pieces: Free
New Total Cost: $35-$65
Different Ways to Customize
Materials: Instead of using wood, try PVC pipes or metal for a more modern look. Recycled pallet wood can give a rustic feel.
Colors: Paint the box in bright colors like yellow or turquoise for a playful vibe. For a more elegant touch, use neutral tones like beige or gray.
Styles: Add cushions or soft mats inside for extra comfort. Attach scratching posts or hanging toys to keep cats entertained.
Windows: Use plexiglass instead of regular glass for safety. Consider adding a mesh screen for ventilation.
Plants: Incorporate cat-friendly plants like catnip or wheatgrass. Create a small garden area within the box.
Shape: Experiment with different shapes like hexagonal or circular designs. Add multiple levels for climbing.
Lighting: Install LED lights for nighttime use. Solar-powered lights can be an eco-friendly option.
Accessibility: Add a small ramp or steps for older cats. Make the entrance wider for larger breeds.
Decor: Personalize with stickers or stencils. Add a nameplate with your cat's name.
Eco-Friendly Suggestions
Reclaimed wood works great for the frame. Look for old pallets or leftover lumber from other projects. Recycled plastic can be used for the base, providing durability and weather resistance. Natural rope or hemp can create a cozy perch inside the box.
Use eco-friendly paint or stain to protect the wood. These paints have fewer harmful chemicals. Old window screens can be repurposed to create a safe enclosure, keeping your cat secure while enjoying the view.
For added comfort, place an upcycled cushion or blanket inside. You can make these from old clothes or fabric scraps. Solar-powered lights can be added for nighttime visibility without increasing your energy bill.
Finally, secure the box with reused brackets or screws from previous projects. This reduces waste and saves money.
Your Cat's New Favorite Spot
Building a cat window box is a rewarding project. Your feline friend gets a cozy spot to watch the world, and you get the satisfaction of creating something special. Remember to use sturdy materials and ensure the box is securely attached. Add some soft bedding and maybe a few toys to make it extra inviting. Regularly check for wear and tear to keep it safe. With a bit of effort, you’ve given your cat a new favorite hangout. Enjoy watching your kitty bask in the sun and explore the outdoors from the safety of your home. Happy building!
What materials do I need to build a cat window box?
You’ll need wood, screws, a saw, a drill, measuring tape, sandpaper, and some paint or stain. For the box itself, plywood or cedar works well. Don’t forget a screen or mesh to keep your cat safe.
How do I measure the window for the box?
Measure the width and height of the window opening. Add a couple of inches to each side for the box to fit snugly. Make sure to measure the depth too, so your cat has enough room to move around.
Is it safe for my cat?
Yes, as long as you use sturdy materials and secure the box properly. Make sure the screen or mesh is strong enough to hold your cat’s weight and prevent them from falling out.
How do I attach the box to the window?
Use brackets or screws to secure the box to the window frame. Make sure it’s level and tightly fastened. You might need a helper to hold the box in place while you attach it.
Can I paint or stain the box?
Absolutely! Painting or staining the box not only makes it look nice but also protects the wood from the elements. Just make sure to use non-toxic paint or stain, so it’s safe for your cat.
How long does it take to build?
It usually takes a weekend to build a cat window box, depending on your skill level. Cutting, assembling, and securing the box can be done in a day, but painting or staining might take longer due to drying times.
What if I don’t have power tools?
You can still build a cat window box with hand tools like a handsaw, screwdriver, and hammer. It might take a bit longer, but it’s definitely doable.