
Home>Create & Decorate>DIY & Crafts>How To Build Free Standing Shelves
DIY & Crafts
How To Build Free Standing Shelves
Published: June 11, 2024

Content Creator specializing in woodworking and interior transformations. Caegan's guides motivate readers to undertake their own projects, while his custom furniture adds a personal touch.
Learn how to create sturdy and stylish free-standing shelves with our DIY & Crafts guide. Discover step-by-step instructions and expert tips!
(Many of the links in this article redirect to a specific reviewed product. Your purchase of these products through affiliate links helps to generate commission for Twigandthistle.com, at no extra cost. Learn more)
Introduction
Are you looking to add some extra storage space to your home? Free-standing shelves are a great way to organize your belongings and display your favorite items. In this guide, we will walk you through the process of building your own free-standing shelves. Whether you're a seasoned DIY enthusiast or a beginner looking to take on a new project, this step-by-step guide will help you create sturdy and stylish shelves to enhance your living space. Let's dive in and get started on this rewarding DIY endeavor!
Materials Needed
To build your own free-standing shelves, you will need the following materials:
- Wood: Choose a sturdy and durable wood such as pine, oak, or plywood for the shelves and frame.
- Measuring Tape: Essential for accurately measuring the dimensions of the shelves and frame.
- Saw: A saw will be required to cut the wood to the desired lengths.
- Screws and Nails: These will be used to secure the shelves and frame together.
- Drill: A drill will be necessary for creating holes for the screws and nails.
- Level: To ensure that your shelves are straight and even.
- Sandpaper: Use sandpaper to smooth out any rough edges on the wood.
- Paint or Stain: If you want to add a pop of color or enhance the natural beauty of the wood, you'll need paint or wood stain.
- Paintbrushes or Stain Applicators: For applying the paint or stain to the wood.
- Safety Gear: Don't forget to prioritize safety with goggles, gloves, and a dust mask when working with wood and power tools.
Gather these materials before you begin, and you'll be well-equipped to start building your free-standing shelves.
Step 1: Measuring and Planning
Before diving into the construction process, it's crucial to start with accurate measurements and a well-thought-out plan. Here's how to get started:
-
Assess the Space: Take a good look at the area where you intend to place the shelves. Consider the height, width, and depth available for the shelves. This initial assessment will help you determine the appropriate size for your shelves.
-
Measurements: Use a measuring tape to measure the dimensions of the space. Measure the height, width, and depth where the shelves will be placed. Take precise measurements to ensure that the shelves will fit perfectly in the designated area.
-
Design Considerations: Decide on the number of shelves you want and the spacing between each shelf. Consider the weight the shelves will bear and the items you intend to place on them. These factors will influence the thickness and sturdiness of the wood you'll need.
-
Sketch the Design: Create a rough sketch or diagram of the shelves, including the dimensions and the placement of each shelf. This visual representation will serve as a guide during the construction process and help you stay organized.
-
Material Quantity: Based on your measurements and design, calculate the amount of wood and other materials needed for the project. This will prevent unnecessary trips to the hardware store and ensure a smooth construction process.
By taking the time to measure the space accurately and plan out the design, you'll set the foundation for a successful shelf-building project. This thoughtful approach will help you avoid costly mistakes and ensure that the shelves fit seamlessly into your living space.
Step 2: Cutting the Wood
Once you have your measurements and design plan in place, it's time to move on to cutting the wood for your free-standing shelves. Follow these steps to ensure precise and accurate cuts:
-
Prepare the Workspace: Set up a spacious and well-lit area for cutting the wood. Ensure that you have ample room to maneuver the wood and operate the saw safely.
-
Mark the Measurements: Use a pencil and a measuring tape to mark the precise measurements on the wood. Double-check the measurements to avoid any errors before cutting.
-
Safety First: Put on your safety gear, including goggles and gloves, before using the saw. Safety should always be a top priority when working with power tools.
-
Cutting the Shelves: Using a saw, carefully cut the wood according to the marked measurements. Take your time and use steady, even strokes to achieve clean and straight cuts.
-
Cutting the Frame Pieces: If your design includes a frame for the shelves, cut the frame pieces to the required lengths. Ensure that the frame pieces are cut at perfect right angles for stability.
-
Smooth the Edges: After cutting, use sandpaper to smooth out any rough edges on the wood. This will give your shelves a polished and professional look while preventing splinters.
By following these steps, you'll be able to cut the wood accurately and efficiently, setting the stage for the next phase of assembling the free-standing shelves.
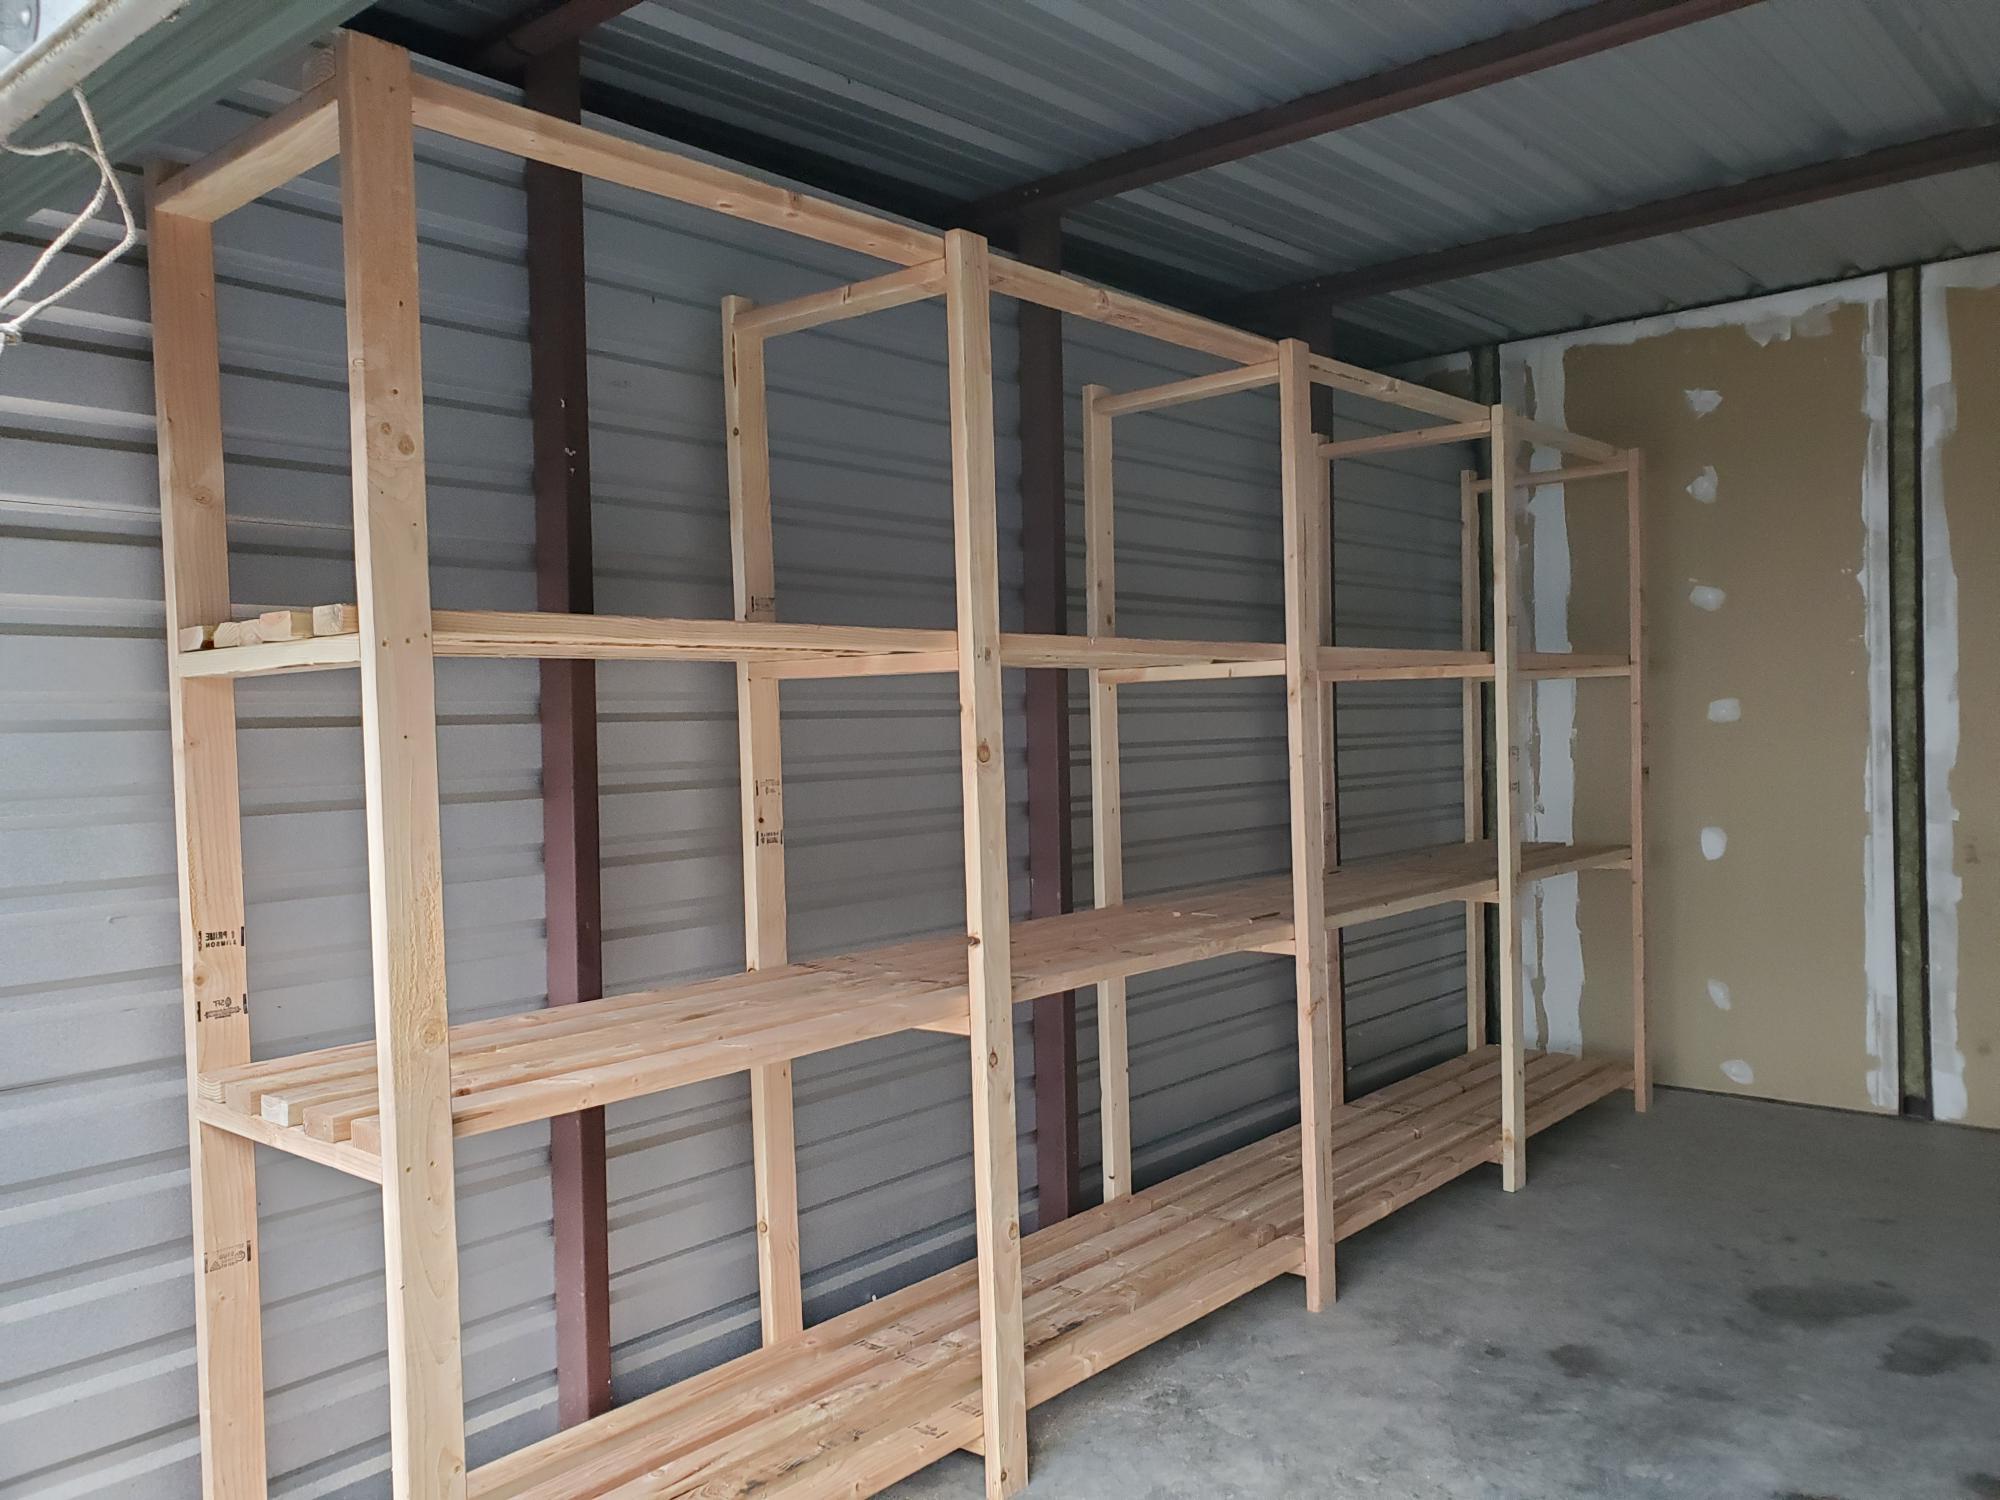
Step 3: Assembling the Frame
Now that you have the wood pieces cut to the appropriate measurements, it's time to assemble the frame for your free-standing shelves. Follow these steps to construct a sturdy and stable frame:
-
Lay Out the Pieces: Begin by laying out the frame pieces according to your design plan. Ensure that the pieces are positioned correctly and that the measurements align with your initial plan.
-
Pre-Drill Holes: To prevent the wood from splitting, use a drill to create pilot holes where the screws will be inserted. This step is crucial for ensuring that the wood pieces are securely fastened together.
-
Assemble the Sides: Start by attaching the vertical frame pieces to the horizontal pieces. Use screws and a drill to join the pieces together, ensuring that the frame is square and level as you work.
-
Add Support Braces: Depending on the size and design of your shelves, you may need to add support braces within the frame for added stability. Measure and cut the support braces to fit snugly within the frame, then secure them in place with screws.
-
Check for Stability: Once the frame is assembled, check for any wobbling or instability. Make any necessary adjustments to ensure that the frame is solid and level.
By following these steps, you'll be able to construct a robust frame that will provide the necessary support for your free-standing shelves. With the frame in place, you're ready to move on to the next phase of attaching the shelves.
Step 4: Attaching the Shelves
With the frame assembled, the next crucial step is to attach the shelves to complete your free-standing shelves. Follow these detailed steps to ensure a secure and well-structured shelving unit:
-
Positioning the Shelves: Begin by positioning the shelves within the frame according to your design plan. Use a level to ensure that the shelves are perfectly horizontal and evenly spaced. This step is essential for achieving a professional and polished look for your shelves.
-
Securing the Shelves: Once the shelves are in position, use screws and a drill to secure them to the frame. Place the screws at the corners of each shelf, ensuring that they are driven in securely to provide ample support. If you're using adjustable shelving, make sure the brackets are properly installed to hold the shelves in place.
-
Reinforcement: For added stability, consider adding additional support underneath the shelves. This can be achieved by attaching small support pieces between the shelves and the frame. These reinforcements will prevent the shelves from sagging under the weight of heavy items.
-
Finishing Touches: After attaching the shelves, take a moment to inspect the entire structure. Ensure that all screws are tightened, and the shelves are firmly in place. Use a damp cloth to wipe away any sawdust or debris, leaving your shelves clean and ready for the final step.
By following these steps, you'll be able to securely attach the shelves to the frame, creating a functional and visually appealing storage solution for your home. With the shelves in place, you're ready to move on to the final phase of adding the finishing touches to your DIY project.
Step 5: Finishing Touches
After completing the assembly of your free-standing shelves, it's time to add the finishing touches to enhance their appearance and durability. Follow these steps to ensure that your shelves are not only functional but also visually appealing:
-
Sand and Smooth: Use fine-grit sandpaper to smooth out any rough spots or imperfections on the wood. Pay special attention to the edges and corners of the shelves to ensure a polished look and prevent any splinters.
-
Apply Finish: Depending on your preference, you can choose to paint or stain the shelves to complement your home decor. Apply a coat of paint or wood stain using a paintbrush or stain applicator, ensuring even coverage. Allow the finish to dry completely before proceeding to the next step.
-
Protective Coating: For added protection and longevity, consider applying a clear protective coating over the paint or stain. This will safeguard the shelves from wear and tear, moisture, and other environmental factors.
-
Decorative Elements: If desired, consider adding decorative elements such as trim, molding, or decorative brackets to enhance the visual appeal of the shelves. These embellishments can add a touch of elegance and personality to your DIY creation.
-
Final Inspection: Once the finishing touches are complete, take a moment to inspect the shelves thoroughly. Check for any missed spots in the finish, loose screws, or any other imperfections that need attention. Make any necessary adjustments to ensure that your shelves are in top-notch condition.
By following these steps, you'll be able to add the perfect finishing touches to your free-standing shelves, elevating them from a simple DIY project to a stunning and functional addition to your home. With the completion of these final steps, your shelves are ready to be proudly displayed and put to use in organizing and showcasing your belongings.
Conclusion
In conclusion, building free-standing shelves is a rewarding DIY project that allows you to create customized storage solutions for your home. By following the step-by-step guide outlined in this article, you can confidently take on the task of constructing sturdy and stylish shelves. From measuring and planning to cutting the wood, assembling the frame, attaching the shelves, and adding the finishing touches, each phase of the process contributes to the creation of a functional and visually appealing storage unit. With the right materials, tools, and attention to detail, you can bring your vision of free-standing shelves to life, adding both practicality and aesthetic value to your living space. Whether you're a seasoned DIY enthusiast or a beginner looking to hone your skills, building free-standing shelves is a fulfilling endeavor that can elevate the organization and decor of your home.